This post may contain affiliate links. For more information, please see our disclosure policy.
Make your own fall floral arrangement. This Fall Grass Arrangement is an easy DIY craft tutorial idea. Video tutorial and written instruction included.
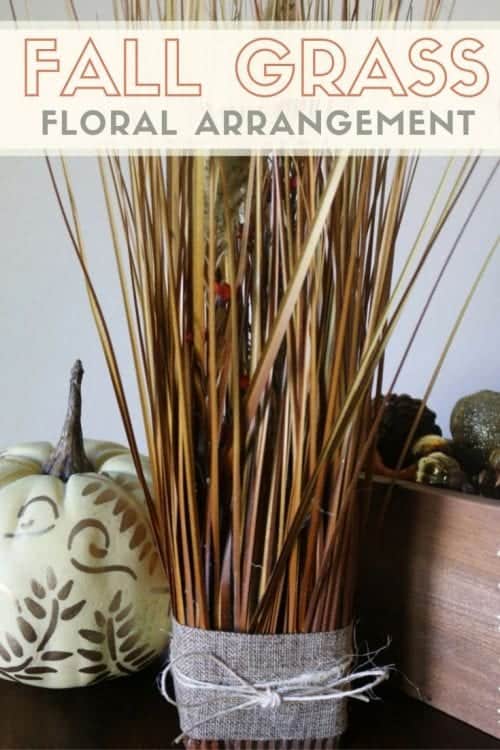
I love decorating for the fall season. In my opinion, the colors of fall are simply breathtaking. I love to see all of the leaves change into beautiful shades of reds, oranges, and yellows. While I love the colors of fall, I am not a fan of the colder weather that fall brings. To make up for that, I bring fall inside so that I can enjoy all of the fall colors in the comfort of my own home with the heater turned on.
This Fall Grass Floral Arrangement is perfect for my fall decor and will look great with the fall tablescape I am creating.
Supplies Used to Make a Fall Grass Floral Arrangement
Some links may be on similar items when exact items couldn't be found online.
- 2 Floral Grass Bush Stems
- Floral Foam
- Floral Pins
- Craft Knife
- 2 ½" Burlap Ribbon
- Hot Glue Gun
- Jute Rope
Fall Grass Floral Arrangement Video Tutorial
Like videos? I have a video tutorial for you!strong>Please subscribe to my YouTube Channel so you don't miss out on any future video tutorials!
How to Make a Fall Grass Floral Arrangement
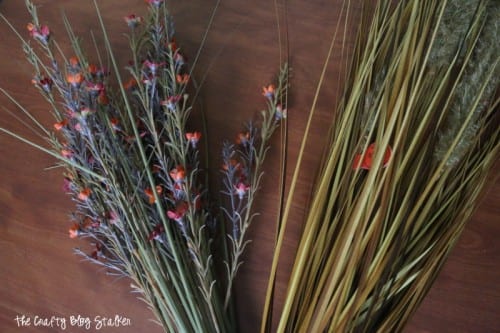
I chose two different Grass Bush Stems from my local craft store. I don't know what types of flowers or grasses these are so I apologize that I can't help you there. The one on the right is a tall grass with furry green cattail like flowers interspersed. I chose the bush on the left because of the colors of the little flowers. I wanted my arrangement to have a little bit of color besides the greenish-brown of the grass.
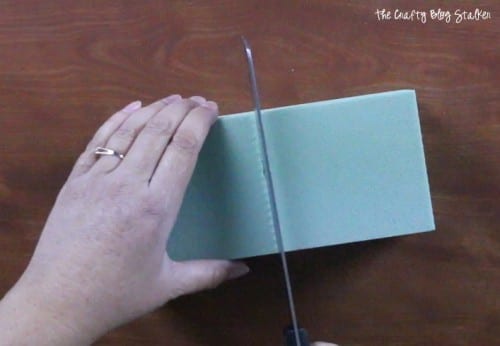
Start by cutting the floral block in half. Floral foam is really pretty easy to cut, I used a kitchen knife. Shh, don't tell my husband. He's picky about what our knives should be used for. 🙂
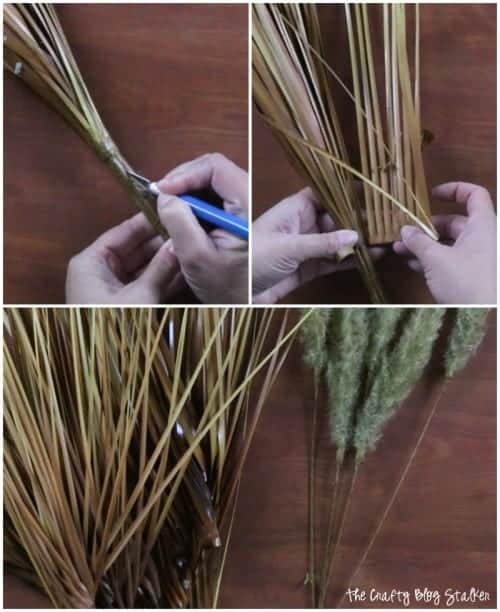
Unwrap and separate the grass bush. This bush is taped at the stem, so with a craft knife, I carefully removed the tape and unwrapped the grass. Inside this bush are about 6 stems with differently sized grass wrapped around each one. Unwrap all of them and separate the cattail stems as well.
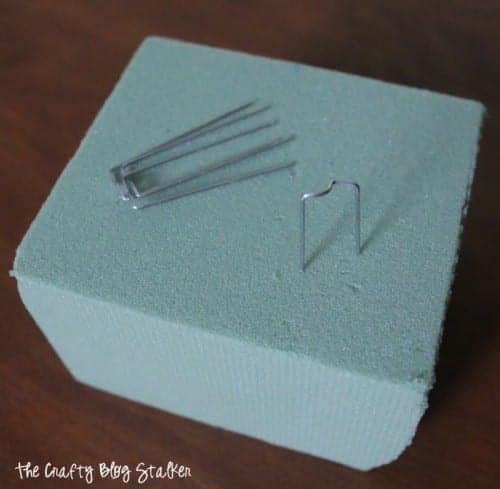
You will want to make sure that you have plenty of floral pins. I used about 15-20 for this one arrangement. I haven't used floral pins a lot, but I am falling in love with them. They are basically a double point pin with a bridge in the center to hold down your floral pieces. They are awesome and I have recently used them on other projects besides floral arrangements. The floral pins are what is going to hold the grass to the foam block.
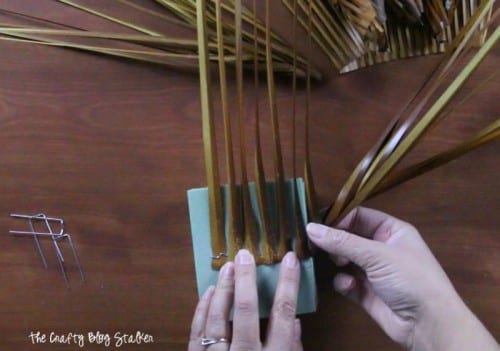
I am going to do three rows of grass around my foam block. I start in the center by laying out the strands of grass and using the floral pins between the strands and go around the whole block.
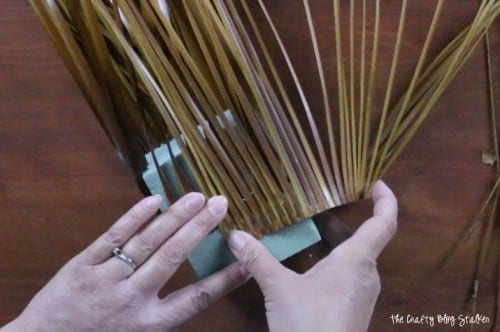
My next row is about ¾ of the way down the block, again going around the whole block and pinning the grass strands down with floral pins.
My last row is around the base of the foam block.
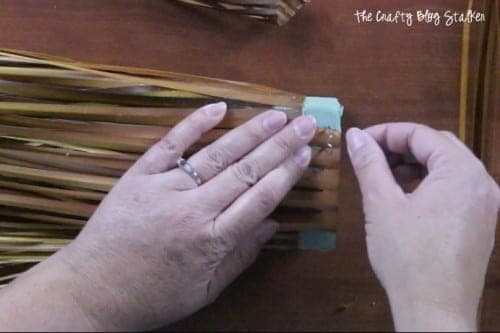
When all layers are pinned down, I went around again with the floral pins holding grass strands down to make sure to cover the floral foam block.
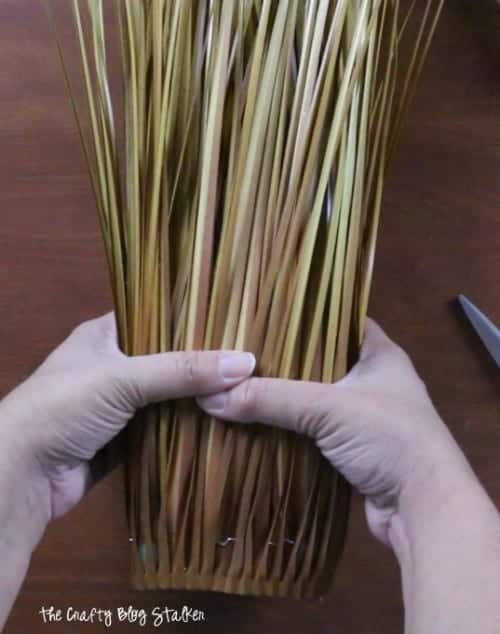
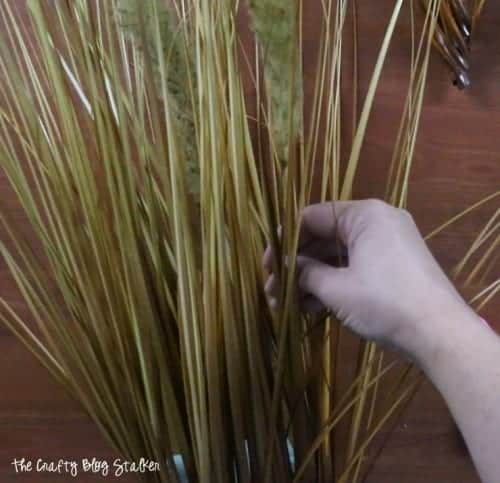
It is looking awesome already! Next, I took two of the cattail stems and pushed them into the center of the floral foam block.
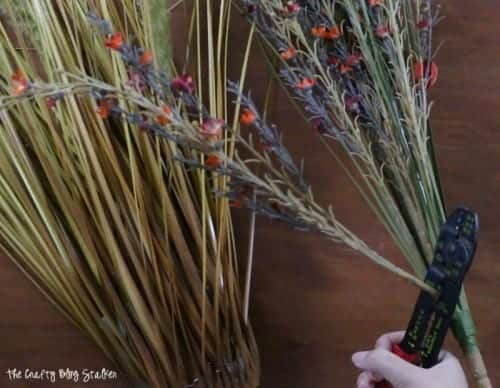
This is where my color comes. I added two of the stems from this floral grass bush. This bush is all attached with wire, so I had to get my wire cutters out to remove these stems. Then simply pushed them into the center of the floral foam block as well.
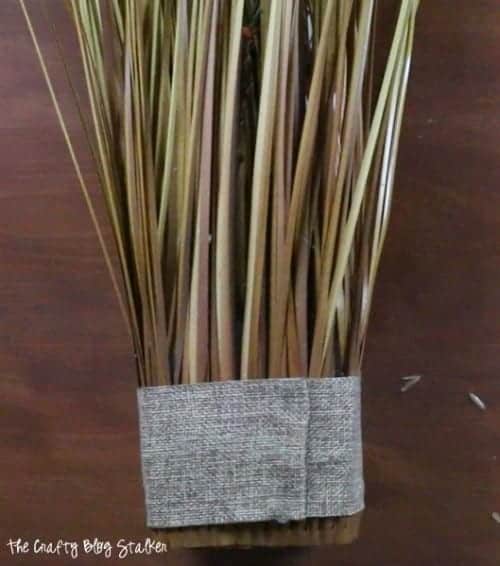
Wrap the base of the arrangement with the burlap ribbon.
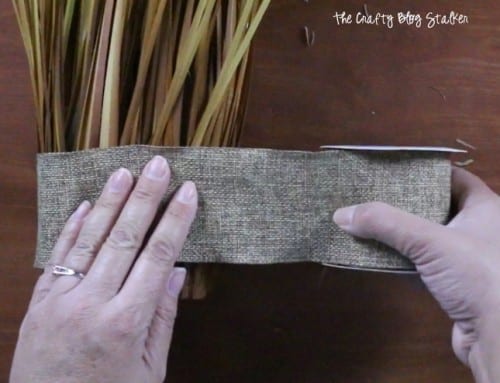
I folded the first end and secured it in place with floral pins. Folded the end of the ribbon over on itself with hot glue and then secured the piece down with more hot glue. You can watch the video to see exactly how I did that.
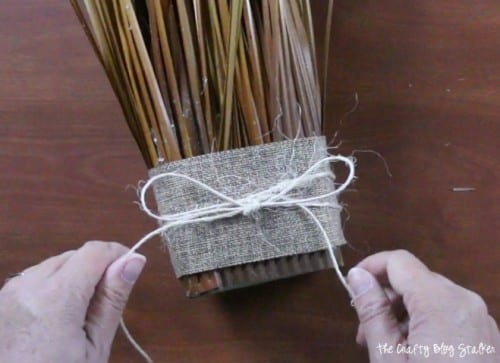
Wrapped a piece of Jute Rope around the burlap base twice and then finished it off with a bow tied in a double knot.
My Fall Grass Floral Arrangement is finished and it looks even better than I had pictured in my mind. I love it when that happens! It completes my fall tablescape.
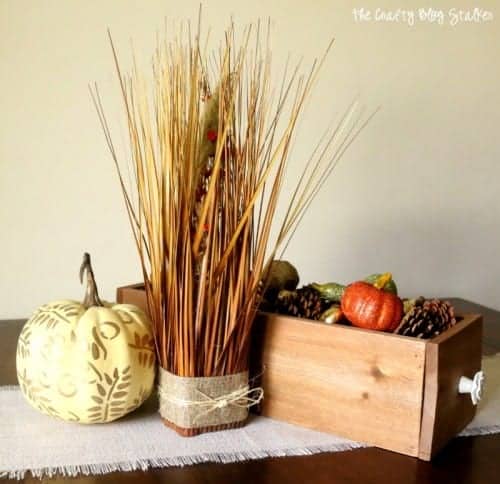
You can find the tutorials for all of the pieces of my fall tablescape in the links below.
Burlap Table Runner
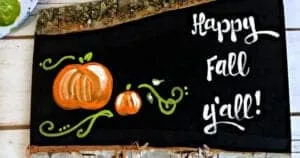
Handpainted Pumpkin
Wood Planter Box
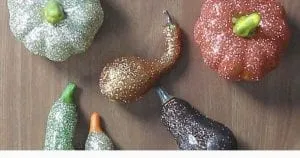
Glittered Pumpkins
What are your favorite colors to use when decorating for fall? Share and comment below!
Our Crafting Essentials:
- The Cricut Cutting Machine is easily our favorite crafting tool. We use it in so many of our tutorials!
- These MakerX Crafting Tools are perfect for keeping in the craft room and are always ready when needed!
- This Fiskars Paper Trimmer is easy to use and cuts nicely without frayed edges.
- These Scotch Precision Scissors cut like a dream, and you get multiple pairs in a pack!



Erin - Suburban simplicity
Looks easy enough! Thanks for sharing, Nice that you have a video too!
Mary-the boondocks blog
This is so pretty and original. I just love it. Thanks for sharing your easy tutorial.
Katie
I am so glad that you like it Mary. This is one of those projects that turned out so much better than what I pictured in my mind. I love it when that happens!
Emily
I see so many of these in stores this time of year; I didn't realize how simple they were to make! Thanks for linking up with Merry Monday!
Katie
They really are easy! Thanks Emily for stopping by!
creativejewishmom/sara
brilliant! thanks for sharing on craft schooling sunday!
Chantel
Very original and pretty ty for the great idea
Katie
Thank you Chantel!