This post may contain affiliate links. For more information, please see our disclosure policy.
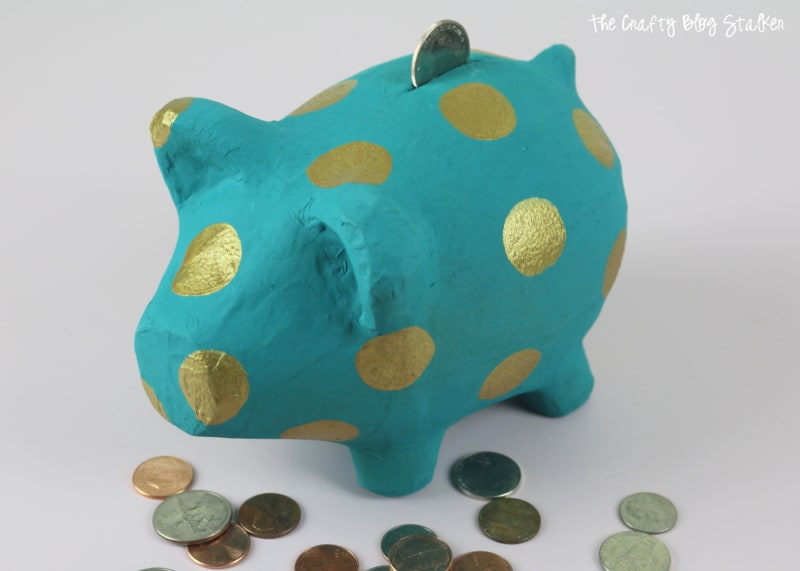
With a little bit of creativity and a little bit of paint, you can create a whimsical piggy bank. Follow these steps to get started.
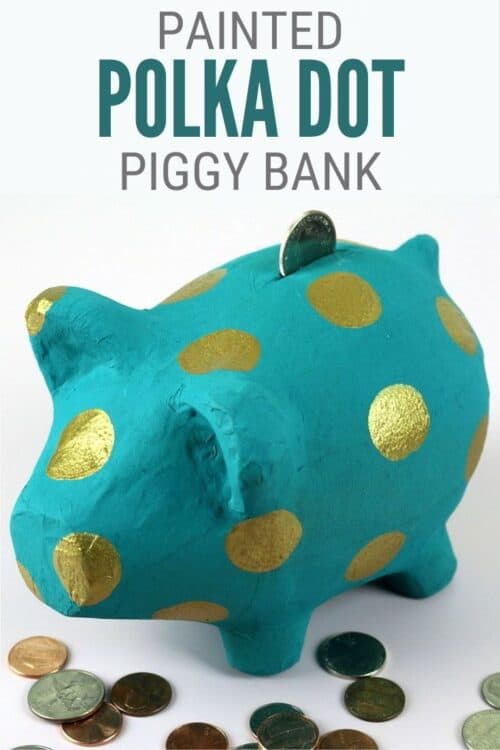
A cute little piggy bank is a great place to empty your pockets of coins and bills.
Plus, it looks super cute sitting on a dresser or shelf!
Or you could even personalize it and give custom piggy banks gifts.
What do you do when your piggy bank is full?
There are so many possibilities for a full piggy bank!
Here is a list of ideas that you can use when you fill up that piggy bank:
- Take it to your local bank and "cash In" the amount
- Put the larger bills and coins back in the piggy bank and continue saving
- Buy that amazing something you've been saving for
- Put your savings in an actual bank so you'll earn interest
- Donate the amount to your favorite charity
If you do something different I'd love for you to share in the comments below!
Who to Gift a Handmade Piggy Bank:
A cute custom piggy bank can make a great gift on those life-changing events, especially if they are prefilled!
- New baby
- First birthday
- Christmas
- Graduation
- Wedding
Supplies You'll Need to Make This Craft:
This post contains affiliate links.
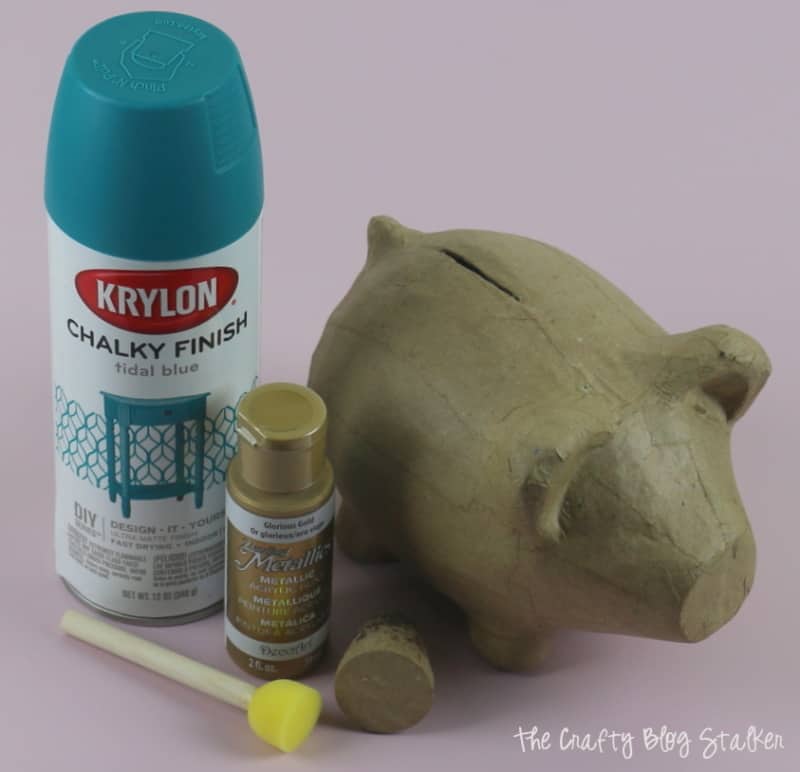
- Krylon Chalky Finish Tidal Blue
- Paper Mache Pig Bank
- Deco Art Dazzling Metallics Glorious Gold Acrylic Paint
- ¾" Stippler Sponge Brush
Paint the Pig:
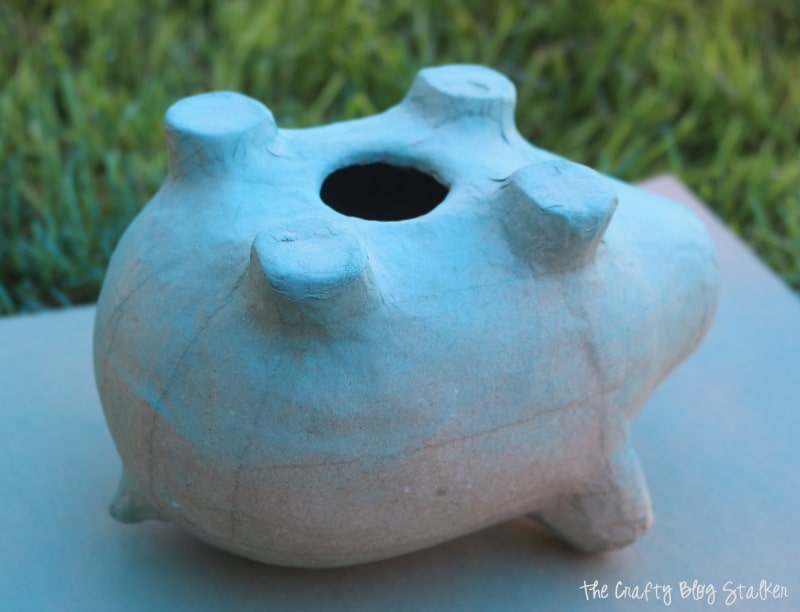
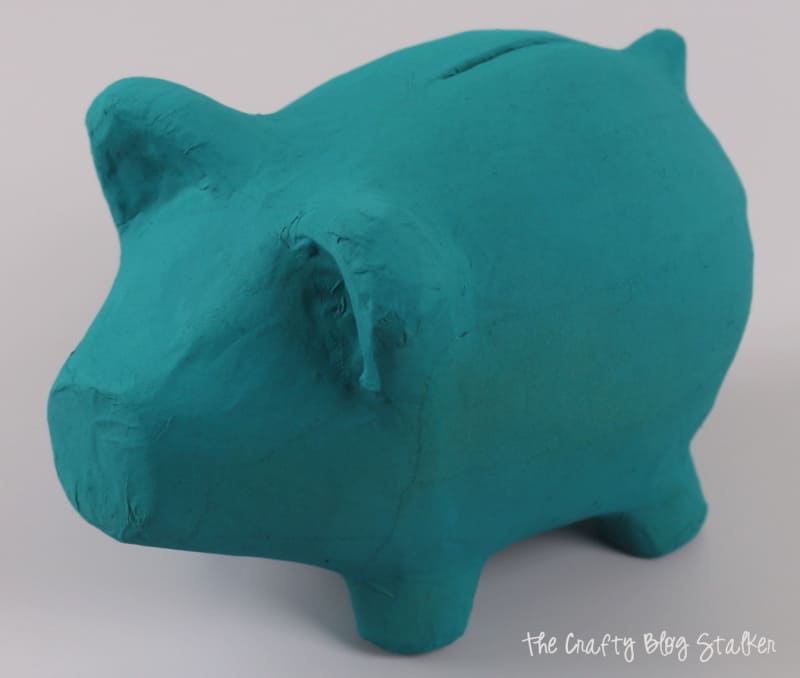
Spray the underside of the pig first, with an even coat, holding the spray can 6-8 inches away from the project.
Then turn him over and spray paint the top with an even coat.
Turn him over again, so his belly is facing up, and go over again with the spray paint.
Repeat, until the bank has 5-6 full coats all around the bank, making sure everything is well coated.
I absolutely love that vibrant teal color. He is looking awesome already!
Decorating with Polka Dots:
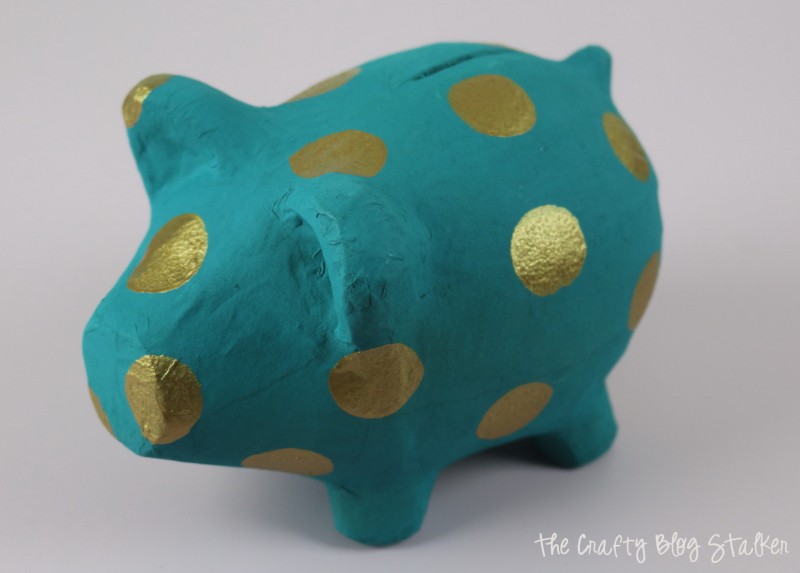
Next comes the polka dots.
I thought about pre-marking where I wanted the dots to go with a pencil but decided to go at it spontaneously.
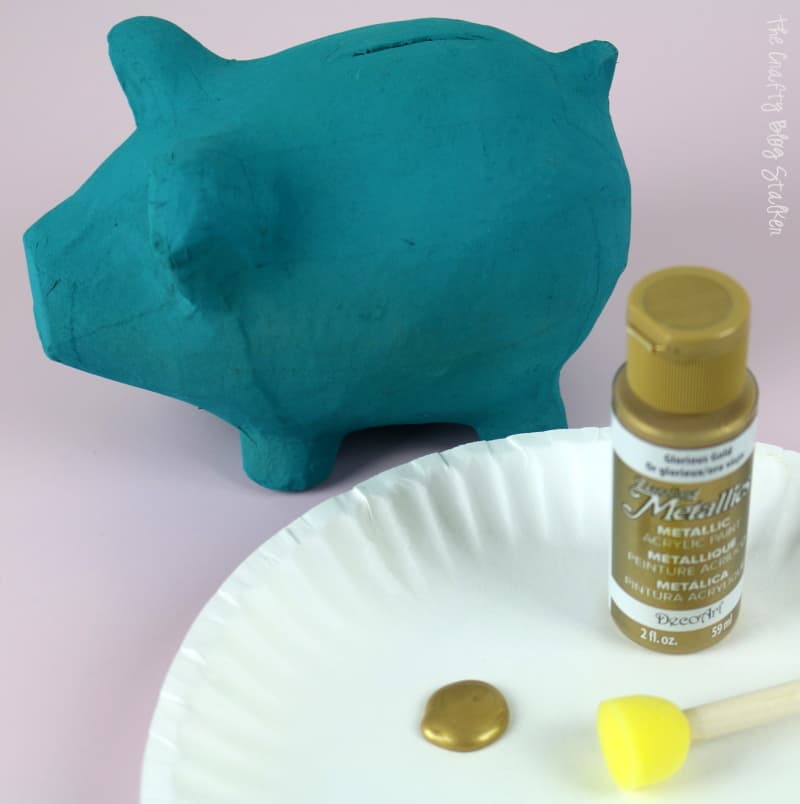
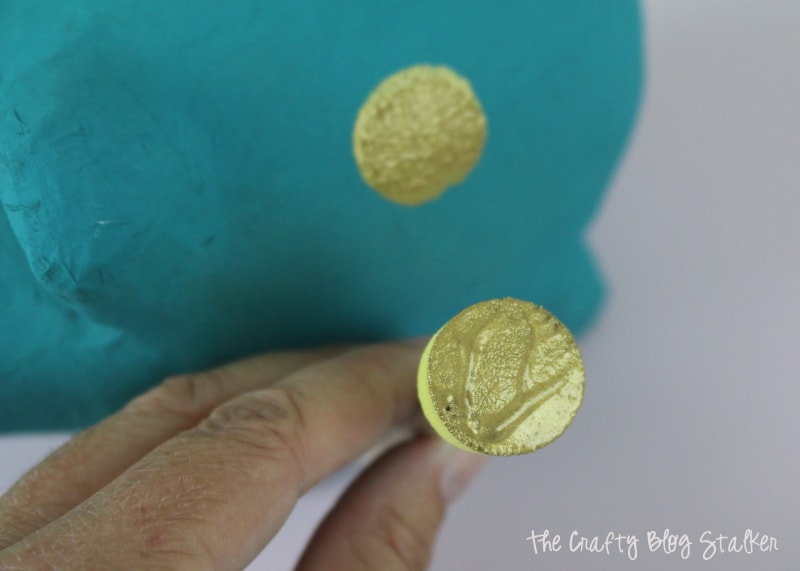
When getting the paint on the round stipple brush you'll want to make sure that you have a good amount on the sponge and it is well covered, otherwise, you won't get the perfect circle when you press down.
Practice on a piece of paper before applying to the bank, to make sure you are using enough paint on the sponge brush.
Pick up more paint for each circle and place the dots wherever you want them.
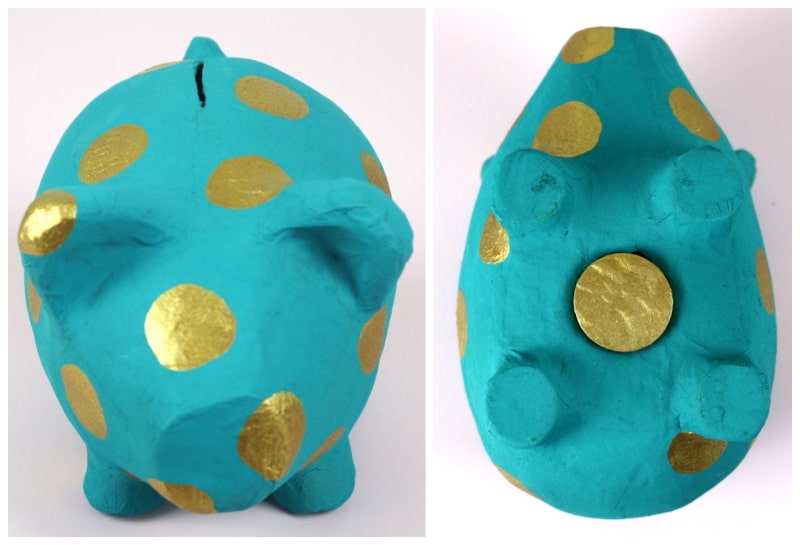
My cute little piggy even has a cork stopper, similar to the rubber stopper in ceramic piggy banks. I painted it gold to match all of the dots.
If you would like, you could also add some sparkle with glitter, or add a cute bow tied around his neck.
Once this cute little guy was dry, I loaded him up with all of my change.
If you love this tutorial, please give it a five-star review and help me share it on Facebook and Pinterest!
Our Crafting Essentials:
- The Cricut Cutting Machine is easily our favorite crafting tool. We use it in so many of our tutorials!
- These MakerX Crafting Tools are perfect for keeping in the craft room and are always ready when needed!
- This Fiskars Paper Trimmer is easy to use and cuts nicely without frayed edges.
- These Scotch Precision Scissors cut like a dream, and you get multiple pairs in a pack!


Kim~madeinaday
What a cute piggy! Thanks for linking up to Merry Monday! Sharing on our MM Pinterest Board! Have a great week!
Kim
Katie
Thank you Kim! I am so glad you like my Piggy Bank. Thanks for the share too!
Holly Bingeman
Very cute! I'm always looking for cute ideas for customizing room accessories.
Thanks for sharing on Monday Funday!
Holly
Creatively Living
Katie
Thank you Holly. I am so glad you like my little piggy. 🙂
Kimberly
Adorable! Pinned and tweeted. Thank you for being a part of our party! I hope to see you on Monday at 7 pm. We love partying with you! Lou Lou Girls
Kimberly
Ohhhh this is adorable! I had a pink ceramic pig piggy bank. I loved getting it all out and counting my change! Or feeling how heavy it was, I felt very rich.