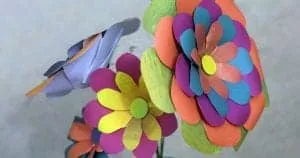
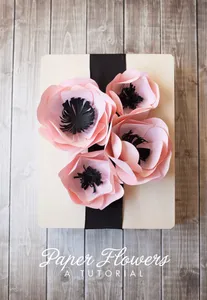
Gift a beautiful paper flower sucker bouquet, perfect for spring. Below is the complete step-by-step tutorial.
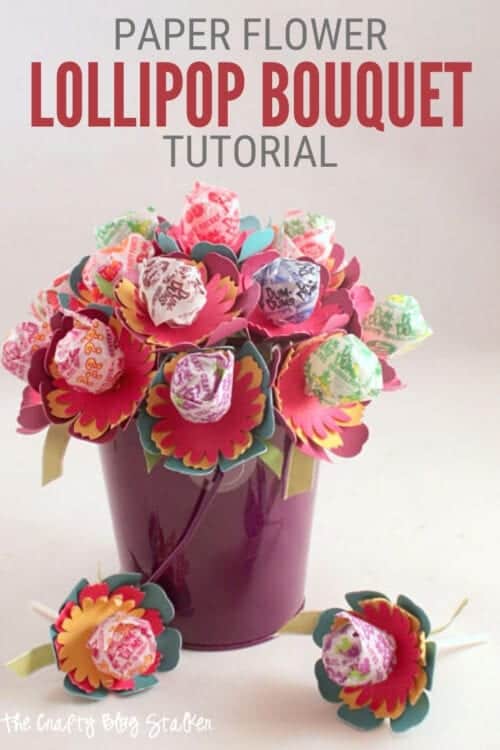
These Flower Suckers are so much fun to make and they come together quite quickly with the help of my Cricut.
I ended up making about 50, and I got them all finished in one evening.
Supplies You'll Need to Create this Project:
Links may go to similar items when exact items can't be found online. Help me continue to provide free tutorials by shopping my affiliate links. Please review our Privacy Policy.
- Cricut
Cutting Machine
- Flower CDS Canvas
- Colored Cardstock
- Crop-A-Dile
- Bone Folder
- Suckers
- Ribbon
- Small Metal Bucket
- Floral Foam


How to Make Paper Flower Suckers
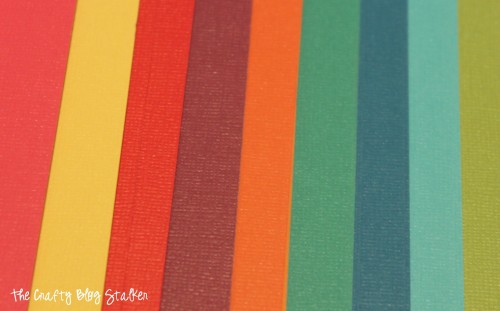
For starters, I decided what colors I wanted to use. I got this collection of colored card stock out to decide what colors I wanted to use.
Since I knew I was going to be making so many of those cute little flowers I turned to my Cricut Explore Machine to do all of the cutting for me.
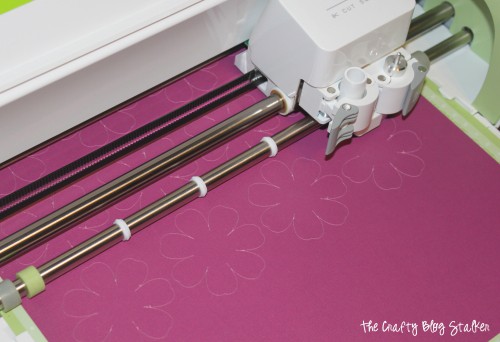
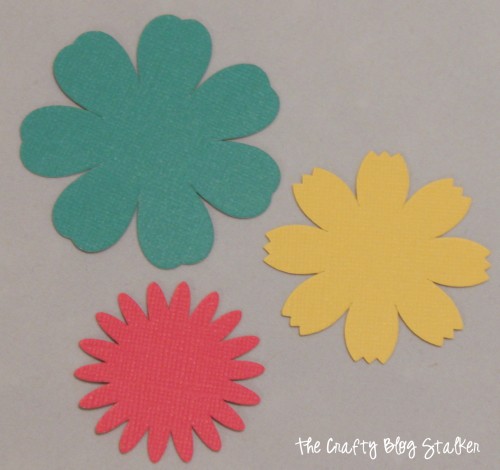
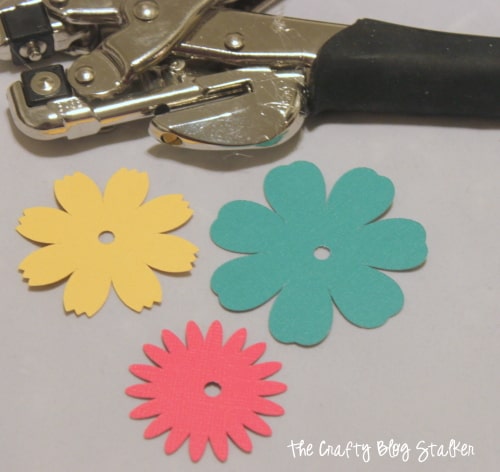
Look at all of those perfect flowers that are exactly the same! I actually cut out 3 different shapes of flowers in the 3 different sizes because I am going to be layering them.
The next step is to put a hole in the center of all of the flowers with my Crop-a-dile. While I was punching the holes I realized I could have just added them to the flowers in the Cricut software, but I totally spaced it. So when you make these, make sure you do that so you can skip this step. 🙂
To give all of the flowers some life and shape I used a bone folder and pulled the edge of the bone folder over the flower shape. This breaks up the fibers just a little bit and will give the paper a curved shape. I went around each flower a couple times. After 150 flowers, my thumb hurt a little bit but the effect totally made it worth it.

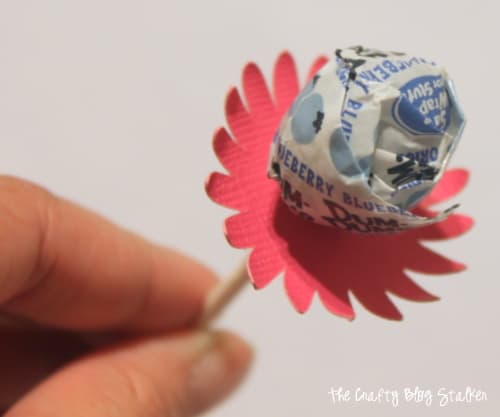
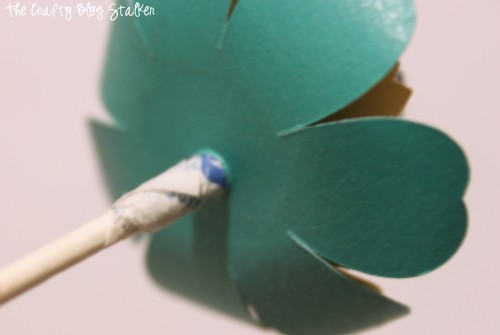
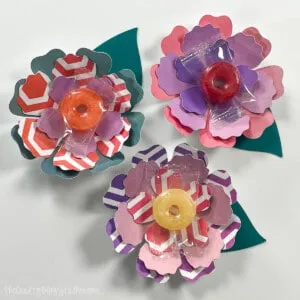
The reason for the hole is for the sucker stick. You want to make sure the wrapper is tightly wrapped around the base of the sucker and as you put the flower on twist the stick until the smallest flower is around the base of the sucker.
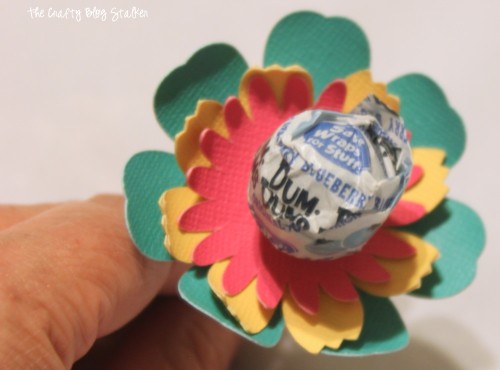
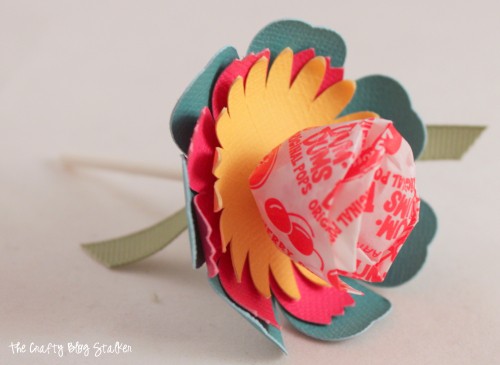
Add the medium-sized flower.
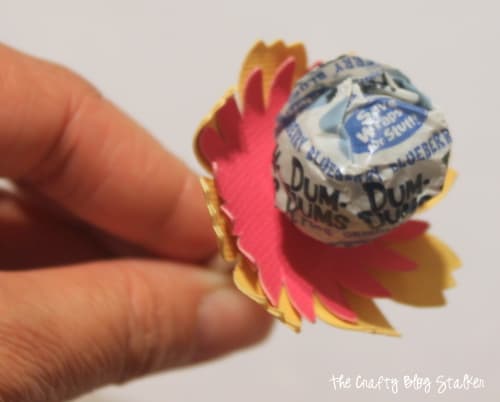
Followed by the largest flower.
Here is a better picture of the bottom. You can see the wrapper that is tightly wrapped around the stick and through all of the holes in the flower layers.
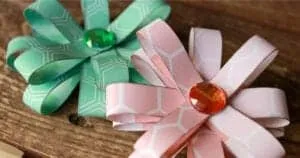
Cut a piece of ribbon about 3 inches long.
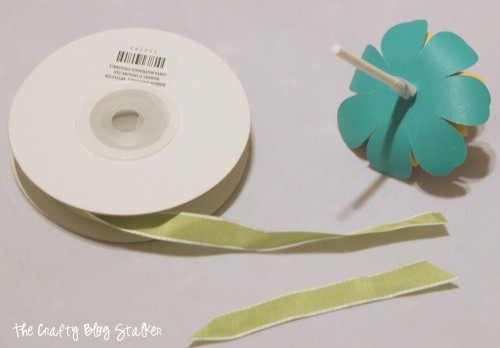
Tie the ribbon on the stick right under the flower but still on the wrapper. This will actually do double duty on these cute little flower suckers. It gives the flower some petals as well as keeps the paper flowers from falling down the stick.

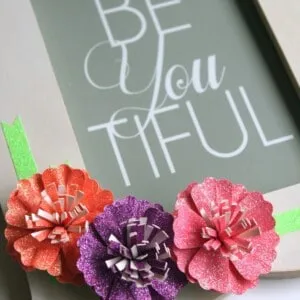
Isn't this Flower Sucker just so cute? Almost too cute to take apart and eat. Almost. 🙂
If you make a lot of them you can make a cute little bucket or bouquet of flower suckers. You will need your bucket or container and some floral foam or styrofoam.
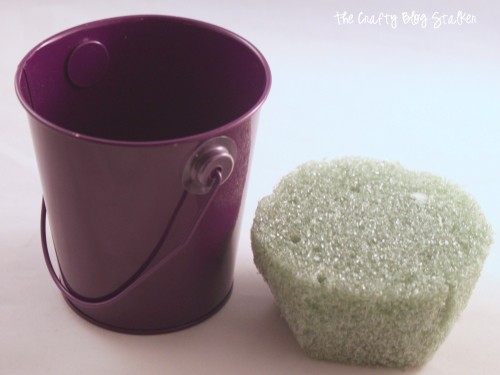
Cut the styrofoam to fit tightly inside the opening of your container.

Arrange the flower suckers in your container. Each container will be different on how many suckers you use.
Now you have a cute way to give your favorite person a whole bouquet! Of course, you can use any type of sucker so the possibilities are endless.
Our Crafting Essentials:
- The Cricut Cutting Machine is easily our favorite crafting tool. We use it in so many of our tutorials!
- These MakerX Crafting Tools are perfect for keeping in the craft room and are always ready when needed!
- This Fiskars Paper Trimmer is easy to use and cuts nicely without frayed edges.
- These Scotch Precision Scissors cut like a dream, and you get multiple pairs in a pack!
Recommended Posts


Wendy, A Day in the Life on the Farm
Adorable. I will be hosting a baby shower in the near future. Perhaps I should invest in a Cricut.
Jelli
So so cute! I love this idea and am pinning right now. Sometimes I wish I had a Cricut to make projects like this a whole lot easier. For now, I guess I'd just have to buy pre-cut flowers. Thanks for sharing, Katie.
Jennifer Johnson
So cute! These would be perfect for my daughters spring recital. I usually do some form of candy bouquet. Pinning for later.
Marwa Farouq
I loved this idea!! wow! my daughters would die for it... and it would be a great idea for project to do with everyone during family time. Thanks for sharing.
Marwa @ BlossomFamily.net
Passed by from the Monday link up
Claire
Aww this is such a sweet idea, love these 🙂
Alexis AKA MOM
Beautiful! that would be perfect for a gift or a Teacher appreciation gift too. Thanks for the idea 🙂
Alicia Owen
Eek! These are so cute! This would be an appealing treat container for when kids deserve a reward. 🙂
Mindie Hilton
I got a Cricut almost a year ago and only used it once, I didn't love it. This is inspiring, maybe I need to give it another try. Please share at the Bacon Time party tomorrow.
Britni
Katie these are so cute! I seriously need a Cricut Explore, so fun! Thanks for sharing on the weekend re-Treat link party!
Britni @ Play. Party. Pin.
Jill
These are super cute! They'd be a great little end of school gift for my daughter to take into her classmates. Pinned!
Mel {MamaBuzz}
Katie, these are so cute! Makes such a cute gift idea. Thank you for sharing on Inspire Me Wednesday. Featuring you in next week's issue.
Meredith @ Wait Til Your Father Gets Home
Now these are super cute!! Thanks for sharing at the Creative Connection 🙂
MORGAN
I adore these so very much! Thank you for the really great tutorial! I will be making these to use at my daughter's birthday party!!
Sara
How sweet and too, too, perfect for spring!
Megin
What a pretty idea! These would look great on my desk.
Thank you for sharing your post this week at Brag About It Link Party on VMG206. I'm featuring you at Next Weeks Brag About It Link Party, Monday at midnight!
~ Megin of VMG206