

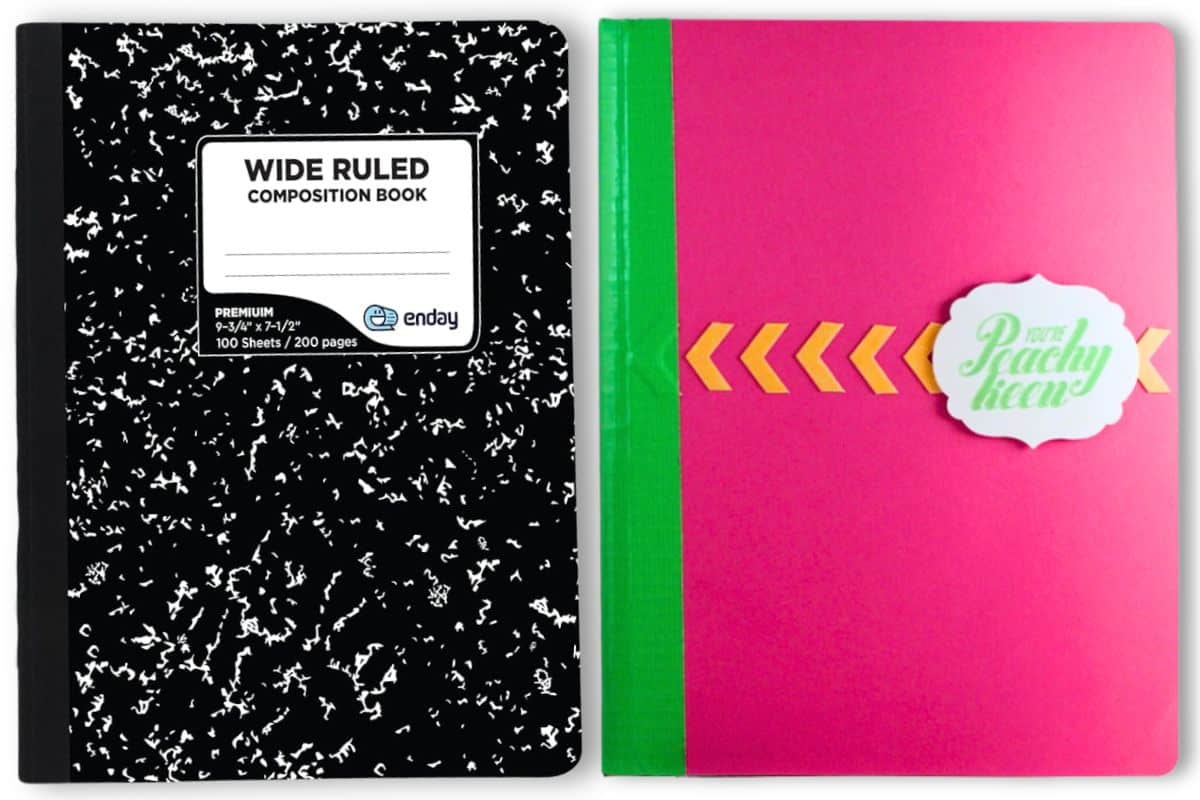
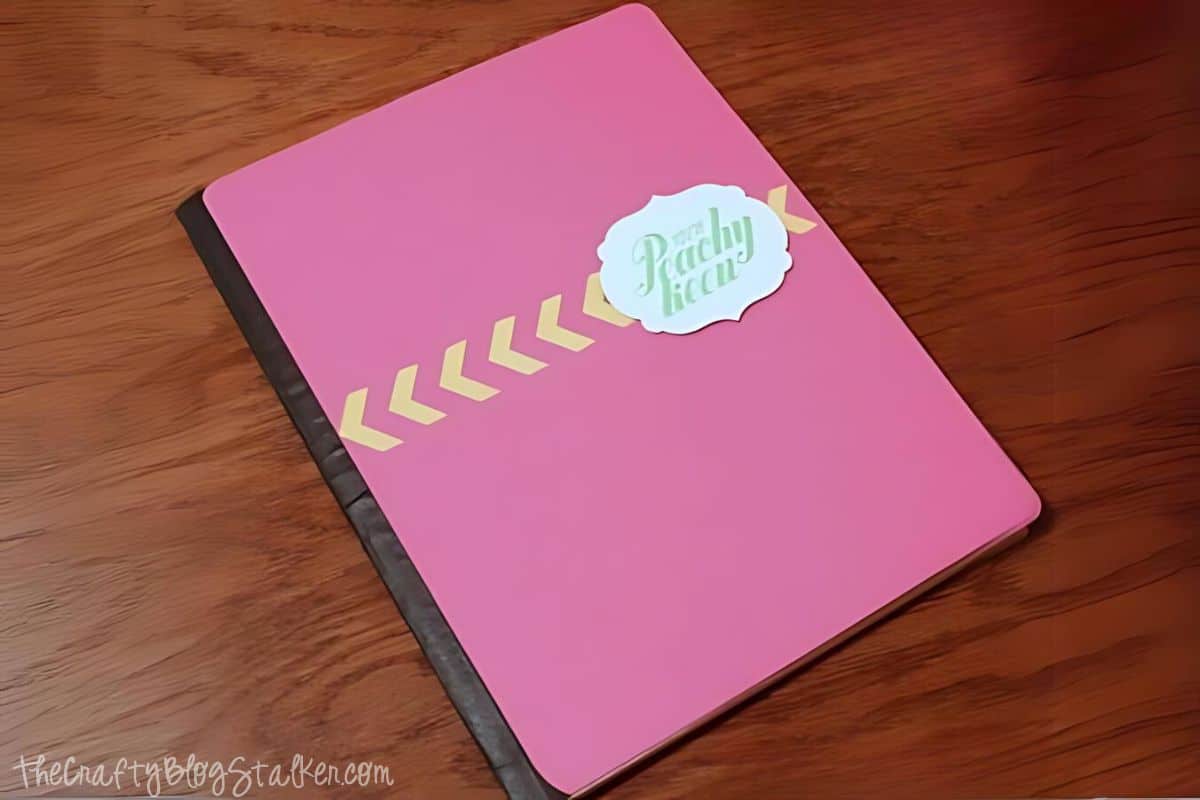
Give your composition notebook a makeover! This DIY tutorial shows you how to create a stylish, personalized cover-great for back-to-school or for fun.
Do you love pretty notebooks too?
I love notebooks and have several floating around my night table, kitchen, and desk at work and home.
It feels different when I am
It's where I write my to-do list, grocery list, or journal, and you can make one too!
Supply List
Some links may lead to similar items when the exact item is unavailable.
- Composition Notebook
- Cardstock
- Corner Rounder Punch
- Scotch Tape Glider
- Duck Tape
- Glitter (optional)
- Paper Punch (optional)
- Tombo Multi-Purpose Adhesive (optional)
- Stamp Saying (optional)
- Labels Framelits (optional)
- Foam Mounting Dots (optional)
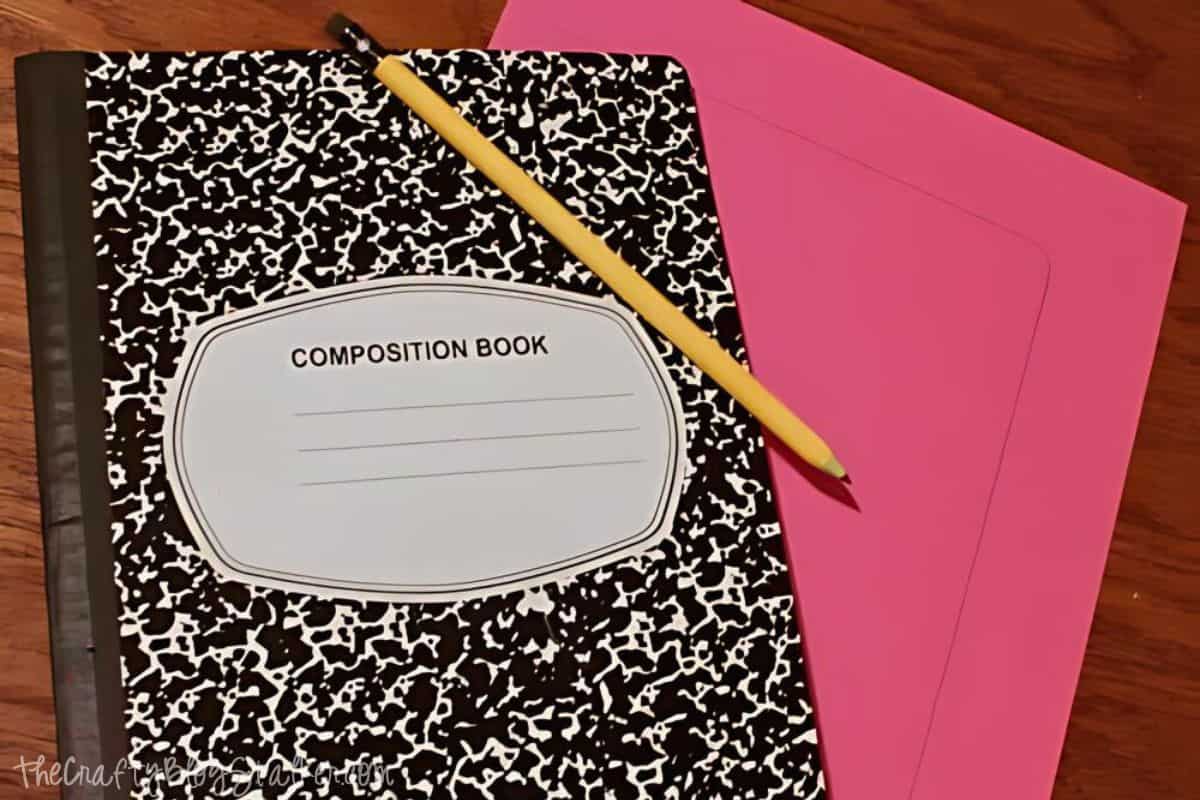
Cut Paper to Size
Trace the cover of the notebook onto a sheet of cardstock.
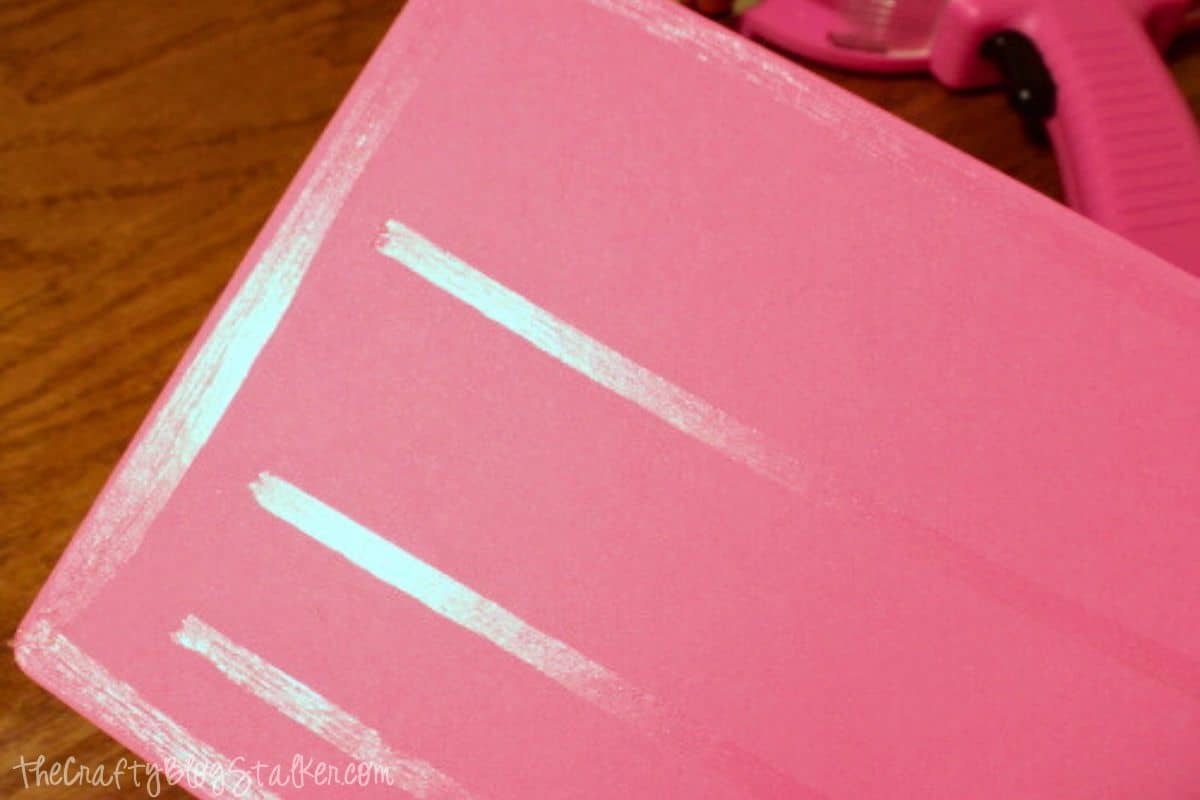
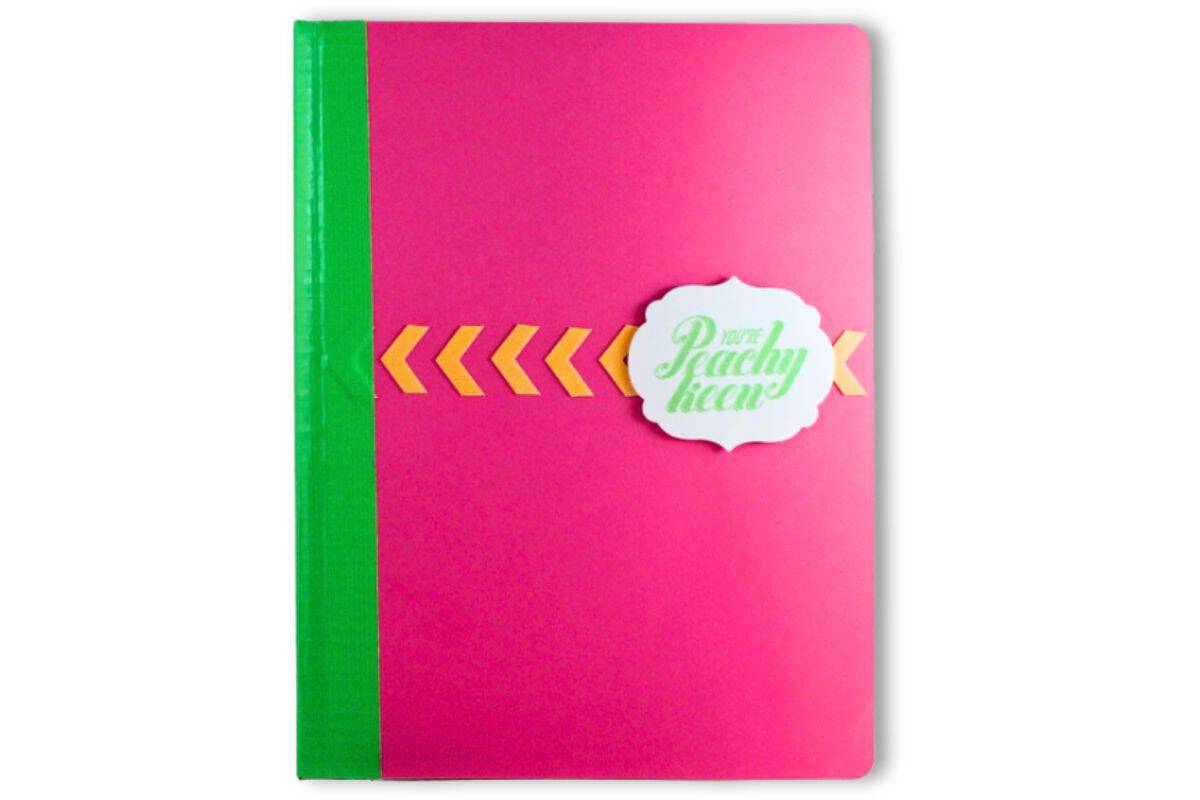
I used pink cardstock but you can use whatever color you want to make it more personalized
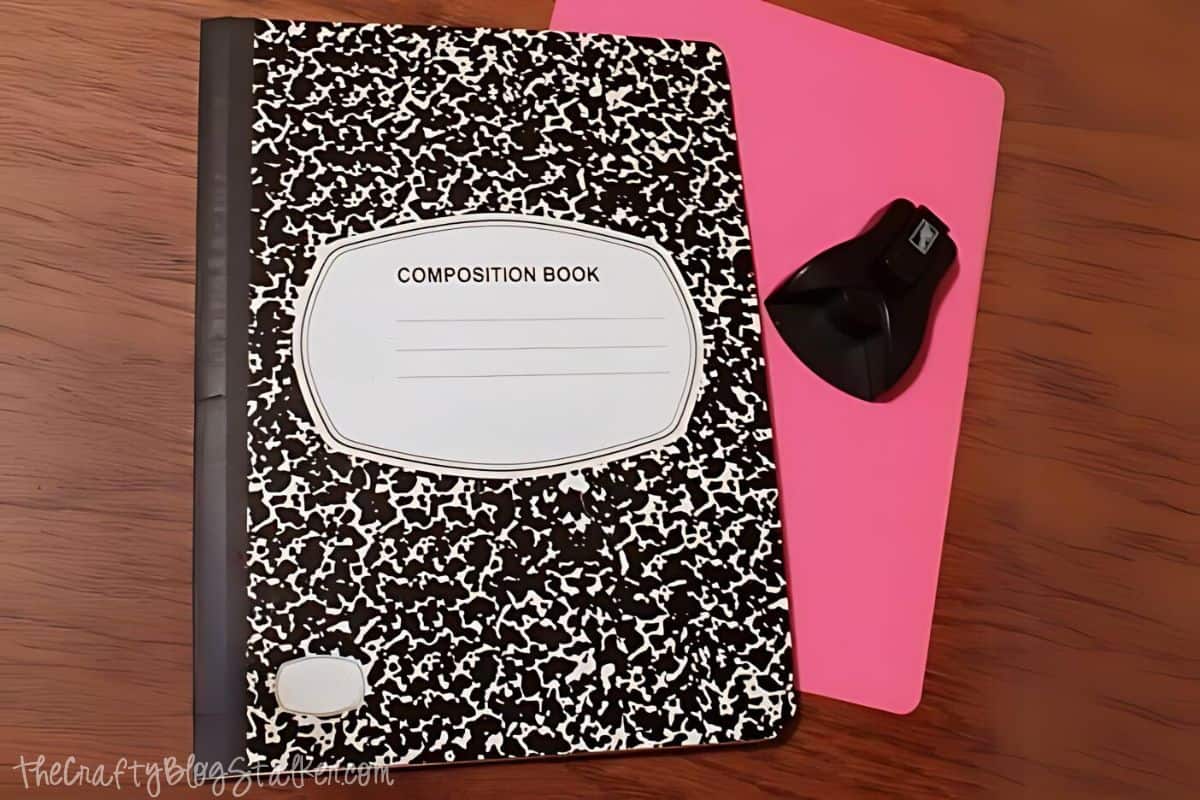
Cut the cardstock along the traced line and use a corner rounder punch to round the corners.
Do this with two sheets of cardstock so there is a front and back cover.
Decorate
The next steps are how I decorated the cover before adhering to the notebook.
Feel free to follow my decorating or create your own!
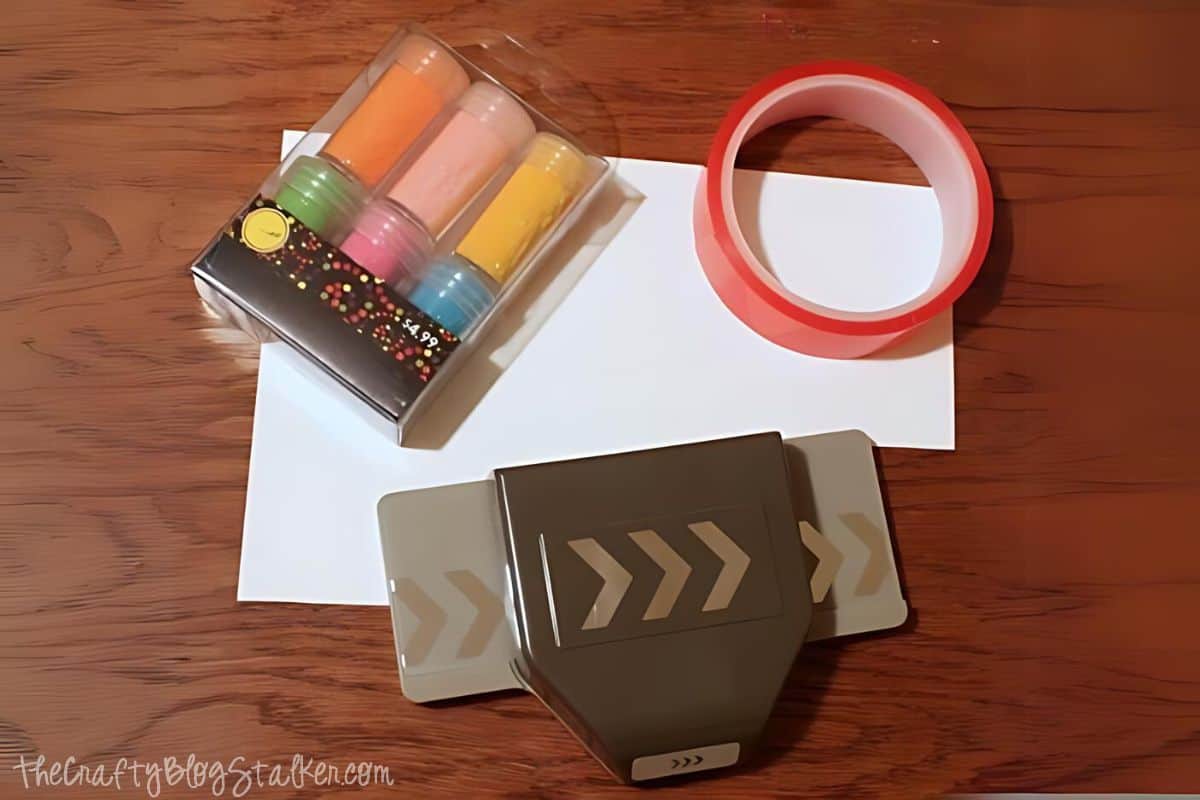
Apply a strip of double-sided tape close to the edge of the cardstock and remove the backing to expose the tape.
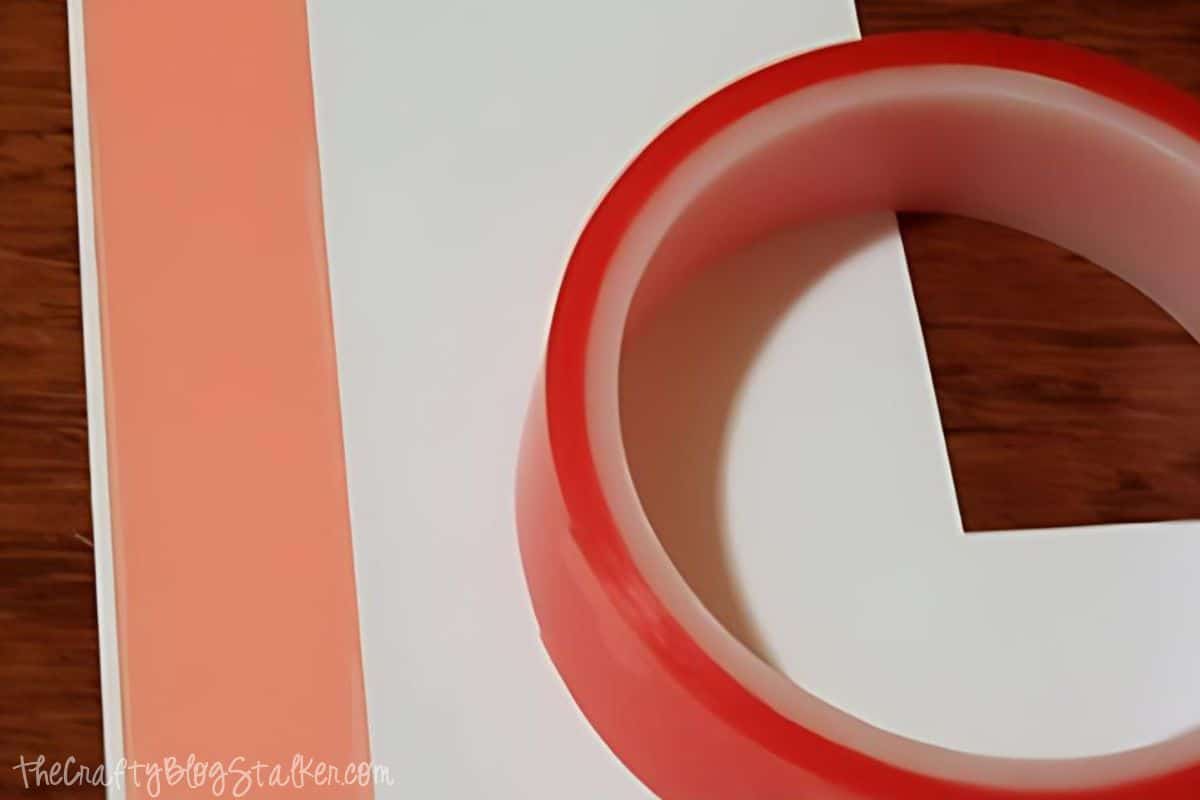
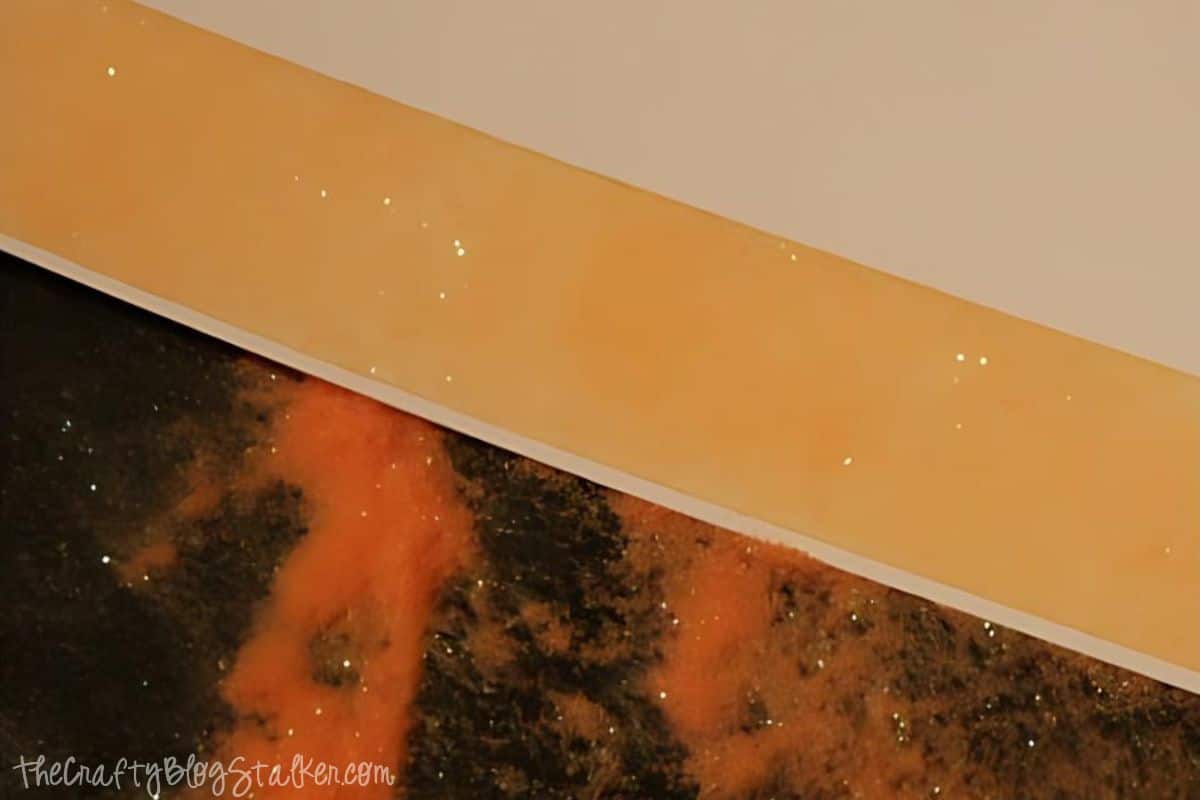
Cover the tape with glitter then tap off the excess. Now there is a glittery strip of paper.
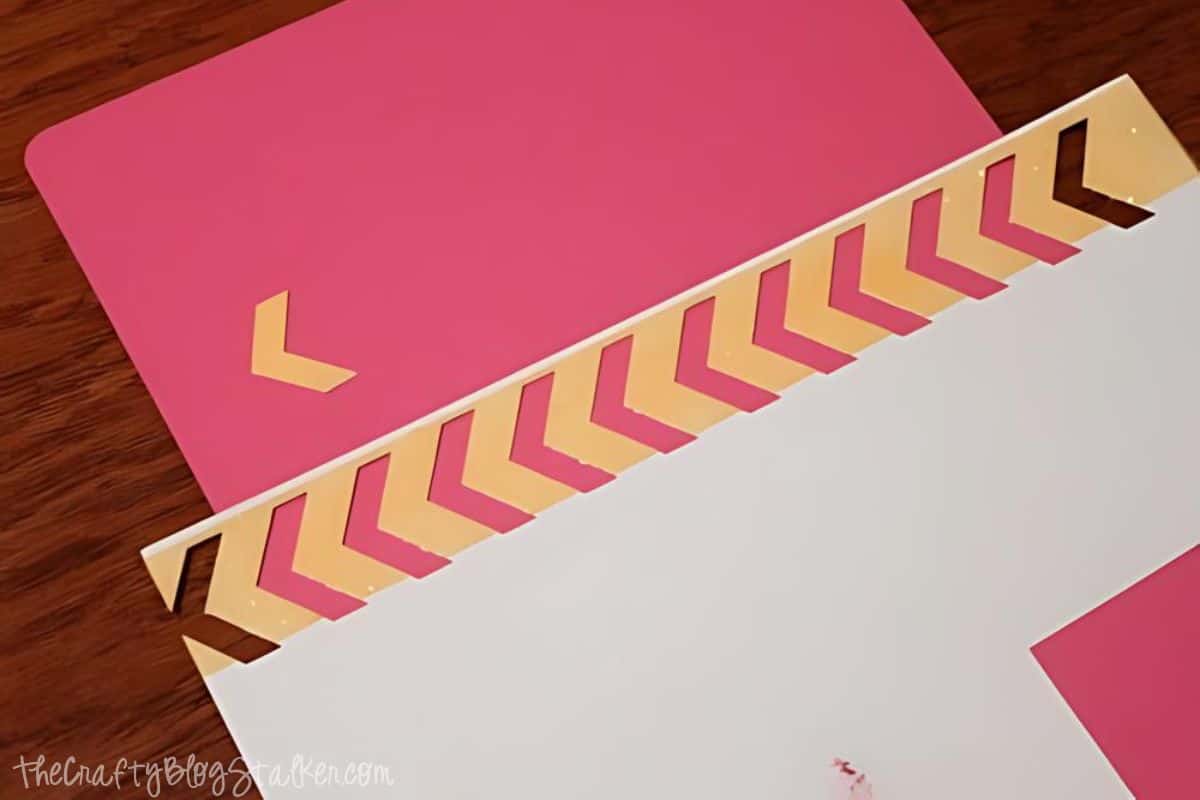
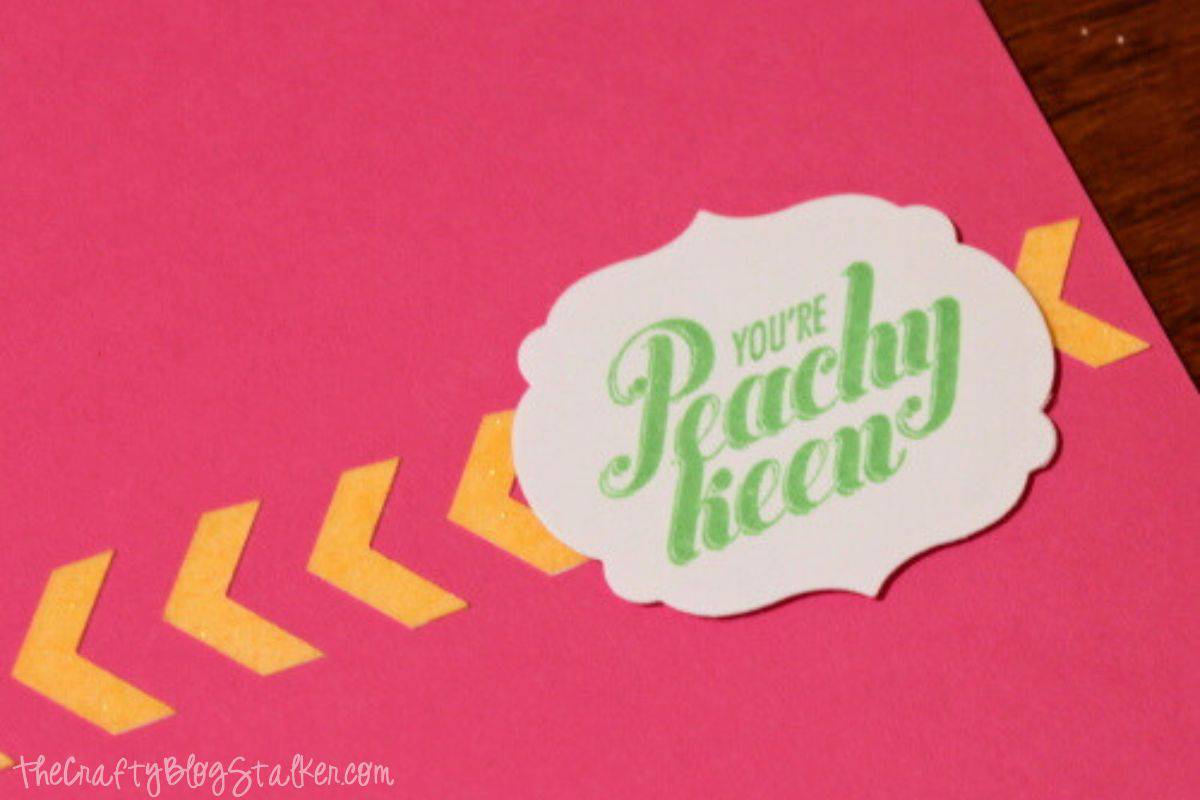
Take the glittered strip and create the chevron shapes with the paper punch.
This will create lots of chevron shapes with glitter.
I used the negative piece of paper as a template so that all my arrows would be evenly spaced.
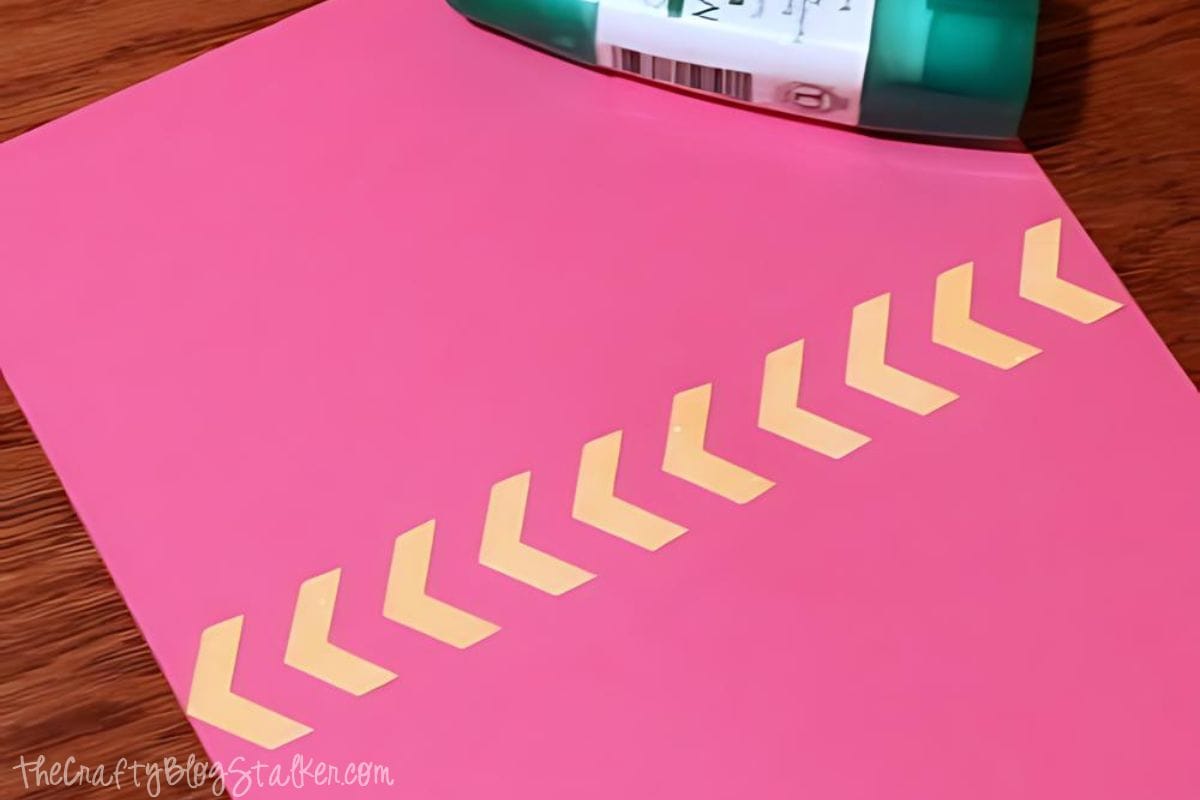
Glue the glitter arrow shapes to the cover using adhesive.
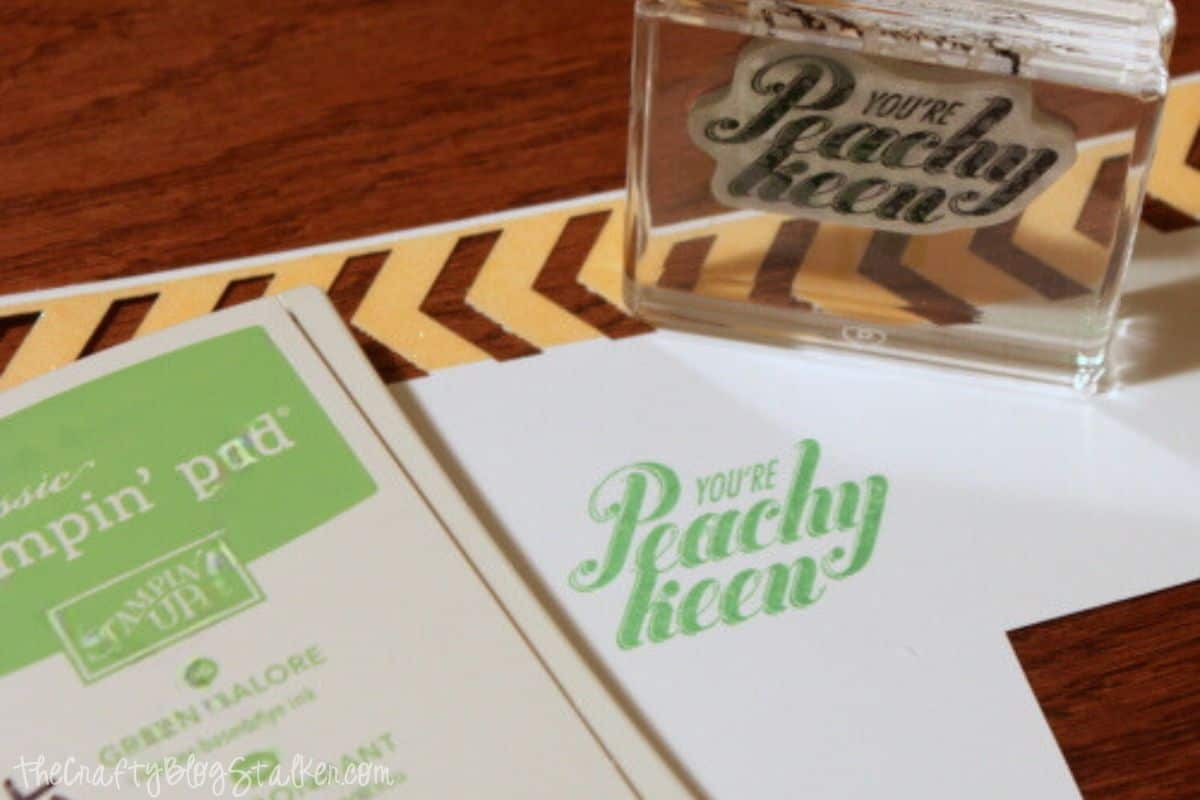
I used a stamp that says "You're Peachy Keen" and an ink pad. Sadly this stamp is no longer available, so find a stamp saying or image that fits your personality.
Press the stamp onto a white piece of cardstock.
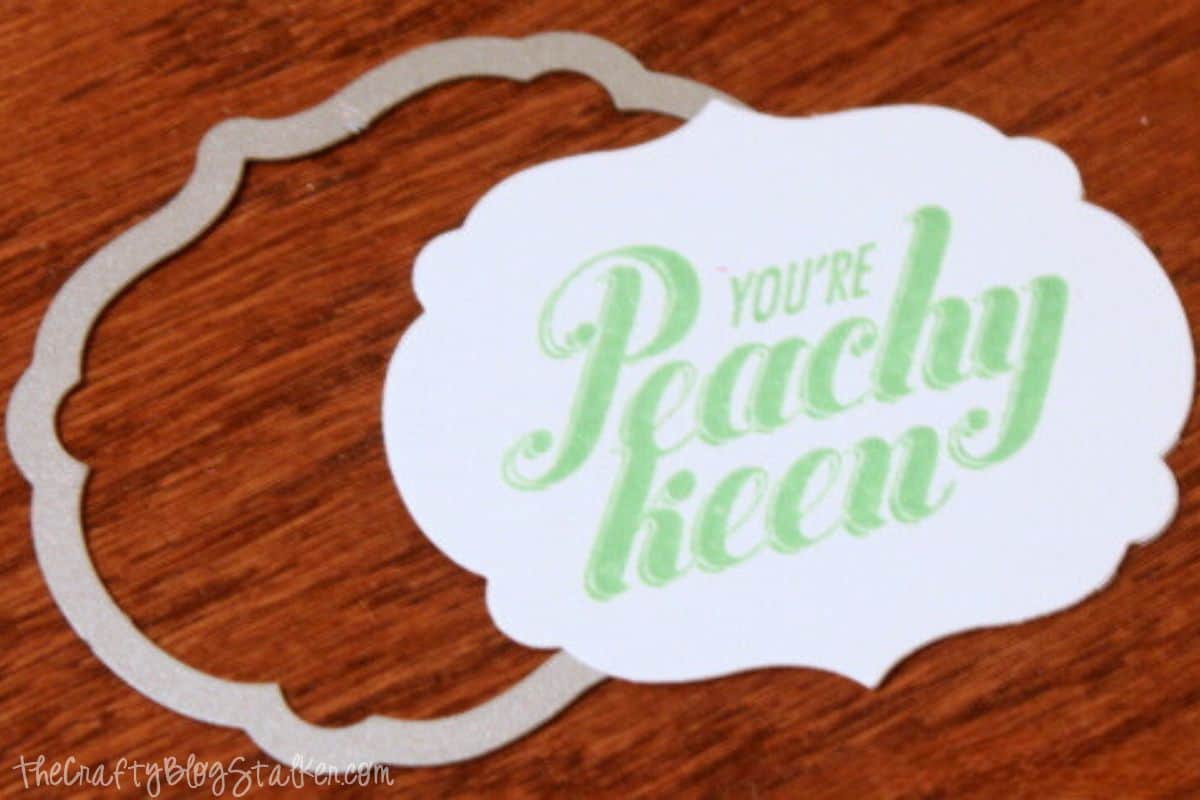
Cut the stamped image out with framelits and a Big Shot.
Use foam dots to adhere the label to the front of the cover.
The foam dots make it lift off the cardstock and give the cover more dimension and depth.
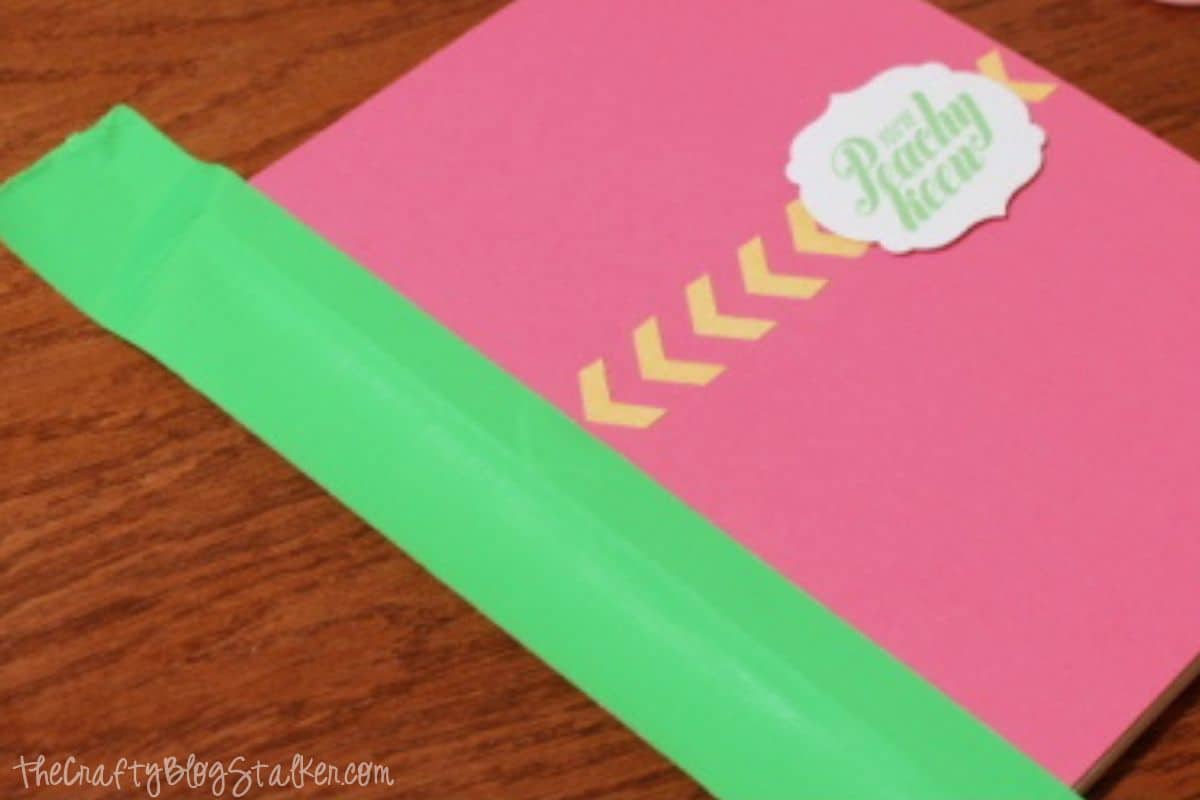
Attach the Cover
Apply double-sided tape on the backside of the cover. Go around the edges and through the center to make it stay put.
Align the
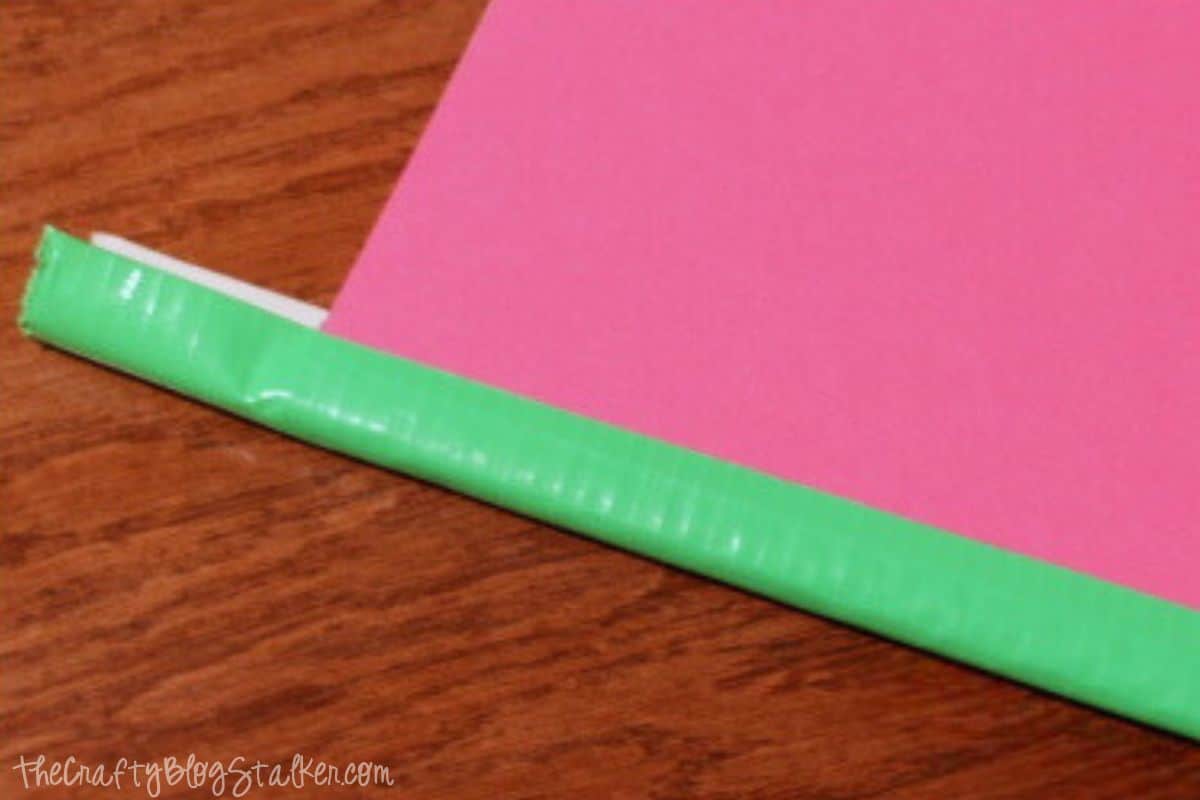
Cut a piece of duct tape longer than needed and line it up along the spine.
Press the tape down along the front cover then turn the notebook over and wrap it onto the back.
The Duck Tape will also make everything sturdy so it won't fall apart.
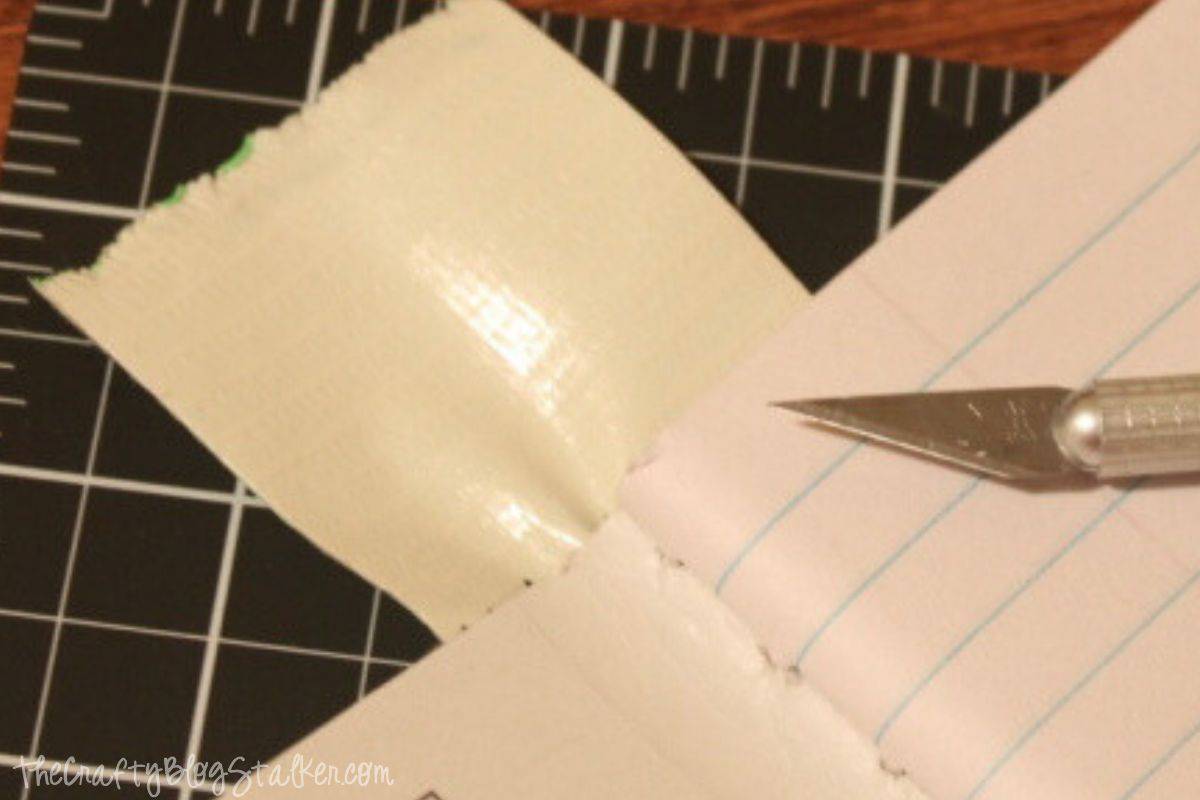
Trim off the excess with a sharp craft blade.
That's it! Now you have a unique and beautiful notebook and no one will have one like it. Unless you make several as gifts of course.
Crafting Essentials
- The Cricut Cutting Machine is easily my favorite crafting tool. We use it in so many of our tutorials!
- These MakerX Crafting Tools are perfect for keeping in the craft room and are always ready when needed!
- This Fiskars Paper Trimmer is easy to use and cuts nicely without frayed edges.
- These Scotch Precision Scissors cut like a dream, and you get multiple pairs in a pack!
Gumbek Craft
Great idea. And a beautiful notebook. TFS.
Debi and Charly @ Adorned From Above
this came out so cute.
Debi @ Adorned From Above
Elena
Great tutorial! Love the idea and how it turned out. Thanks for sharing. Elena @ Craftibilities
Linda Bouffard
SWEET~ Pinned. Linda
MommyonDemand
Great way to make it prettier and more viabrant! Thanks for sharing at The Weekend Retreat, hope to see you back on Thursday night!
Ashley @3littlegreenwoods
I am in love with composition books and love how you prettied it up!
Stephanie Paxman
Super cute!
Janell K
Wow, what a difference a little love made to that composition book! 😉 I have a few comp notebooks around the house that I think I will have to fix up!
~Mama Gets It Done linking up from 733 link party!
Misty Van Staaveren
So cute and much more personalized! Thanks for sharing at This~N~That Thursday!