This post may contain affiliate links. For more information, please see our disclosure policy.
Make Mint To Be Tic Tac Labels for your wedding! Personalize them to make your favors special, affordable, and loved by all your guests.
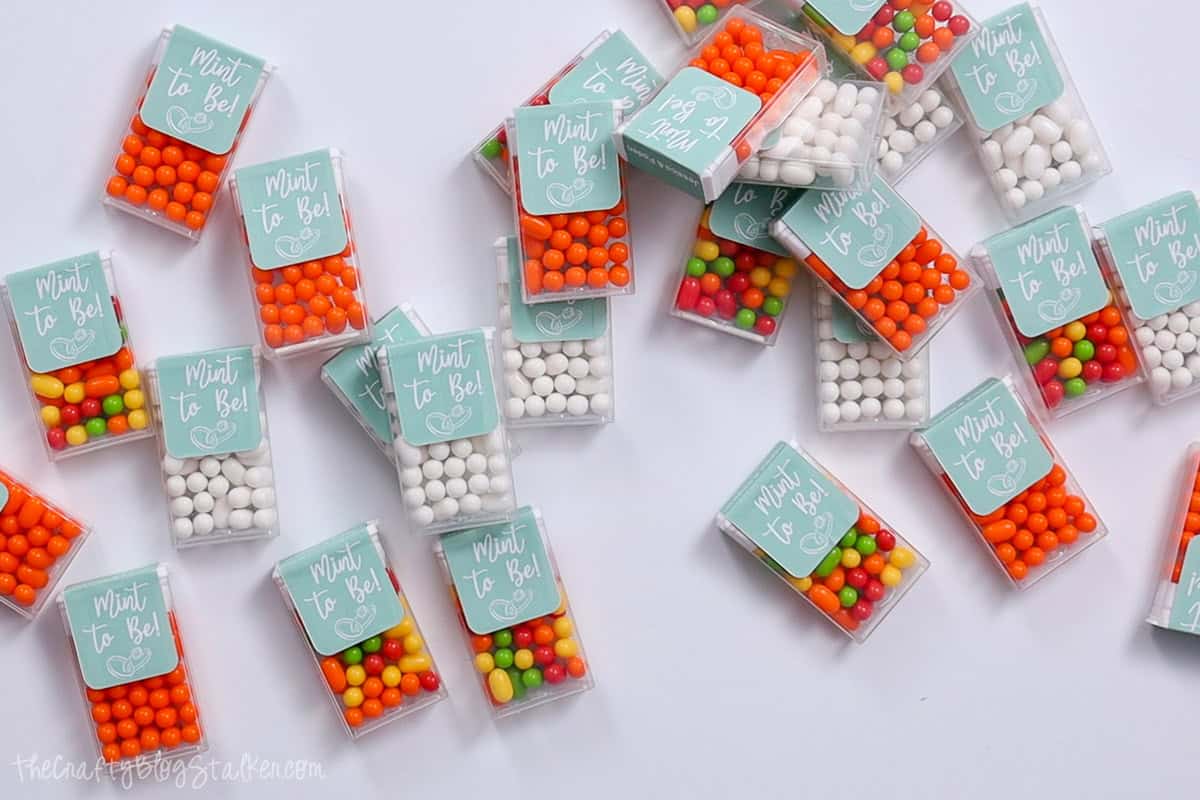
Looking to add a special touch to your wedding favors?
These personalized Mint To Be Tic Tac Labels are just what you need.
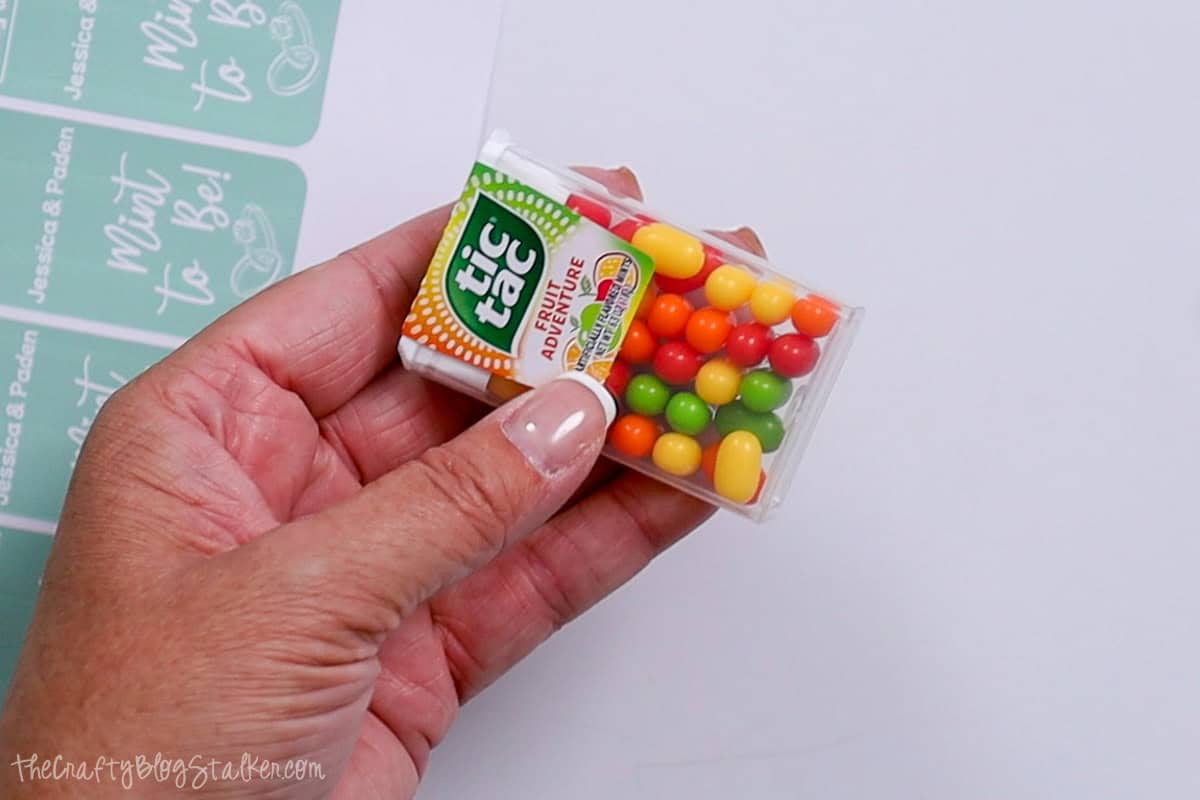
They fit perfectly over .63-ounce Tic Tac containers and can be customized with the bride and groom's names!
Follow this simple tutorial to create favors that your guests will absolutely adore!
Jump to:
Craft Video Tutorial
Like videos? I have a video tutorial for you! Subscribe to my YouTube Channel so you don't miss any future videos!
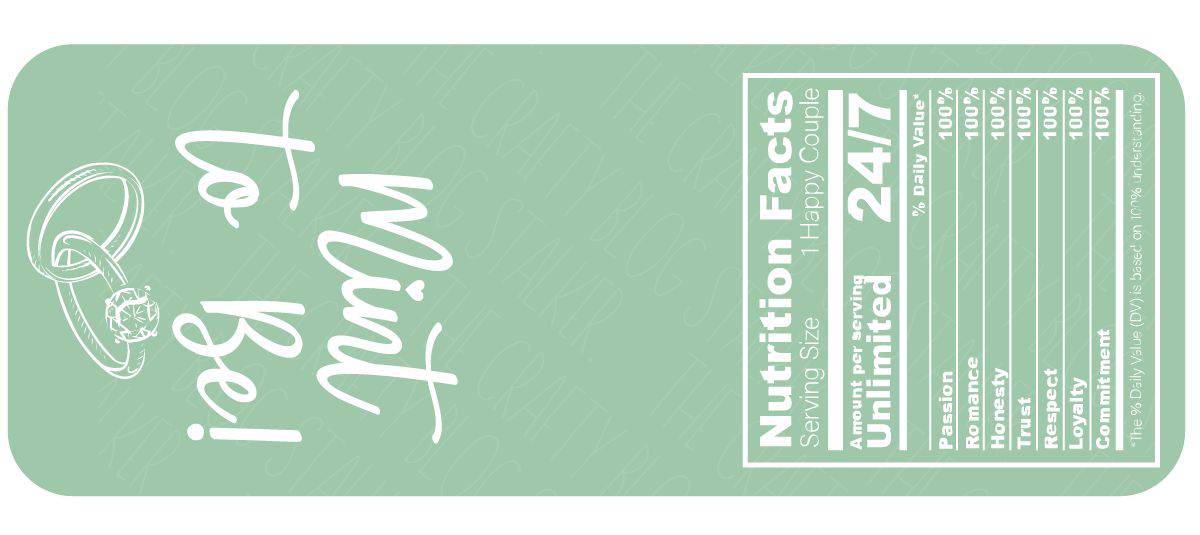
Grab the Free SVG:
This digital media is for Personal Use Only - You do not have permission to redistribute.
Upload Into Cricut Design Space:
For the following steps, I'll be using Cricut Design Space.
If you use Silhouette Studio or a different design software, your steps may be different than mine.
To start, upload the SVG into Cricut Design Space and add it to your Canvas.
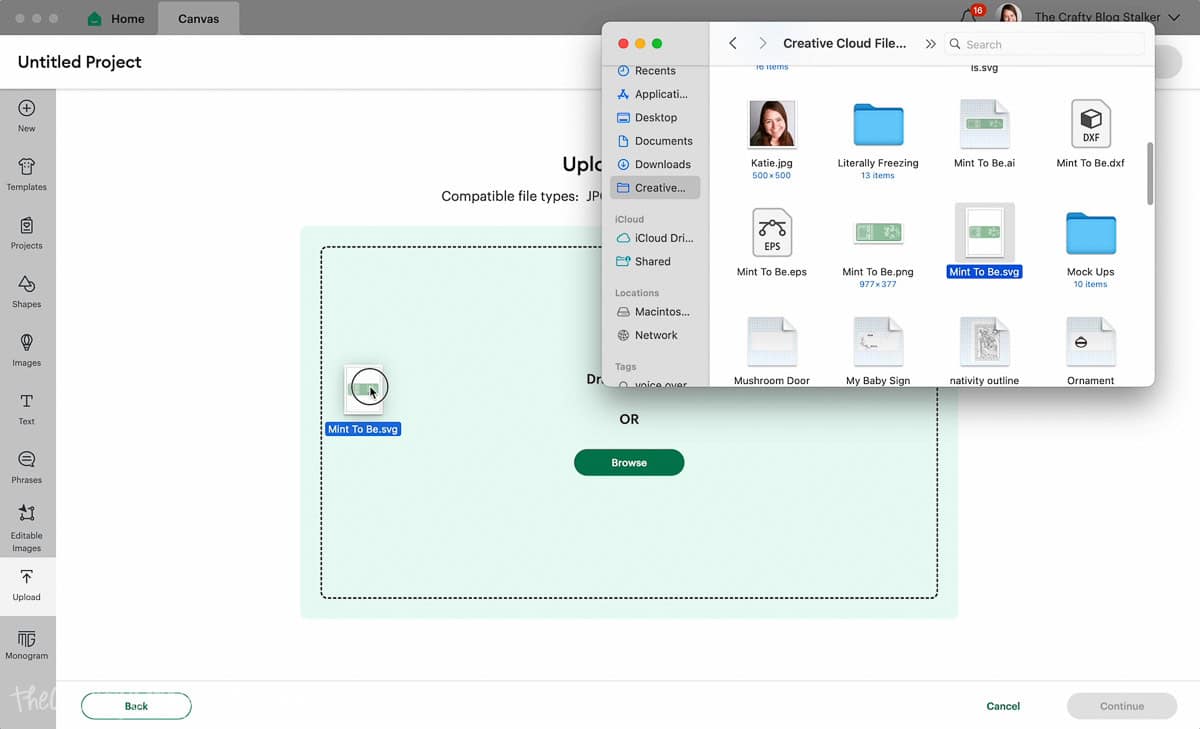
The file is made to fit the .67-ounce size container, but the file can be resized as needed for other container sizes.
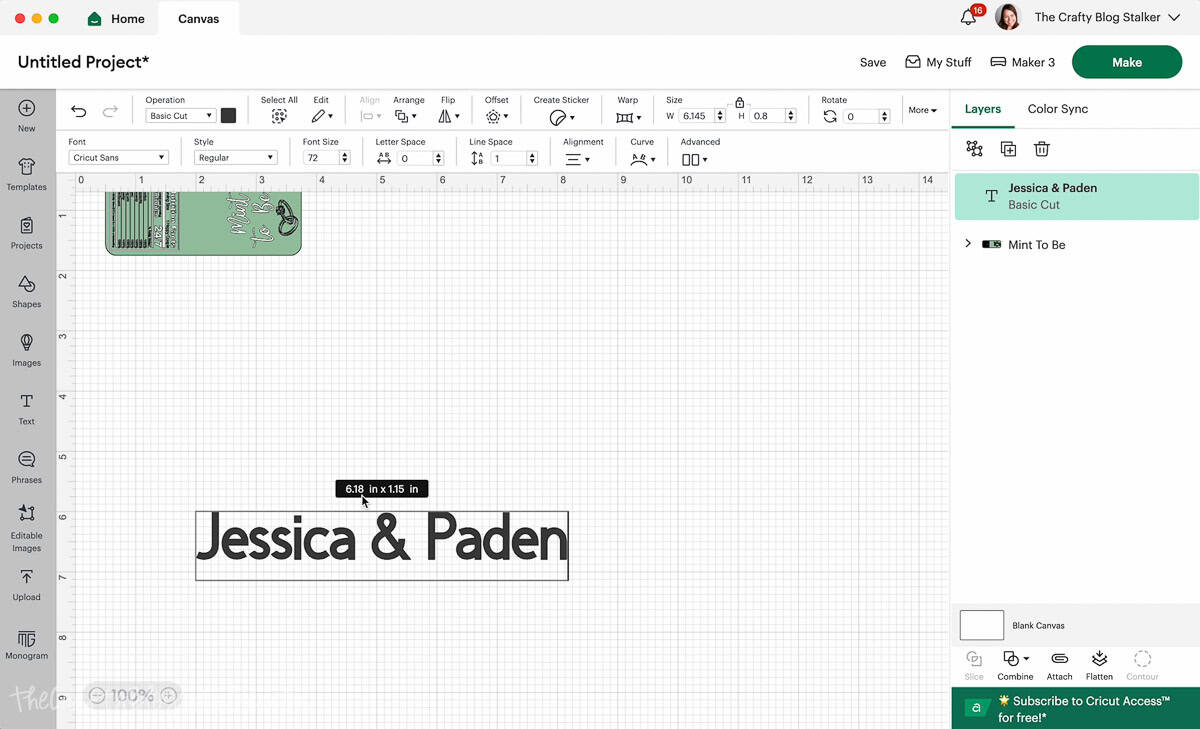
Adding Custom Text:
Open the text box and type in the customization. It could be names, Mr & Mrs, or whatever fits the theme.
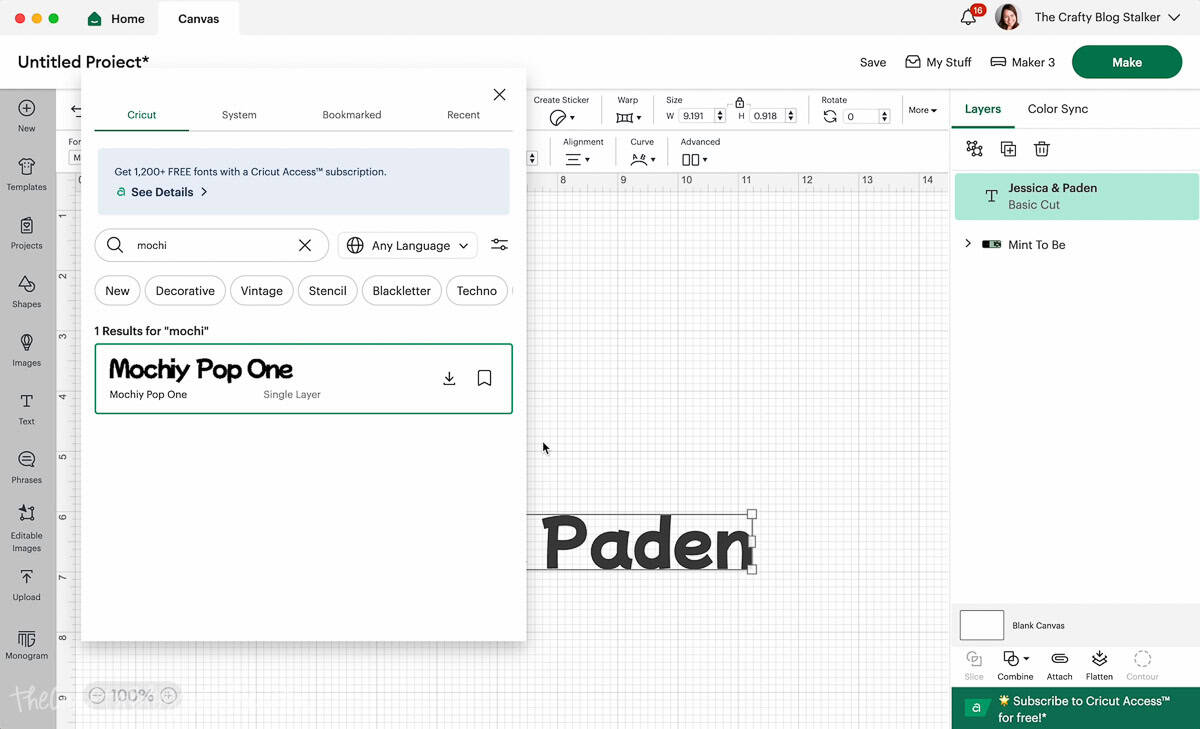
I changed the font to Mochiy Pop One.
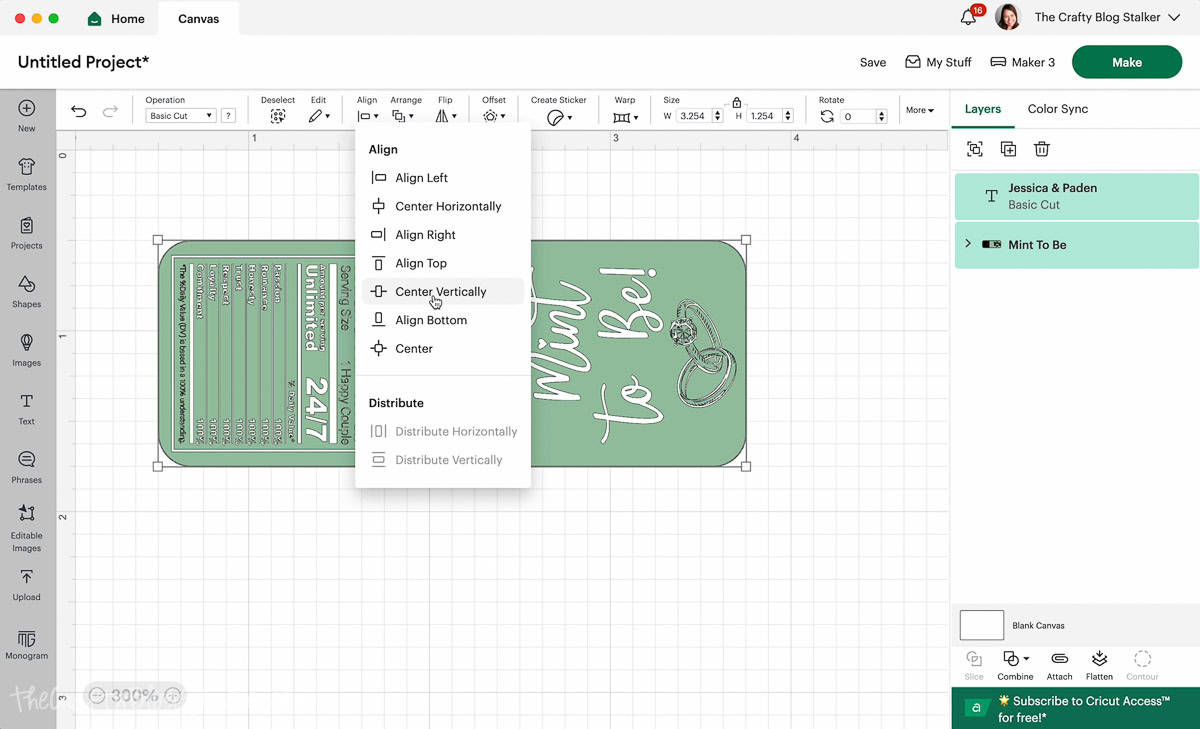
Decrease the font size, rotate the names so they are vertical, and change the color to white.
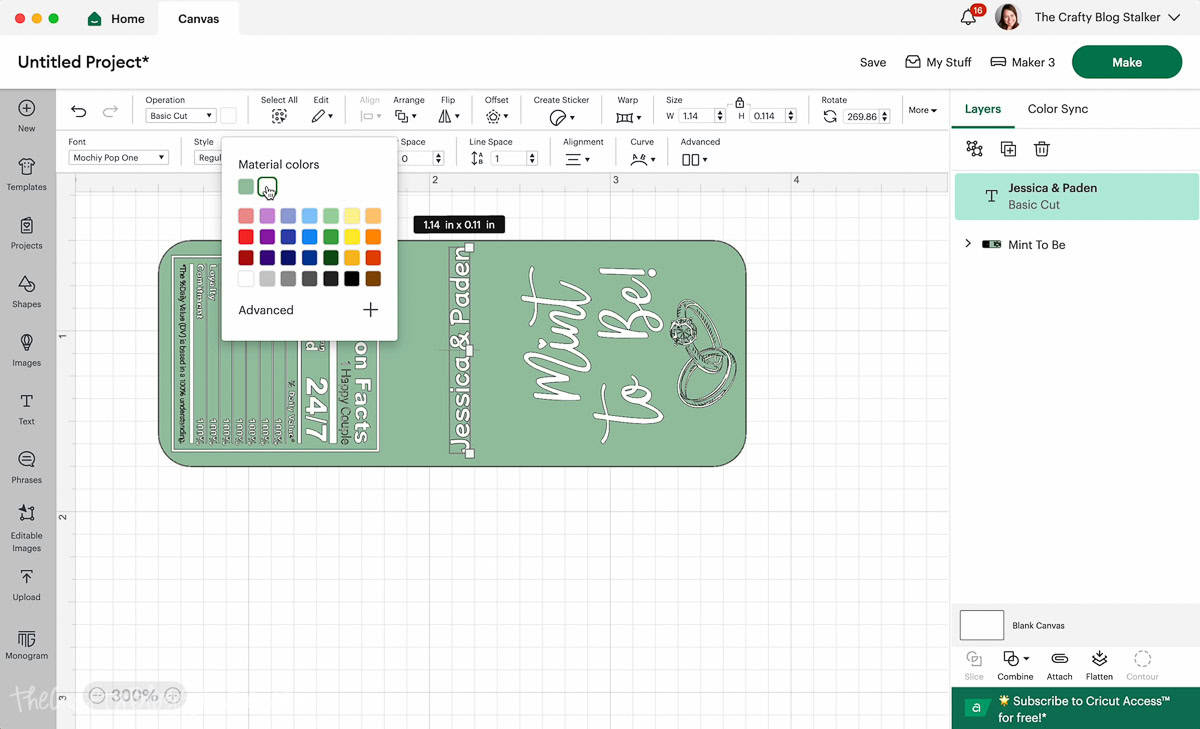
Highlight all layers and center align the text vertically and horizontally on the design.
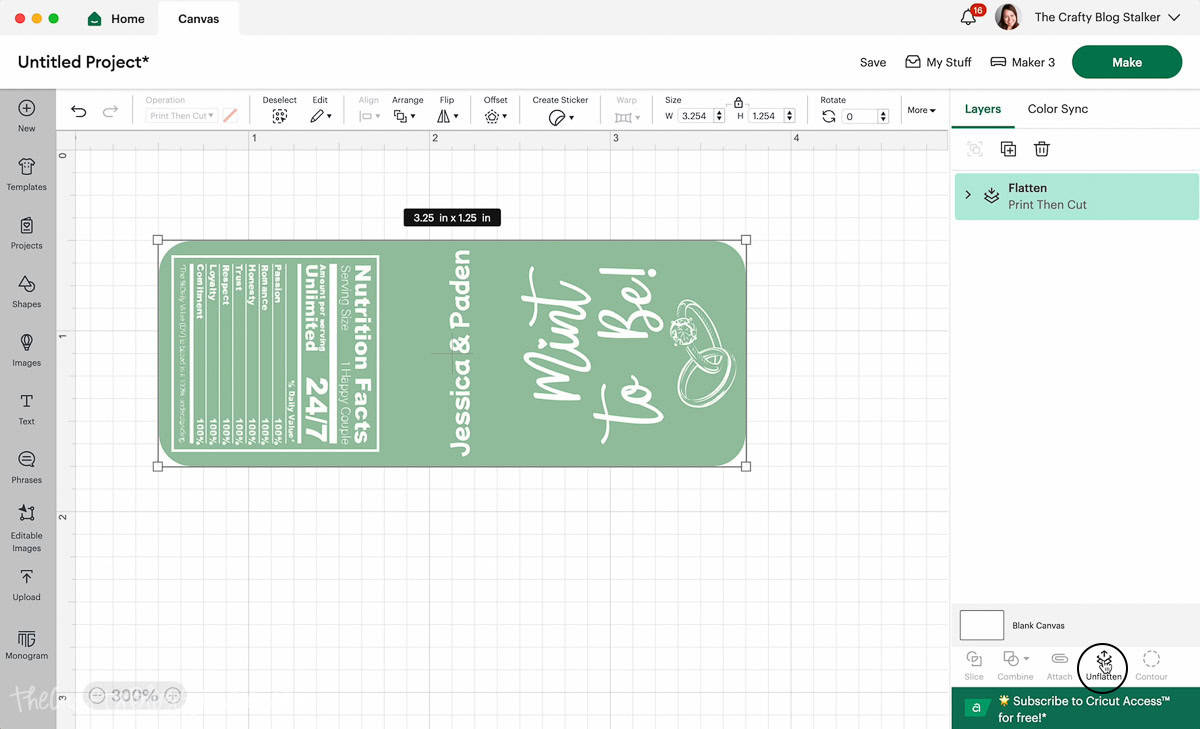
Again, highlight the entire design and this time select the Flatten icon. Flatten is what turns the design into a print and cut.
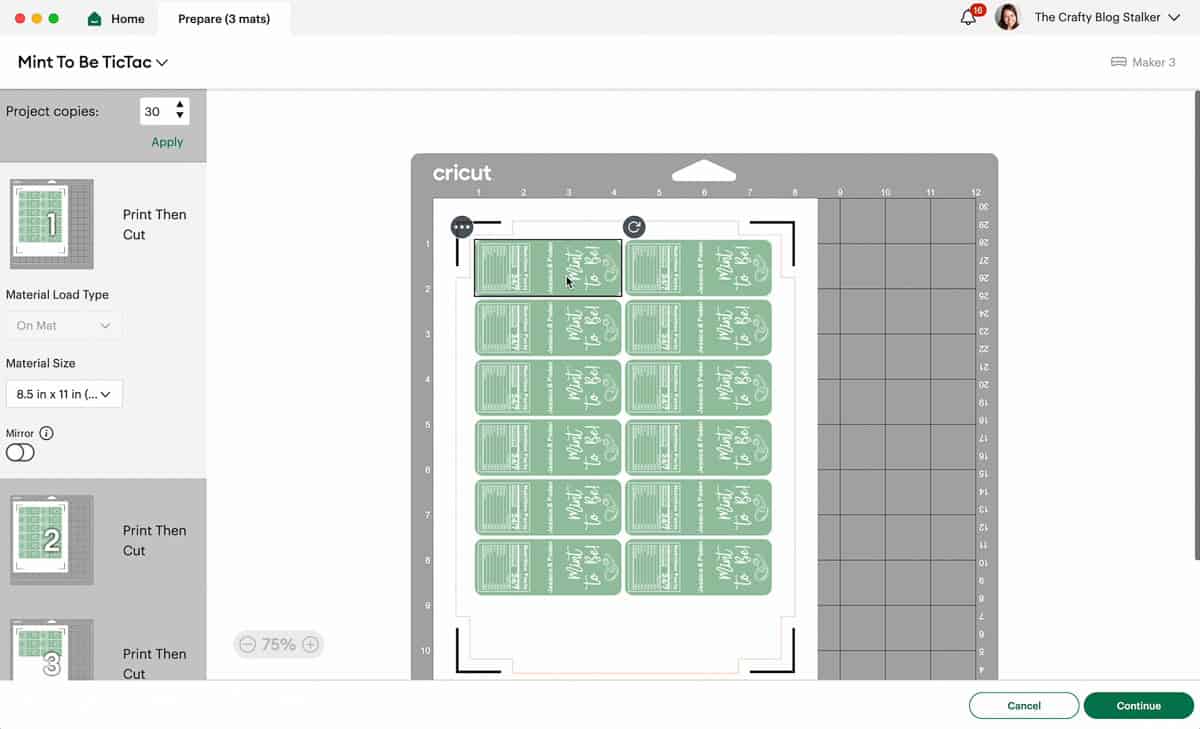
Click on Make, and this screen is the Mat Preview page.
I can see on my mat that I have one label, but I need to make 30, so in Project Copies I change that number to 30.
Printing Labels:
Click Continue on the Mat Preview page and then Send to Printer.
Since all the sheets are the same, I changed the number of prints to 3 so I can print them at once instead of at each mat prompt.
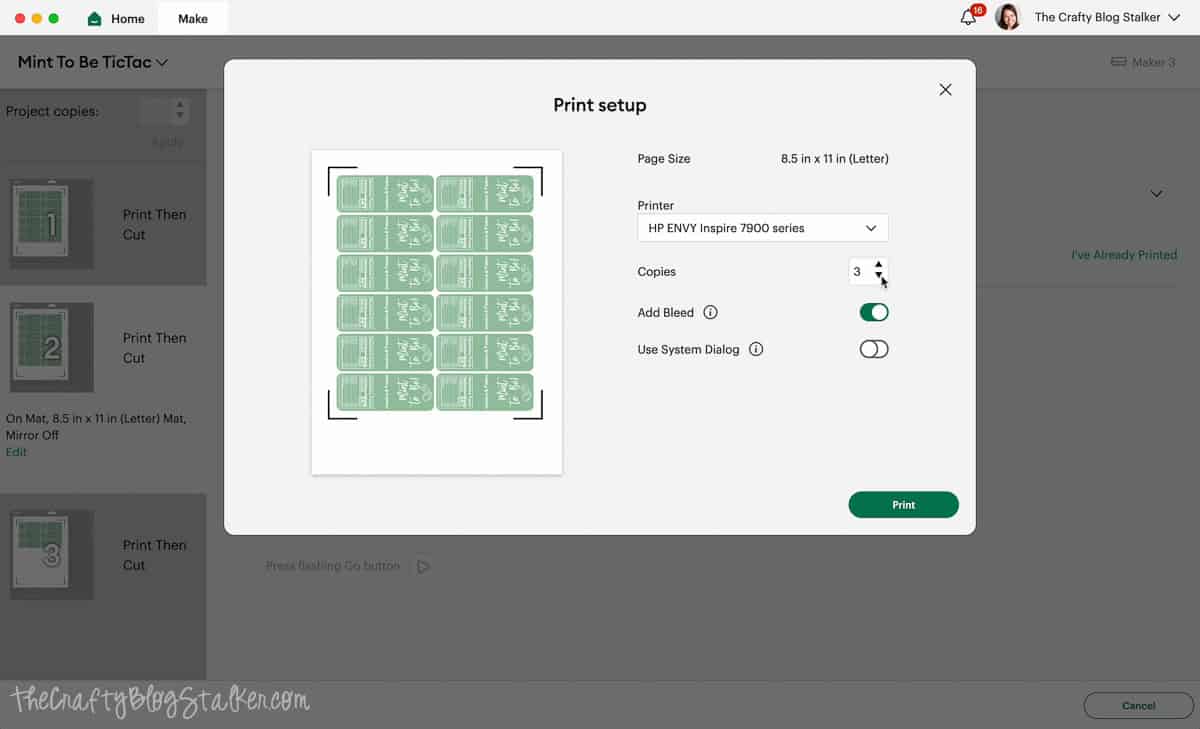
I printed my labels on my HP Envy, but any home or office printer will work.

Cutting the Labels:
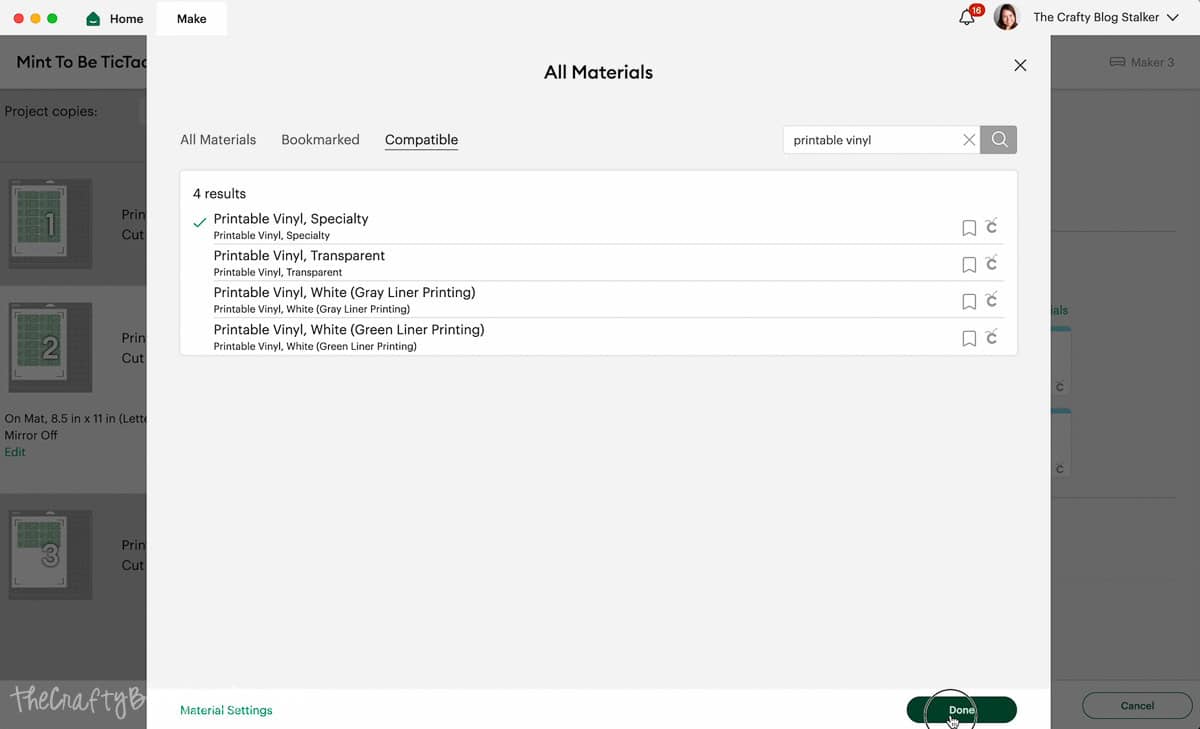
Back in Cricut Design Space, it is time to select the material settings.
I searched for Printable Vinyl and selected that as my setting.
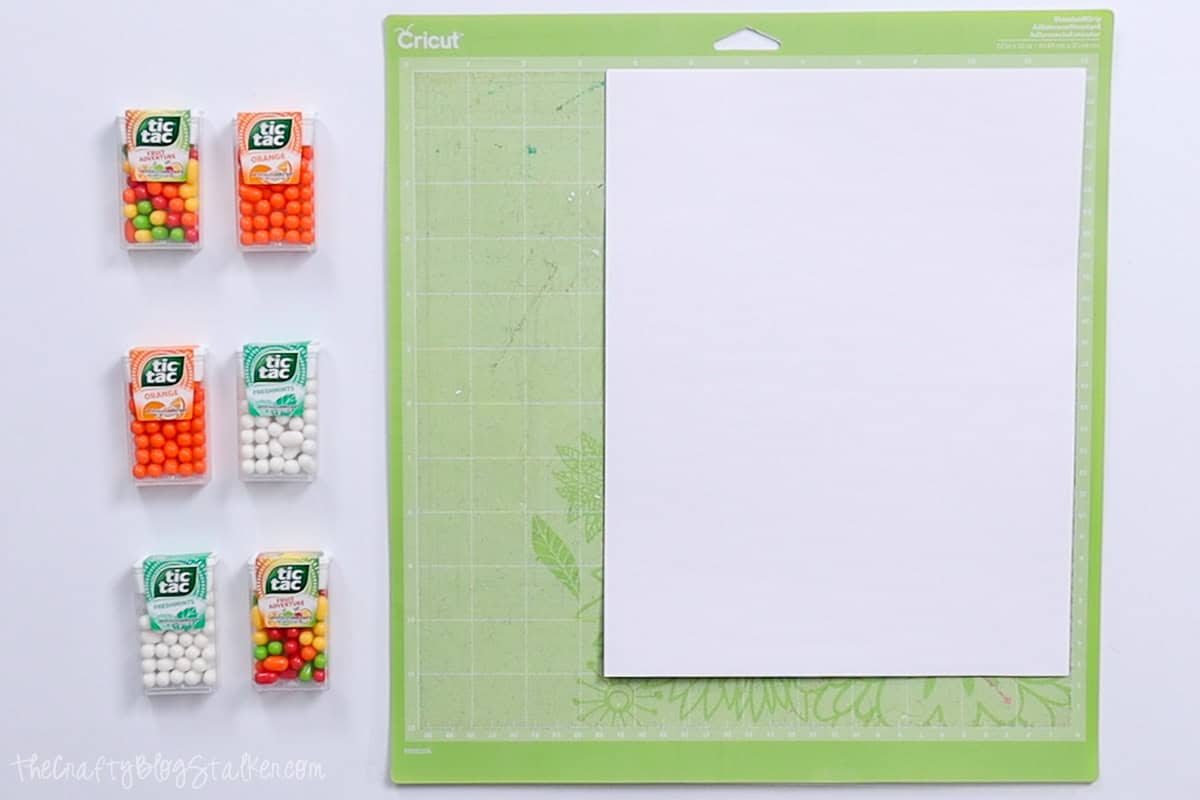
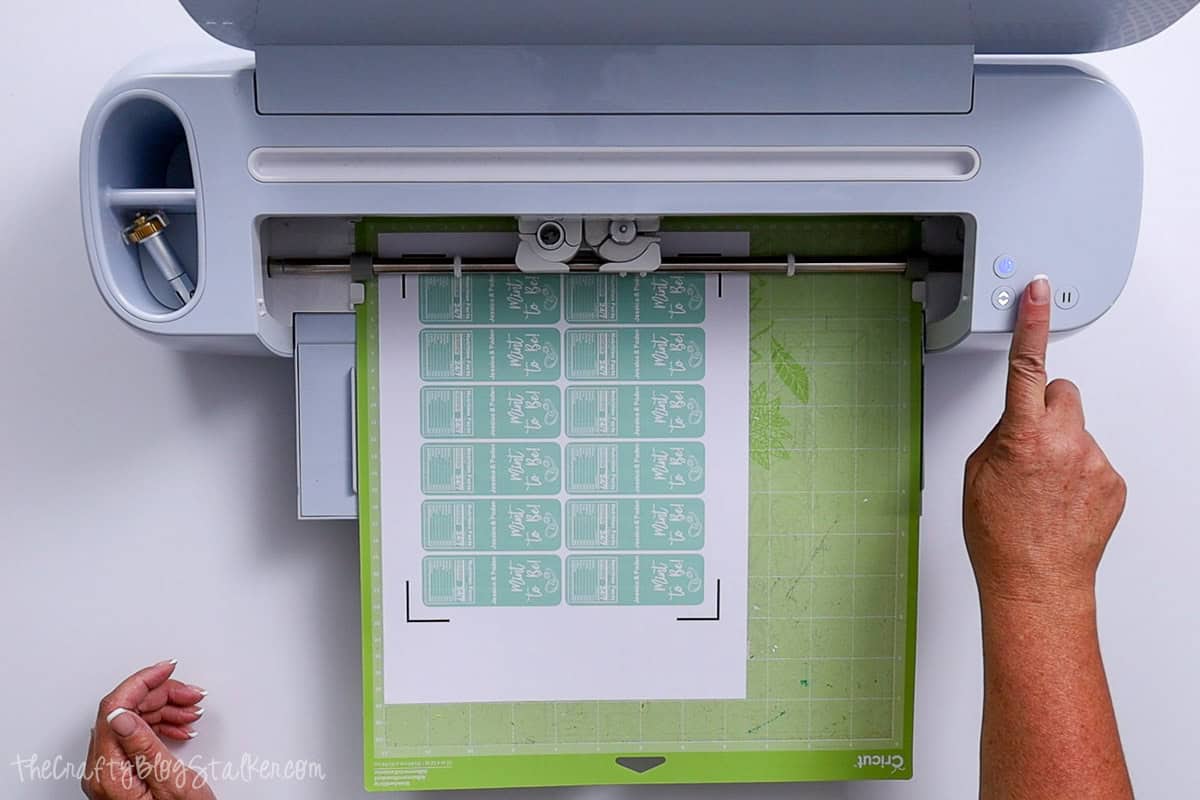
Apply the sticker sheet of labels onto a StandardGrip mat, and load the mat into the Cricut cutting machine.
Applying the Labels:
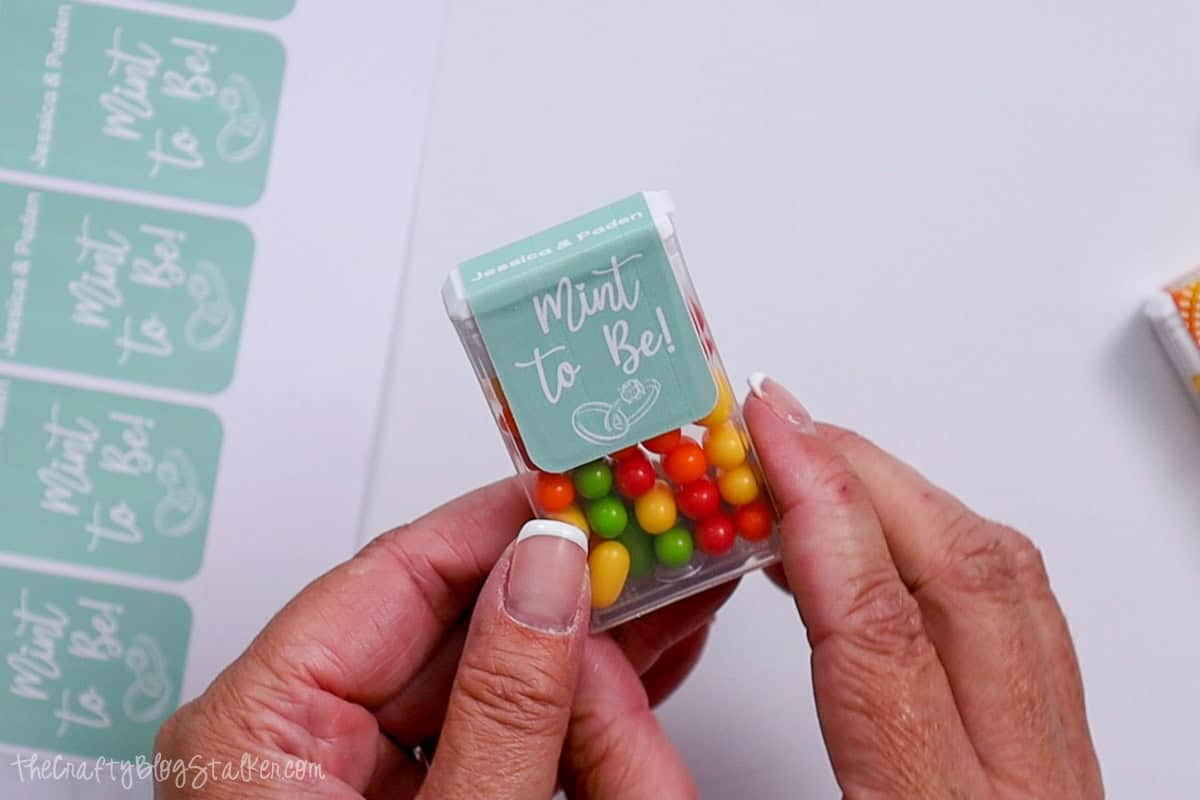
Now that the labels are printed and cut, I can apply the new labels to the tic tac containers.
Peel the sticker label from the sheet and center it on top of the container, making sure to cover the original label.
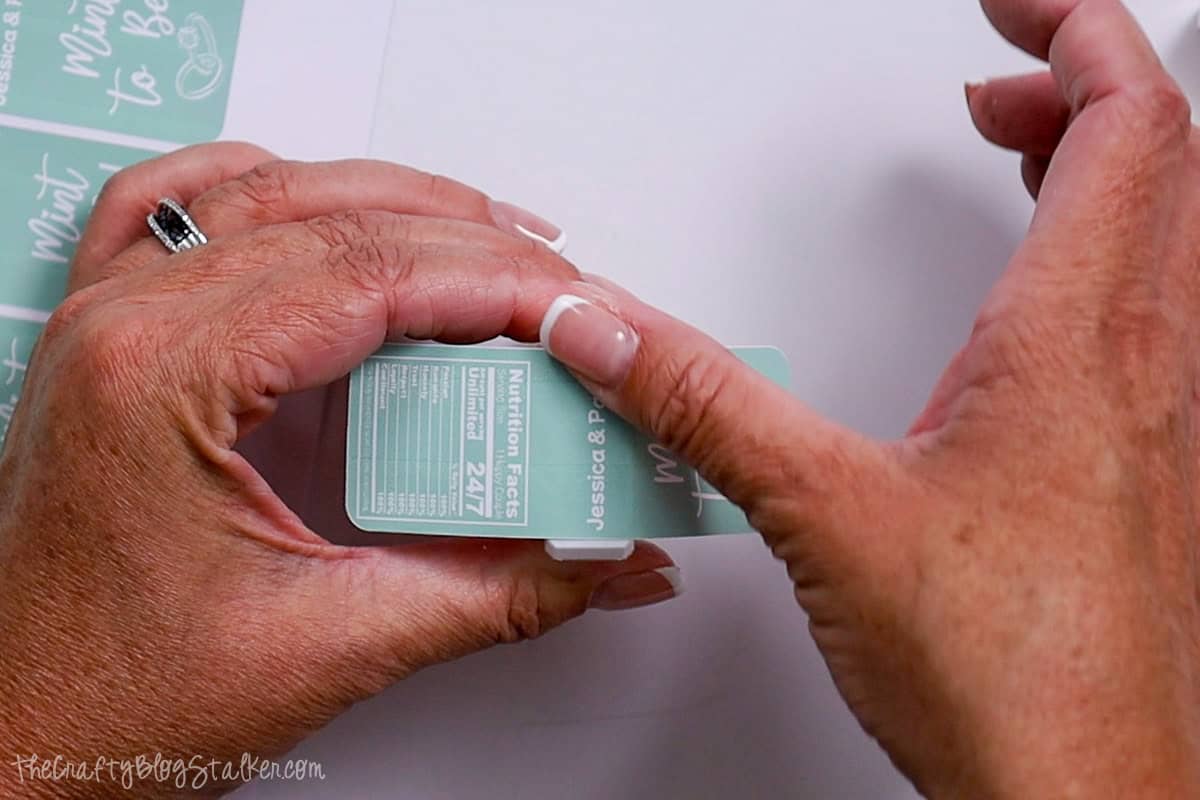
Then press down the front and the back. Easy Peasy!

These wedding favors turned out so cute and I can't wait to hand them out at the upcoming bridal shower!
Our Crafting Essentials:
- The Cricut Cutting Machine is easily our favorite crafting tool. We use it in so many of our tutorials!
- These MakerX Crafting Tools are perfect for keeping in the craft room and are always ready when needed!
- This Fiskars Paper Trimmer is easy to use and cuts nicely without frayed edges.
- These Scotch Precision Scissors cut like a dream, and you get multiple pairs in a pack!

Katie Adams
Creator at The Crafty Blog Stalker
- 19 Free Birthday SVG Cut Files
- Paper Pinwheels with Free SVG Cut File
- Handmade Watermelon Gift Bag with Free SVG
- 45 Free Easter SVG Cut Files
- 32 Free St. Patricks Day SVG Cut Files
- Arabesque Tile Ornaments with a Free SVG
- 20 Free SVG Cut Files to Make Fun Christmas Shirts
- 20 Free Family SVG Cut Files
- 20 Free Camping SVG Files for your Weekend Camp Trip
- Duck Duck Jeep Printable Tags
- How to Print and Cut in Cricut Design Space
- Free Printable Lunchbox Notes
Leave a Reply