This post may contain affiliate links. For more information, please see our disclosure policy.
Update an old office chair and give it a new life. Furniture upholstery is easier than you might think! An easy DIY craft tutorial idea.
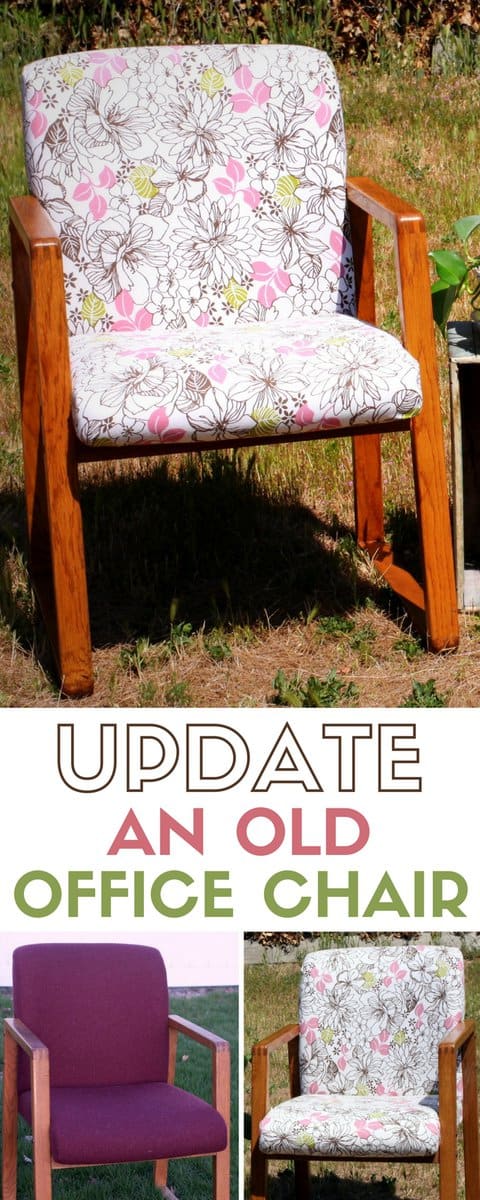
This is one of those projects that I tackled having absolutely no clue what I was doing. I just crossed my fingers that it would turn out and went to work. Well, guess what? It worked! And I absolutely love them.
About a month ago I found these old office chairs on online classifieds.
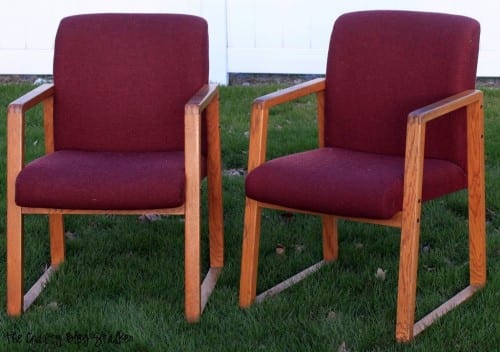
Can you believe they were only $5 each!
How to Update an Old Office Chair
Supplies Used: Some links may be too similar items when exact items couldn't be found online.
- Old Office Chair
- Cotton Upholstery Fabric
- Minwax PolyShades Antique Walnut Gloss
- Easy Tacker
To begin, take the chairs apart. Make sure that you will be able to put them back together. Take pictures as you are disassembling if that will help.
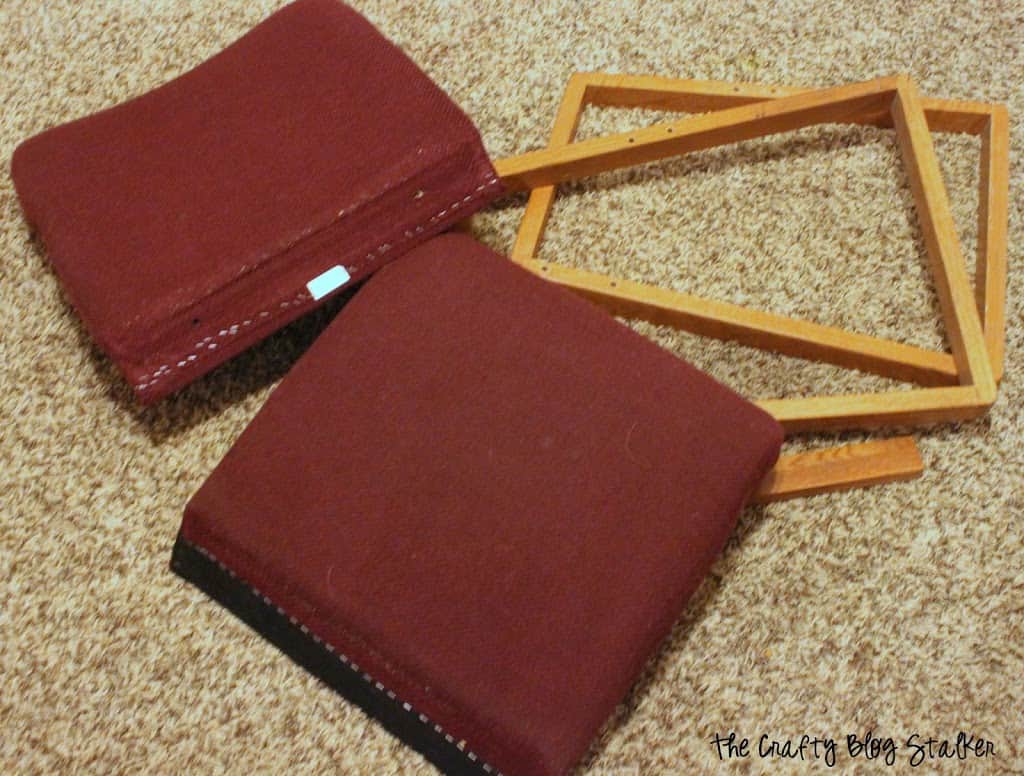
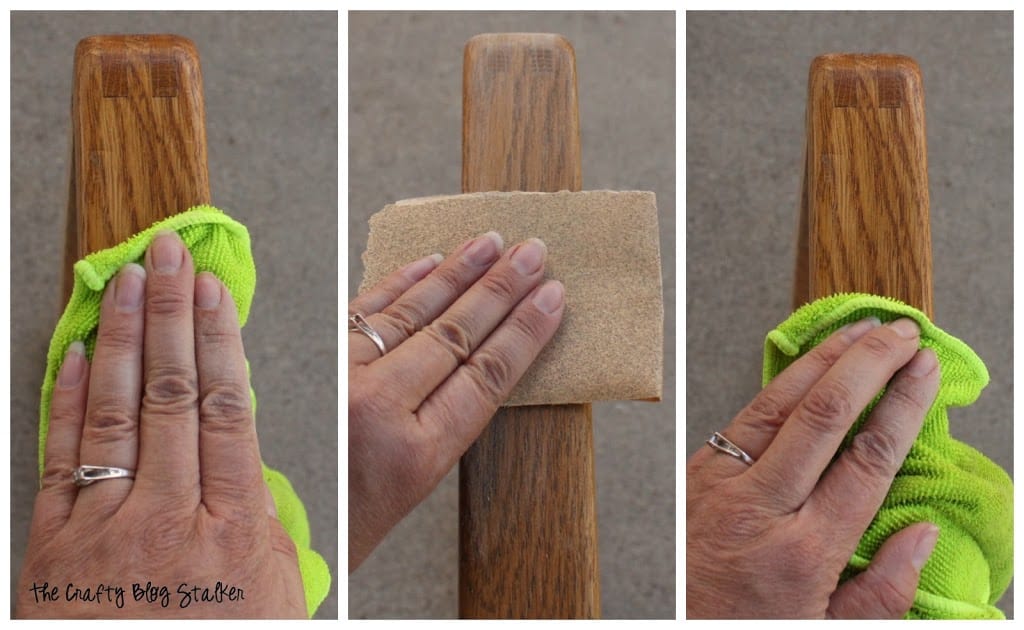
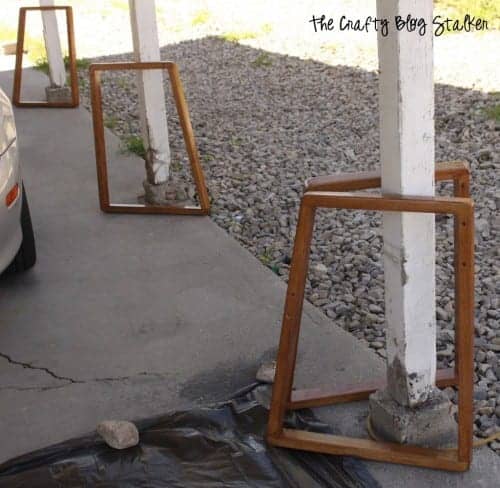
Once the chair(s) are in pieces, refinish the wood pieces. Wipe the wood down really well. These chairs were nasty and dirty. Sand and then wipe down again to remove the sanding dust.
Re-stain the wood with the color of your choice. I used Minwax PolyShades Antique Walnut Gloss. Make sure to apply the stain in a well-ventilated area.
While the wood is drying, start the reupholstering. This was the scary part for me. I don't know if this would be considered the "correct" method, but hey, it worked for me.
Before you begin cutting the fabric, take a good look at how the original fabric is attached to the chair. Is it sewn, or stapled, or are pieces sewn together? Use that as a guide to how to add the new fabric. I chose not to remove the original fabric and covered the cushions with the new fabric. But removing the original fabric is definitely an option.
On my chair, the bottom cushion looked like it would be the easiest, so that is where I started. I didn't need to sew a case for the bottom cushion, I knew could just staple the fabric over the existing fabric.
Using the bottom cushion as a guide, decide how big of a piece of fabric you will need. You will need enough fabric to pull over the sides and fold under to give it a nice edge.
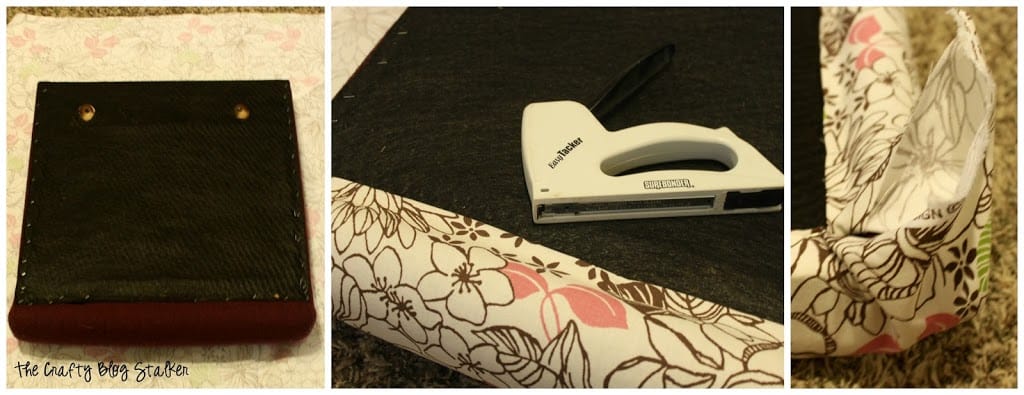
Use an Easy Tacker hand staple gun, fold the edge of the fabric over, and staple to the wood base of the underside of the cushion.
Go to the opposite of the first stapled side, pull the fabric tight, fold over, and staple. Then do the other 2 sides the same way. You want the fabric to be tight and free of wrinkles but not so tight that there will be no give when you sit on the chair.
Leave the 4 corners to last. Play with pulling and folding the corners until you have the folds just right and staple the fabric into place on the underside of the cushion.
Trim off the excess fabric.
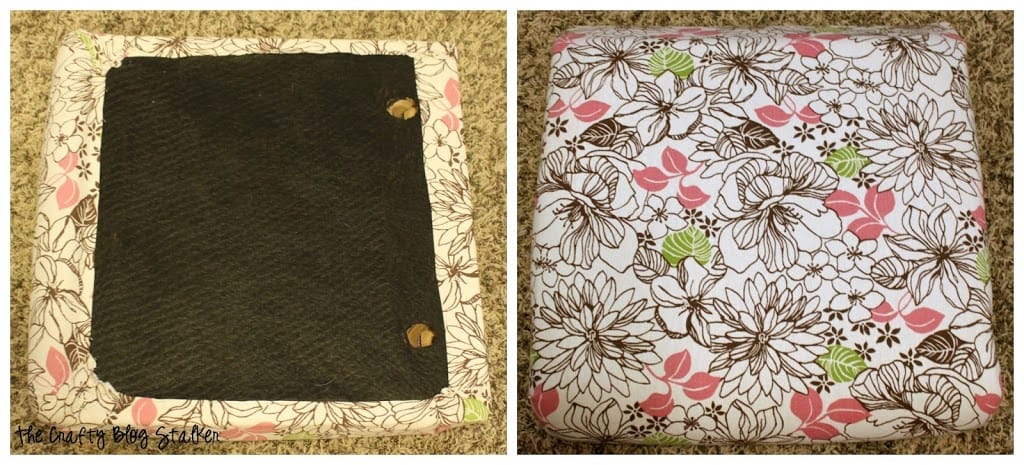
Here is the finished base cushion with the underside view first and then the top.
The top cushion is where I got really nervous because I wouldn't have an underside to hide my messes. The whole thing needed to be clean.
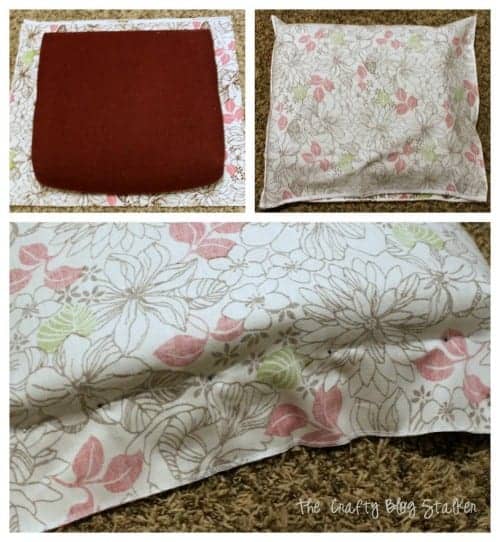
Start the top cushion by laying a piece of fabric on the front and back side of the cushion. Insert pins around the shape of the cushion.
Turn the fabric inside out and stitch up the two sides, so there are only two seems on each side. Not on the top or bottom. I used my serger. If you are using a sewing machine I would suggest double stitching to make the seem good and strong.
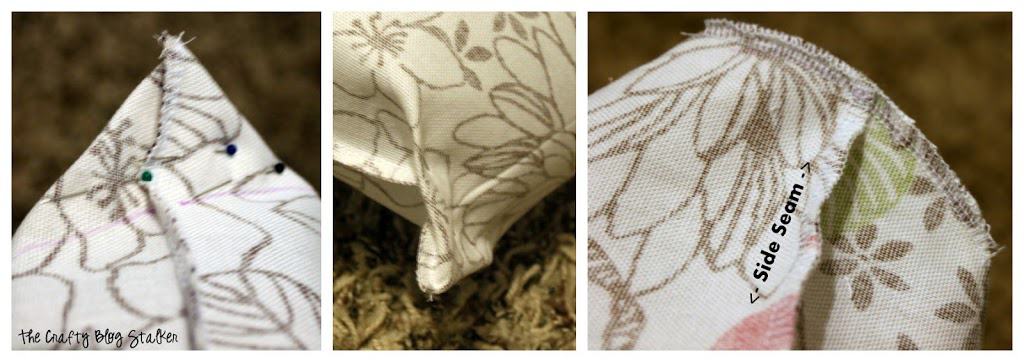
Once the case is made, keep the inside out and put the cushion inside. Push the cushion all the way to one side of the case. Pulling the fabric tight, pin where the side seem should be to make it nice and tight. Remove the cushion and resew that seam.
Repeat, until you have the perfect fit on the cushion.
When you are good with the fit, pinch the top 2 corners and pin where you want those seems. I also used a marking pen to sew a line to make sure I sewed right where I wanted the seem to be. I actually did this step several times putting the cushion in and out until I was happy with the corner seams.
Looking at how the original chair fabric was attached I knew I could staple the bottom to secure and tighten the fabric because when the chair was put back together you wouldn't be able to see the staples.
Pull one side tight and staple it to the bottom edge of the cushion.
When the first side is down, fold the edges just like you would when wrapping a present and staple. Fold the last edge of the fabric under and staple.
Whew! We made it! All the pieces are done so that means the fun part of putting everything back together again and hoping you didn't lose any screws!
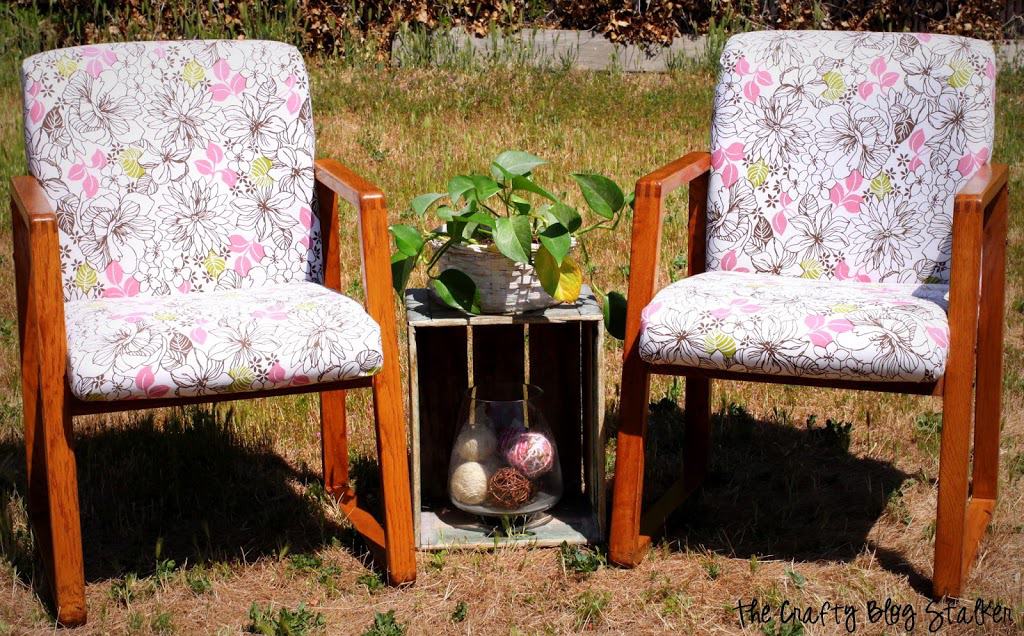
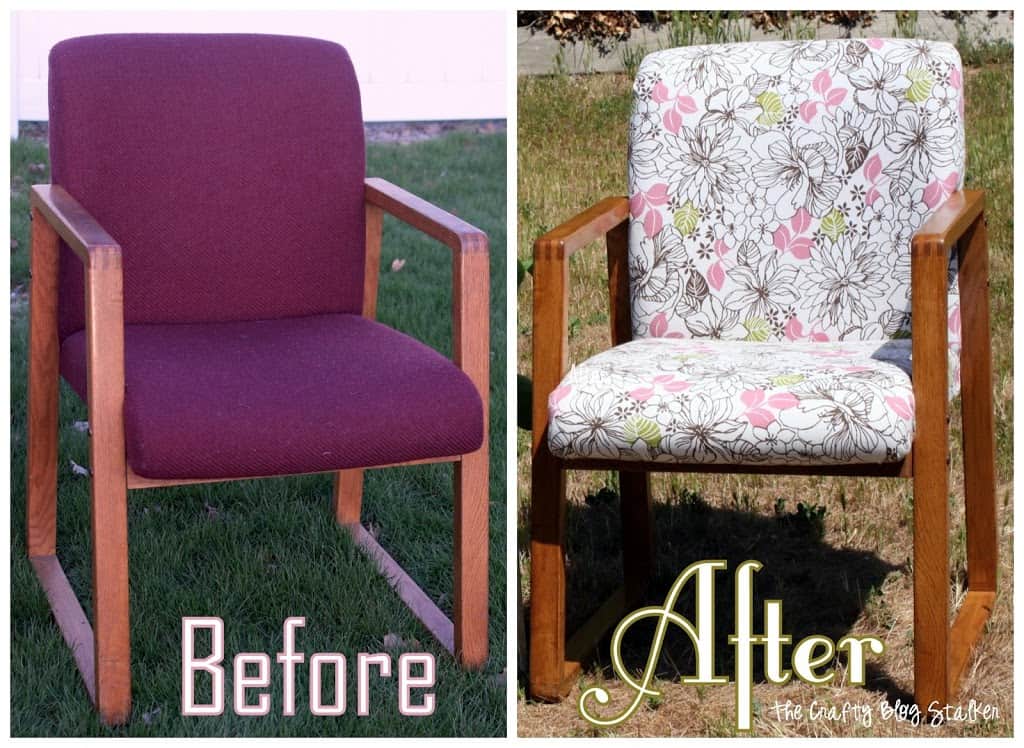
I absolutely loved how the finished chairs turned out!
I especially love the side by side before and after.
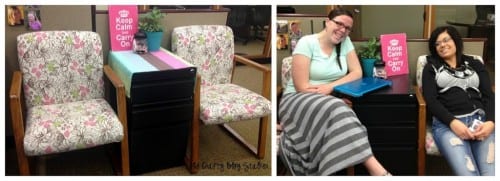
Since office chairs belong in an office, I took them to work and put them in my "office". I love them and I didn't hear any complaints from my coworkers either.
Have you reupholstered something or are you studying up for your first time?
Our Sewing Essentials List
- The Sewing Machine we use is a Singer Fashion Mate and has been a great machine.
- The Cricut 18" x 24" Self Healing Cutting Mat is my favorite. Beautiful pattern on one side, and measurements on the other.
- This Rotary Cutter cuts easily and is very comfortable to hold.
- And one can never have enough Measuring Tapes! I'm always misplacing mine.





DesignGeek
How did you decide on the fabric? Fabric choices and color commitment paralyze me sometimes.
Katie Adams
I know what you mean, my husband refuses to go fabric shopping with me because I am very indecisive. I got the fabric from Joann's and it was even in their clearance section. BONUS! I went back and forth between a couple different fabrics but ultimately decided on this one. I LOVE how they turned out!
Ashleys Dandelion Wishes
Katie! These chairs look great! You are clearly a chair redo guru 🙂
Anna-Marie Field
Hi There,Nice!!!Huge difference!!!
Love
AMarie
Claudia Castro
this is awesome...how long does it take to make one?
Claudia
Katie Adams
It took me a couple weeks but that is only because I didn't have a big chunk of time all at once to devote. But if you had a completely open Saturday you could probably get one done in a day.
Linda @ With A Blast
The chairs turned out beautiful, especially when grouped together! Love the fabric 🙂
Schulz Family
Linking over from ladybug blessings. Love love this. Great instructions and what an awesome result
courtney
I love these. great job:)
Britney Mills
I'm a fan of the fabric! Looks really good!
Megan Colwell
This is amazing! You have no idea how helpful this is to me. I have an old chair. I've been dumbly staring at for years and now I know I what to do! Thank you so much! I'm happy to be your newest follower.
Karla Harms
What a great transformation!
Craftysiany
These chairs look great! I've got a chair that needs recovering, so thanks for sharing how you did them. Am going to be brave & give it a go 🙂
http://buttonsandpaint.blogspot.co.uk/
Ashleys Dandelion Wishes
Thank you so much for linking up to Dandelion Wishes Wednesday last week! Your project is being featured tonight! Stop by and grab a featured button 🙂
Our Pinteresting Family
They turned out fantastic! Found you next to my link at A Glimpse Inside. 🙂
Monika
I hopped over from Moogly. Thank you for sharing this great project, the chairs look amazing, well done! M
Melissa
Hi! I was wondering how you figured out how to take apart the chairs? I have a similar chair I just purchased yesterday (also for $5!), but I can't find any screws or joints anywhere! The fabric itself is fine, but I'd love to refinish the wood.
Thanks!
Katie
The screws weren't very hidden with my chairs. There were little wood stoppers that went into the screw holes to cover them, but the covers weren't flush with the rest of the wood. They stuck out quite a bit. Sorry I couldn't be of more help. Good luck!
Dina @ Kitchen Dreaming
Thank you for stopping over at The Weekend Social, hope to see you next week.
Kristina & Millie
great tute! I can do this now 🙂 appreciate it!
Janet
I have similar office chairs I would like to reupholster. I am curious as to how they came apart and went back together. I looked earlier today and they do not have any visible screws. I'm just curious what you found when you took them apart.
Katie
Hi Janet. My chairs did have visible screws. I took pictures with my phone with each screw and the order I removed them so I could put them back together in the same order. Your chair could have plugs that hide the screws. They are like little wood corks.