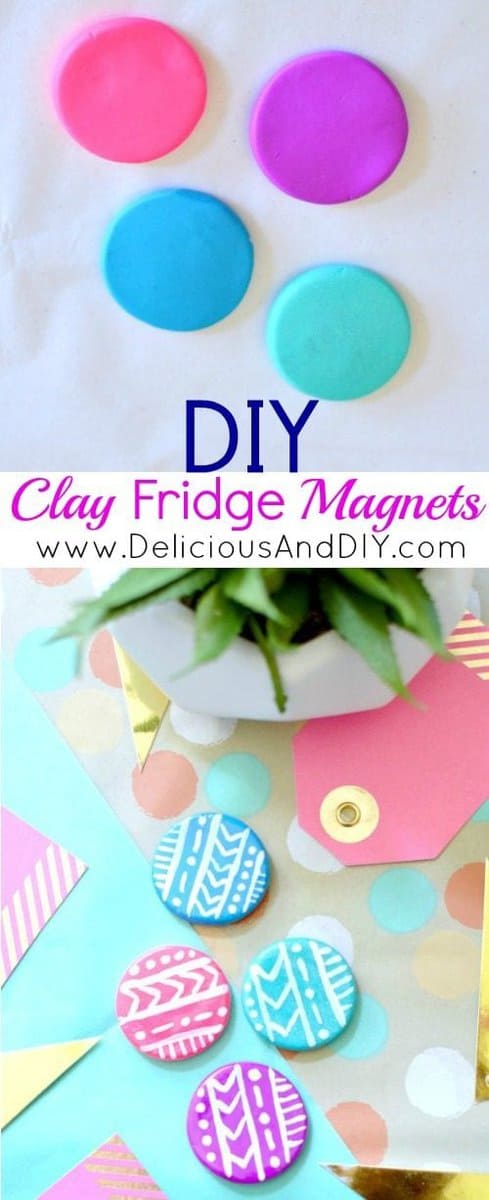
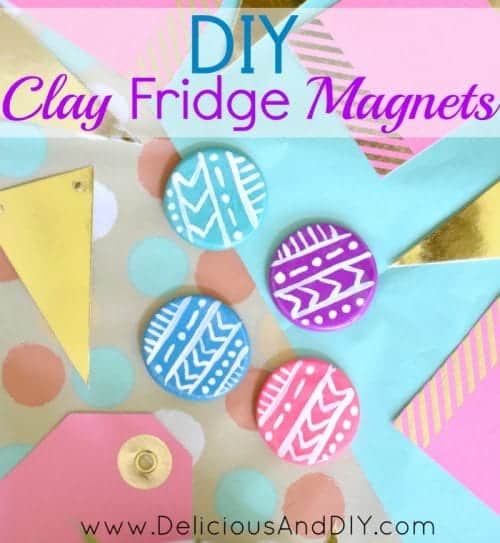
Learn how to make clay fridge magnets with oven bake clay. An easy DIY craft tutorial idea. Fun crafts for the whole family!
Hi everyone! My name is Anam and I blog over at Delicious And DIY about furniture makeovers, home decor and DIY craft ideas. If you want to follow me around on my crazy colorful journey then hop on over to my blog or follow me around on my socials Instagram, Facebook and Pinterest.
If you want to see all of my favorite furniture makeovers in one place then definitely check out my 10 Most Colorful Furniture Makeover Ideas.
Okay now back to today's tutorial.
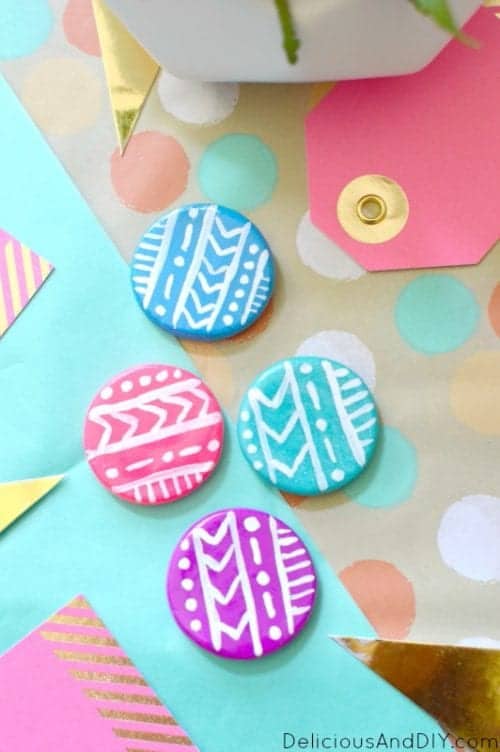
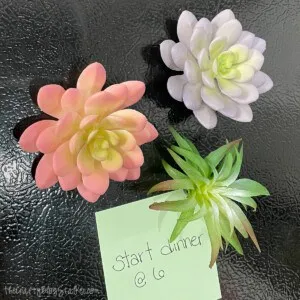
I wanted my Fridge to have a little more life to it besides just being a standard stainless steel one and what better way than to decorate it with some Hand-Made Fridge Magnets.
They are so simple and easy to make, I wonder why I didn't make these before!
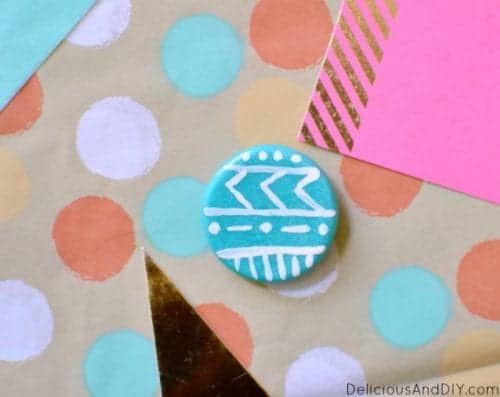
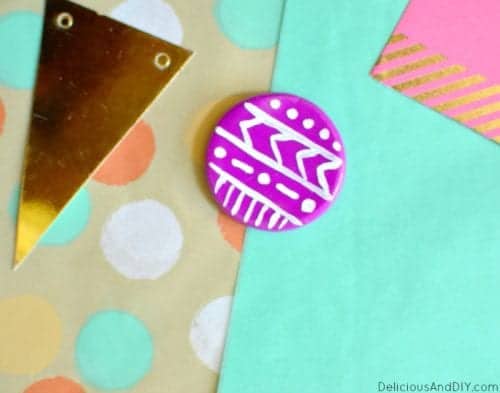
I love playing with color which we already established earlier, I love patterns and especially anything along the lines of Aztec which is what I created on these little magnets today.
Supplies Used: Some links may be too similar items when exact items couldn't be found online.
- Oven Bake Clay
- White Acrylic Paint
- Thin Tipped Brush
- Magnet Sheet
- Elmers Glue
- Glass Jar with Flat Bottom (to flatten the clay into circles)
How to Make Clay Fridge Magnets
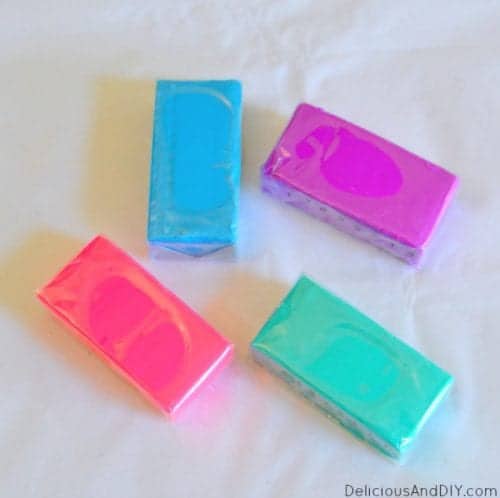
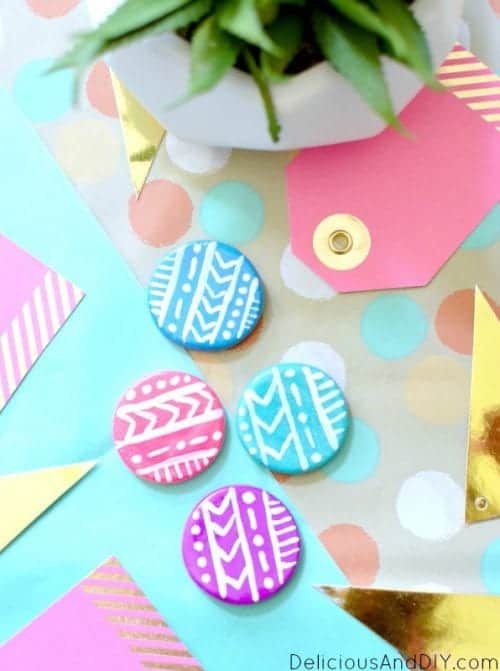
So, of course, I chose these super bright colors for my clay project from Purple to Bright Pink to this Shimmery Turquoise and lastly Blue.
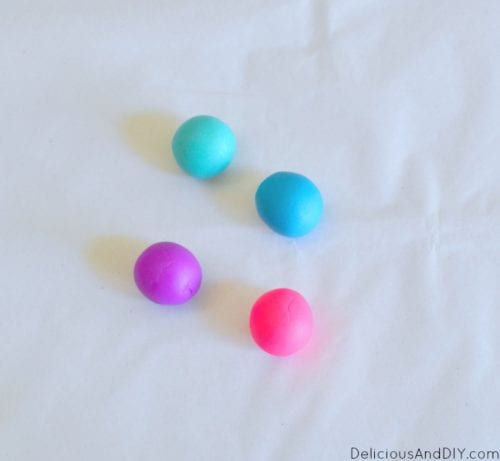
The idea was to make it the size of a Quarter, not too big and not too small.
I took a small amount of clay and started to roll it around in my hand until it was the size of these balls.
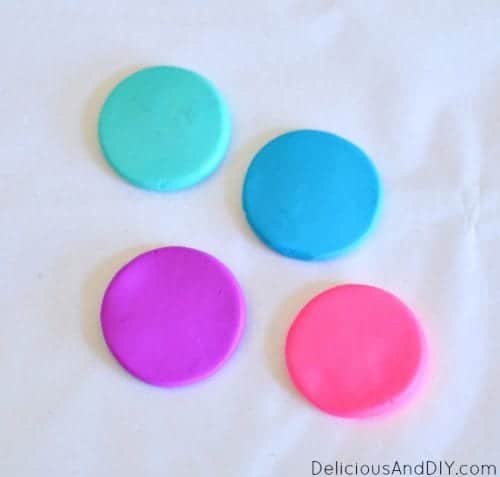
Then with an empty bottle or you can you use anything for that matter, I went in and flattened the balls into these circles.
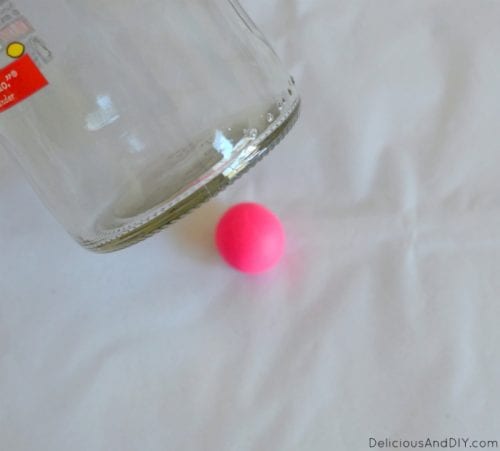
I did have to play around with some of the circles to make them all equal and of the same size.
Since it an Oven Bake Clay you take these flattened circles place it on an Oven-Proof glass or metal surface and let it bake for 15 mins at 275F.
You have to be very careful when you take them out since they will be very hot. Let them cool before proceeding to paint.
When they cool down, they become hard which is what we want for our fridge magnets to turn out.
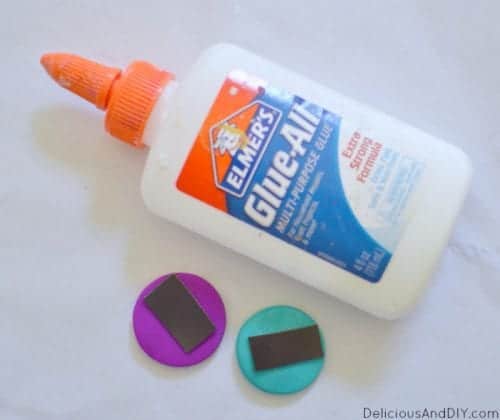
I had ordered a Magnetic sheet online a while ago which you can get for pretty cheap. I just cut out a few strips, nothing too perfect and placed glue onto the area and attached the magnet strips.
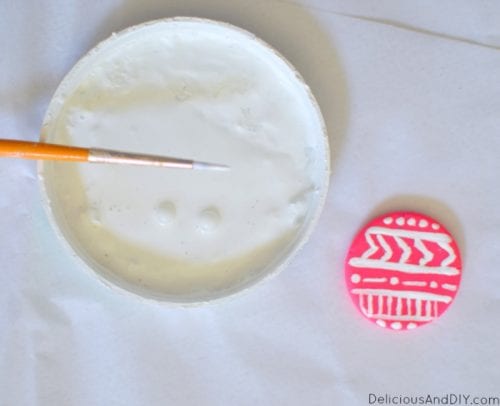
When that was dry and in place, I started to paint it.
At this point, you can get as creative as you want maybe draw roses or any other design that you like but I went with this Aztec pattern.
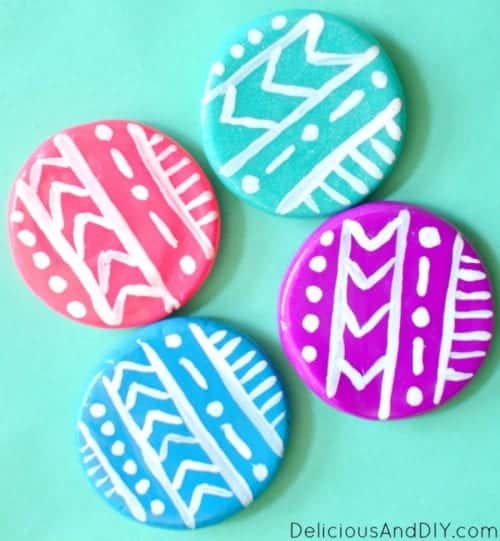
It didn't take me long at all since it's such a tiny surface to cover.
After the paint was done I applied a thin layer of Clear Gloss on to the magnets and that was basically it.
All Done!
What have you made Oven Bake Clay? Share and leave a comment below!
SAVE HOW TO MAKE CLAY FRIDGE MAGNETS TO YOUR FAVORITE DIY PINTEREST BOARD!
And let’s be friends on Pinterest so you can see all the DIY projects I’m pinning!
You Might Also Like:
Thank you, Katie, for letting me Guest Post on your blog today and I hope you're readers enjoyed this quick and simple DIY Project.



Jocelyn at Hip Mama's Place
I totally enjoy making DIY anything and this is one idea that I wouldn't pass up on! These magnets can also be a lovely gift for friends! Thanks for the tutorial!
Katie
Thank you, Jocelyn! I am so glad you like this tutorial!
Claudia Jewell
Fantastic presentation, well done!
Katie
Thanks Claudia!!