

Want to learn how to make a layered square circle skirt with an elastic waist? Then you have come to the right place!
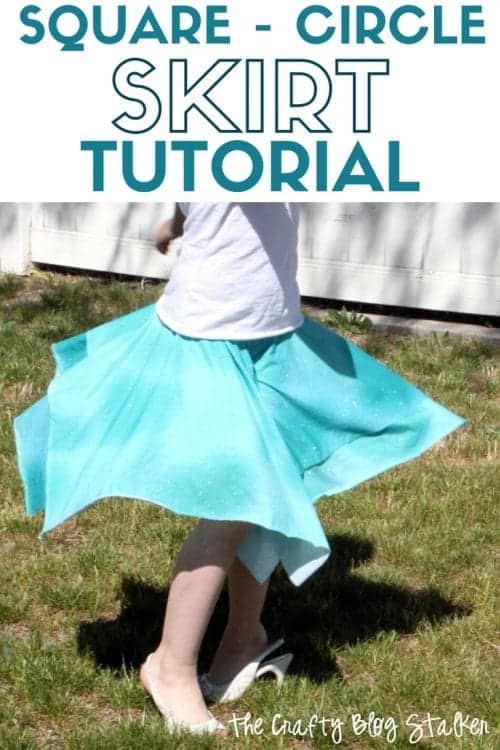
This type of skirt is also known as a hankerchief skirt, and it is so easy to sew with this step by step tutorial.
I made one for each of my three girls and they love to spin while wearing their fun skirts.
Before we get into the tutorial we are going to answer some common questions about sewing circle skirts. If you don't need this information, feel free to skip to the tutorial below.
What are the best fabrics for a circle skirt?
The key to a fun circle skirt is the lightweight fabric. You want it to sway naturally and of course, it flows out when spinning!
The skirt below, I sewed using polyester fabric, but other great choices are rayon and cotton.
If you are a beginner sewer, cotton is much less slippery and will be easier to handle.
How to calculate a circle skirt waist?
There is some math when calculating how big to cut the waist hole, but I have tried to break it down for you so it is as easy as possible
- Measure the waist in inches and then add 2 inches.
- Take your new waist measurement (waist plus 2 inches) and divide by 6.28. This will give you the radius.
Example: Liza's waist is 24 inches. Plus 2 makes 26. Divide 26 by 6.28, the radius of her waist is 4.14 inches!
You can use this measurement for any waist size, so if you want to make an adult skirt, this math with work to find your waist radius.
How to Make a Pattern for the Waist Opening
Before we cut the waist out of the skirt, we will be folding the fabric into fourths, so you only need to create a pattern that is a quarter of a circle.
Take a piece of paper that is larger than your radius.
Measure out from the bottom left-hand corner the waist radius we determined above. If you can get exact, don't worry about it, just get as close as you can.
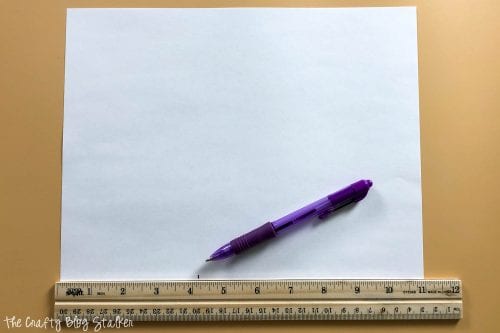
Repeat, measuring up from the bottom left corner with the same waist radius measurement.
Tie a piece of string to your pen or pencil.
Holding the string tight in the corner, draw the arc from the left mark on the left side of the paper to the bottom mark on the paper.
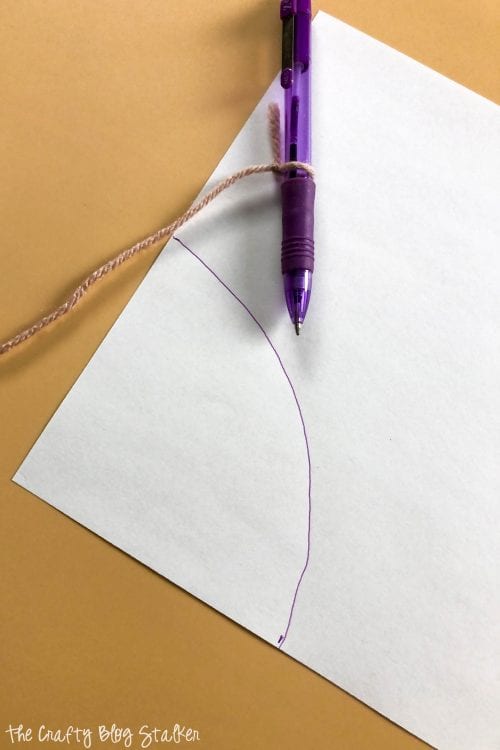
Cut your pattern out with a pair of scissors. There is your waist pattern for your layered square circle skirt.
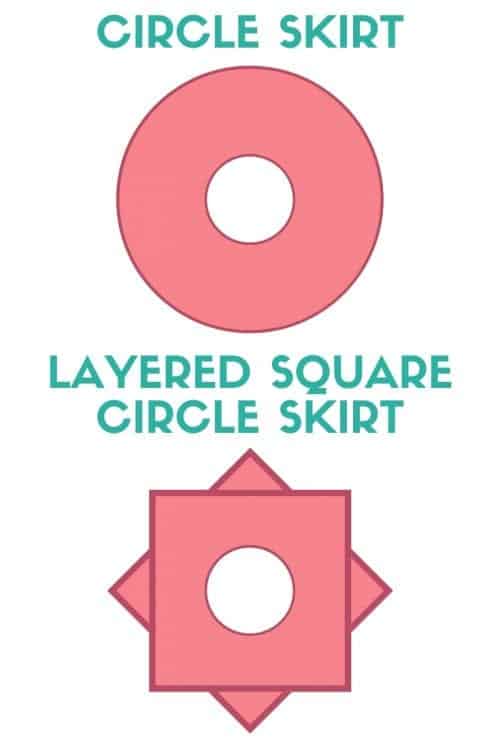
What is a Layered Square Circle Skirt?
The circle skirt and the layered square skirt are very similar. Really the only difference is the finished shape.
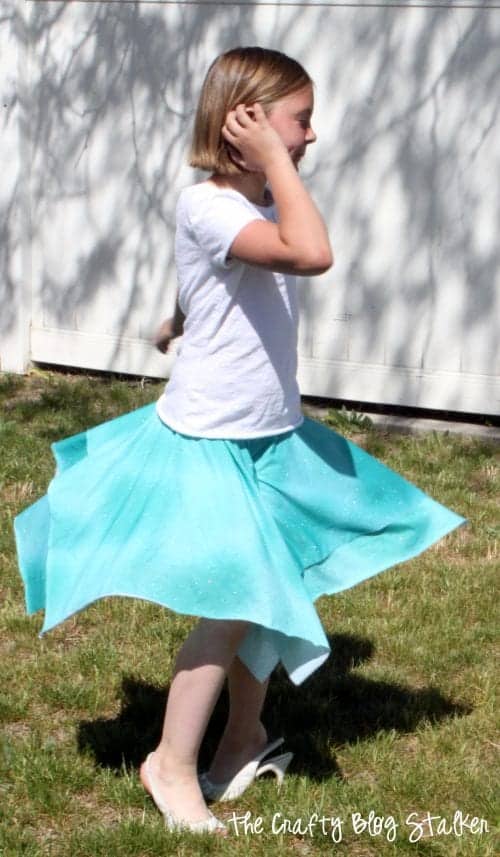
You can see in the image below that the finished circle skirt, is a circle. Crazy, it's in the name!
The finished square circle skirt has points. That is because we are using two-layered squares as the skirt, not a circle.
Make sense? Feel free to ask any questions you may have in the comments below.
Now let's get to the step-by-step tutorial! Let's start with the supplies needed.
Supplies Used to Sew a Layered Square Circle Skirt
Items linked below may go to similar items when exact items couldn't be found online. Links are affiliates so when you purchase, I will get a small kickback to help fund the next tutorial!
- 1 Yard of Lightweight Fabric
- 2-inch Wide Elastic - 1 yard
- Sewing Machine- I use a Singer Fashion Mate 5500
- Serger Machine - optional
How to Sew Easy Circle Skirts for Summer
For each skirt, I bought 1 yard of 100% Polyester fabric. I wanted all of their skirts to be a bit different so I bought the same fabric just in different colors.
The fabric I purchased was 59 inches wide and since I bought a yard it was 35 inches in length.
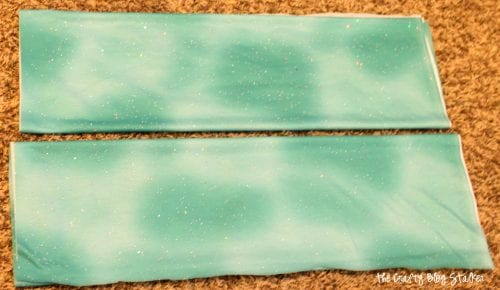
I knew if I did two layers of perfect squares one yard wouldn't be enough so I decided to cut the piece of fabric into rectangles and then I would layer them opposite of each other so the skirt would still have equal lengths all the way around. So each rectangle measured 35 x 29 ½ inches.
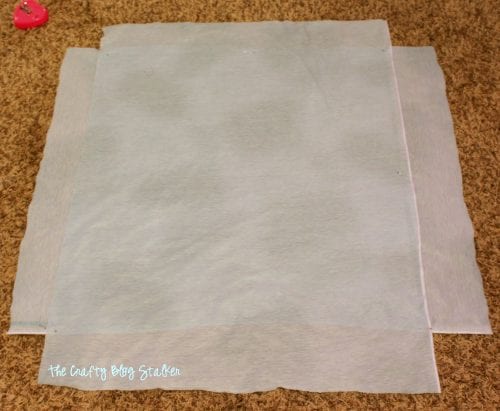
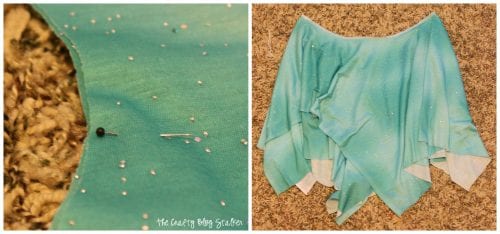
Before you cut the hole for the waist, layer the fabric with the right side facing down. Since I am dealing with rectangles and not squares, I laid the rectangles down in different directions.
If you are using squares simply offset them.
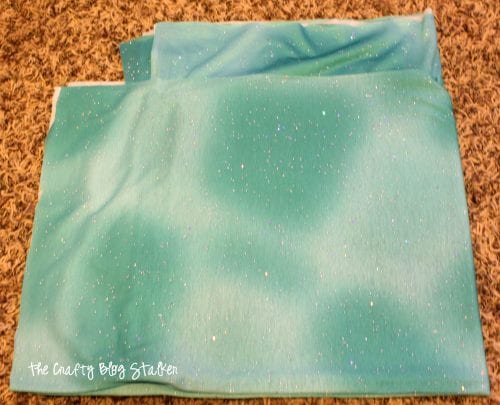
Fold the layers in half and then in half again.
Take the waist pattern we created above and place it in the folded corner of the fabric.
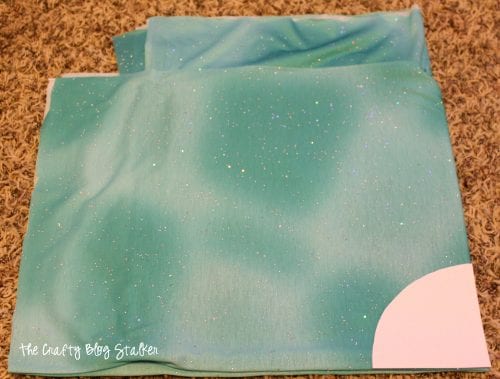
Cut. Pin the layers together and sew around the waist. I used a serger, you could use a sewing machine as well.
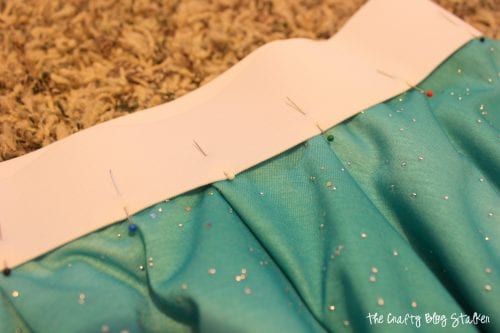
Then comes the last step of sewing on the Elastic Waist Band.
For the waist elastic, use the actual waist measurement, plus 1 inch.
Fold the elastic in half and sew it together using a ½ inch seam allowance.
Fan the seam on the elastic out and sew down each side.
On the right side of the fabric pin the elastic into place. You may need to gather the fabric a bit to make the waist fit the elastic.
The polyester fabric I purchased doesn't need to be hemmed because the raw edge won't fray!
But if you are using cotton fabric, hemming would be the next step.
Now that the handkerchief skirt is finished all that is left is to twirl!!
What other types of items do you like to sew? Share and leave a comment below!
Follow me on Pinterest and you can see all the DIY projects I'm pinning!
You Might Also These Tutorials:
Anna-Marie Field
Hi There, So easy!!! and they look absolutely thrilled with their skirts!!!A happy post!!!Have an awesome weekend!!
Love
AMarie
Babajeza
Beautiful and easy. I love it! Have a nice weekend. Regula
Gina @ Kleinworth & Co.
I loved this one- it was originally made by Ashley from Makeit-Loveit.com Although I have seen a few people that have taken her image & shared it on their own blogs too.
Of Wool and Loveliness
Adorable! Looks like a fun summer project for my girls. And easy enough I might actually attempt.
Ana Sullivan from The Lost Apron
I am visiting you from A Round Tuit/Creating my Way to Success. This is so easy and I love the handkerchief effect.
Kayla Ott
Those look so simple and CUTE! Great job, Momma! Kayla
Aleks
Awesome skirts! Making some for my niece! Pinning your tutorial!
Stopping in from the Sew Can Do linky party!
Marie bloominghomestead
These area great! So cute, I am pinning this right now.
Daniela
Very cute, I always wonder how to make one of those skirts. I will go so well with a peplum top I have for my niece 🙂 Congrats on your website.
Elizabeth
Darling!! I am not a seamstress, but I could figure this out! I recently made some simple skirts but these are just darling! Must try. Thanks for the tutorial!
Christen
I am not a sewer at all! My daughter just got a small sewing machine. Do you think we can pull this off with that? (foudn you through the linky party at We LIke To Learn...)
Katie
I think this is a great learner skirt. I might go with a cotton the first time instead of a knit. The knit can be a little slippery. But if she really likes it you can make another and go for the knit. Good Luck!
Kristina & Millie
Scary how easy that looks. I am sure I can mess it up though! Pinned 🙂
Kimberly
I love this! Pinned! Sending love your way! Lou Lou Girls
Amy | The Happy Scraps
Holy cow!! SO easy! When I see things like this, it makes me wish I had a little girl. Maybe I should just make an adult sized one. Thank you for linking up to The Creative Exchange!
Alexis @ We Like to Learn as We Go
So cute! My daughters love to twirl around in skirts and dresses. They would love this! Pinning!