

This post is sponsored by Worx. All opinions expressed are my own.
Build these Extra-large DIY Wood Lanterns with a few simple Worx tools. They are the perfect addition to your indoor or outdoor decor.

Do you guys remember how I talked about some new tools I received, the Worx MakerX tools? Today I'm sharing with you my tutorial for these DIY Wood Lanterns, information on how you can win some prizes and my favorite features and ideas that you can accomplish with these tools!

MakerX Tools
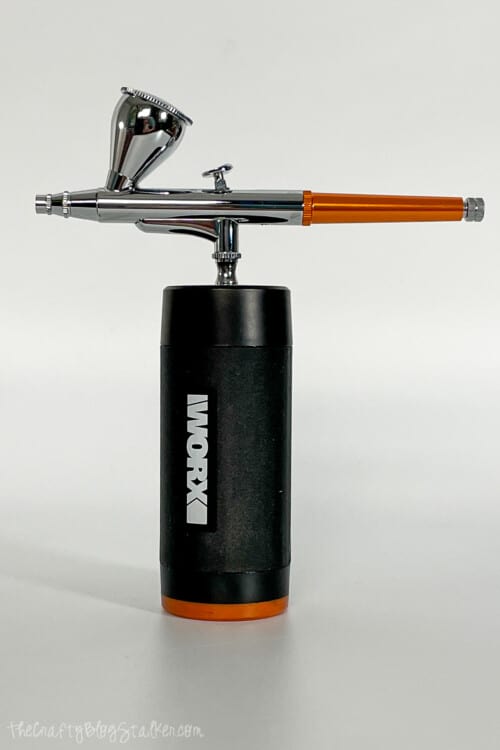
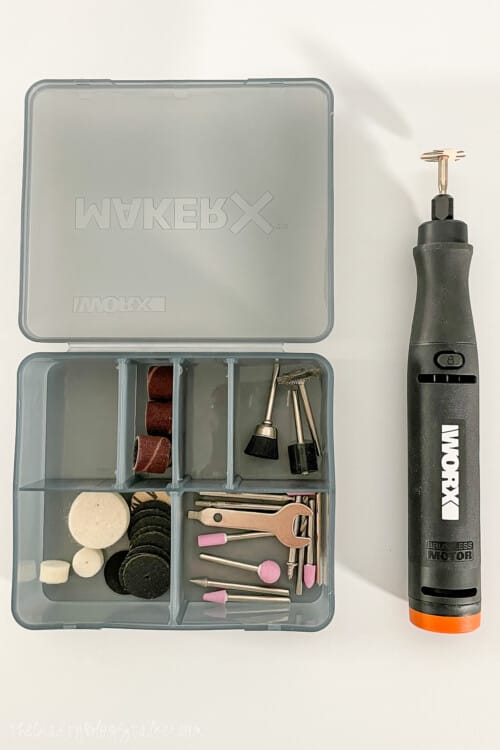
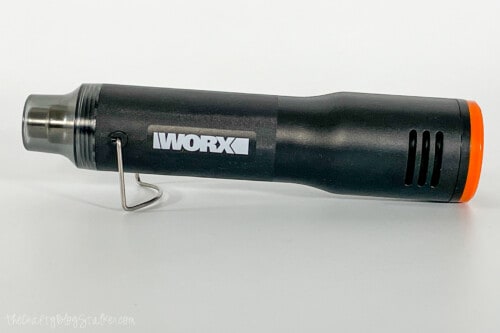
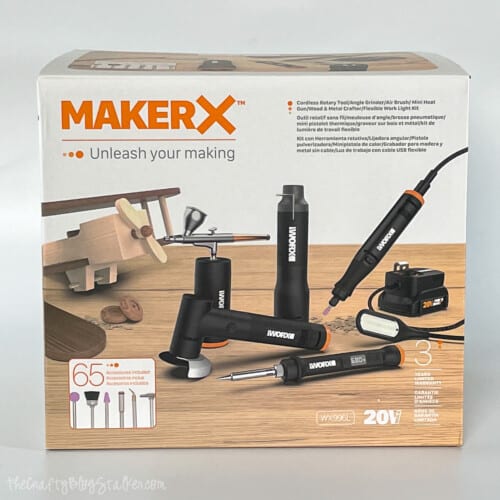
Let's recap all the tools included in the MakerX Kit. MakerX is a system of portable, powerful, and precise crafting tools. It gives you the power you need all wrapped up in an easy to carry case that you can take anywhere! Here is what all is included in the full kit! It includes: The MakerX hub adapter, battery and charger, Airbrush attachment, Rotary Tool attachment, Angle Grinder attachment, Mini Heat Gun attachment, Wood & Metal Crafter attachment, and many additional accessories.


Now let's put these to use and make some Extra Large DIY Wood Lanterns!
How to Make Large DIY Wood Lanterns
I wanted these lanterns to be super easy to make! They only ones one size of lumber, some thin metal rods, and a few Worx Tools!
Supplies for Wood Lanterns:
- 2x2 Boards
- Worx Miter Saw
- MakerX hub adapter, battery and charger
- Rotary Tool attachment
- Angle Grinder attachment
- Staple Gun & Staples
- Wood Glue
- Nail Gun & Nails
Cut 2x2's to Length
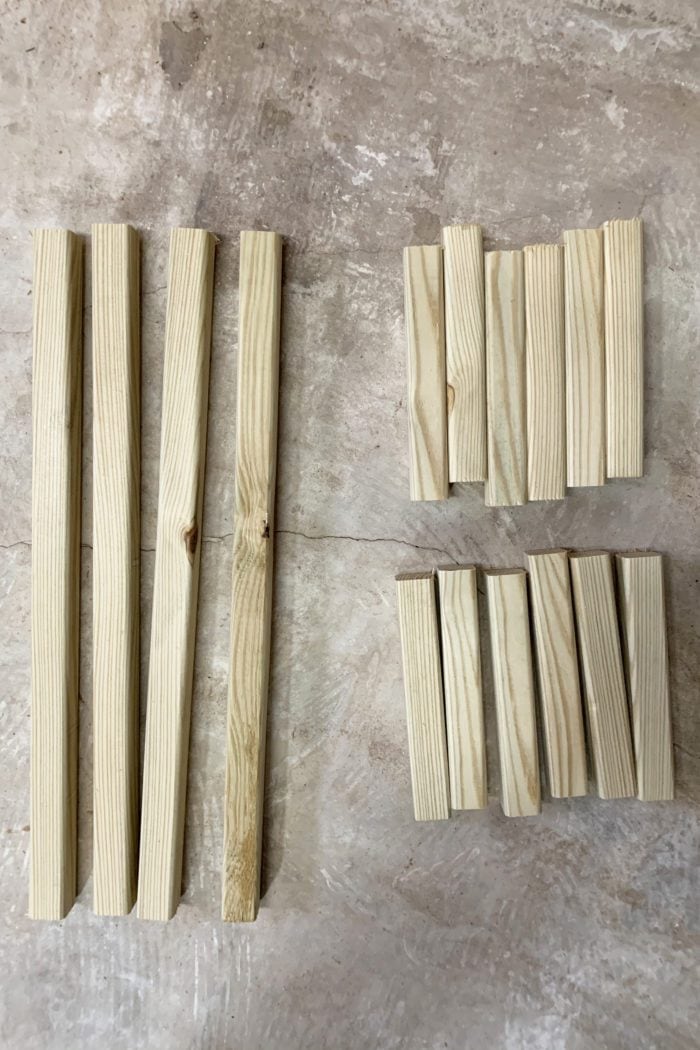
To determine the length for the boards needed for the top and base I measured the exact width of (1) 2x2, multiplied it be 6, and cut 6 boards to that length in order to create a perfect square, then repeated for the top (12 pieces total, 6 for the top, 6 for the bottom). Once those were cut, I cut (4) 24" board to use for the vertical supports.
After cutting all the boards I used the Rotary Tool attachment with a sanding disk to remove any splintering from the saw and make sure all the edges were nice and smooth.
Use the Angle Grinder to Cut the Metal Rods
Before putting the lantern together we need to cut our metal rods to length. Mine came in 48" rods and I needed them to be 24", so I just cut them in half with my Angle Grinder and cutting wheel. Make sure you are using the proper safety equipment when cutting metal! If there are any sharp edges you can use the grinding wheel to smooth that out!

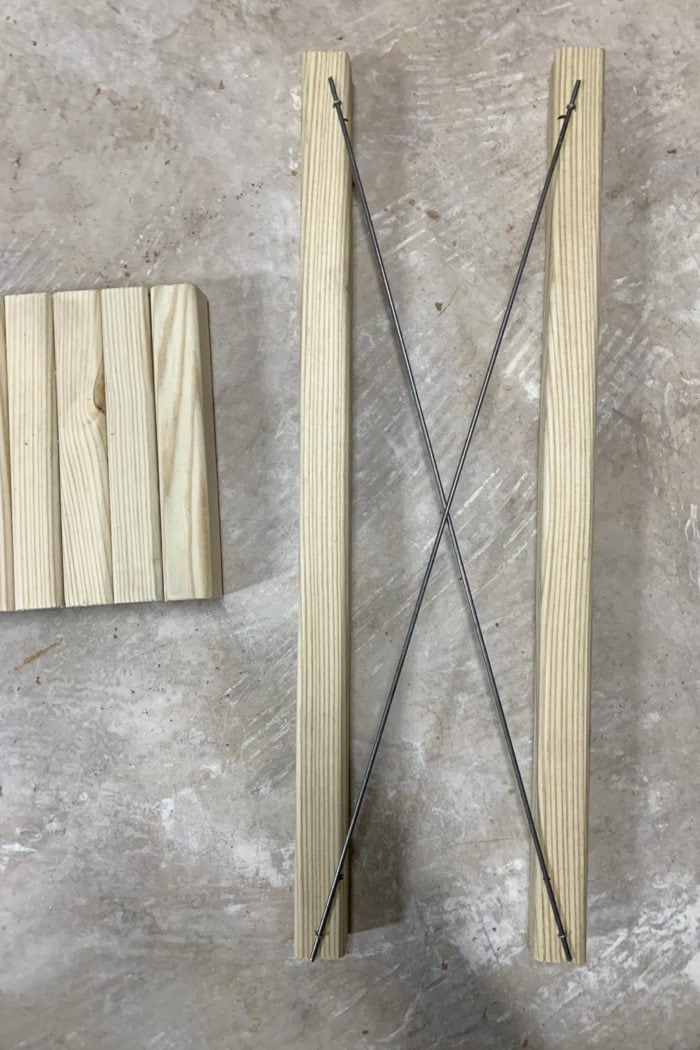
Then lay two of the vertical support boards to line them up with the width of the base and lay out your metal rods. Determine where you want them fall and mark where the metal rod intersects the edge of the 2x2. (mine was about 1 ¼").
Assemble the DIY Wood Lanterns
Since I only wanted to use 2x2's for this project the top and base will need to be assembled. I did this using wood glue and the nail gun making sure to keep everything flush and level.
Now it's time to attach the metal rods. Lay them out on two of the 24" boards, making sure to hold it in place so they intersect the edge of the 2x2 where you placed your marks, and using a stapler, center it and let the staples penetrate the wood on either side of the metal rod. Because it's a staple holding the rod, this will give you a little flexibility to make sure the vertical supports can be lined up perfectly with the edges of your base.
Attach the vertical support pieces to the base using wood glue and a nail gun. Then line all the boards up and attach the top piece to the 4 support boards.

Paint the DIY Wood Lanterns
I was a little torn if I wanted to leave these natural or paint them black. My gut always said black and I think it really gives them a finished look, but you could totally stain them as well! These were originally meant for our front porch, however I set them down in my living room for a minute and looked over to realize they would look great in front of our fireplace too!
Where do you prefer them? Front porch or by the fireplace?


Since Christmas is almost over anyways I think I'll put them on our porch because they will work for any season. But, maybe I'll leave them by the fireplace until after Christmas to enjoy a little extra glow in the evenings!
These are super easy to make. It's a great project to dip your toes into wood working. Even if you've never built anything, you can build these!

Not only do the MakerX tools make great gifts, it's also a fantastic way to spend those gift cards you might be getting this holiday season! 😉

William
Amazing
Stephanie
They turned out so cute! I have so many pieces of scrap 2x2s that I should turn into these lanterns as well! Thanks for the inspiration!
Caleb
What a lovely DIY idea! Thank you for the tutorial!
Anonymous
amazing DIY project tutorial!
Alex
Love the work here