

This DIY sticky note holder is a simple, creative way to thank a great teacher. Grab the free laser SVG and make a gift they'll actually use!
Teacher Appreciation Week always sneaks up on me, and I love giving something a little more personal than store-bought goodies.
This year, I put together a DIY sticky note holder that's both useful and thoughtful-because who doesn't love a cute and organized desk?
It's a quick project made even easier with the free laser SVG file I'm sharing, so you can create one (or a few) in no time.
Perfect for teachers, office gifts, or just because!
Jump to:
Skill Level: Beginner
Total Time: 1 hour
Craft Tutorial Video
If videos are your thing, you're in luck-I've got a full tutorial ready for you!
Subscribe to my YouTube channel and stay inspired with every new project.
Supply List
- Teacher Sticky Note Holder Laser File
- Laser Cutting Machine
- 3mm MDF
- Easel Paper (optional)
- Masking Tape (optional)
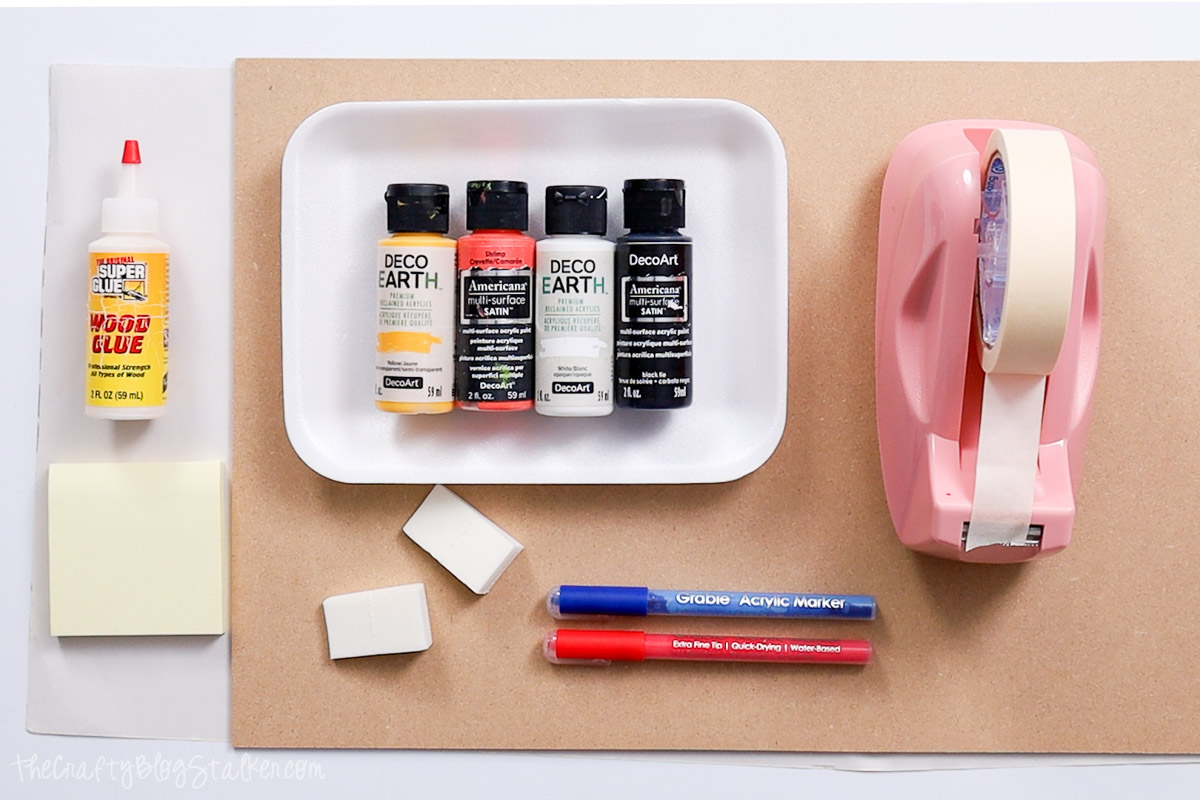
- Acrylic Paint
- White
- Black
- Yellow
- Pink
- Silver/Gray
- Paint Markers
- Blue
- Red
- Ruler
- Makeup Sponges
- Wood Glue
Grab the Free Laser File
Download the SVG laser file to your computer or device.

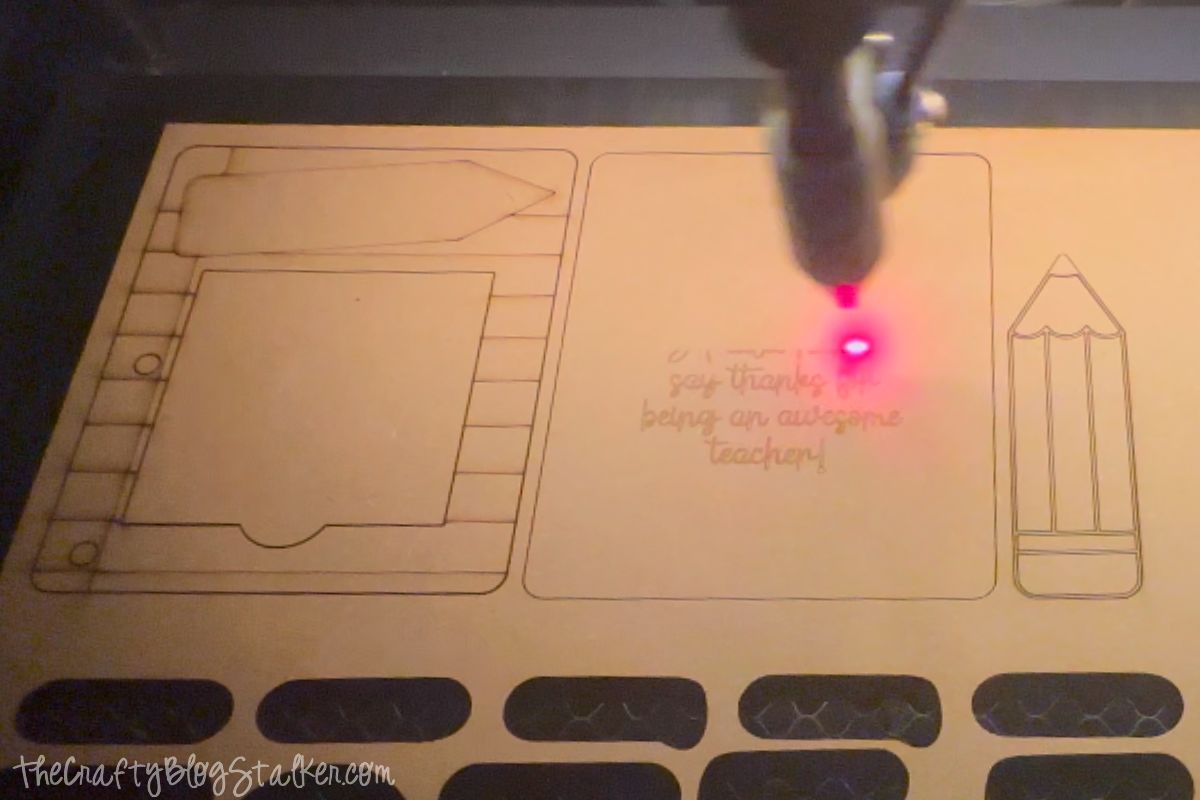
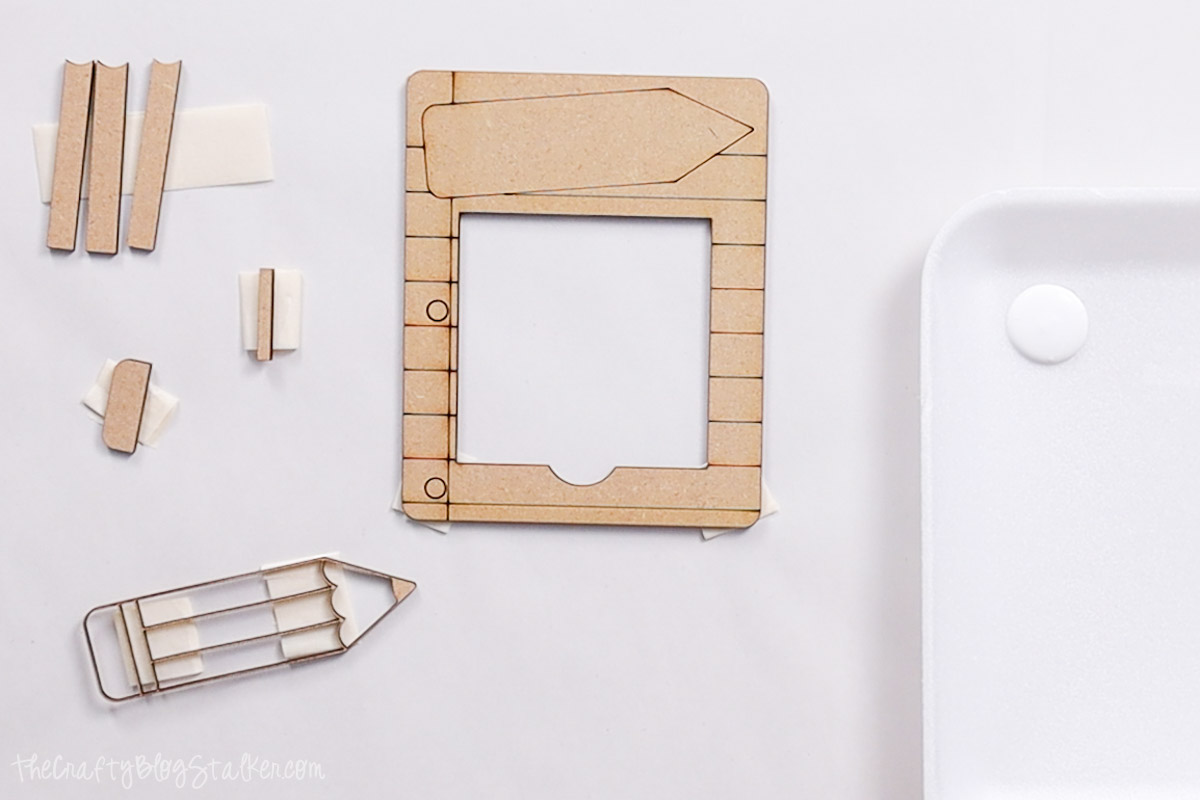
Laser Cut
Pull the file into your laser-cutting software and cut.
Be sure to cut the black lines, score the red lines, and score/fill the blue lines.
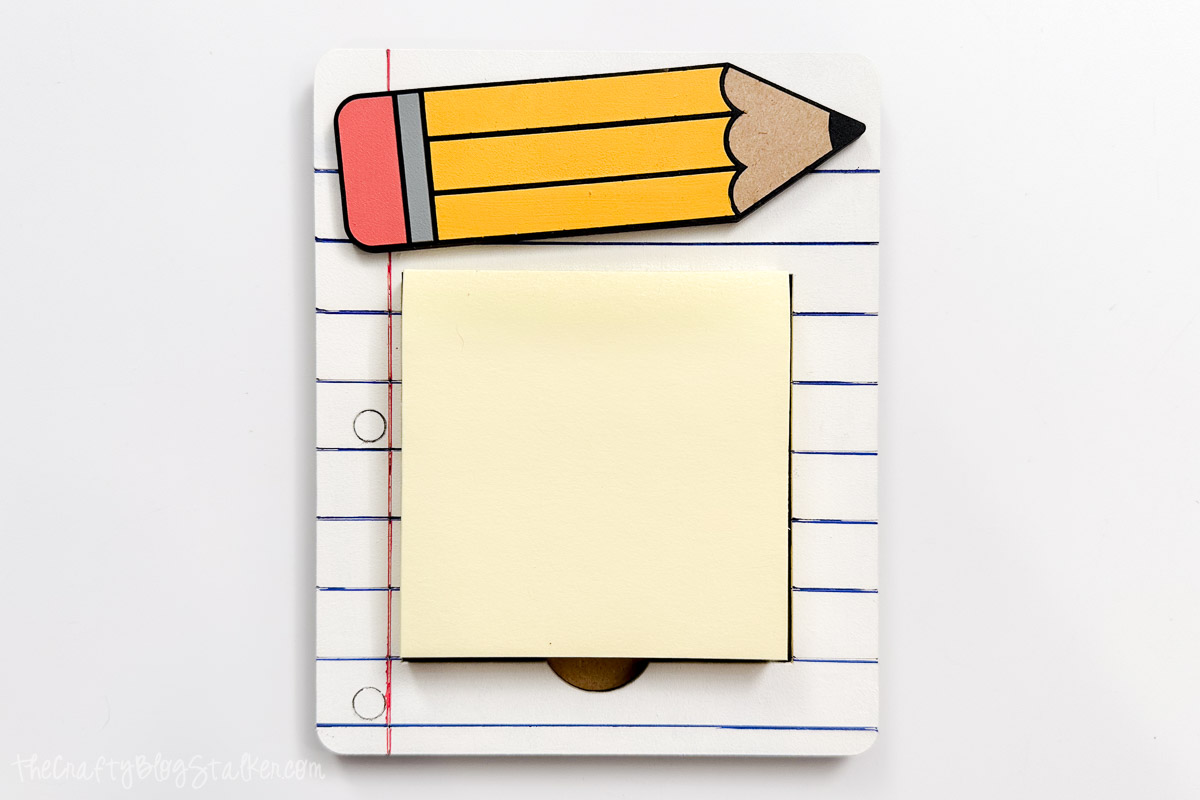
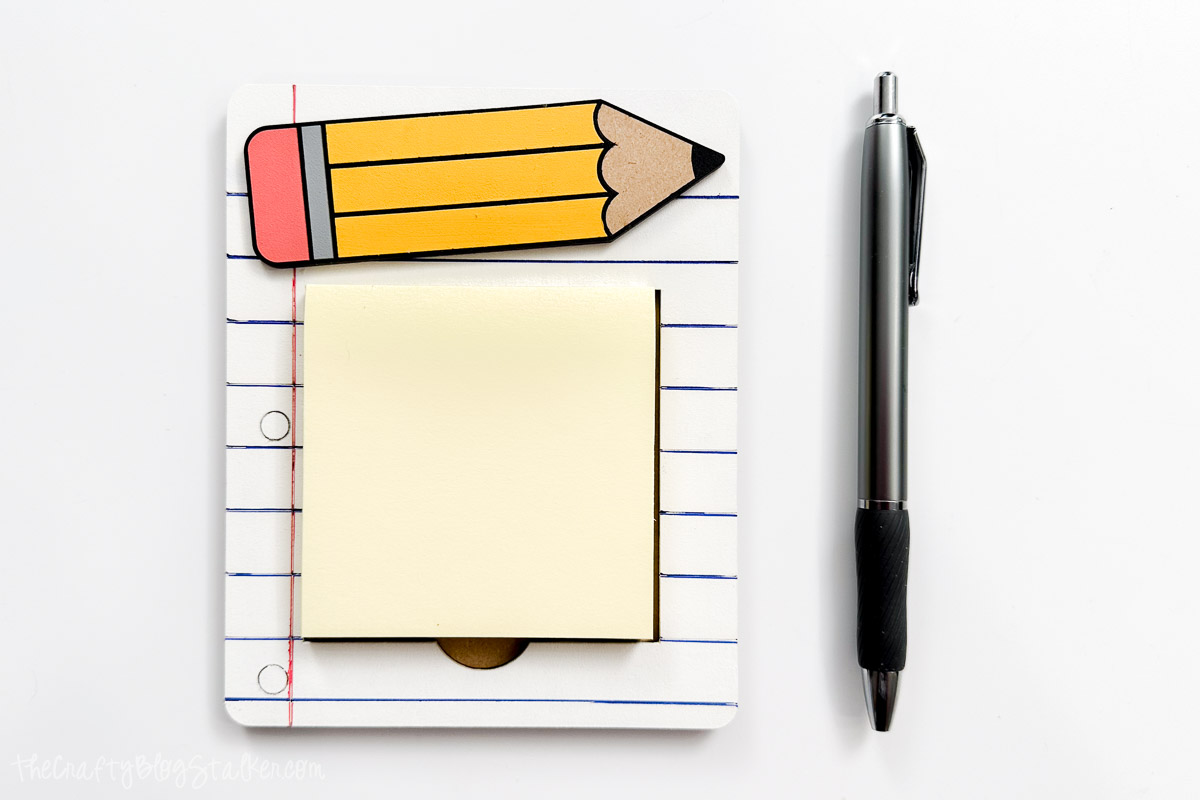
This file is sized to fit the standard 3x3-inch sticky notes, but this file can be resized to fit any need.
Paint
I recommend piecing them together before painting to ensure that the correct side of the pieces is painted.
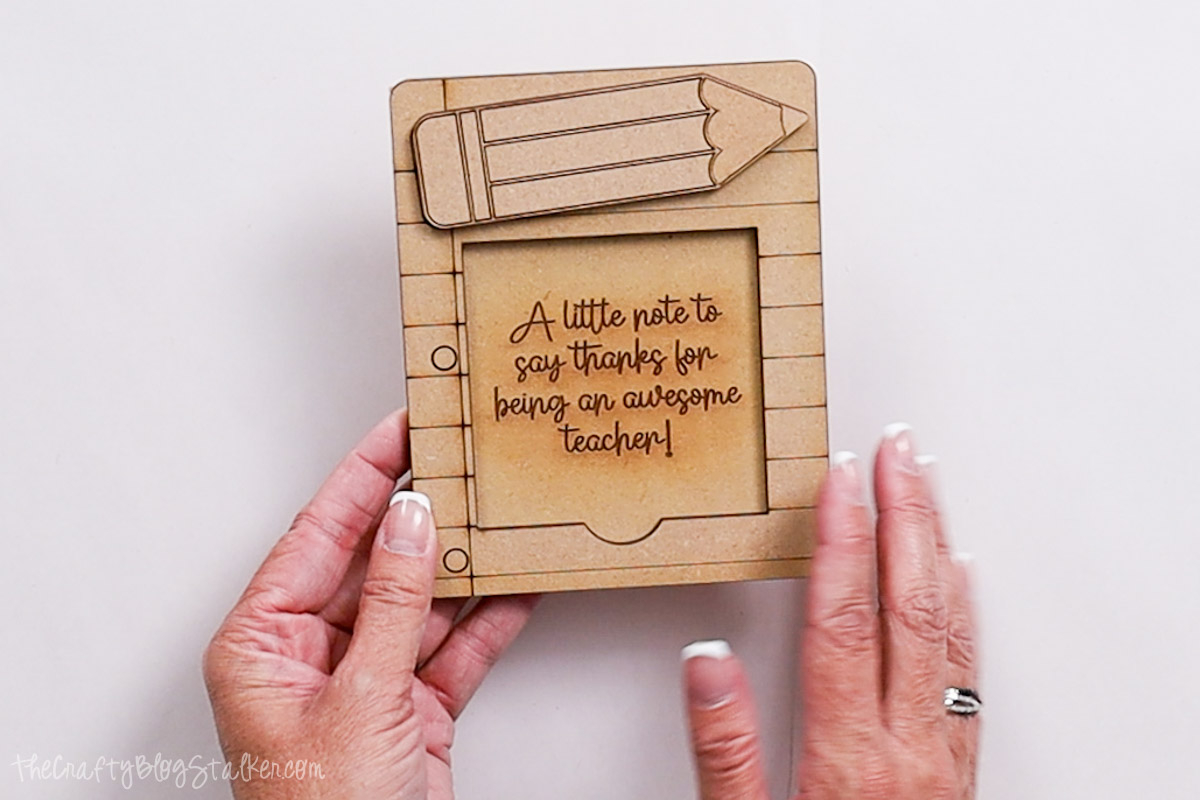
In my photo, you can see some excess burning around the saying.
It is possible to avoid the burning by playing with your machine settings to find the sweet spot.
I am okay with it. It is a handmade item, and it won't be perfect. But if this type of imperfection bugs you, you can fix it by testing in the settings.
I like to tape the pieces down to a table covered with paper to prepare for painting.
The tape holds the pieces so I don't get paint all over my fingers, and the paper protects my table.
I grouped the pieces by color.
I like to paint these small pieces with cosmetic sponges because they are cheaper than sponge brushes and work just as well.

Apply 2-3 coats and let the pieces dry completely before proceeding to the next step.
Use a red and a blue paint marker over the scored lines of the notebook paper.
To help keep the lines nice and straight, I used a ruler over the scored lines.
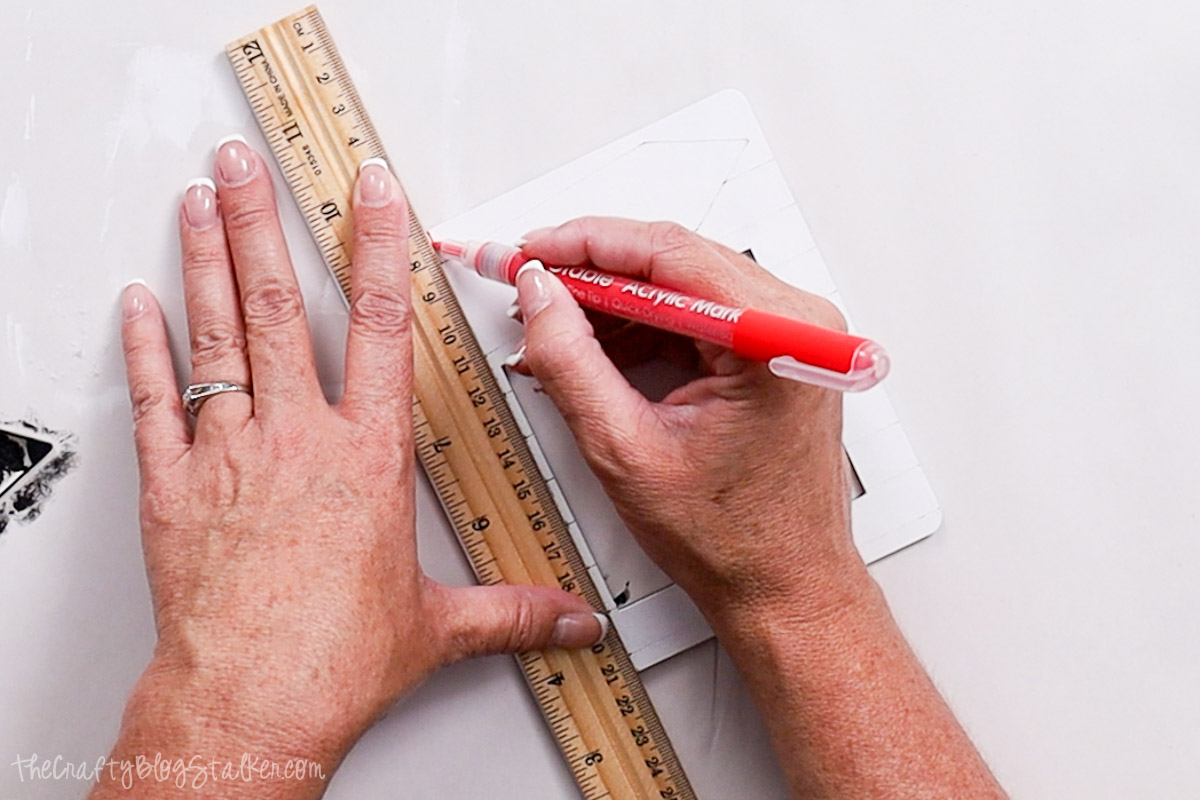
The one vertical line is red, and all horizontal lines are blue.
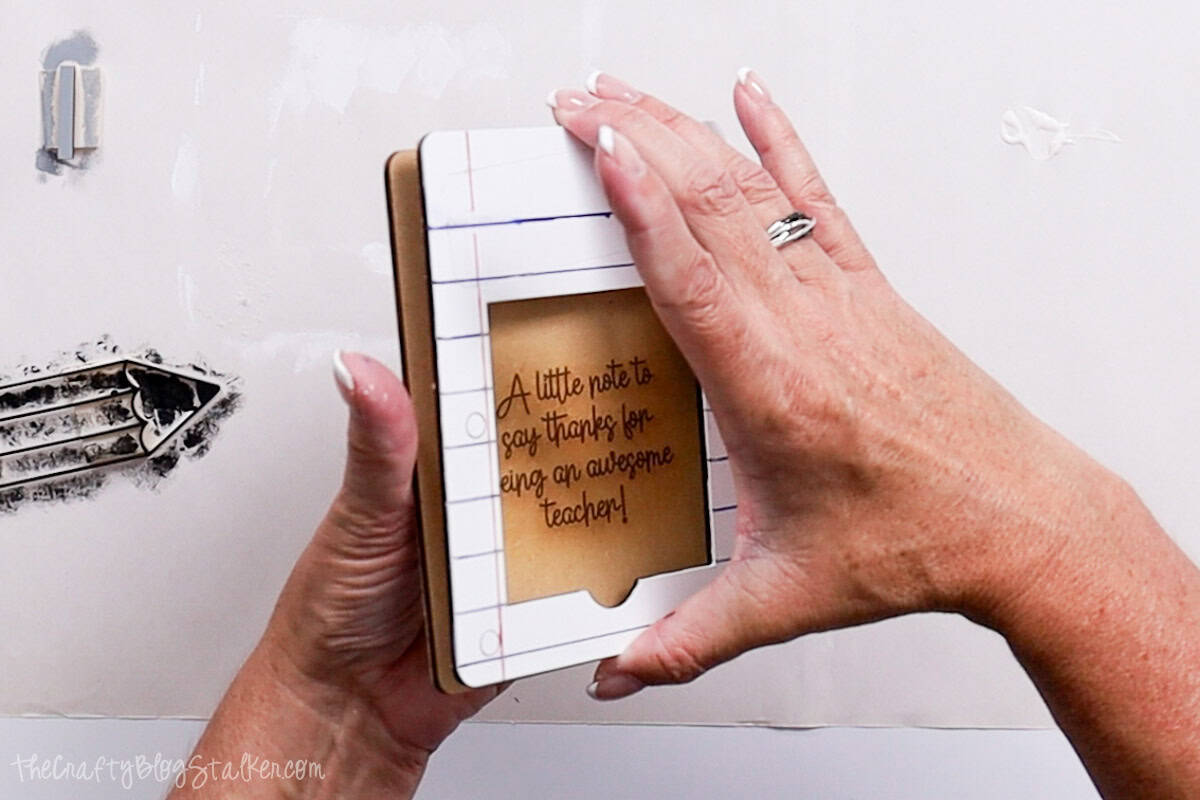
Glue
Squeeze glue onto the paper and apply it with a small paintbrush. This helps control the amount of glue, so there isn't excess around the edges.
Add glue to the back of the notebook paper layer and adhere it to the back layer.
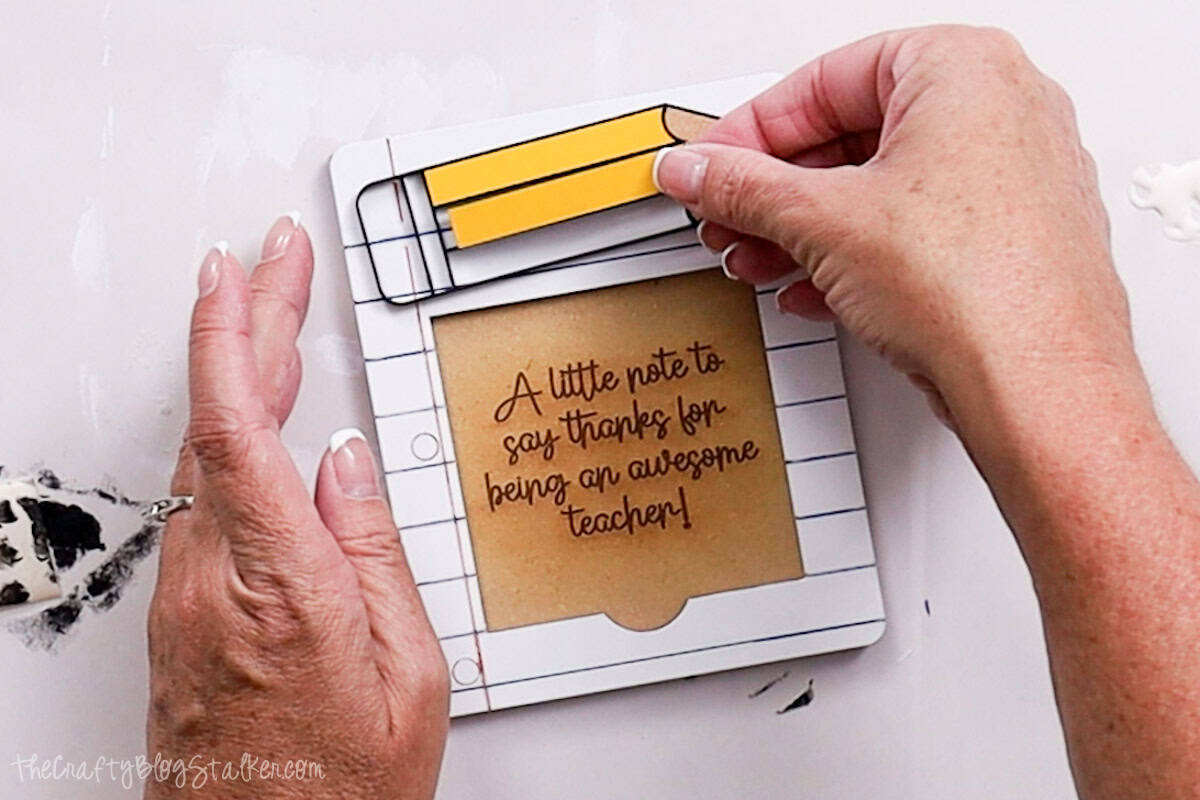
There are score lines on the front of the holder so the pencil can be placed perfectly.
Add glue to the back of the pencil outline and place it over the scored outline.
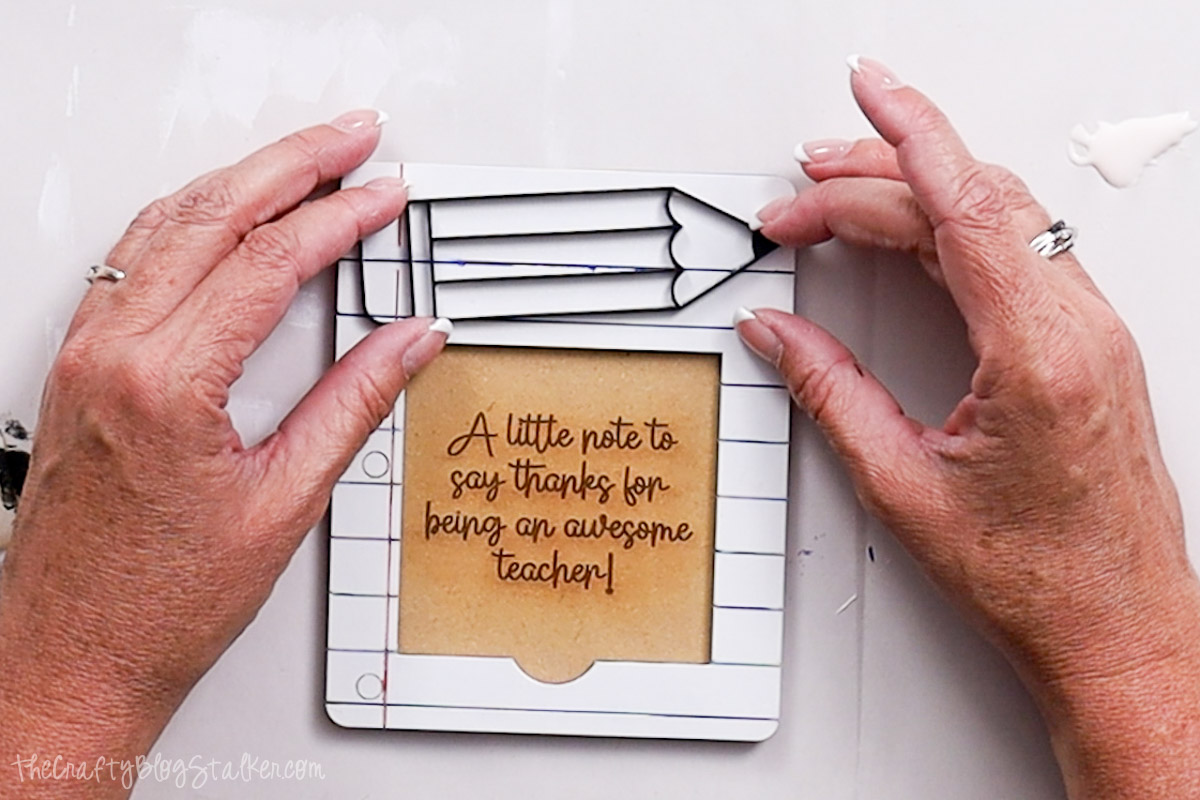
To fill in the pencil, add glue to the back of the pieces and place them inside the outline.
Final Thoughts
It looks so cute when assembled!
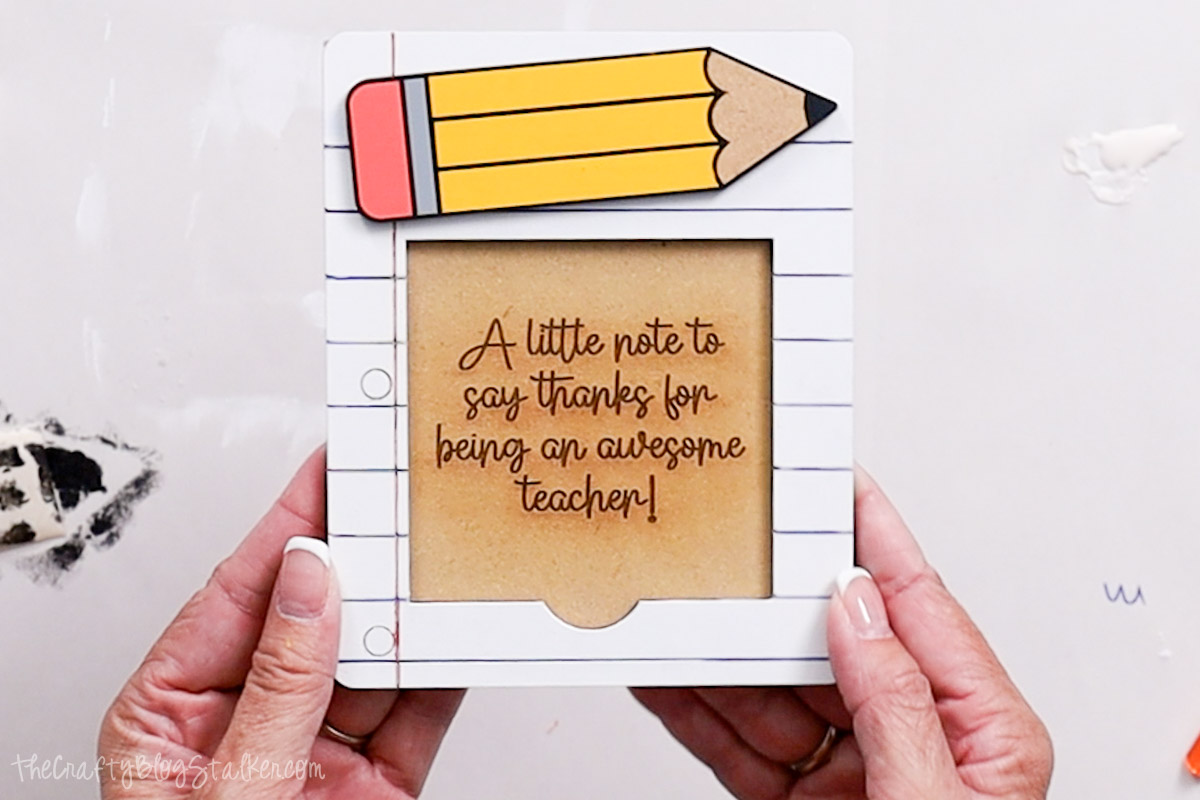
If you wrap it up with a pack of sticky-notes and a cute pen, you have the perfect gift for any teacher!
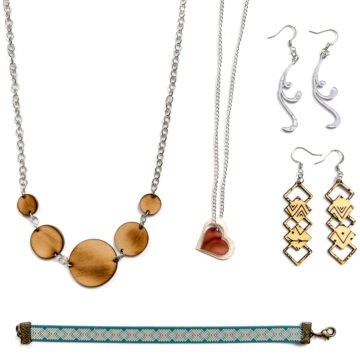
More Laser Crafts
You can't be done crafting already! Here are a few more fun ideas.

Hi, I'm Katie!
I'm so glad you're here. Want to make something fabulous? I'm here to help!