

Do you have extra Lego pieces? This DIY display frame project lets you showcase them in style. Plus, this tutorial includes a free SVG cut file!
What to do with those extra Lego bricks? You can't throw them away!
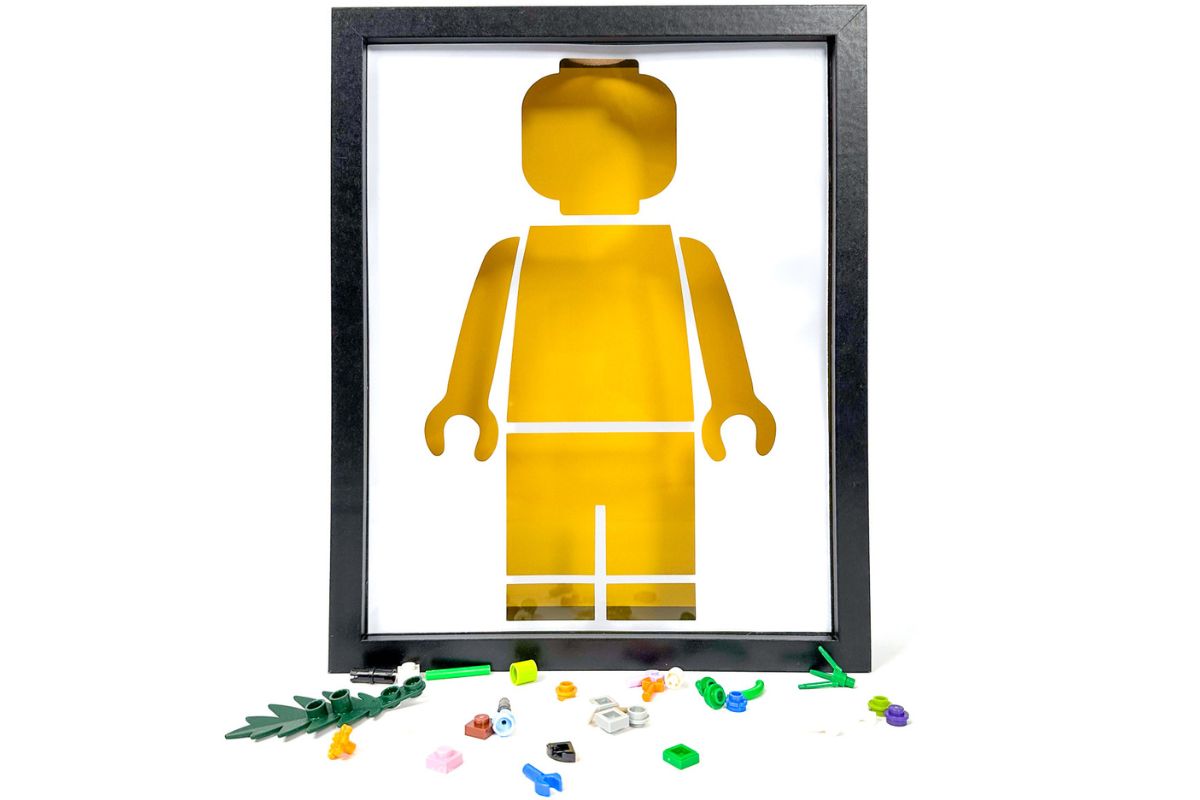
This DIY Lego Man frame is the perfect solution!
It is great for room decor, gifting to a Lego enthusiast, or adding color and personality to any space.
So, round up all those extra bricks and get crafting!
Jump to:
Craft Tutorial Video
If videos are your thing, you're in luck-I've got a full tutorial ready for you!
Subscribe to my YouTube channel and stay inspired with every new project.
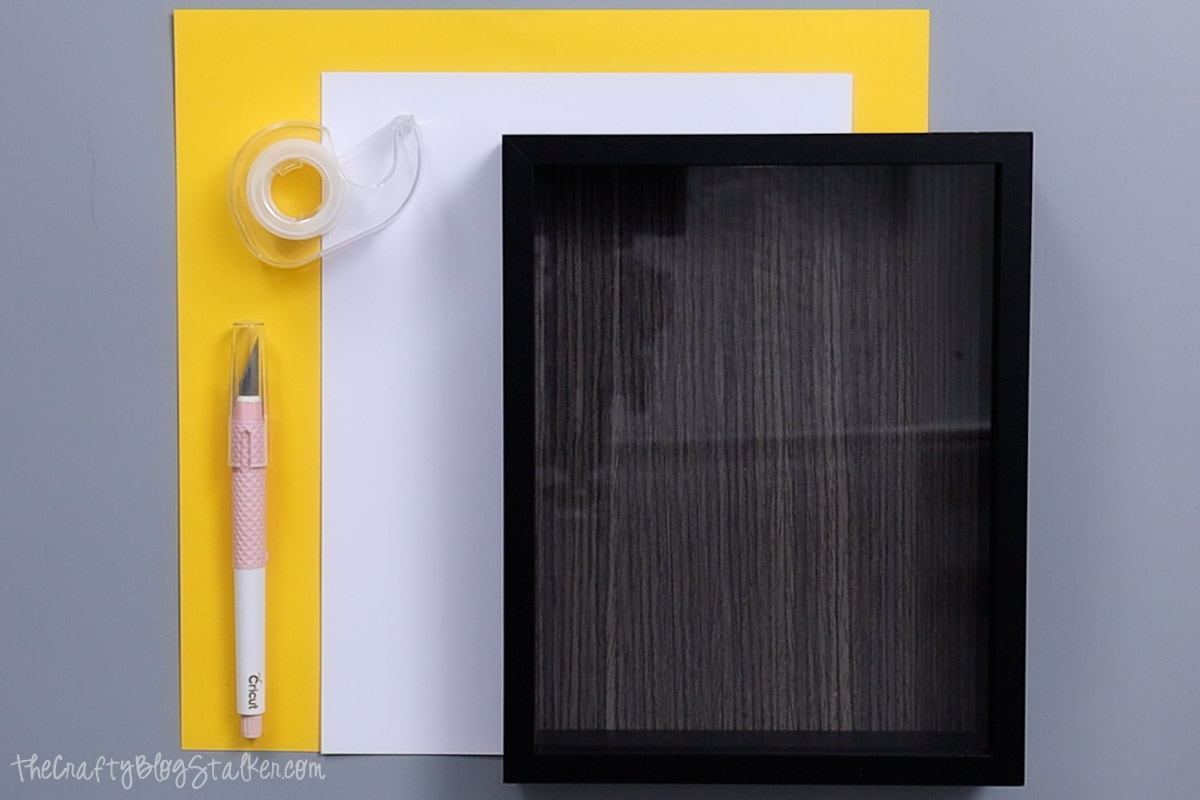
Grab the Free SVG
This digital media is for personal use only. You do not have permission to redistribute.

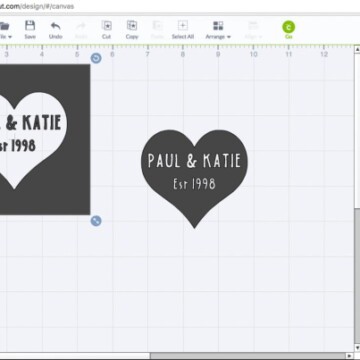
Cricut Design Space
For the following steps, I'll be using Cricut Design Space.
If you use Silhouette Studio or another design software, your steps may differ from mine.
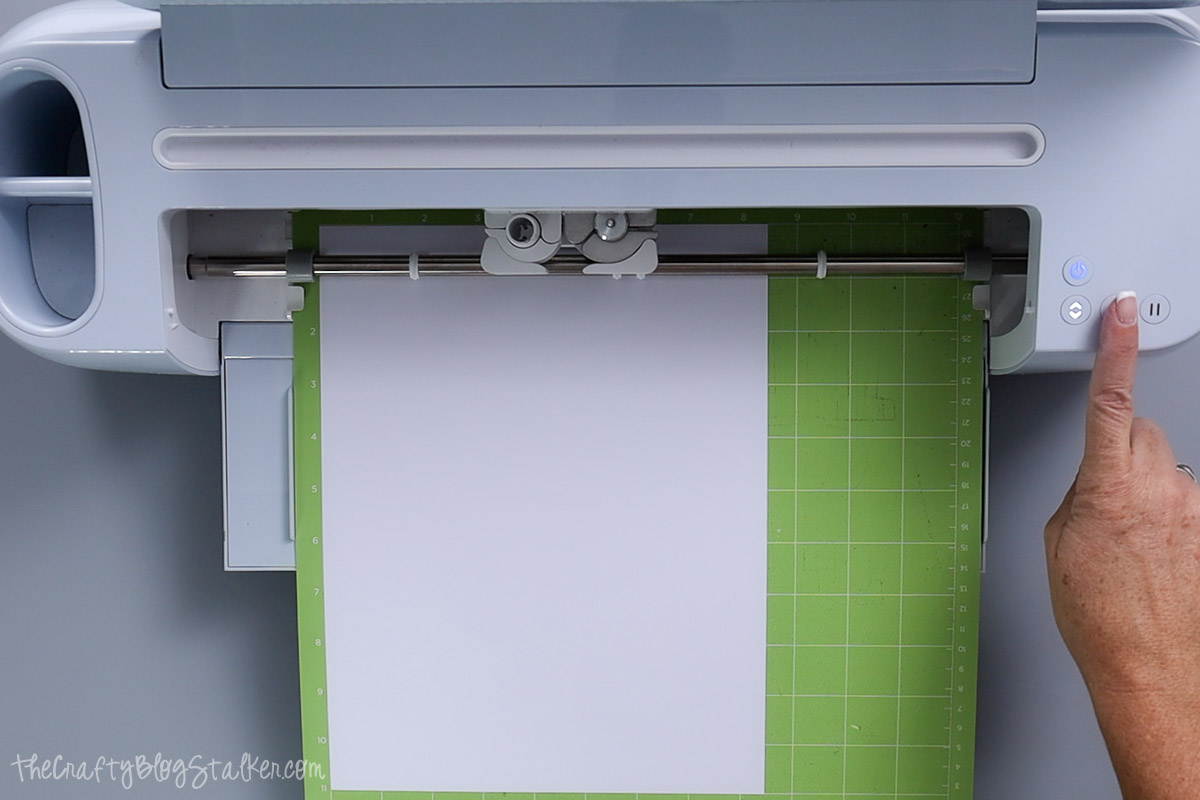
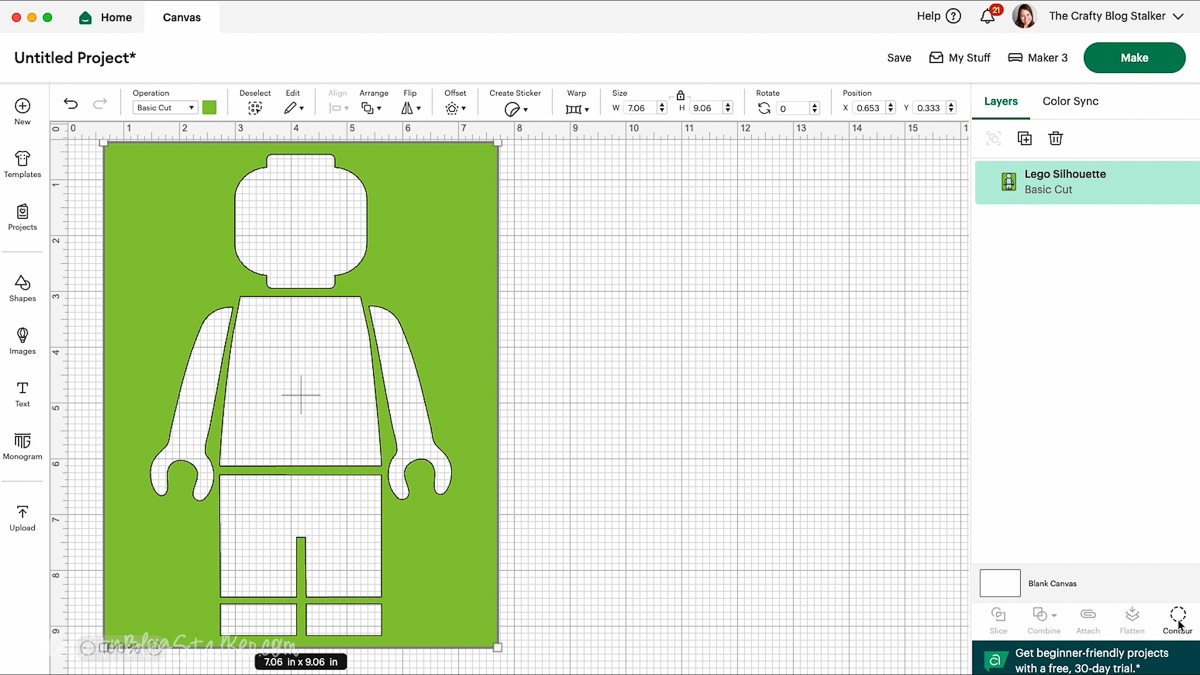
To start, upload the SVG into Cricut Design Space and add it to your Canvas.

The file measures 9x7 inches. Make sure to measure the inside of your display case, as it may be different.
If your display frame is square, I will share a tutorial on resizing for that shape at the end.
The design is now ready to be cut. Click Make and choose the material. I am using the 65lb cardstock setting.
When cutting paper, increase the pressure to More, then follow the prompts as to when to load and begin the cut.
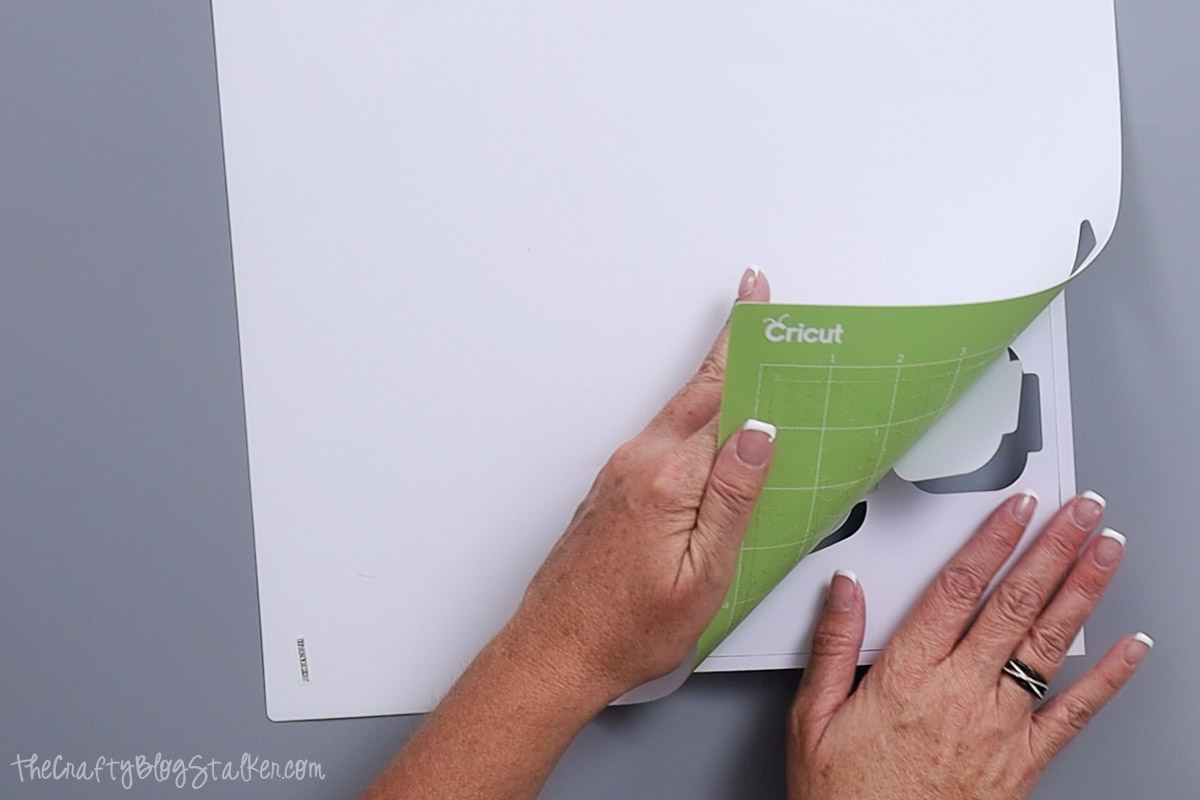
To remove the paper from the mat, place the mat face down and peel the mat away from the paper.
This will keep the paper nice and flat, preventing curling.

Frame Assembly
Remove the back of the frame.
The paper silhouette should fit perfectly inside the glass.
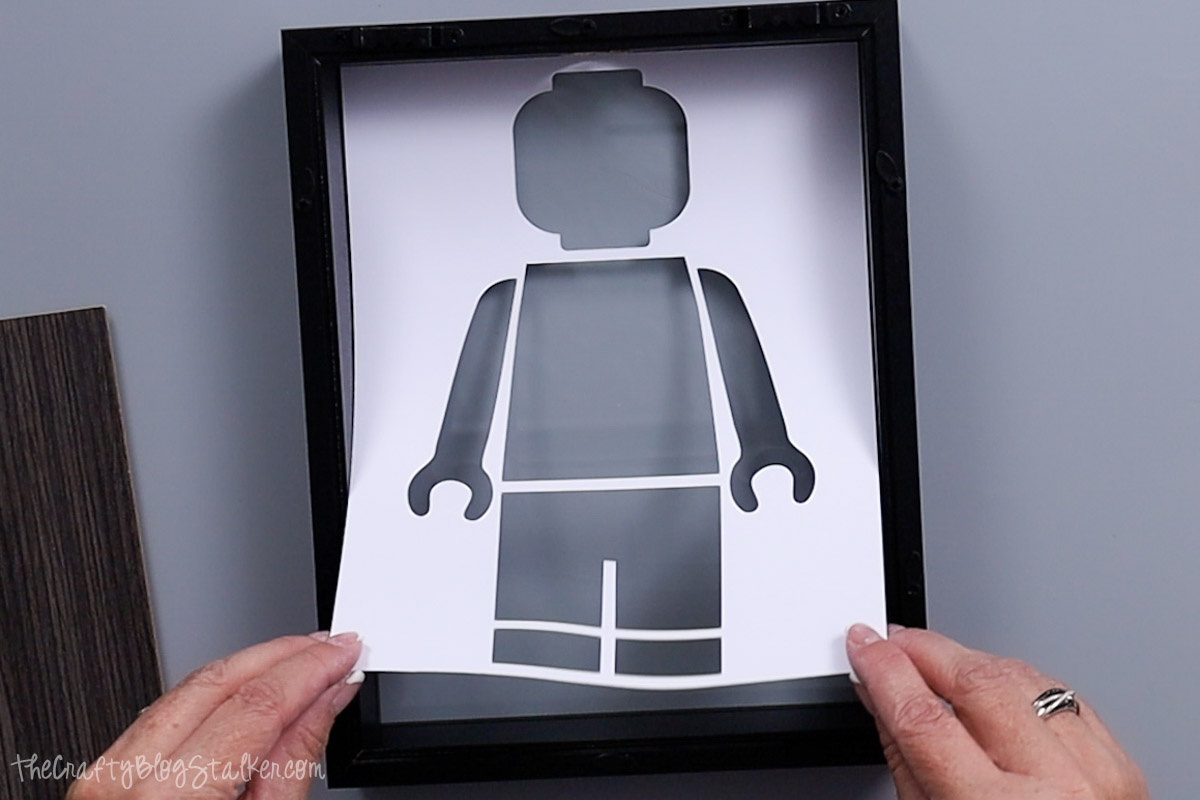
If it is too big, trim it with a paper trimmer. It must be resized in Cricut Design Space and recut if it is too small.
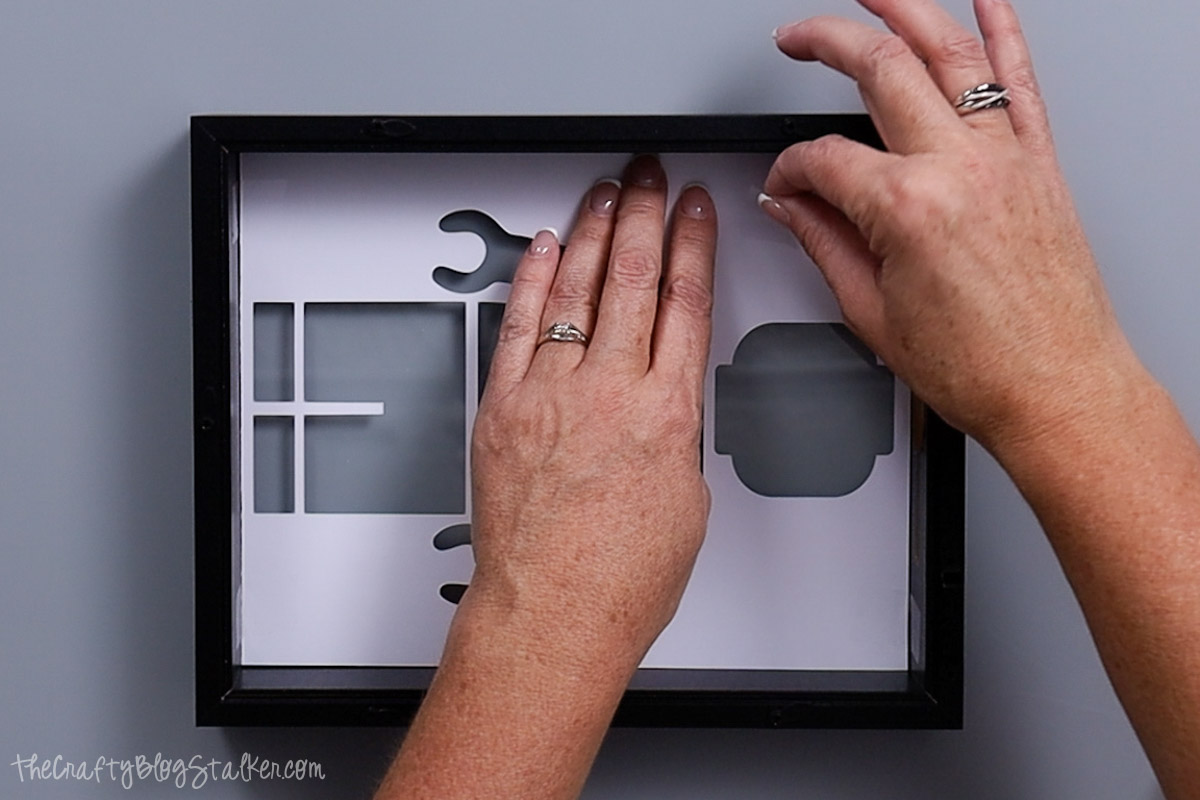
Add strips of tape around the edges of the paper to secure it to the frame.
My frame backer is textured on one side. This texture can make it more difficult for the paper to adhere correctly.
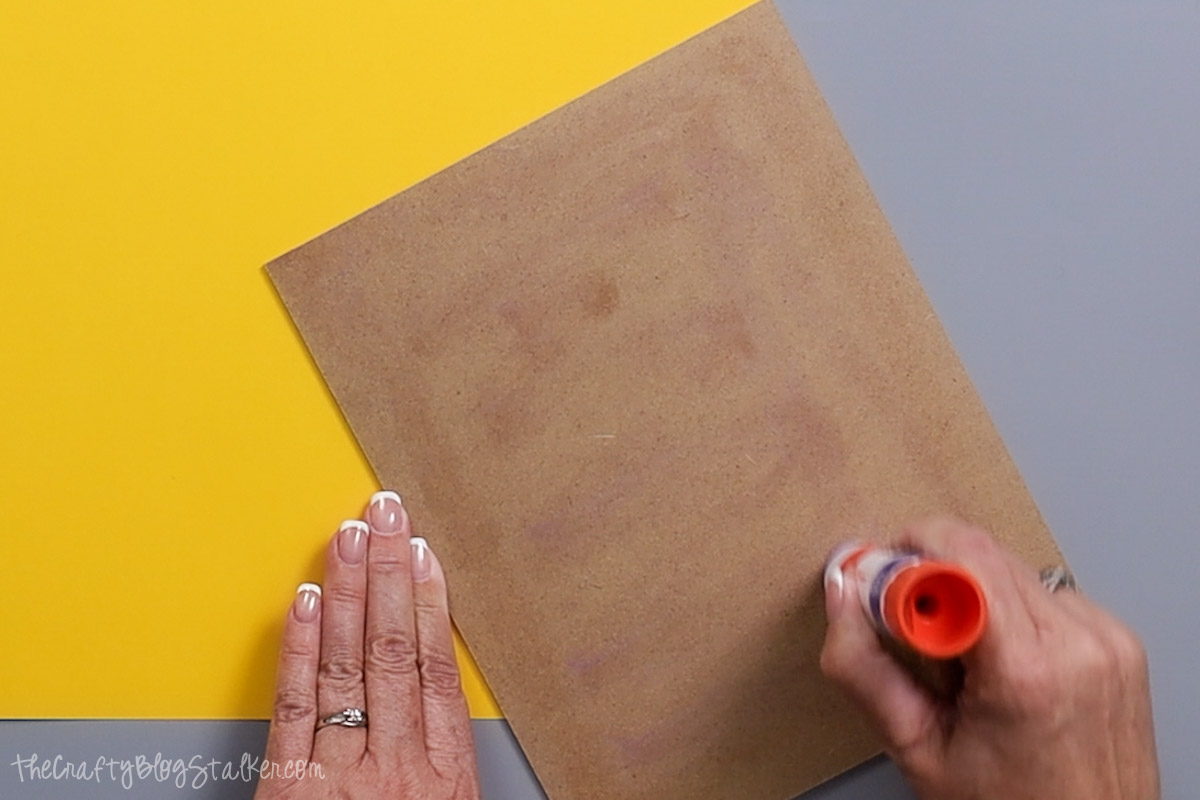
So, I applied a glue stick to the smooth side of the backer.
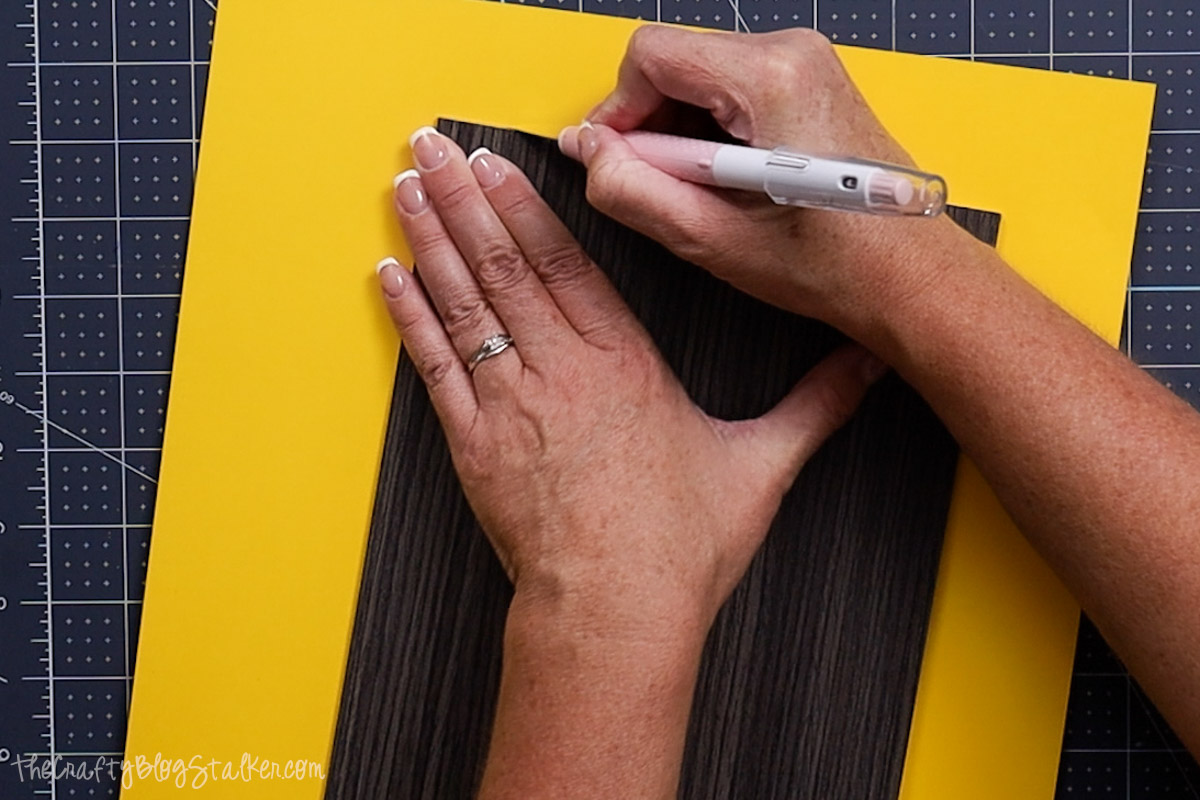
Turn the backer over and place it on a yellow piece of cardstock.
Trim off the excess with a craft knife, tracing around the edges of the backer.
Insert the backer onto the frame, and the new display frame is done. Super easy!
Final Thoughts
I made four of these frames to give one to each of my kids for Christmas. They were a big hit!

They all loved the open slot at the top of the frame, which makes adding extra blocks super simple.
How to Resize
Using a different frame or display? Here is how to resize the design to fit different measurements!
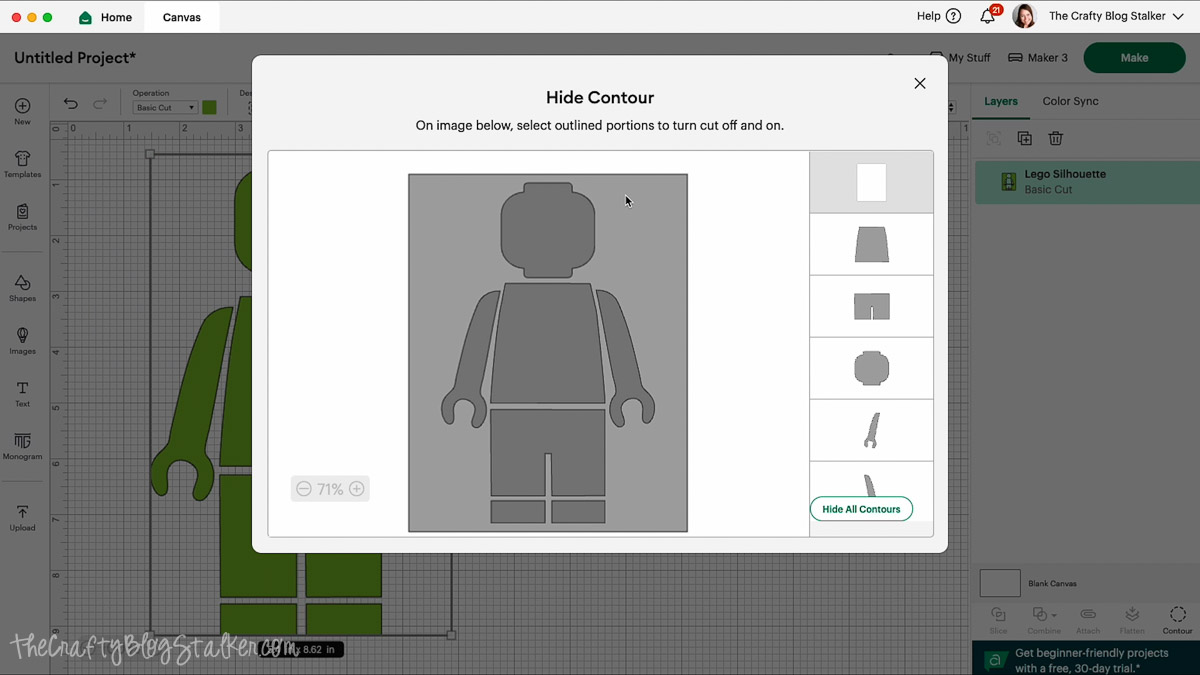
Highlight the design in Cricut Design Space. Click Contour.
Contour lets you hide shapes within a design, so I click the rectangle I want to hide.
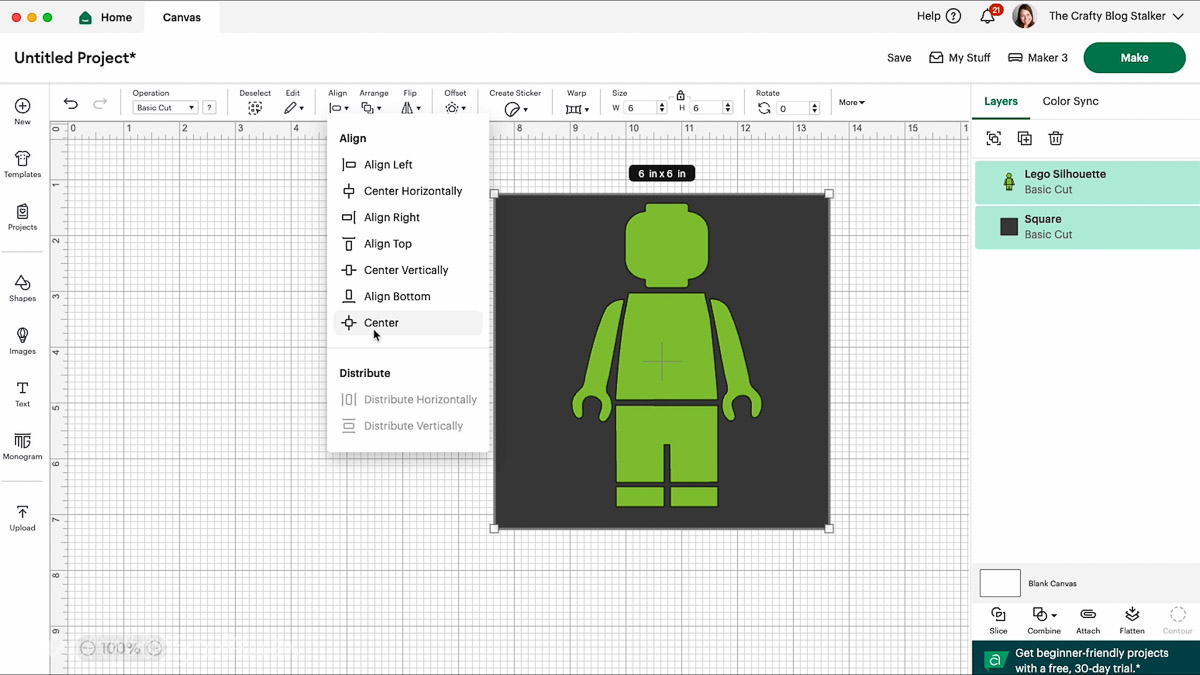
Create a shape that is the size of your frame. For this example, I made a 6x6-inch square.
Resize the Lego man as needed. Then layer him on top of the rectangle and center align.
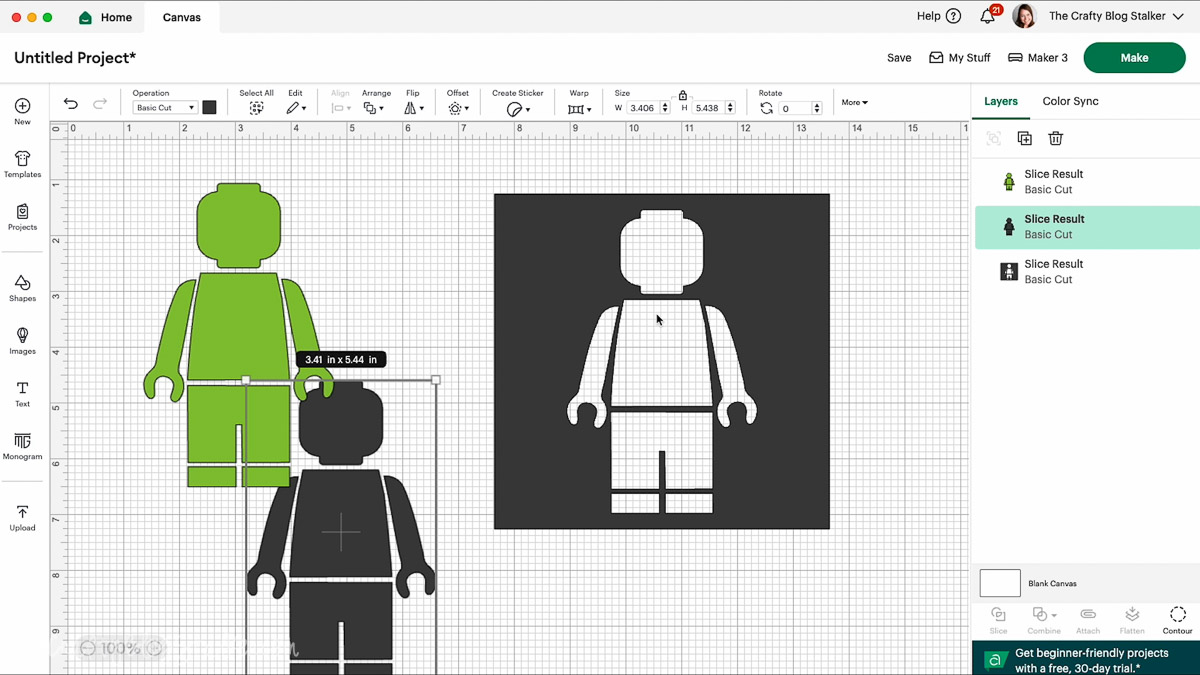
Click Slice. This will create 3 layers where there were two.
Delete the Lego man layers, and you will have a new Silhouette to fit your frame.


Debra Nagle
Thank you
Katie Adams
You are welcome Debra!
Melba Delgado
Thanks for the Lego Man. The Shadow Box, was the perfect gift for my daughter.
Katie Adams
You are welcome! I am so glad she loved it!