

Create delicious holiday treats with our guide on making Christmas chocolate-covered pretzel rods. A festive blend of sweet and salty!

Add a delightful twist to your holiday treats with our guide on making Christmas chocolate covered pretzel rods.
These delectable treats are the perfect combination of sweet and salty, making them a crowd-pleaser at any holiday gathering.
Whether you're planning to gift them or indulge in some festive snacking, our easy step-by-step instructions will have you creating these delicious goodies in no time.
Recipe Video Tutorial
If videos are your thing, you're in luck-I've got a full tutorial ready for you!
Subscribe to my YouTube channel and stay inspired with every new project.
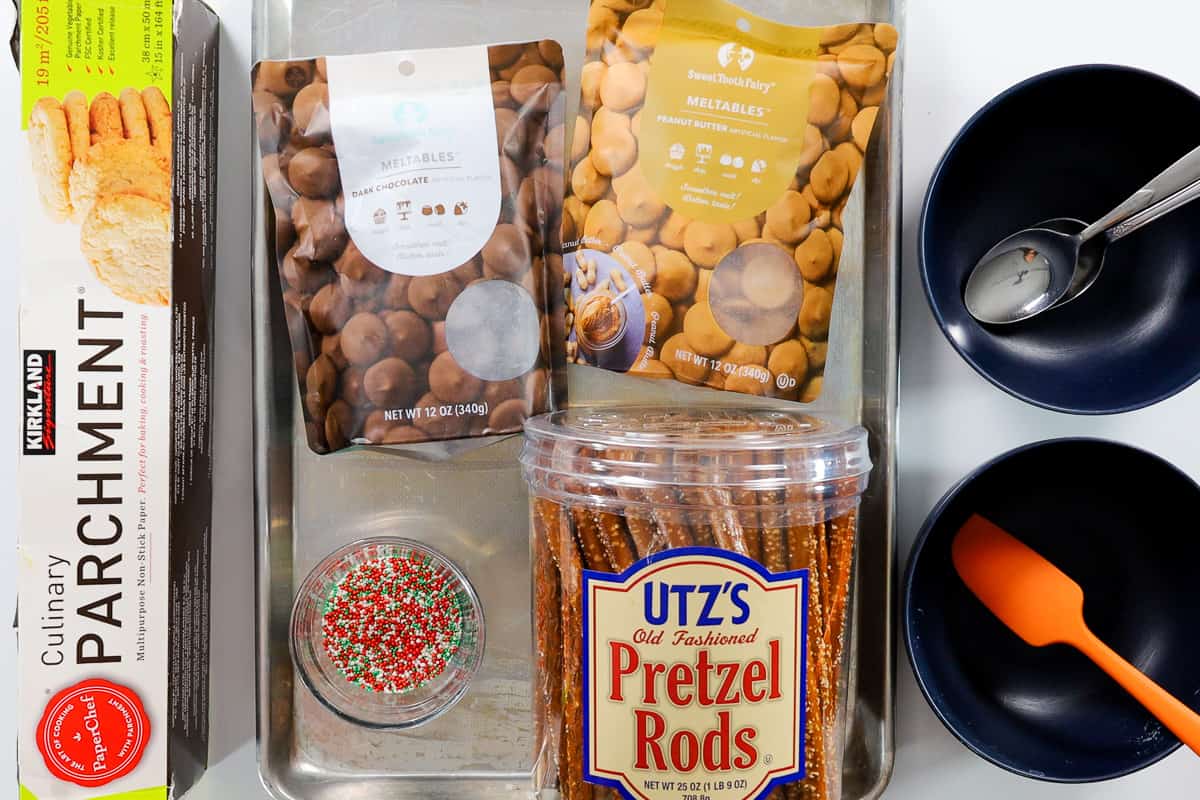
Recipe Ingredients:
- Peanut Butter Meltables
- Dark Chocolate Meltables
- Pretzel Rods
- Sprinkles
The meltable flavors I am using are Peanut Butter and Dark Chocolate, but feel free to experiment with different flavors and types of chocolate.
Instead of sprinkles, you could also try topping them with crushed mini candy canes or peppermint candies, mini chocolate chips, coconut flakes, or white chocolate drizzle.
If you are making these for people outside of your family, I strongly suggest wearing food-safe gloves. You never want to touch other people's food.
Instructions:
Begin by lining a baking sheet with parchment paper or waxed paper.
Pour the Peanut Butter Meltables into a microwave-safe bowl.
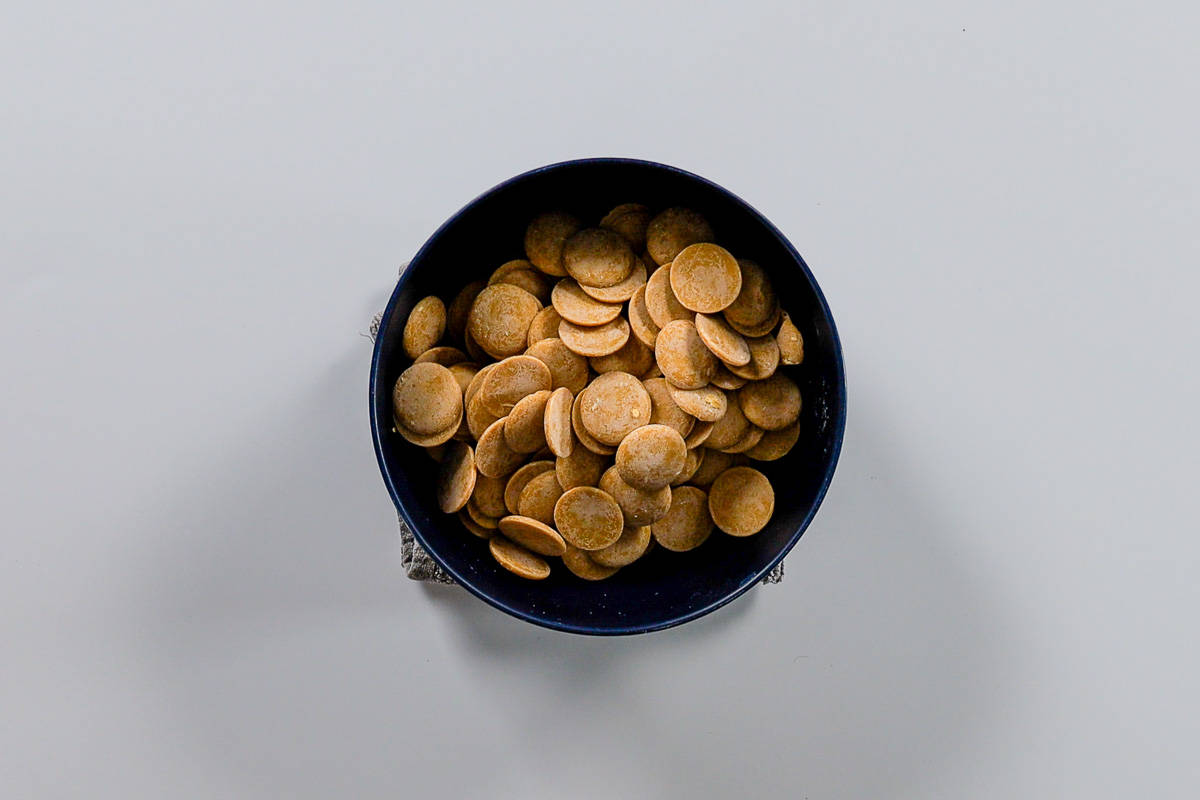
Follow the package instructions on how to melt the peanut butter chips.
Here are the instructions for the candy melts I used:
- Microwave at 50% power for 1 minute
- Stir
- Return to microwave for 30-second intervals stirring in between until the candy is melted

Make sure to watch the peanut butter closely because it can easily burn.
The Meltables from Micheals melts beautifully. The peanut butter is so silky smooth!
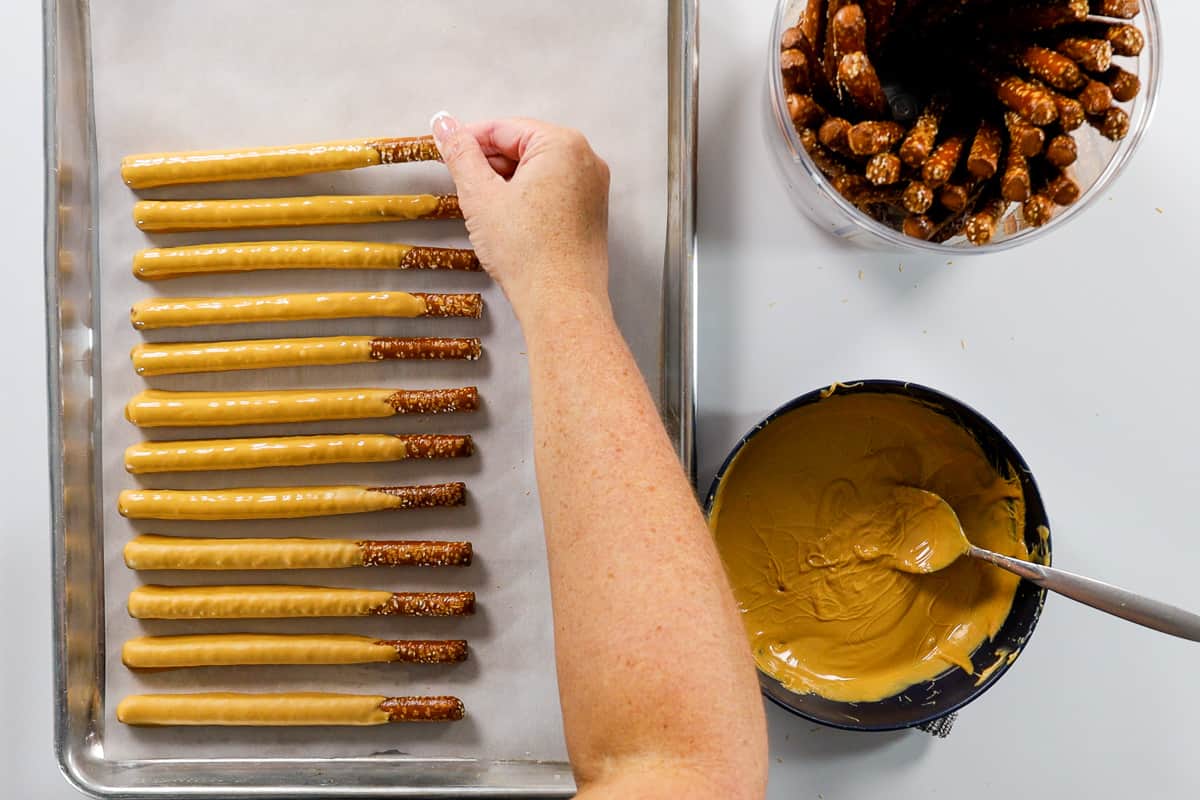
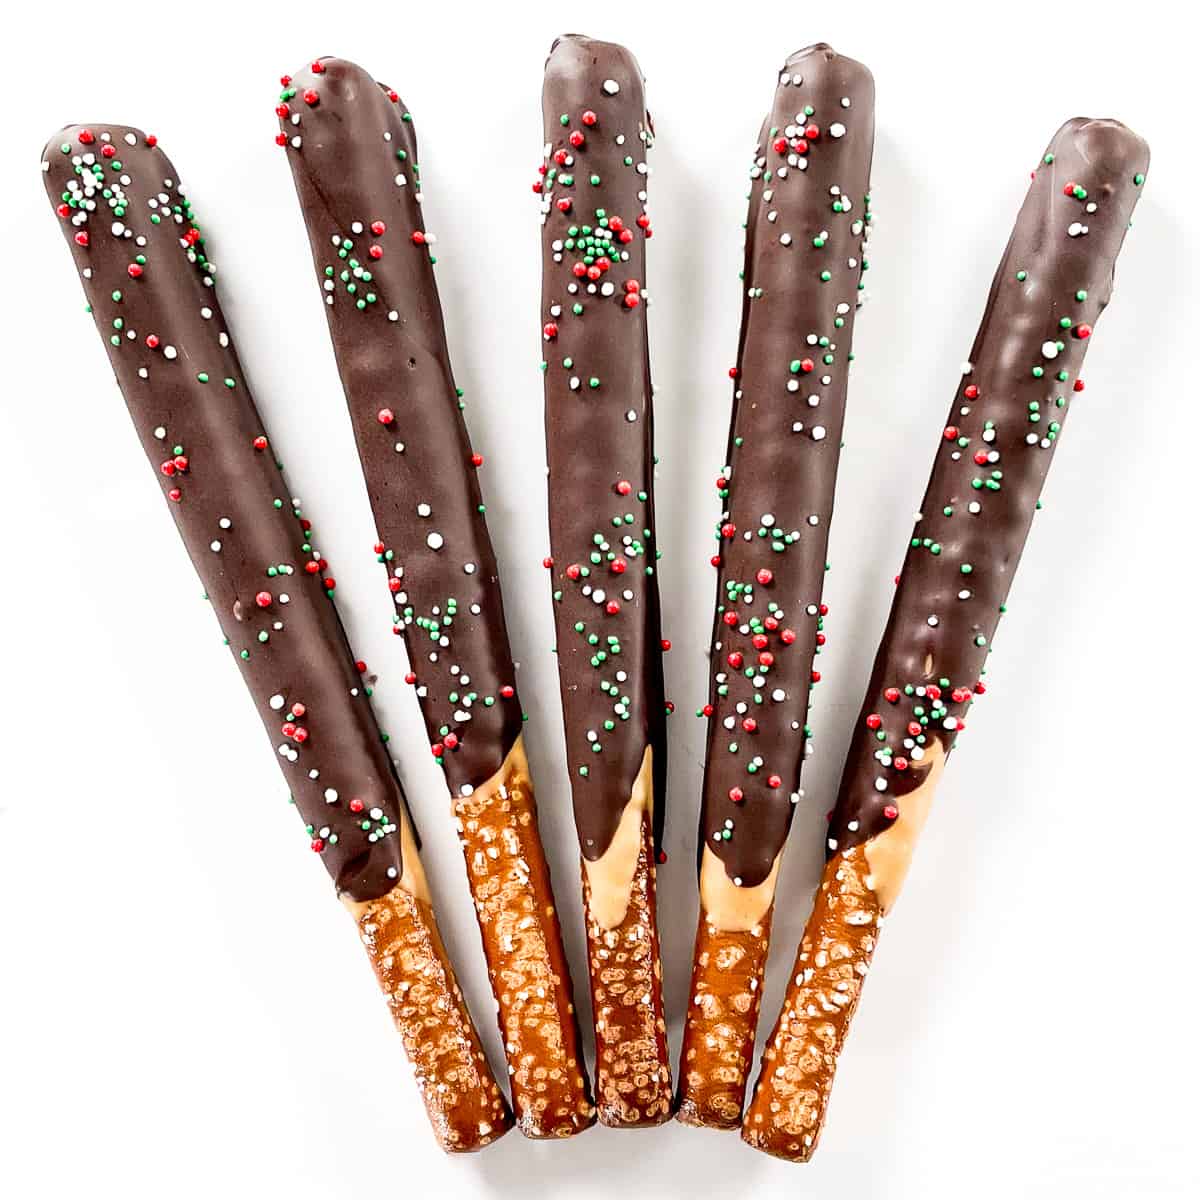
Pick up a pretzel rod, and with a spoon cover the entire rod with melted peanut butter, leaving only the end of the pretzel rod uncovered.
Shake off any excess peanut butter, and then place the pretzel rod on the lined baking sheet for the peanut butter to harden.
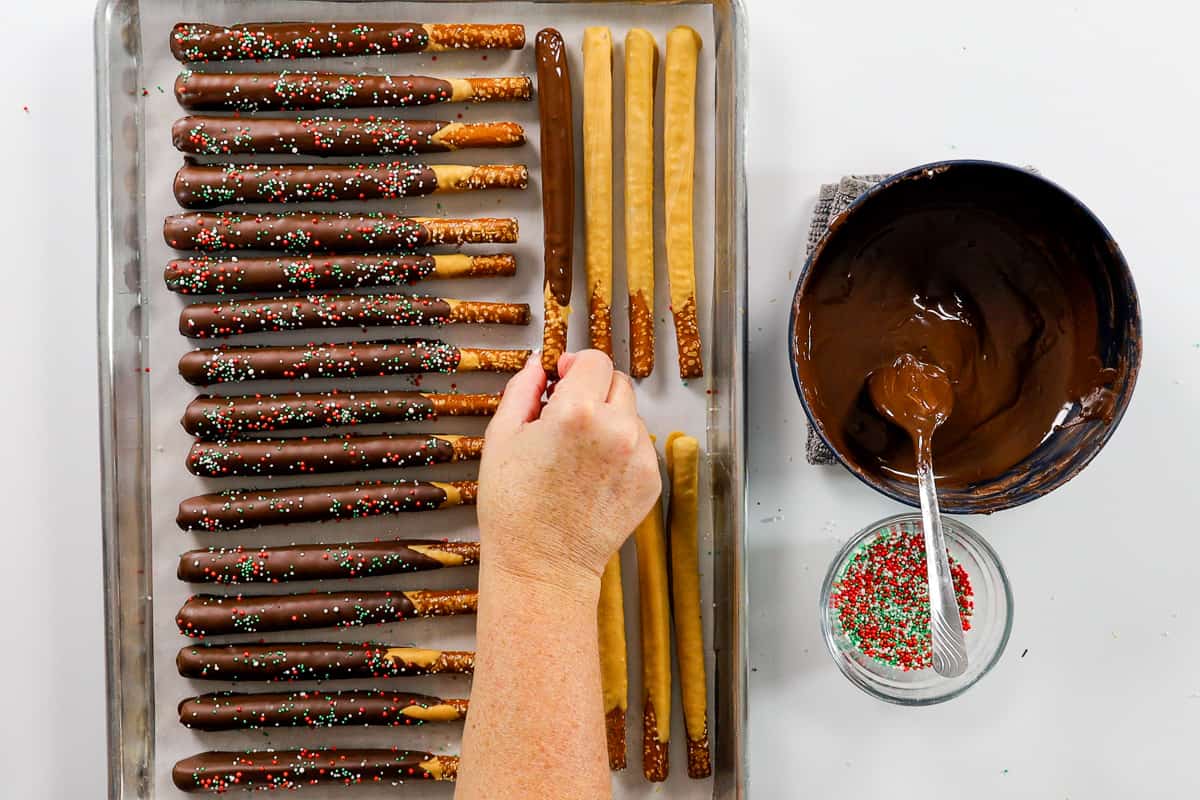
Melt the Dark Chocolate Meltables, again following the package instructions.
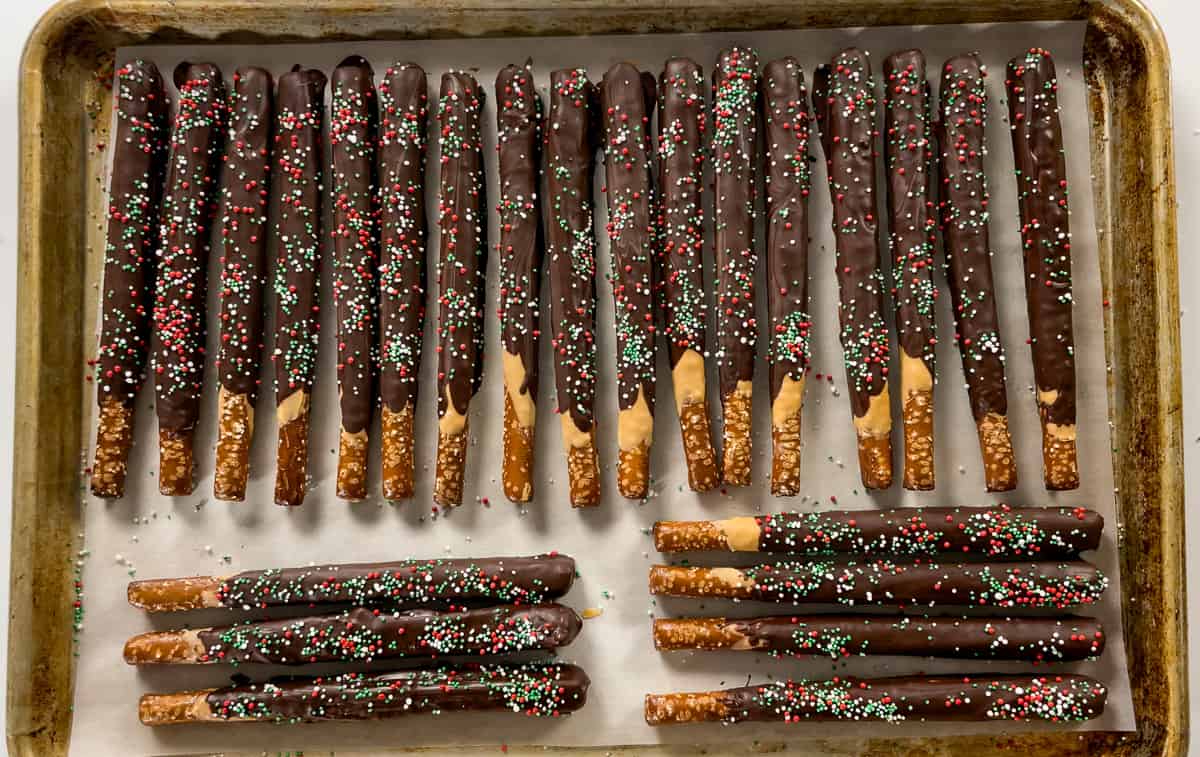
This time cover each pretzel stick with the melted chocolate, tap off the excess chocolate, and then drop sprinkles over the top while the chocolate is still wet.
Make sure to let the layers completely set before packaging.
Packaging:
Chocolate-covered Pretzel rods are one of my favorite Christmas treats and they make great Christmas gifts!
I found the 4x9 Treat Bags fit 4 Christmas Pretzel Rods perfectly.
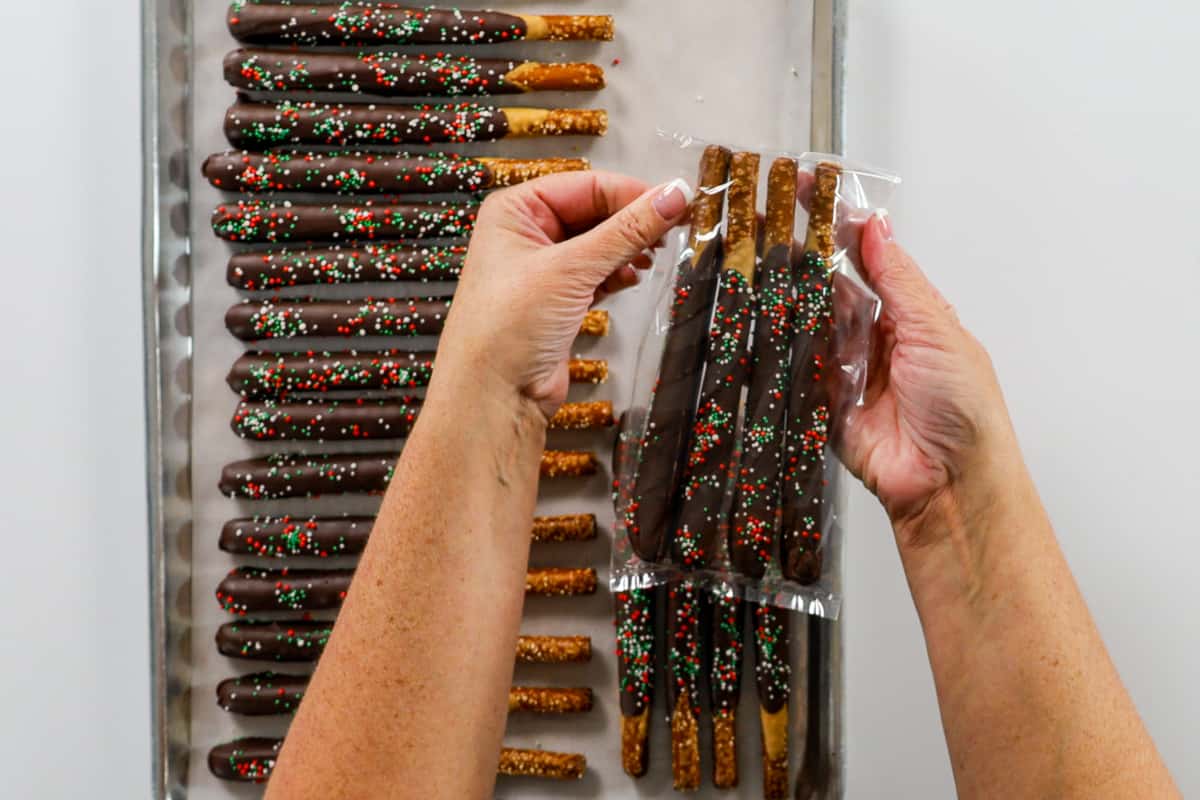
Simply fold the top to the back and secure it with a piece of transparent tape.
You could also add a bow or a cute tag!
These chocolate-covered pretzels are so good, that no matter how you package them, they are delicious!
Store in an airtight container at room temperature.
How to Make Christmas Chocolate-Covered Pretzel Rods
Equipment
- Spoon
Ingredients
- Meltables Peanut Butter Chips
- Meltables Dark Chocolate Chips
- Christmas Sprinkles
Instructions
- Line a baking sheet with parchment paper or waxed paper.
- Pour the Peanut Butter Meltables into a microwave-safe bowl.
- Follow the package instructions on how to melt the peanut butter chips.
- Pick up a pretzel rod, and with a spoon cover the entire rod with melted peanut butter, leaving only the end of the pretzel rod uncovered.
- Shake off any excess peanut butter, and then place the pretzel rod on the lined baking sheet for the peanut butter to harden.
- Melt the Dark Chocolate Meltables, again following the package instructions.
- This time cover each pretzel stick with the melted chocolate, tap off the excess chocolate, and then drop sprinkles over the top while the chocolate is still wet.
- Make sure to let the layers completely set before packaging.
Notes
Baking Essentials
- We use Glass Baking Dishes for baking casseroles. I especially like the dishes with lids because leftovers can be transferred straight to the fridge.
- Silicone Kitchenware is my favorite because they don't scratch my cookware and is easy to clean!
- A Glass Cutting Board is a must to prepare all of those ingredients. We even keep ours on our counter at all times.
- This Knife Set will also become your favorite! The knives cut beautifully, and the hollow design prevents food from sticking to the blade.