

You don't need a wood-burning tool to create wood-burned cork coasters! Grab a Scorch Marker and a heat source and you have great handmade gifts! The Scorch Marker was given to me for this post. All opinions are my own because I love giving you helpful tutorials!
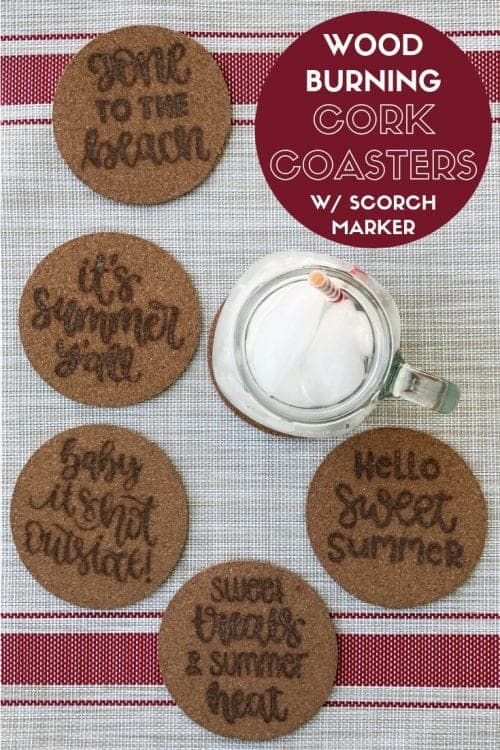
Aren't these wood-burned coasters perfect for summer?! I love the sayings on them! Can you tell that they aren't actually wood burned at all? You can't? Well, that is the magic of the Scorch Marker!
Like videos? I do have a video tutorial if you would prefer to watch the tutorial. Please subscribe to my YouTube Channel so you don't miss out on any future video tutorials!
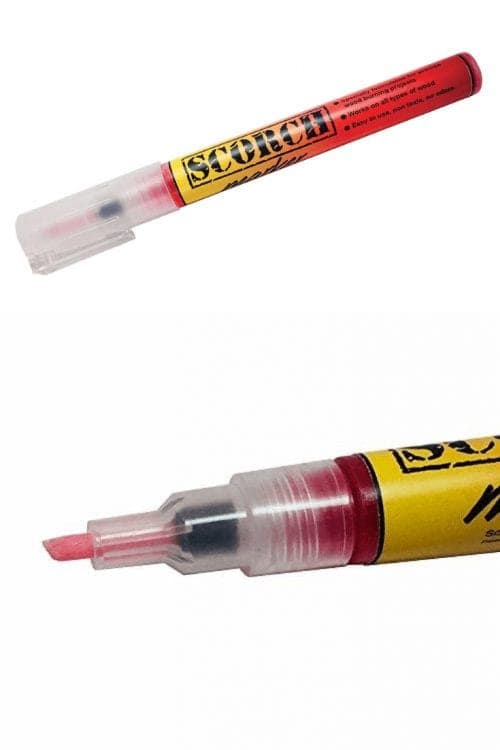
What is the Scorch Marker?
The Scorch Marker is a chemical wood-burning marker, that allows you to color, draw, and/or trace onto any wood surface. Instead of using a soldering wood burning tool, simply heat, and your design are "burned" into your wood! How cool is that?!
You can use all sorts of heat sources too! You can use a heat gun, an oven set to 375 degrees or a Cricut EasyPress and that is what we are going to be using today!
How to Make Handmade Wood Burning Cork Coasters with a Scorch Marker
Supplies Used:
Affiliate links below may be too similar items when exact items couldn't be found online.
- Scorch Marker
- 4-inch Cork Coasters
- Summer Coasters - Cricut Design Space
- Cricut Cutting Machine
- LightGrip Mat
- Vinyl
- BrightPad
- Weeding Tools
- Scraper Tool
- Transfer Tape
- Heat Press
- Crafty Felt
- Hot Glue Gun
A Vinyl Stencil with Cricut
I created these stencils on my Cricut Maker with vinyl, and you are welcome to use this design in Cricut Design Space.
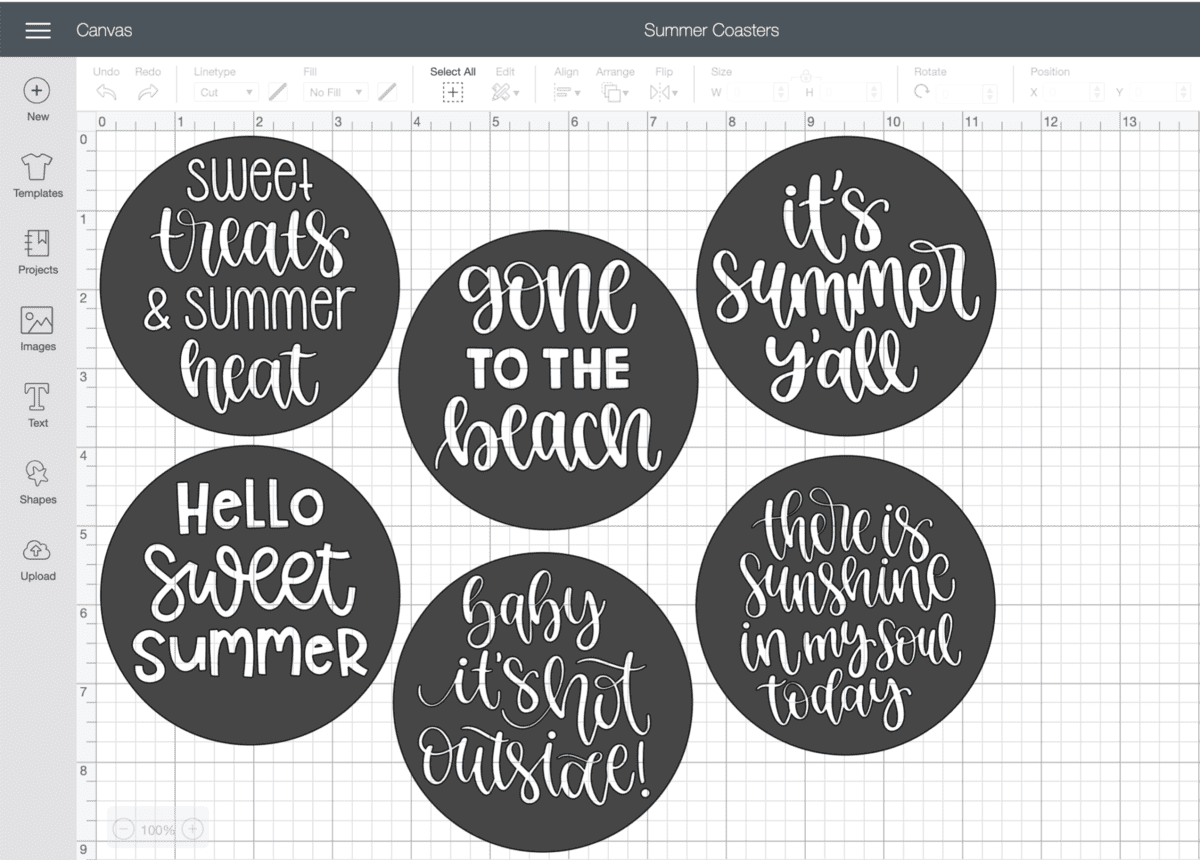
You can also create your own design for your cork coasters, or draw freehand onto the coaster.
The text that I used on the stencils was already created and are files within Cricut Design Space. To make the stencil I created a circle that was 3.8 inches and sized the text to fit inside the circle.
Centered the text in the circle, highlighted both the text and circle and then selected slice. This slices the text out of the circle creating the stencil. Easy Peasy!
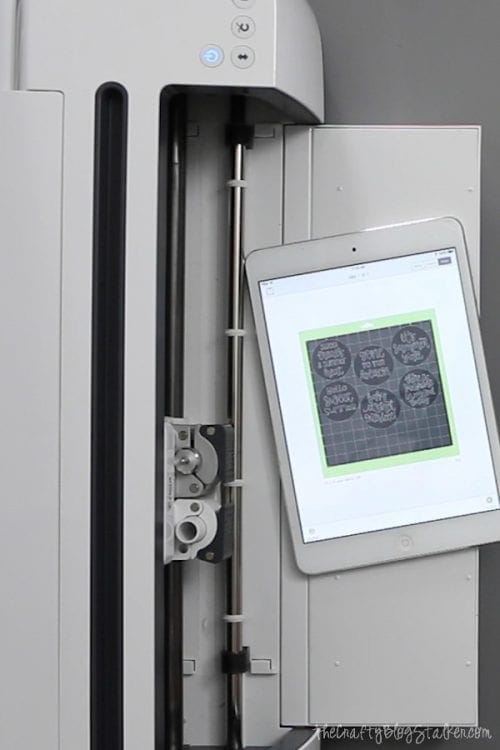
I cut these stencils using a Cricut Maker, but all Cricut machines can cut vinyl. Follow the prompts in Cricut Design Space and select "Make It" to send the images to the Cricut machine to cut.
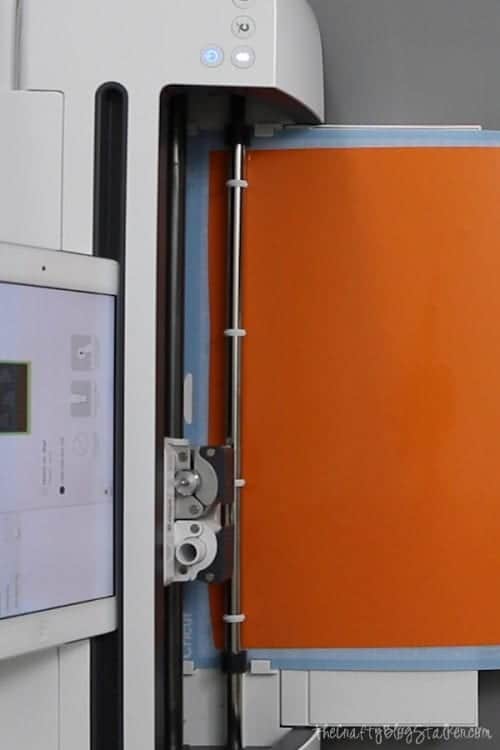
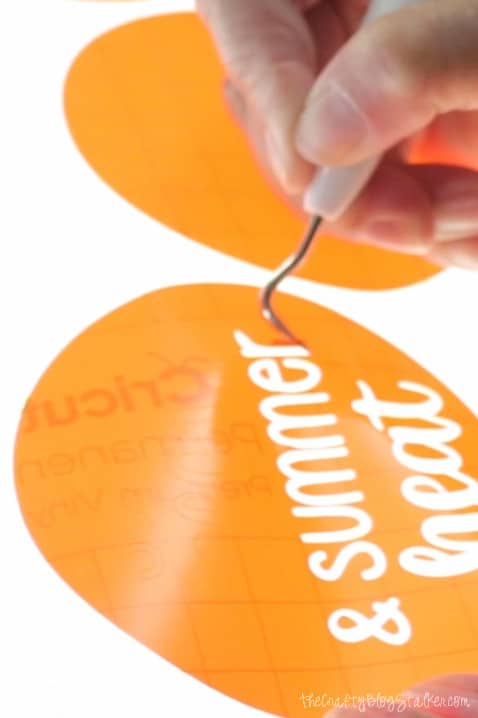
After the design is cut, remove the vinyl from the cutting mat and begin weeding. Since we are making a stencil we want to keep the negative part of the design. That means I remove the letters and keep the center part of the letters and the circle around the letters.
I like to weed on my Cricut Bright Pad. The light shines through the cut lines so I can easily see where I need to weed, but you can still weed your vinyl without one.
Applying the Vinyl Stencil to the Cork Coaster
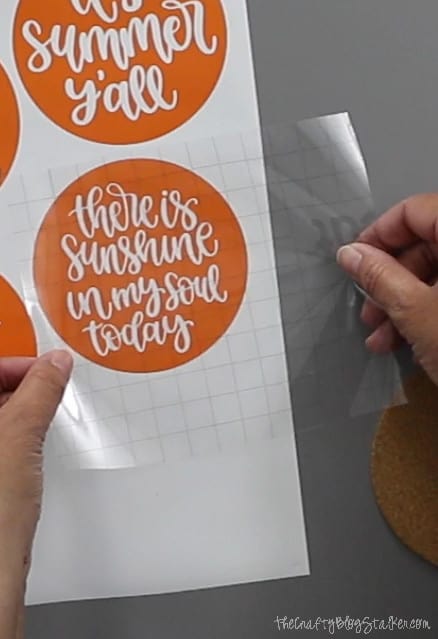
The easiest way to apply the stencil to the cork coaster is to use transfer tape. Transfer tape is a carrier sheet for the vinyl sticker so it doesn't get stretched while moving it to the coaster.
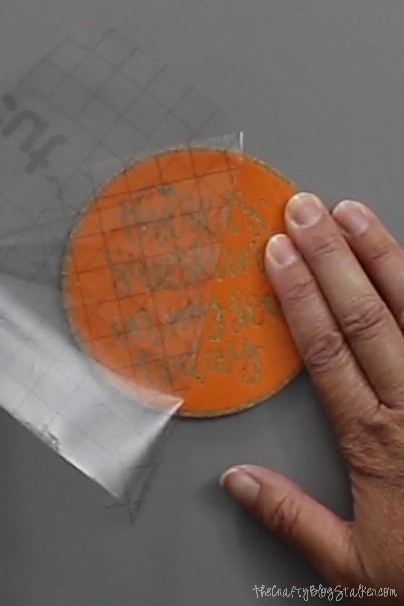
Remove the paper backing of the transfer tape and lay it over the top of the vinyl stencil. Using a scraper tool, rub over the entire design to make sure the transfer tape is stuck nicely to the vinyl.
Carefully peel up the vinyl stencil with the transfer tape, removing it from the vinyl backing sheet. If little parts aren't sticking to the transfer tape you can go over them again with the scraper tool or try turning the vinyl right side down and peel away from the backing sheet side.
I prefer to eyeball the placement on my project, but if you would like you can measure and mark with a pencil to get the perfect placement.
Then peel the transfer tape away from the wood sign, leaving the stencil stuck to the cork coaster.
Coloring with the Scorch Marker
Now, simply color in the stencil with the Scorch Marker. You really don't need a lot of ink, just make sure that you fill in all of the empty space in the stencil.
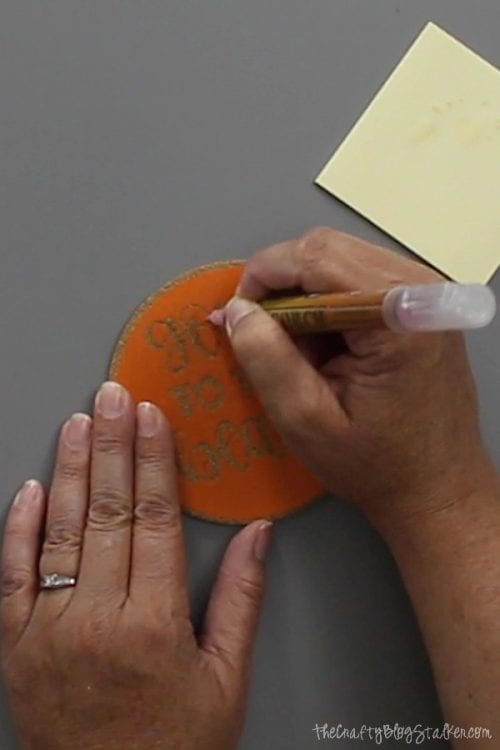
You can heat it when the ink is wet or dry so don't worry, there is no need to rush the coloring. You can take your time.
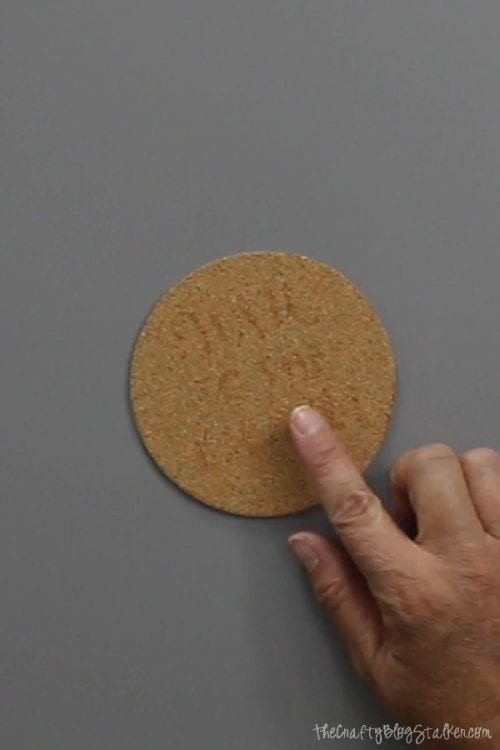
When the stencil is colored in, remove the vinyl stencil. You will be able to see a faint pink ink where you colored in the design.
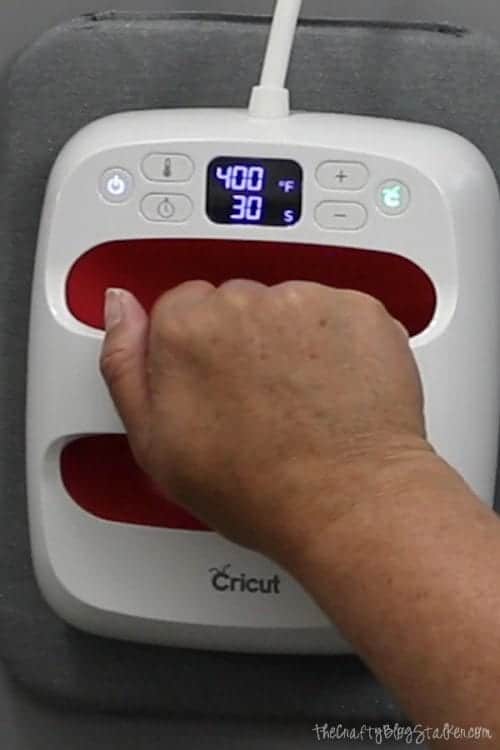
Wood Burning by Applying Heat
Turn the heat on the Cricut EasyPress all the way up to 400 degrees Fahrenheit and the timer to 30 seconds.
Lay the cork Coaster on the EasyPress Mat and apply the EasyPress. Make sure to hit the logo button to begin the timer.
It takes a couple of applications for the color to begin changing. This is after 2 applications.
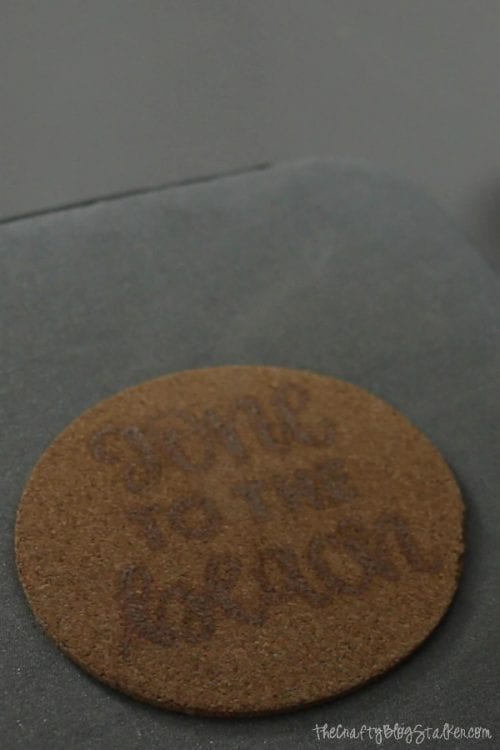
But when more heat is applied it gets darker.
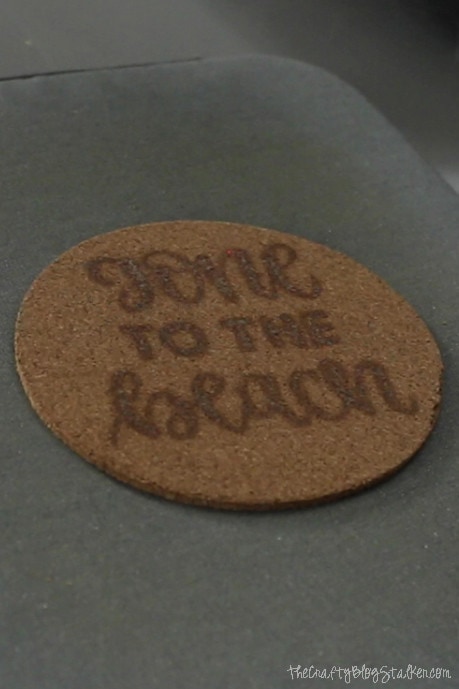
How cool is that? It has the look of burned wood without a wood-burning tool!
Finish the Coasters with Felt
To finish the cork coasters, add a layer of craft felt to the back of each coaster.
I used the Cricut Maker and cut perfect 4-inch circles out of craft felt.
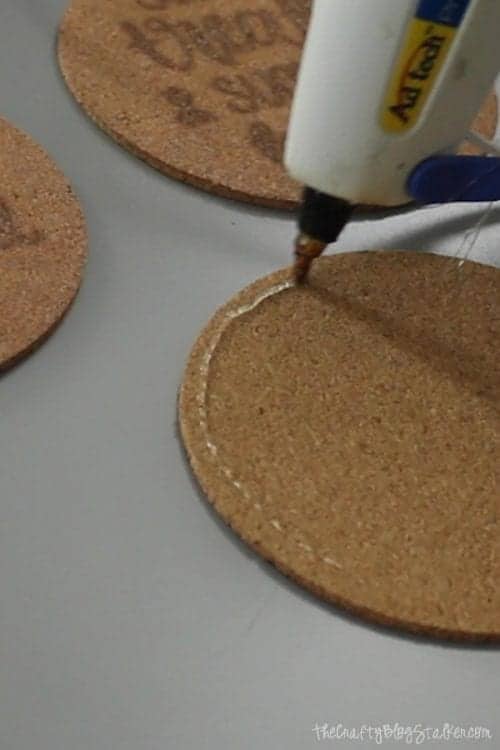
Using a hot glue gun, apply a line of glue around the back side of the coaster.
Lay the felt circle on top and press it into place.
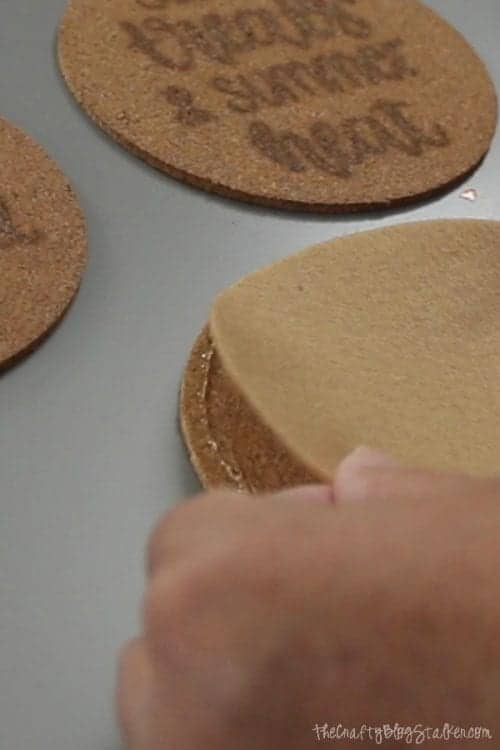
The layer of felt gives the thinner cork a more sturdy feel and they look more finished and better quality in my opinion.

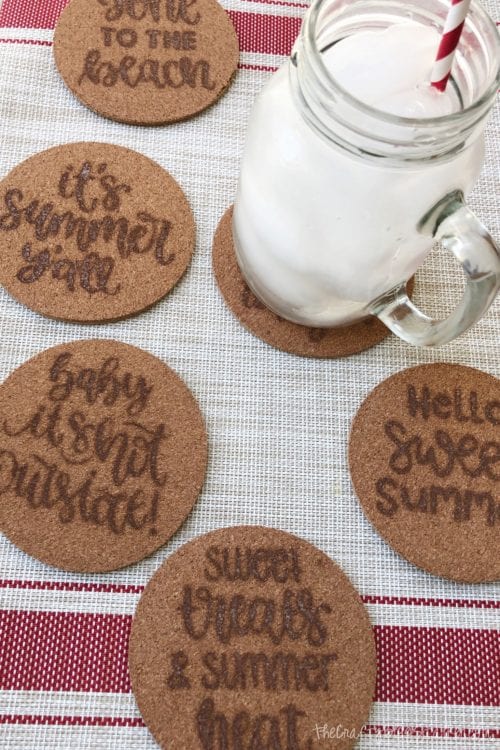
What are your favorite summer sayings that could be put on a coaster?
Crafting Essentials
- The Cricut Cutting Machine is easily my favorite crafting tool. We use it in so many of our tutorials!
- These MakerX Crafting Tools are perfect for keeping in the craft room and are always ready when needed!
- This Fiskars Paper Trimmer is easy to use and cuts nicely without frayed edges.
- These Scotch Precision Scissors cut like a dream, and you get multiple pairs in a pack!
Bradley Noah
You don't need a wood burning tool to create wood burned cork coasters! Grab a Scorch Marker and a heat. The Scorch Marker is an easy, safe alternative to traditional wood burning! Use this marker to create any wood burned design you can imagine.