



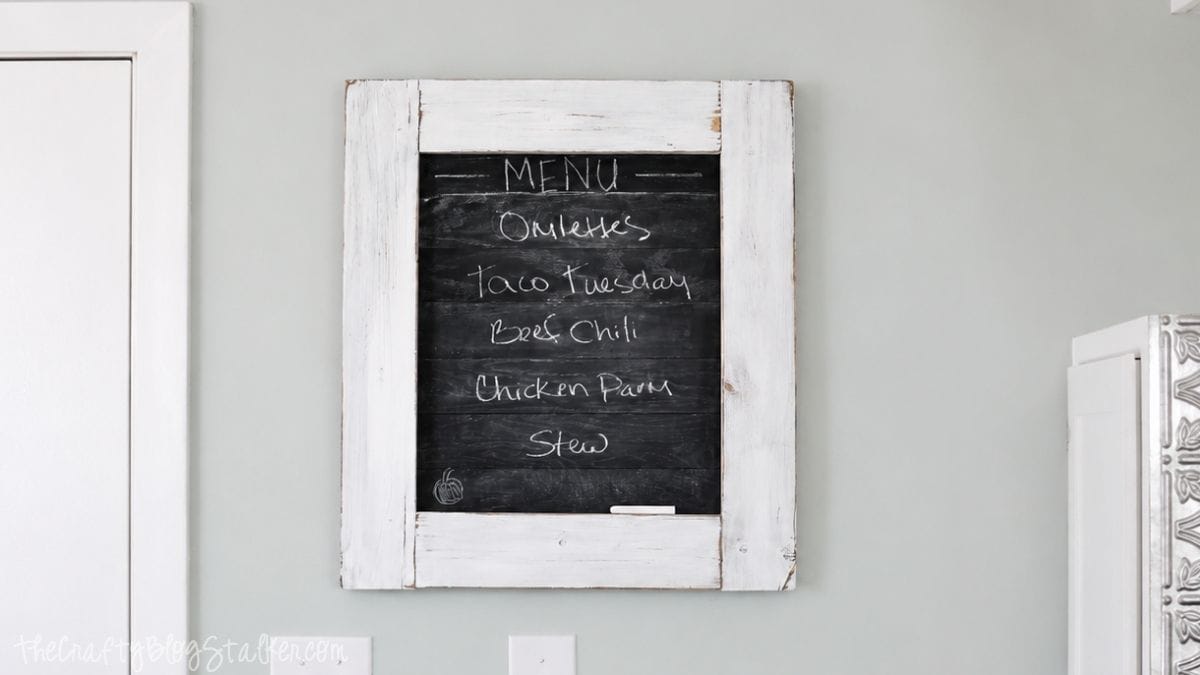
This framed chalkboard menu board is a cute and practical way to display weekly meals while adding vintage farmhouse style to your kitchen.
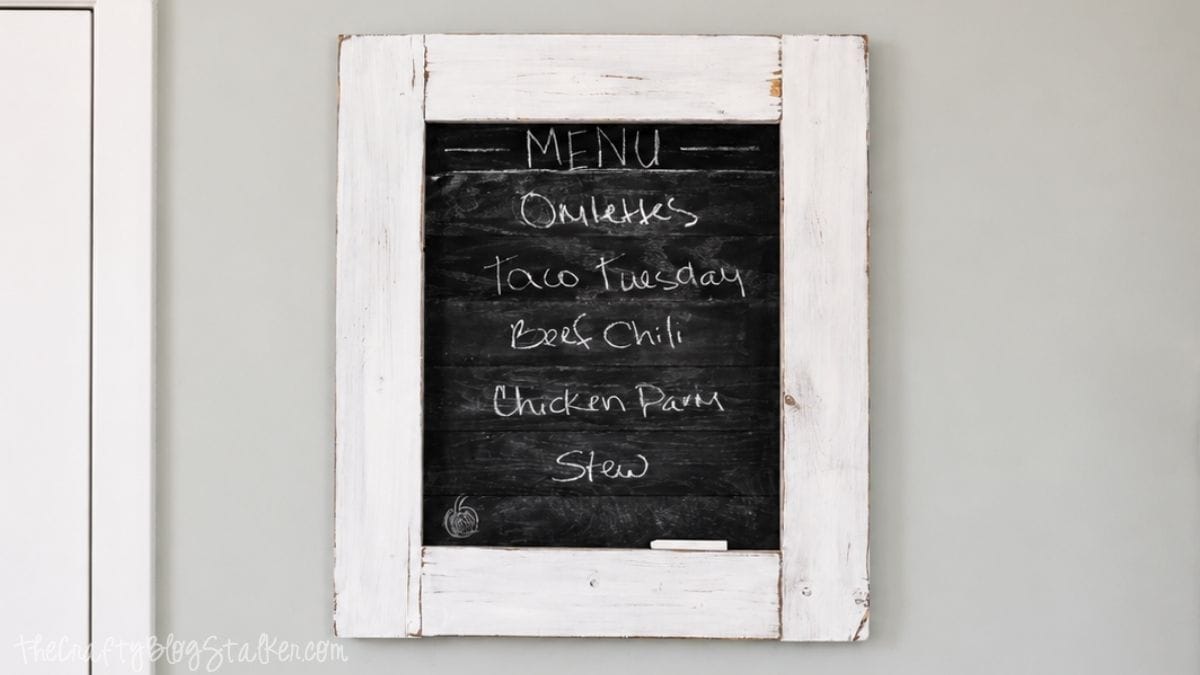
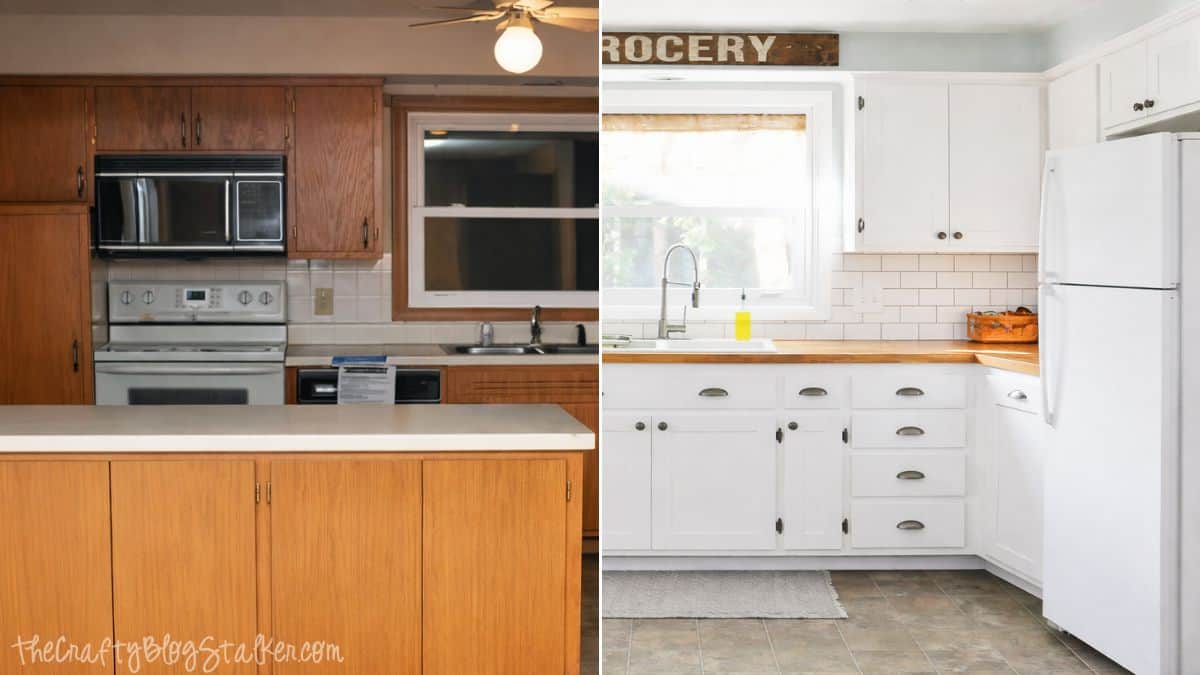
Now that my kitchen remodel is finished, I can finally share some of the smaller projects that gave the room its personality.
After tackling big updates like the countertops, I realized the kitchen still needed a little of that distressed, vintage character I love.
This framed chalkboard menu board was the perfect solution, and it gave me a cute spot to keep our weekly meals organized.
If your kitchen could use a little more personality and function too, grab your supplies and I'll show you how to make one!
Jump to:
Skill Level: Intermediate
Estimated Cost: $30-$50
Total Time: 3-4 hours

Build and Distress the Wood Frame
The first step is building a basic wood frame using 1x4 boards and a Kreg Jig. You can customize the finished size to fit the wall where you plan to hang your menu board.
I wanted mine to look like it was made from old reclaimed wood. Since I'm apparently not one of those lucky people who happens to find piles of gorgeous reclaimed lumber, I had to fake it!
I wanted little splits and imperfections around the joints to give the frame a more aged appearance. Mine developed some splits while I was assembling it, and instead of seeing that as a problem, I decided they were exactly what the frame needed.
I wouldn't intentionally use incorrectly sized hardware to recreate the effect, though. If you'd like to add cracks, dents, or other imperfections to new lumber, distress the wood separately before assembly so the frame itself remains sturdy.
Stain the Frame
Once the frame is assembled, apply Minwax Special Walnut stain according to the manufacturer's directions.
The stain creates the darker base that will eventually peek through the white paint. That's what gives the finished frame that worn, layered look instead of making it look like freshly painted lumber.
Allow the stain to dry before moving on to the paint.
Add the White Paint
Paint the stained frame white and let it dry.
Once the paint is dry, lightly sand around the edges, corners, and other areas that would naturally show wear over time.
Don't try to make every side match. A little variation makes distressed furniture and decor look much more believable.
As you sand through the white paint, the walnut stain underneath begins to show, giving the frame that aged look I wanted.
Keep going until you're happy with it. You can always distress it a little more, but it's much harder to put the paint back once you've sanded too far!
Make the Chalkboard Strips
While the frame is drying, prepare the plywood strips that will become the writing surface.
My plywood strips are 2 ½ inches wide. Your strips will be the same length as your finished frame.
If you don't have the tools to rip a sheet of plywood into narrow strips, check with your local home improvement or lumber store to see if cutting services are available.
Paint the Plywood
Cover the front of each plywood strip with chalkboard paint.
I used spray chalkboard paint and applied about four coats, letting each coat dry as directed.
Don't forget about the edges!
I skipped them the first time around and quickly realized you could see the unfinished plywood from certain angles. So yes, I got to go back and paint those too. Learn from me and save yourself the extra step!
Continue applying light, even coats until you have a durable, consistent finish across all of the strips.
Let the chalkboard paint dry completely according to the manufacturer's directions before assembling the menu board.
Assemble the Chalkboard Menu Board
Turn the frame over so you're working from the back.
Find and mark the center of the frame.
Instead of starting with the first strip at one edge and hoping everything ends up centered, begin in the middle. Find the center of one plywood strip and line it up with the center of the frame.
This gives you a nice visual starting point and helps keep the finished arrangement balanced.
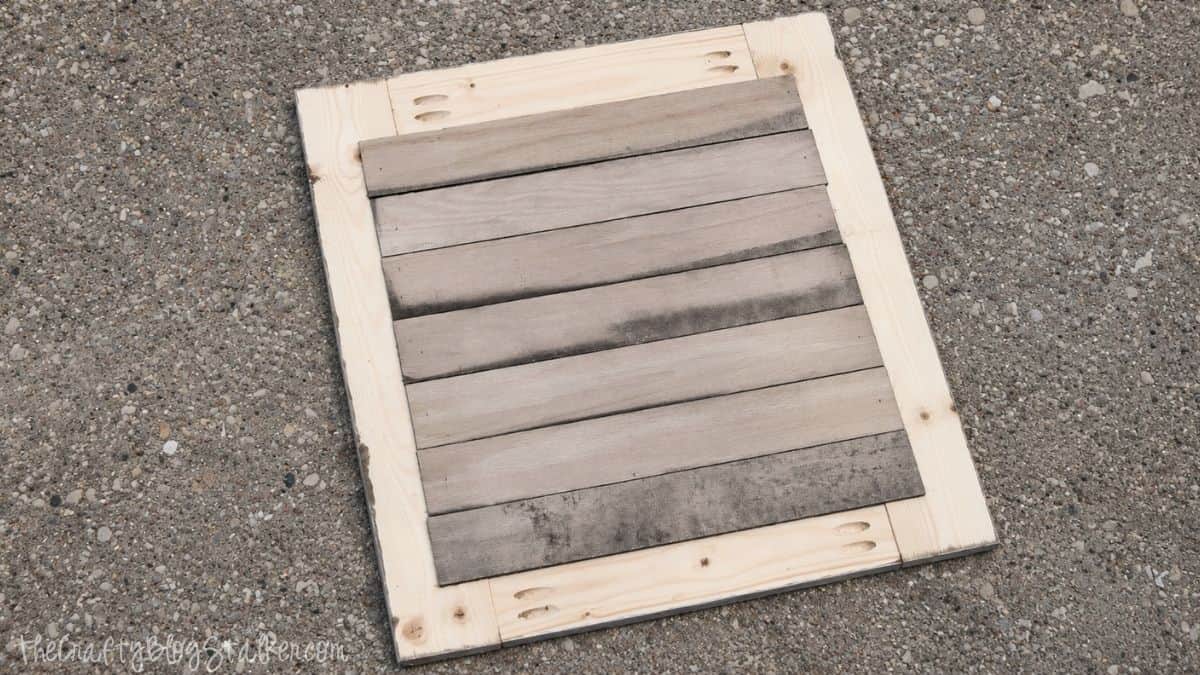
Place the remaining strips next to the center piece and work outward in both directions.
Push the strips tightly together and check that everything is straight and level before attaching anything.
Take a minute to look at the board from the front, too. It's much easier to move a slightly crooked strip now than after the nail gun comes out!
Attach the Plywood Strips
Once you're happy with the placement, attach each plywood strip to the back of the frame using a brad nailer.
I used my Ryobi Brad Nailer for this project, and it's one of those tools that makes DIY projects so much easier. There's no air compressor to drag around, and I can grab it whenever I need to quickly attach trim, boards, or small pieces.
It's basically the hot glue gun of my DIY tools.
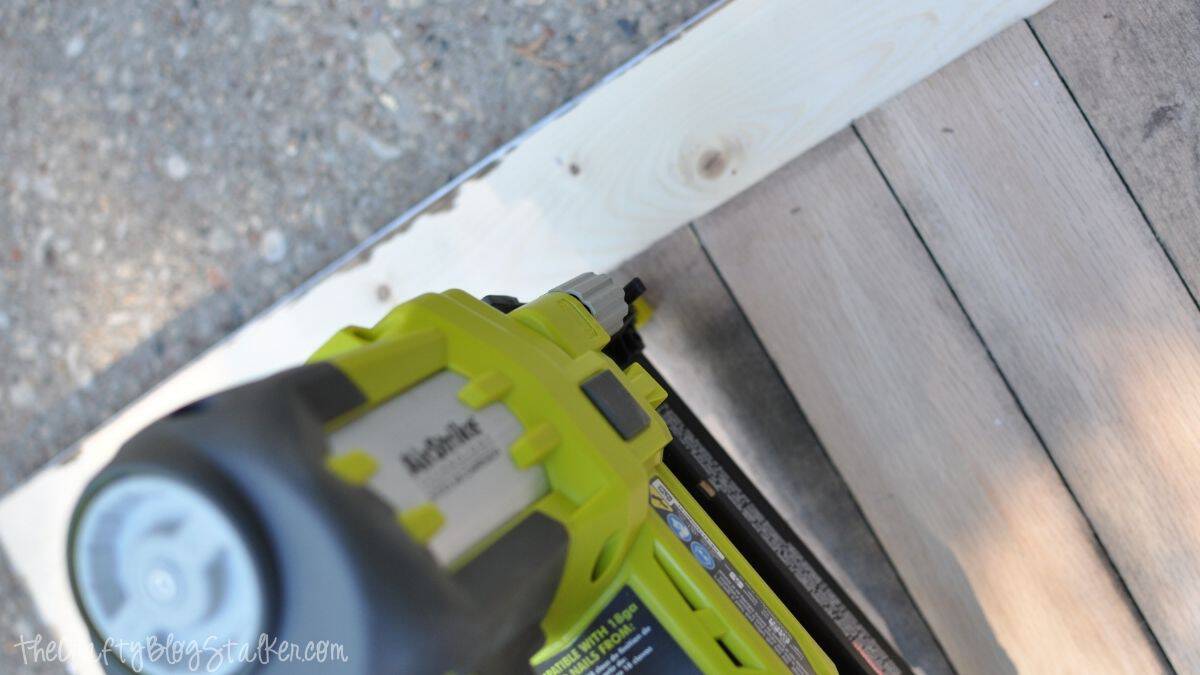
Just make sure the brad nails you use are an appropriate length for your frame and plywood. You don't want a nail unexpectedly poking through the front of your beautiful new chalkboard.
Continue securing the strips until the entire opening of the frame is covered.
Season and Use the Chalkboard
Before writing out your first weekly menu, check the instructions on your chalkboard paint to see if the finished surface needs to be seasoned.
If it does, wait until the paint has fully cured. Rub the side of a piece of chalk across the entire writing surface to cover it with a light layer of chalk.
Then erase it.
Seasoning helps prevent the first words you write from leaving permanent-looking marks behind.
Now you're ready to write out your weekly menu!
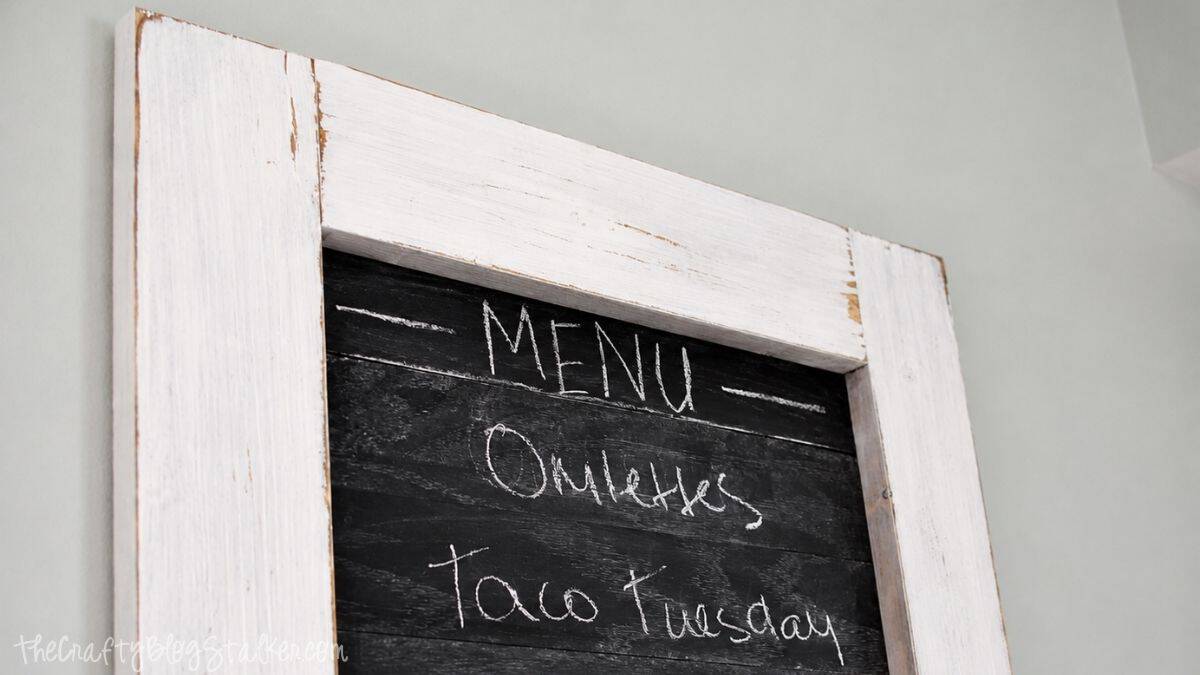
You can also use the finished chalkboard for grocery reminders, family notes, appointments, or little messages. I made mine for our meals, but there are plenty of ways to use it in a busy kitchen.
And if you can create gorgeous chalk art, you're already one step ahead of me! 😂
Traditional chalk works beautifully for a casual menu board. If you prefer the crisp look of chalk markers, test them in an inconspicuous area first and make sure they're compatible with your particular chalkboard paint.
I love how the separate chalkboards give the finished piece a little extra texture, while the distressed frame adds exactly the vintage character my kitchen was missing.
I hope you enjoyed this little spin on a chalkboard menu! If you would like to see my full kitchen remodel, you can do that here.
Frequently Asked Questions
You can customize the frame to fit your space. Before cutting the lumber, measure the wall where you'd like to hang it and decide how much room you need for writing.
If you're using yours as a weekly menu, make sure each plywood strip is tall enough to comfortably write a meal or short note.
Absolutely. A solid piece of plywood painted with chalkboard paint would create a smoother, more traditional writing surface.
I used individual strips because I liked the character and dimension they added to the finished piece.
No, but the stain helps create the distressed finish.
When you sand through the white paint, the dark walnut stain underneath shows through and makes the frame look naturally worn.
That depends on your chalkboard paint. Chalk markers can behave differently from regular chalk and may not erase cleanly from every surface.
Test the marker in a small, inconspicuous area first before writing across your entire menu board.
Choose hanging hardware that's appropriate for the weight of your finished board and the type of wall where you're installing it.
Since wood, plywood, and the frame can make the finished project heavier than it looks, don't rely on lightweight picture-hanging hardware unless it's rated for the weight.
Need help with this project?
Click a button below to ask AI what to use instead of a brad nailer.
More DIY Decor Ideas
Can you have too many bookmarks? I don't think so! Here are a few more fun ideas.

Hi, I'm Katie!
I'm so glad you're here. Want to make something fabulous? I'm here to help!
Crystal
Love it!! Love the distressed look of it!! Pinned 🙂
Katie
Thank you Crystal!! : )
Tanya
Katie this is SO awesome, your remodel looks great 🙂 xoxo
Katie
Thanks so much Tanya : ) xoxoxox
Lisa @ Fern Creek Cottage
Super cute!!!
Selene Galindo
This is such a neat chalk board!! It adds the perfect rustic touch! Pinned!
Katie
Thank you so much Selene!! : ) xoxoxo
Anna
Such a great idea! It's so handy having a menu in the kitchen where everyone can see what's for dinner. 🙂
Anna
Katie
Thanks so much Anna!
Lindze @ Interior Fun
This turned out great!
Katie
Thank you so much Lindze!! : ) Have a great weekend!
Megan
Love this! I've started writing down our weekly meals so the hubs knows what to expect but mine is just a piece of paper on the fridge. This is definitely way cuter! 🙂
Katie
Thanks Megan!! It has helped us out a lot!
Bonnie @ Uncommon Designs
Love the wood planks used as the chalkboard. A great way to display the family weekly or daily menu! Gorgeous!
Katie
Thanks so much Bonnie! It sure helps me out ; )
Liz Fourez
Super cute!
Katie
Thanks Liz! It's sure helping me with menu planning!
Taryn @ Design, Dining + Diapers
This is adorable! What a great use of the planks. I had a chalkboard menu in our old kitchen and I really miss it!
Katie
Thanks Taryn! It has helped me so much with making out a grocery list. I always try to plan out the meals, but this makes it more fun ; )
Kendra @ www.joyinourhome.com
Love it! Love the rustic look and it looks beautiful in your "new" kitchen! Have a wonderful week!
Katie
Thanks Kendra!! : )
Katie
Thanks so much Randi! Now if I could just hire a cook to cook it all for me, hehe!