This post may contain affiliate links. For more information, please see our disclosure policy.
Give the gift of delicious peanut brittle. Easy DIY recipe and craft tutorial idea perfect for neighbor gifts, teacher gifts, and coworker gifts. This is a sponsored post and has been compensated by Collective Bias, Inc. and its advertiser. All opinions are mine alone.
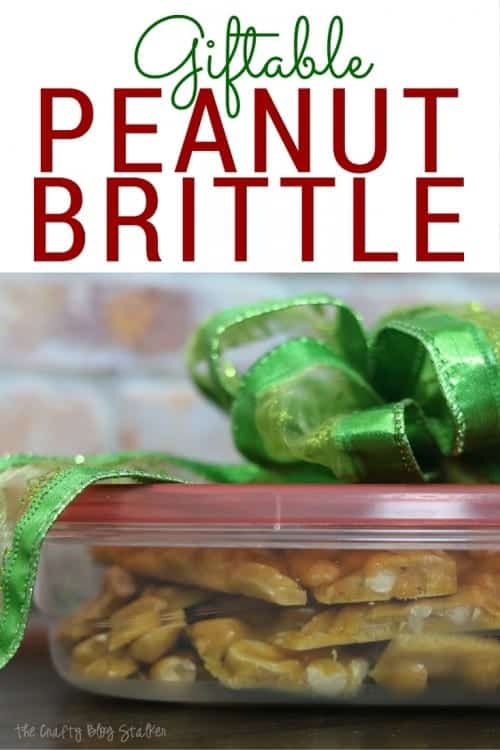
Do you have a favorite holiday recipe that you make every single year? One of mine is microwave peanut brittle. I have been making this holiday treat for as long as I can remember. It is one of the first recipes that I learned to make all by myself when I was much younger and has always been a favorite to share with neighbors and friends. In fact, I remember making this and packaging it up cute to give to my elementary school teachers.
Since this recipe can be made with the microwave it is super easy and can be finished in about 10 minutes from start to finish.
*The candy is very hot while cooking, so if you're making this with smaller children make sure to supervise and to explain the dangers of burns.
Ingredients
- Cooking Spray
- 1 Cup White Sugar
- ½ Cup Light Corn Syrup
- 1 ½ Cups Roasted Peanuts, Salted
- 1 Tablespoon Butter
- 1 Teaspoon Baking Soda
- 1 Teaspoon Vanilla Extract
- Spray a baking sheet with Cooking Spray
- Mix Sugar and Corn Syrup together in a microwave-safe bowl
- Heat on high for 5 minutes
- Stir Peanuts and Butter into mixture
- Heat on high for 3-4 minutes until the mixture becomes a light brown
- Mix Baking Soda and Vanilla Extract into the mixture until nice and smooth. Spread candy onto greased baking sheet with a spoon
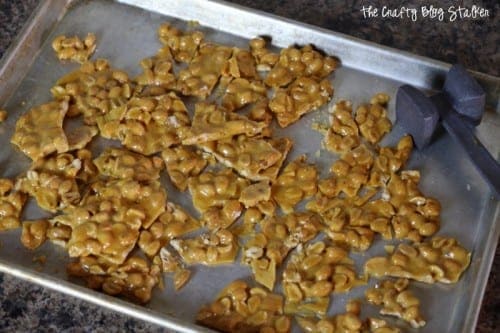
- When cooled, break into pieces and store in an airtight container
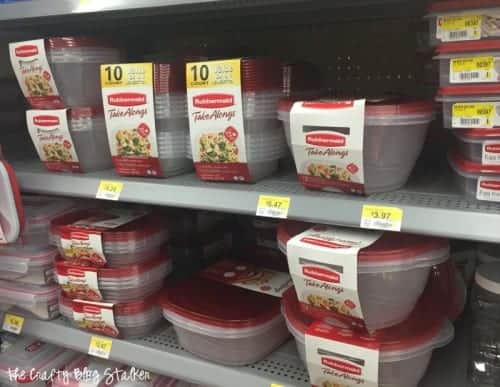
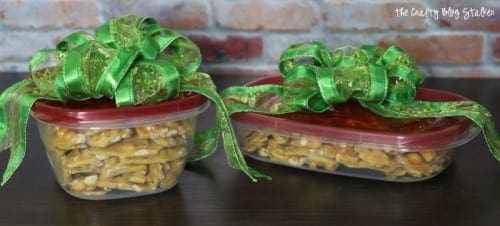
Earlier this week I was at my local Walmart and I knew I was going to make my favorite Peanut Brittle and give some away to neighbors as well. So I stopped by the storage container isle and grabbed some Rubbermaid TakeAlongs products.
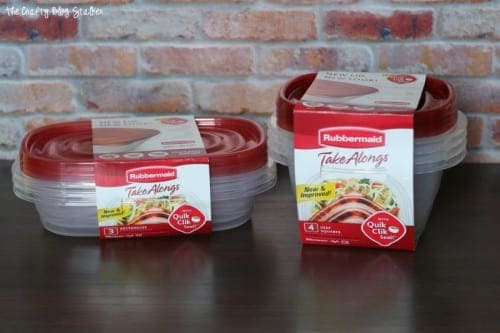
Rubbermaid TakeAlongs are a great way to package everything from leftovers to yummy treats that you send home with friends and family. The Quik Clik Seal™ technology keeps food secure and helps prevent spills in transport.
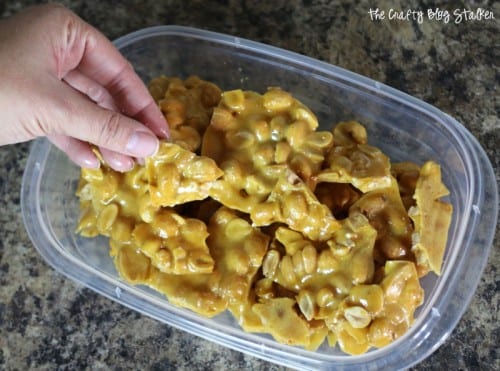
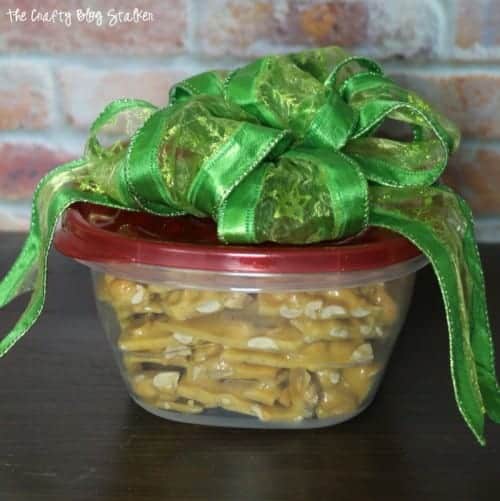
I purchased theTakeAlongs Rectangle and the TakeAlongs Deep Square. One batch of the Peanut Brittle will fit in each container so they really are a perfect size!
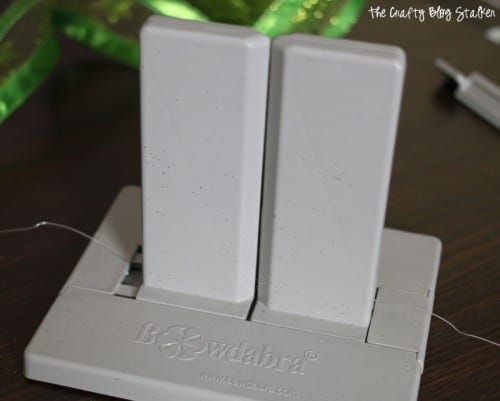
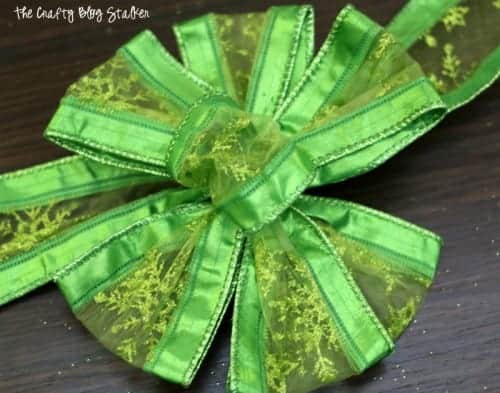
Rubbermaid TakeAlongs are also super simple to dress up so the container can become part of the gift. I am going to put a large floofy bow on top (yes, floofy is a word). I started with 2 ½-inch wired ribbon and the Bowdabra.
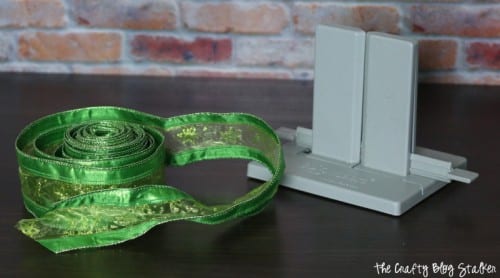
Insert the wire between the slits of the tool to it sticks out on both sides. Later you will need to grab each side to pull the ribbon out.
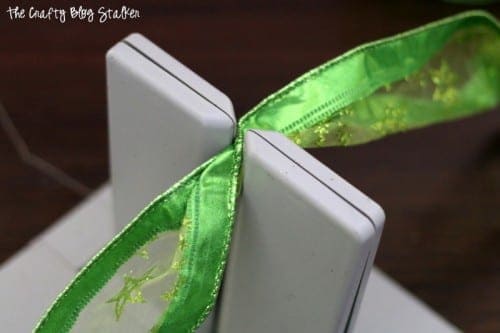
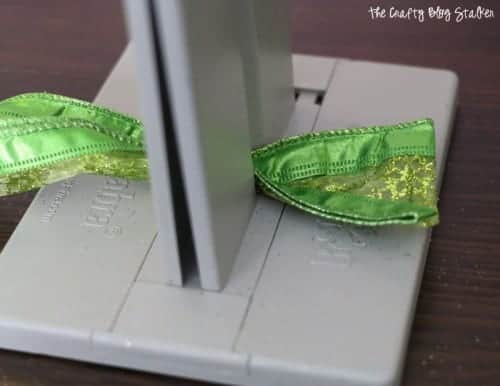
Start about 8-inches from the end of the ribbon and push it through the two pillars of the tool. At the very center, twist the ribbon. The twist is very important because the twist helps you fluff and move the pieces when finished.
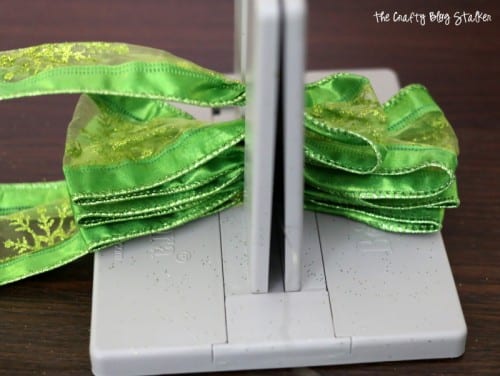
Use the edge of the tool as your measurement guide and create the first loop. Making sure to twist the ribbon again in the center of the tool as you pull it to the other side.
Create three loops on each side going back and forth, and then a small loop on top. This will be your center loop.
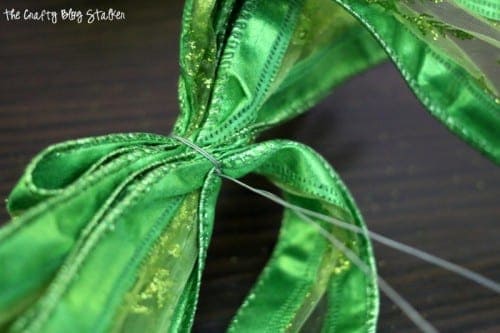
There is a tool that comes with the machine that you can push down between the two pillars to get the ribbon nice and tight against each other. Push that down and up. Pull each side of the wire to the other side, nice and tight and then remove the bow from the tool.
Keeping the center nice and tight, wrap the wire around itself several times. Leave about 8-inches of ribbon and cut from the spool.
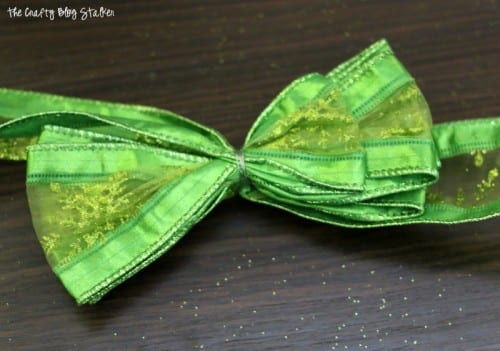
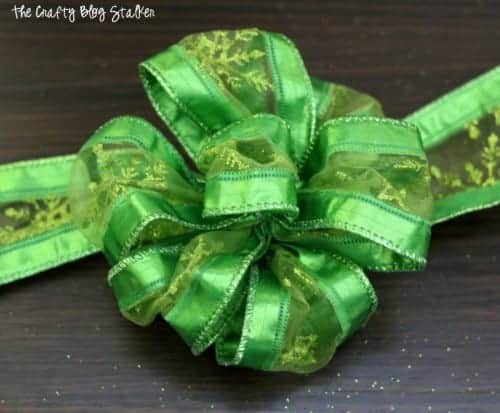
Grabbing the different loops, move them around until your bow is in the shape of a circle.
Now is the floofing part. Since the ribbon has wire edges it should stay where you put it. Keep moving the loops around until the bow is nice and full.
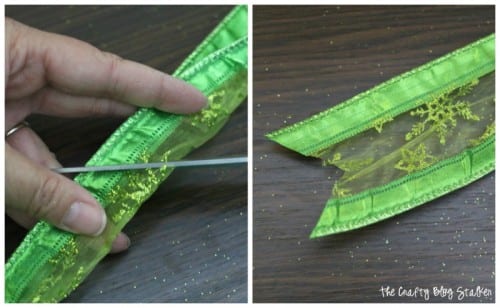
Tidy up the ribbon ends by folding the ribbon in half and cutting down toward the wired edge with a pair of scissors. This will give a nice dovetail. Repeat for the other side.
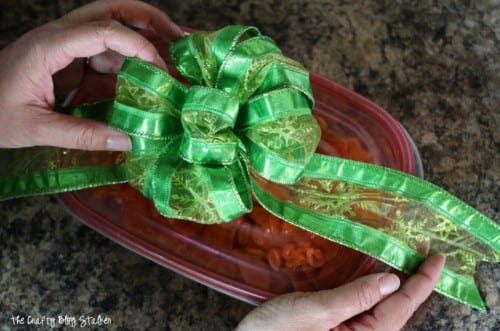
Attach the bow to the lid of the Rubbermaid TakeAlongs with a couple glue dots. This will make the bow stay in place, but also allow for easy removal so the container can be reused.
I hope my neighbors like them!
What is your favorite holiday recipe that you make every year and share with neighbors and friends? Share and leave a comment below.


Shantel
That looks so yummy! thanks for the easy peasy recipe ;0)
Jenna Wood
What a fancy bow! I love how you explained that step by step, I think I might actually try my hand at it! As for the brittle, that was my Momma's go to holiday recipe when I was a young girl, brings back memories! #client
Chris
Looks delicious & easy!!
Thanks for sharing at Funtastic Friday!
Lyn @MidMichiganMom
I have never heard of a bowdabra but I want it! My fingers cramp up when I make bows so I only make them when I want to impress someone (like a white elephant gift). Also, your peanut brittle looks yummy! Thanks for sharing it with us on Welcome Home Wednesday!
Kim~madeinaday
Pretty bow and great recipe. Thanks for linking up to Merry Monday! Pinned! Have a great week!
Kim
Katie
Thanks for stopping by Kim!
Christine
Easy recipe and great gift for any co-worker. Thanks for sharing! Stopping by from the Let's Be Friends party.
Katie
Thanks Christine! Peanut Brittle does make such a delicious gift, the problem is giving it to them before you eat it all yourself! 🙂
Angie ~ ambient wares
Oh my! I haven't had peanut brittle in years. Years! I need to end this drought 🙂 Thanks for sharing with us at Funtastic Friday!
Katie
Ha ha!! Yes, you need too! Especially when it is so easy to make!