

This post is sponsored by Acmer. All opinions expressed are my own.
Laser cutter fans, meet the Acmer P3! We unboxed, set up, and ran our first test project. See how this machine handles its first crafting challenge.

If you've ever been curious about what a laser cutter can do right out of the box, you're in good company.
I just got my hands on the Acmer P3 Laser Cutter, which has a generous 16x16-inch working area-and yes, I wasted no time opening it up.
I'll walk you through the unboxing, setup, and our very first project using this diode laser.
If you're into new tools or just love watching one in action, this one's worth sticking around for.
Jump to:
Skill Level: Beginner
Total Time: 90 Minutes
Craft Tutorial Video
If videos are your thing, you're in luck-I've got a full tutorial ready for you!
Subscribe to my YouTube channel and stay inspired with every new project.
Unboxing the Acmer P3 Laser Cutter
I know, just unboxing such a large machine can be overwhelming.
I am here to make it super easy, so you know what to expect when you order your own Acmer P3 2in1 Laser.
The box is quite large and very heavy. I struggled to lift it by myself, so make sure you have some help when it arrives.
The box measures 25" x 28.5" x 13". I couldn't find the exact weight of the machine on the website, but it is cumbersome.
The laser cutter is well-packaged inside the box. I took pictures as I went, so you could see too.
The first layer to remove is a thick slab of Styrofoam. There is also an unboxing guide to walk you through each step of the unboxing process, and it is very detailed.

Pull out this layer of Styrofoam, and you'll see the laser cutting machine wrapped in plastic.

I then placed the box on the ground so I could lift the machine out of the box and onto my table.
You may need to ask for help when lifting it out of the box.
Once on the table, begin removing the plastic surrounding the machine.

Then follow the steps in The Unboxing Guide. It begins by demonstrating how to remove the liner plastic using the yellow tape strips and where to locate them.

Once all of the liner plastic has been removed, open the lid of the machine, and remove the first layer of foam.
Below are the remaining supplies packed into another layer of foam.
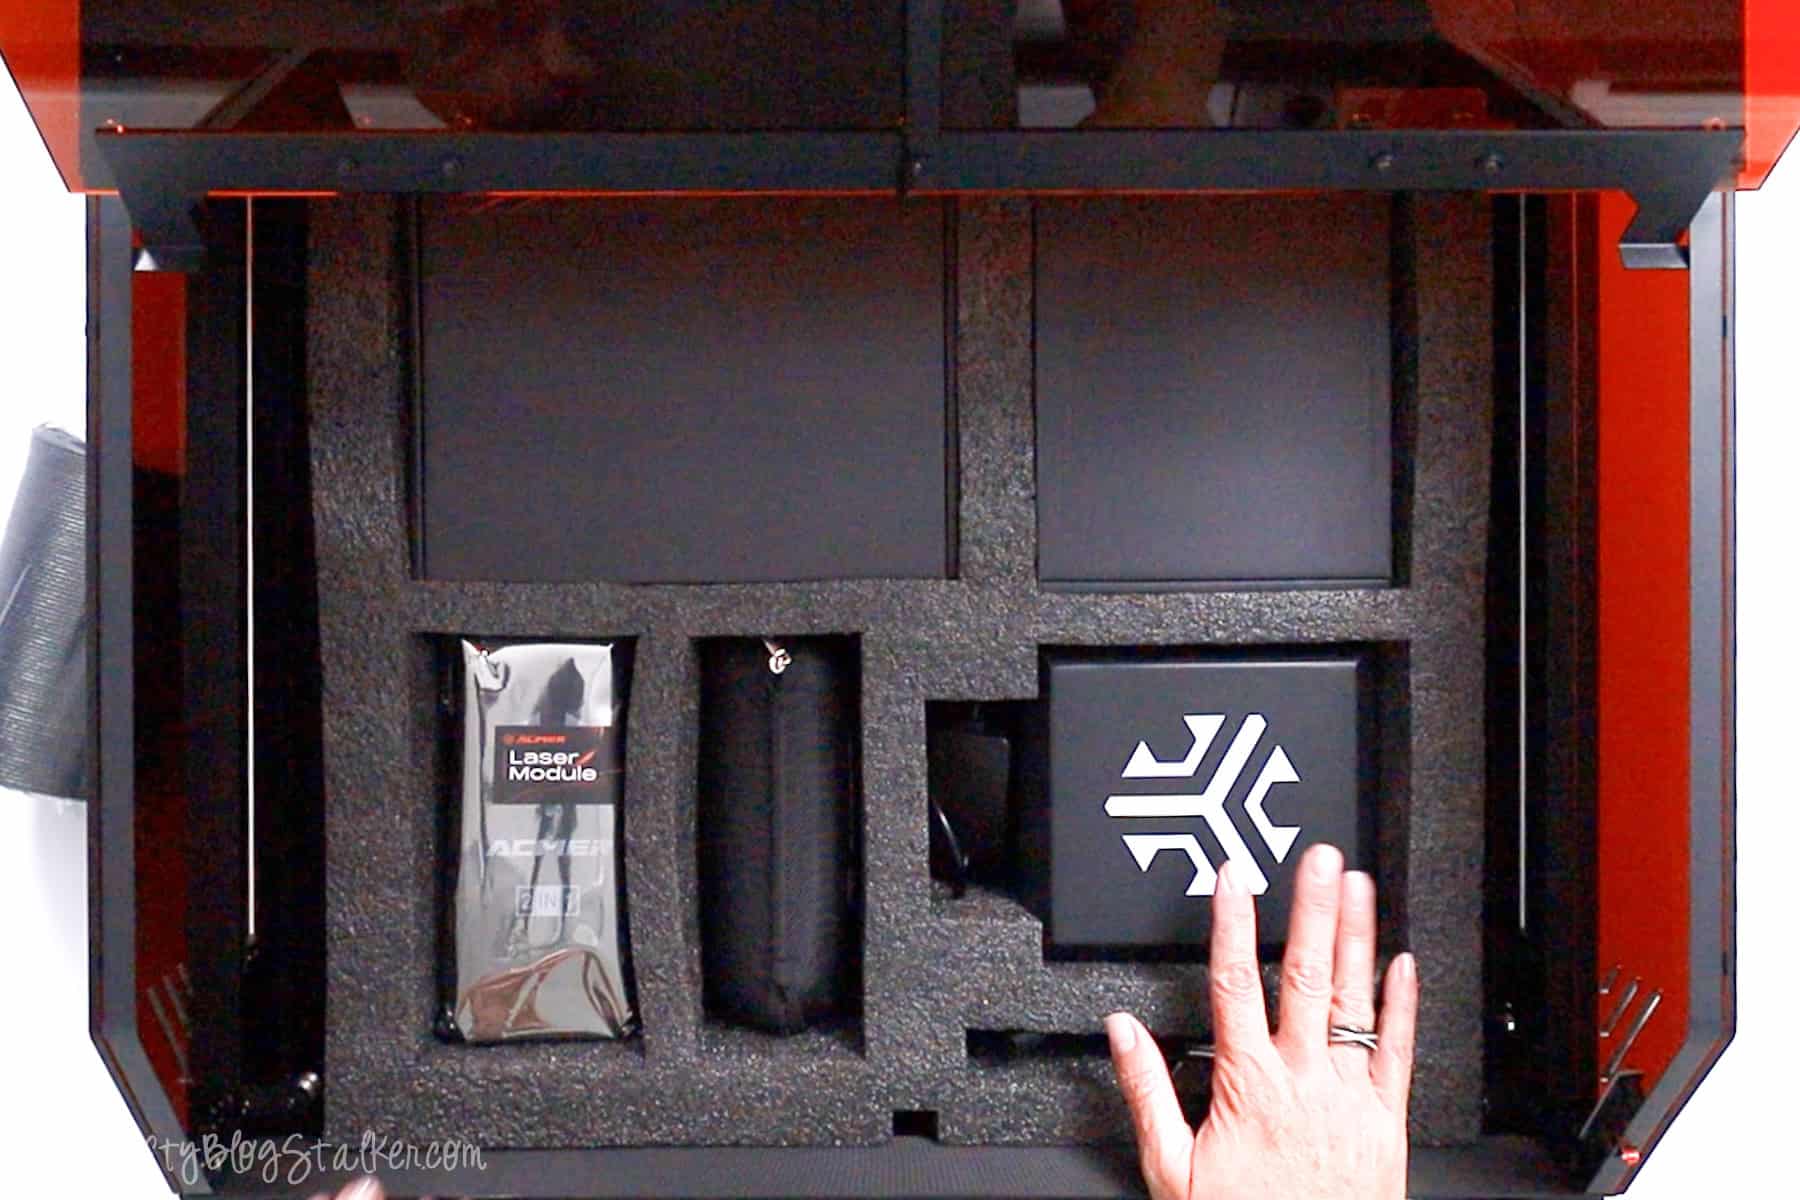
Remove all of these items, along with the foam tray they were in.
The included accessories are
- Laser Module
- Air Assist
- Laser Goggles with Case
- Power Cord Adapter
- Smoke Exhaust Pipe
- Tool Kit
- USB Cable
- Material Package

The next step in the Unboxing Guide is to unscrew and remove the corner brackets holding the gantry in place during shipping.
These brackets are in the back left and right corners.

There is another screw on the side that needs to be removed if you have the 2-in-1 or the 48 watt laser. Mine is the 2-in-1 so I removed the screw.
If you have the 24-watt or the 2-watt IR laser, the screw should be left in place.
The unboxing guide shows you exactly where that screw is, in case you need to remove it, as I did.
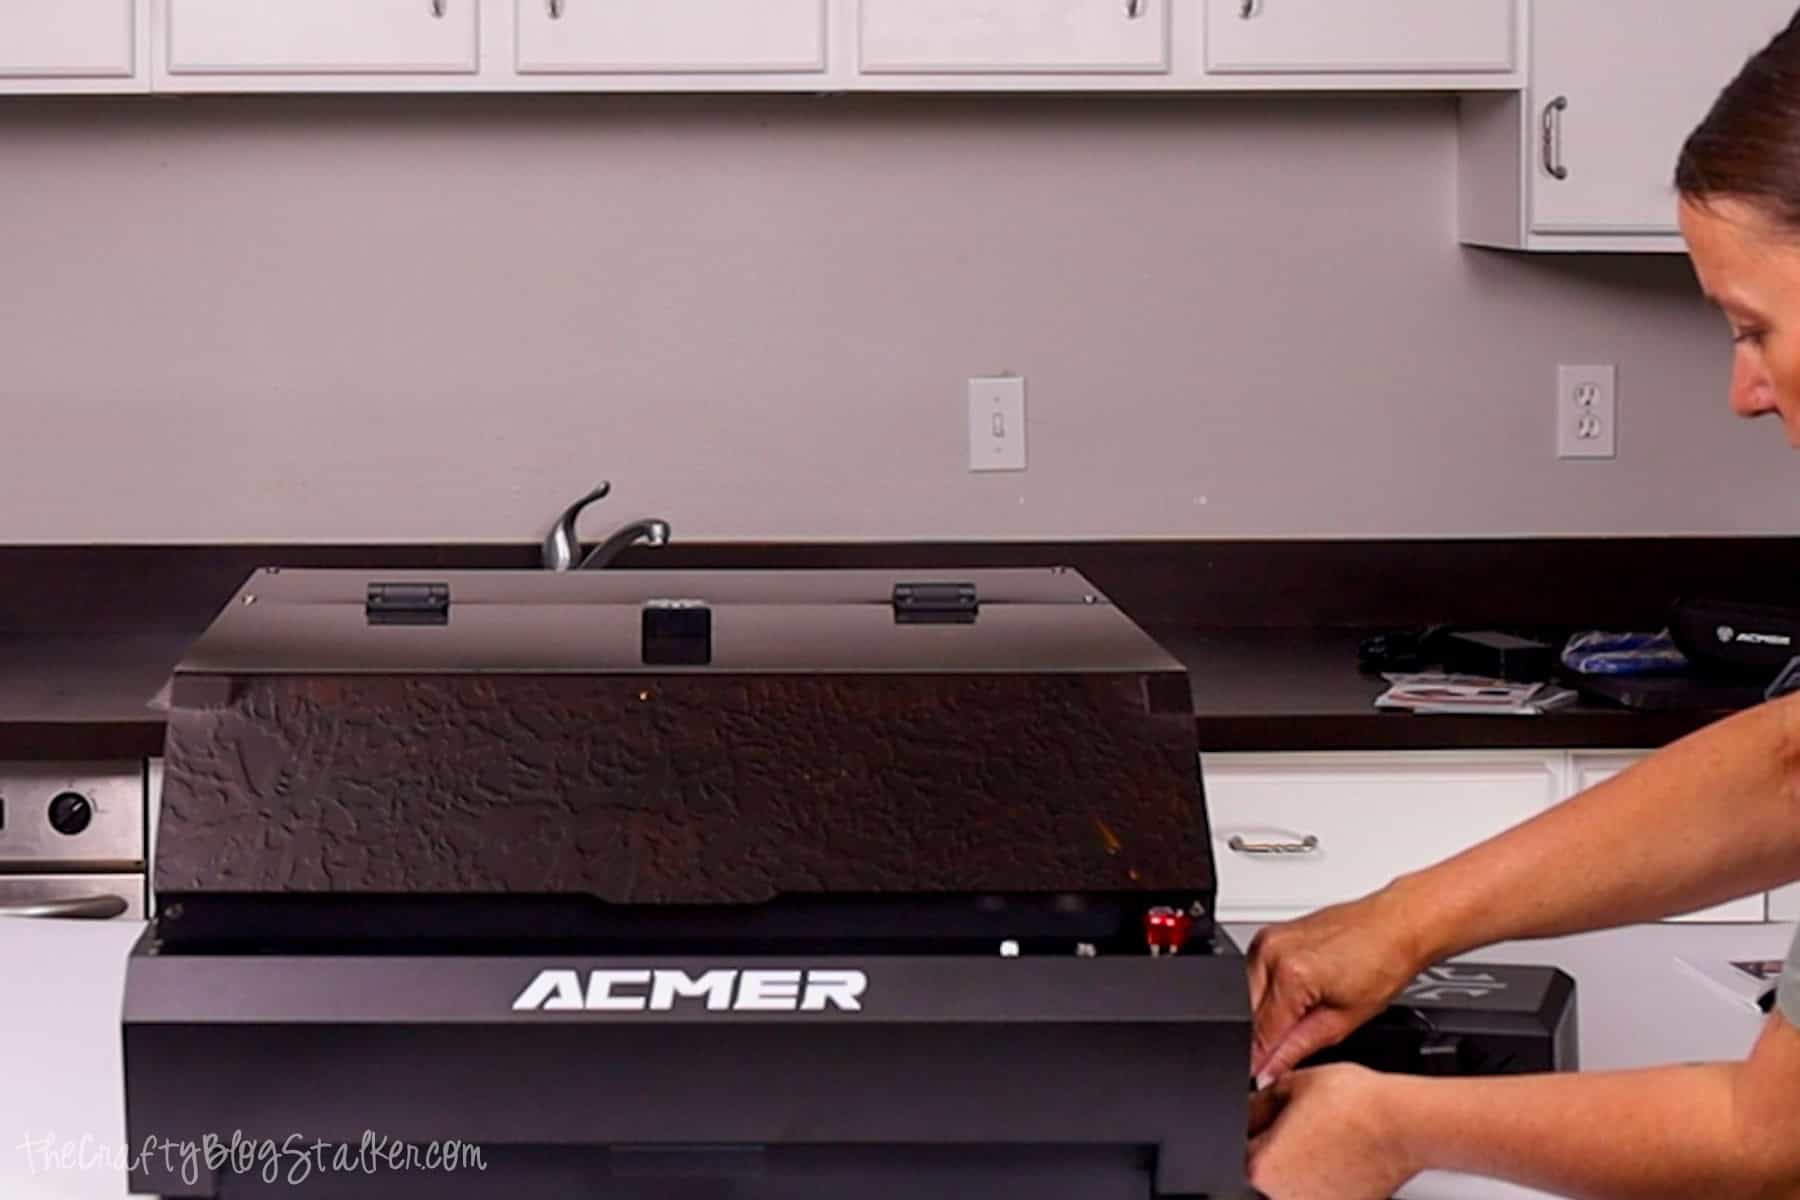
Acmer P3 Laser Setup
Next, we move to the manual for the Installation Steps.

The laser module features a metal rod on one side that can be flipped up or down. This is the focus length for your laser.

The back of the laser module has a set of tracks that slide onto the slider rail.
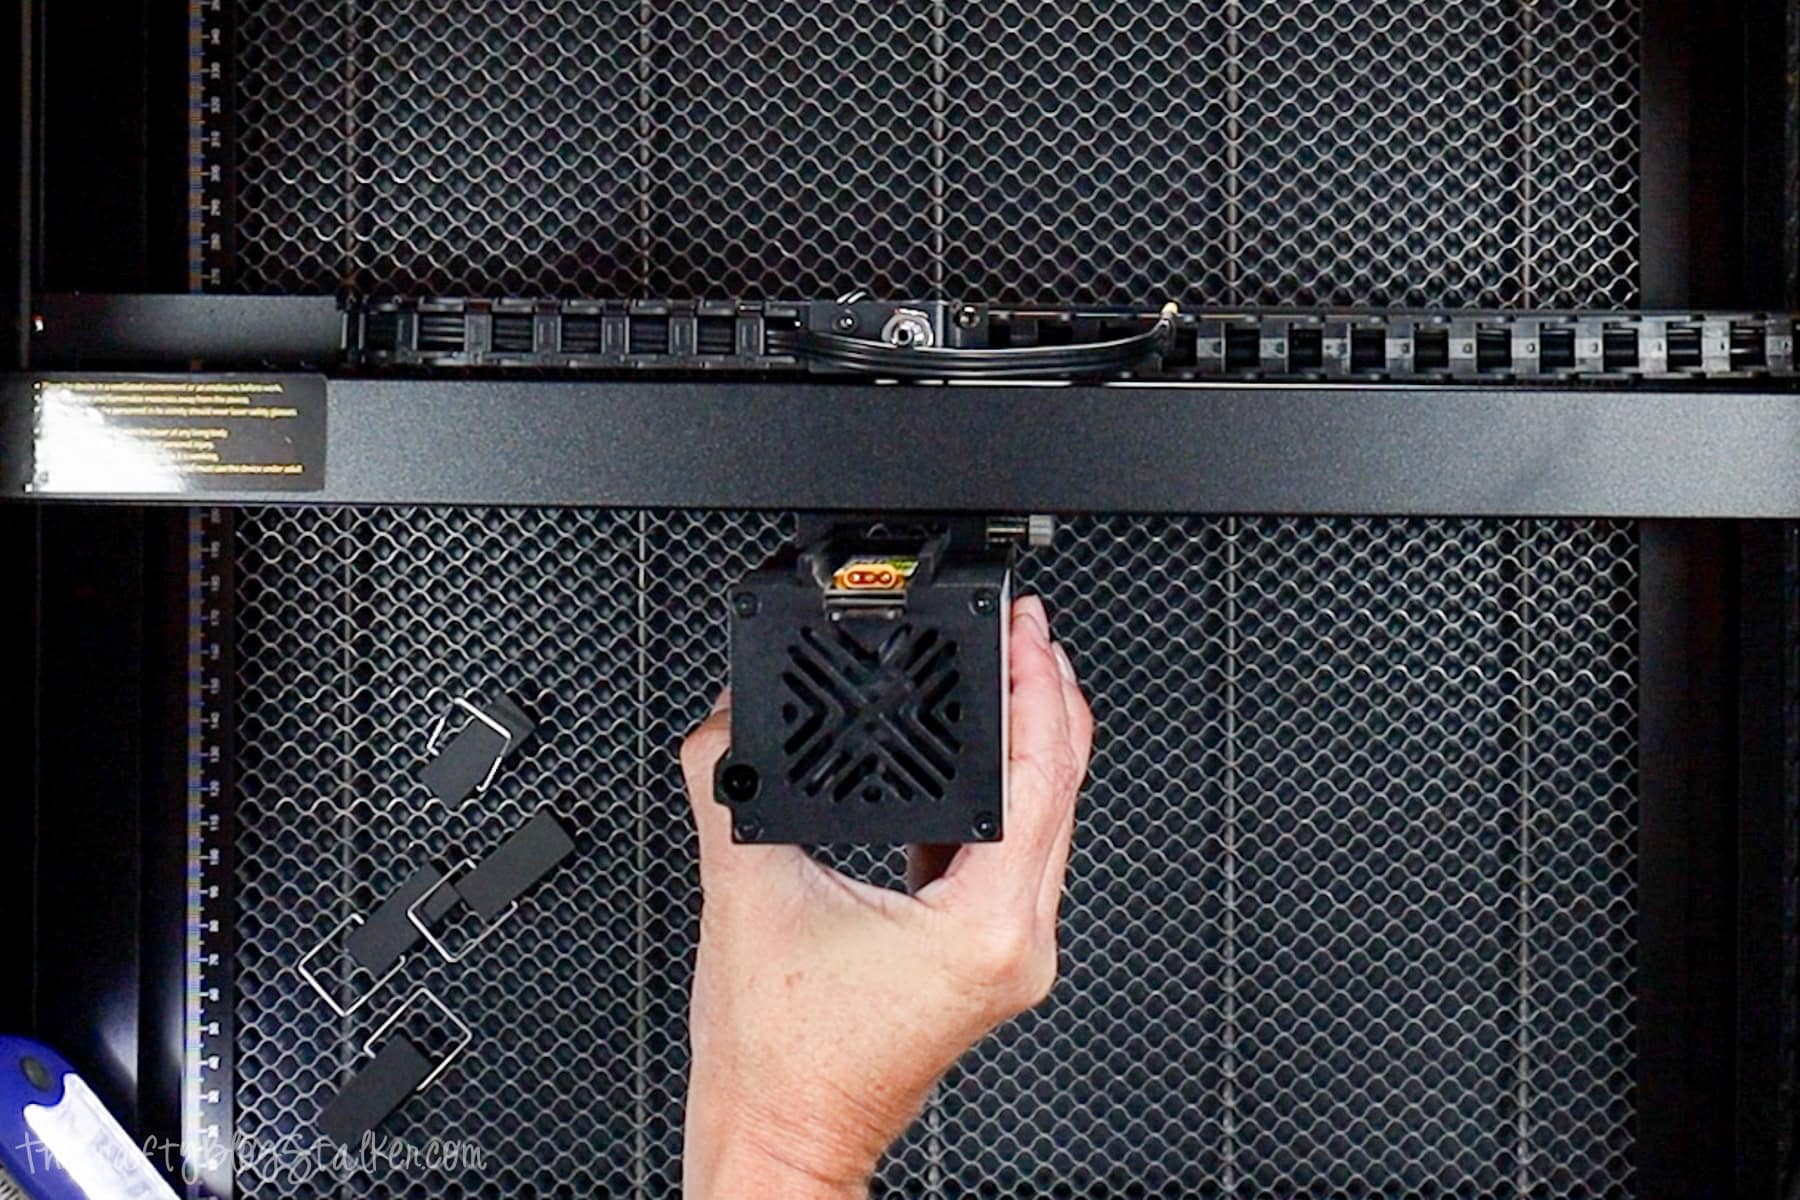
Once in place, tighten the screws on the side of the slider.
These screws can be loosened and tightened, allowing the laser module to be adjusted depending on the material being cut or engraved.
When cutting, you would place the material in the bed of the machine and adjust the laser module so that the metal focus length is touching the top of the material.
Then tighten the screws to lock that distance in place, and flip the metal tip up so it is no longer touching the material.
Use the short air tube included to attach the slider bar to the laser module, and attach the plug.

On the back of the machine is a circular spout. This is where the exhaust pipe is attached.
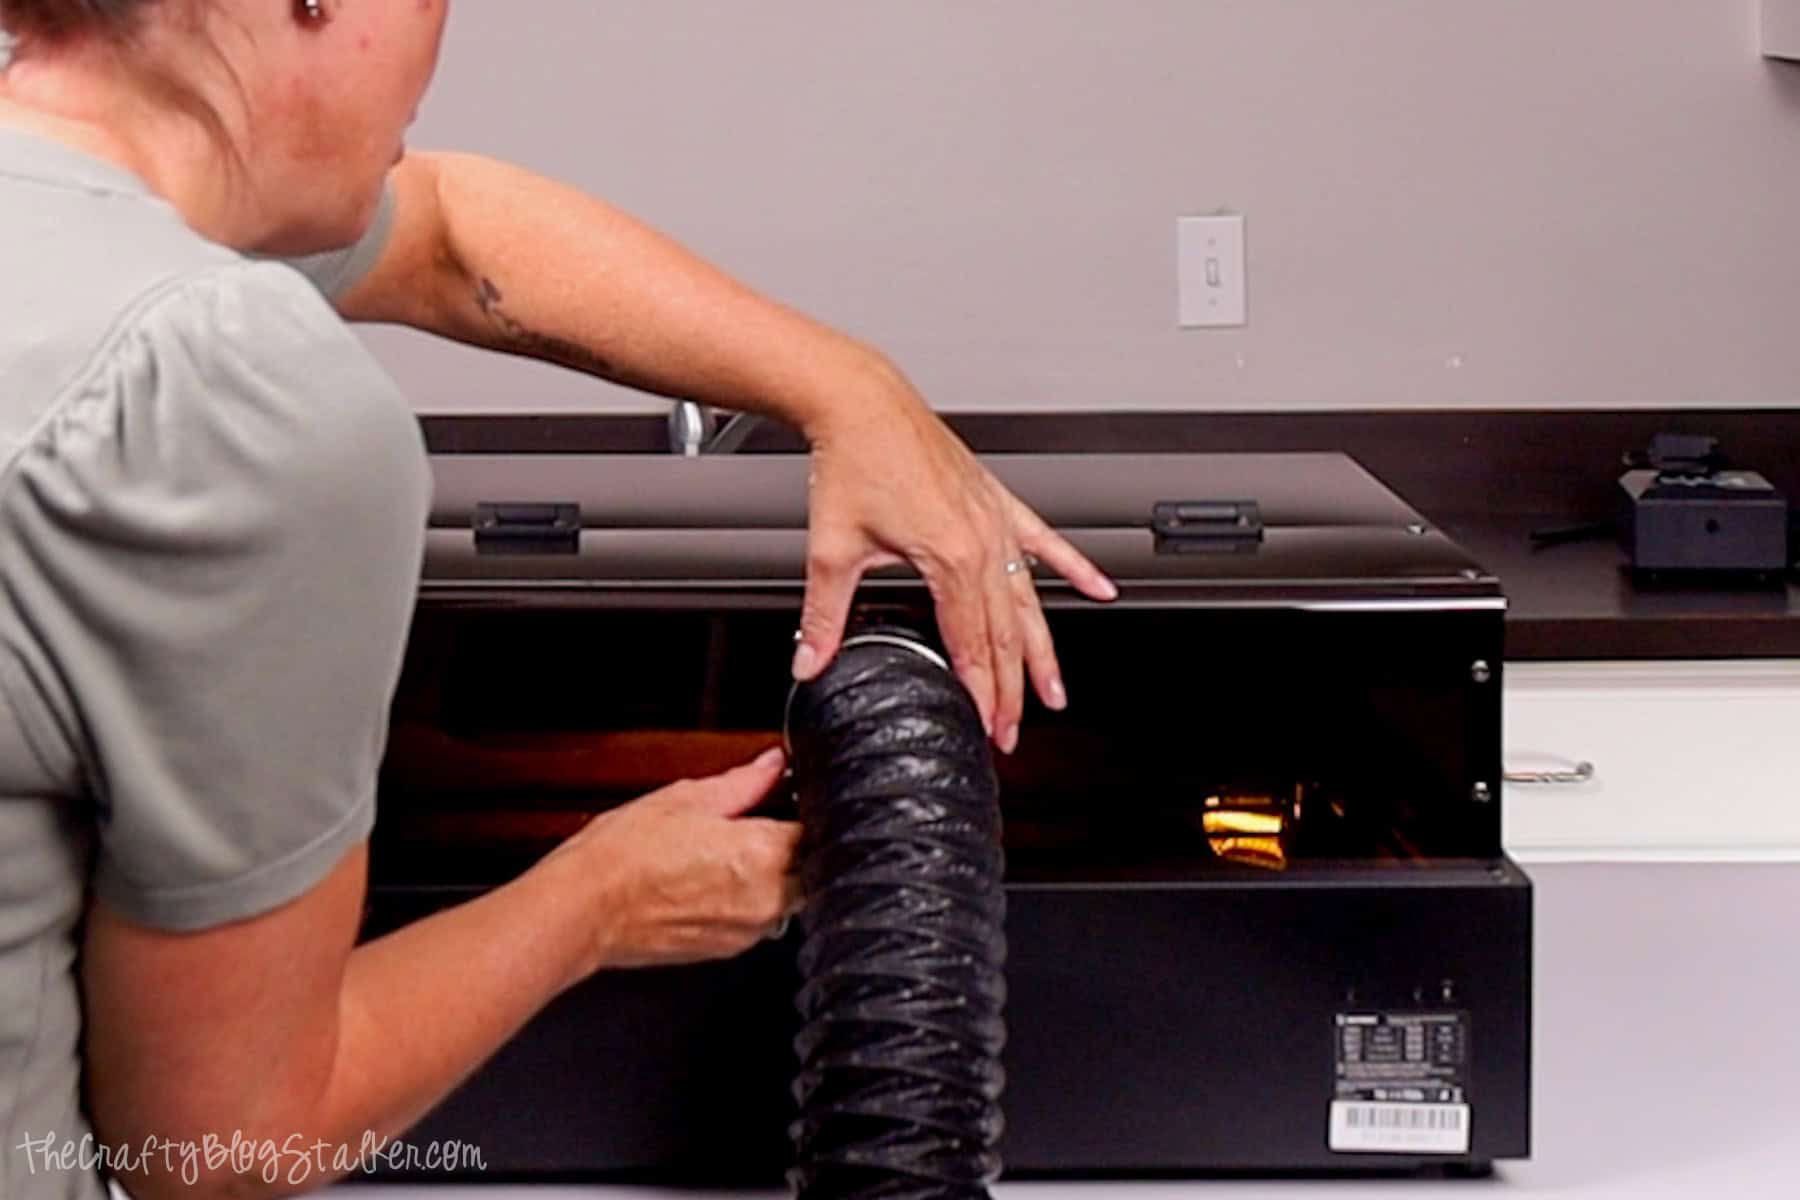
It is vital that you properly exhaust your smoke and fumes.
Many materials that can be cut or engraved emit toxic fumes when cut with a laser.
These fumes should either be pushed outside through a window, or you can purchase the Acmer Smoke Air Purifier that will purify the smoke so it can be released indoors.
I use my laser cutter next to a window, so I put the other end of the exhaust pipe out the window, and I am good to go.
Then, connect the long air hose to both the laser machine and the air assist, and then plug the air assist into the machine through the designated plug.
You can also plug the machine into an outlet using the power adapter and connect your computer with the USB cord.
All of these plugs are on the right side of the machine.
Install Software
Several options are available for software that can be used with your Acmer Laser.
Acmer has its own software called Acmer Tool. At the time of writing this, Acmer Tool is in Beta and can only be used if you sign up for the program.
I don't have any experience with it, as I used a different program.
Laser GRBL is a free laser software that is universal and compatible with most brands of laser machines.
The last option, and what I used, is LightBurn. This is another universal laser software, although it is not free of charge. There is an annual licensing fee.
I used LightBurn because that is what I use with another laser I have, and I am already familiar with it.
To avoid paying yearly for LightBurn, I purchased a one-year license and then failed to renew it. I can still use it, but I'm unable to update the software.
I am on year 3 of not renewing, and the software still works great. So I will wait to renew until the version I have is no longer compatible with my machines.
Included with the machine is a small TF Card.
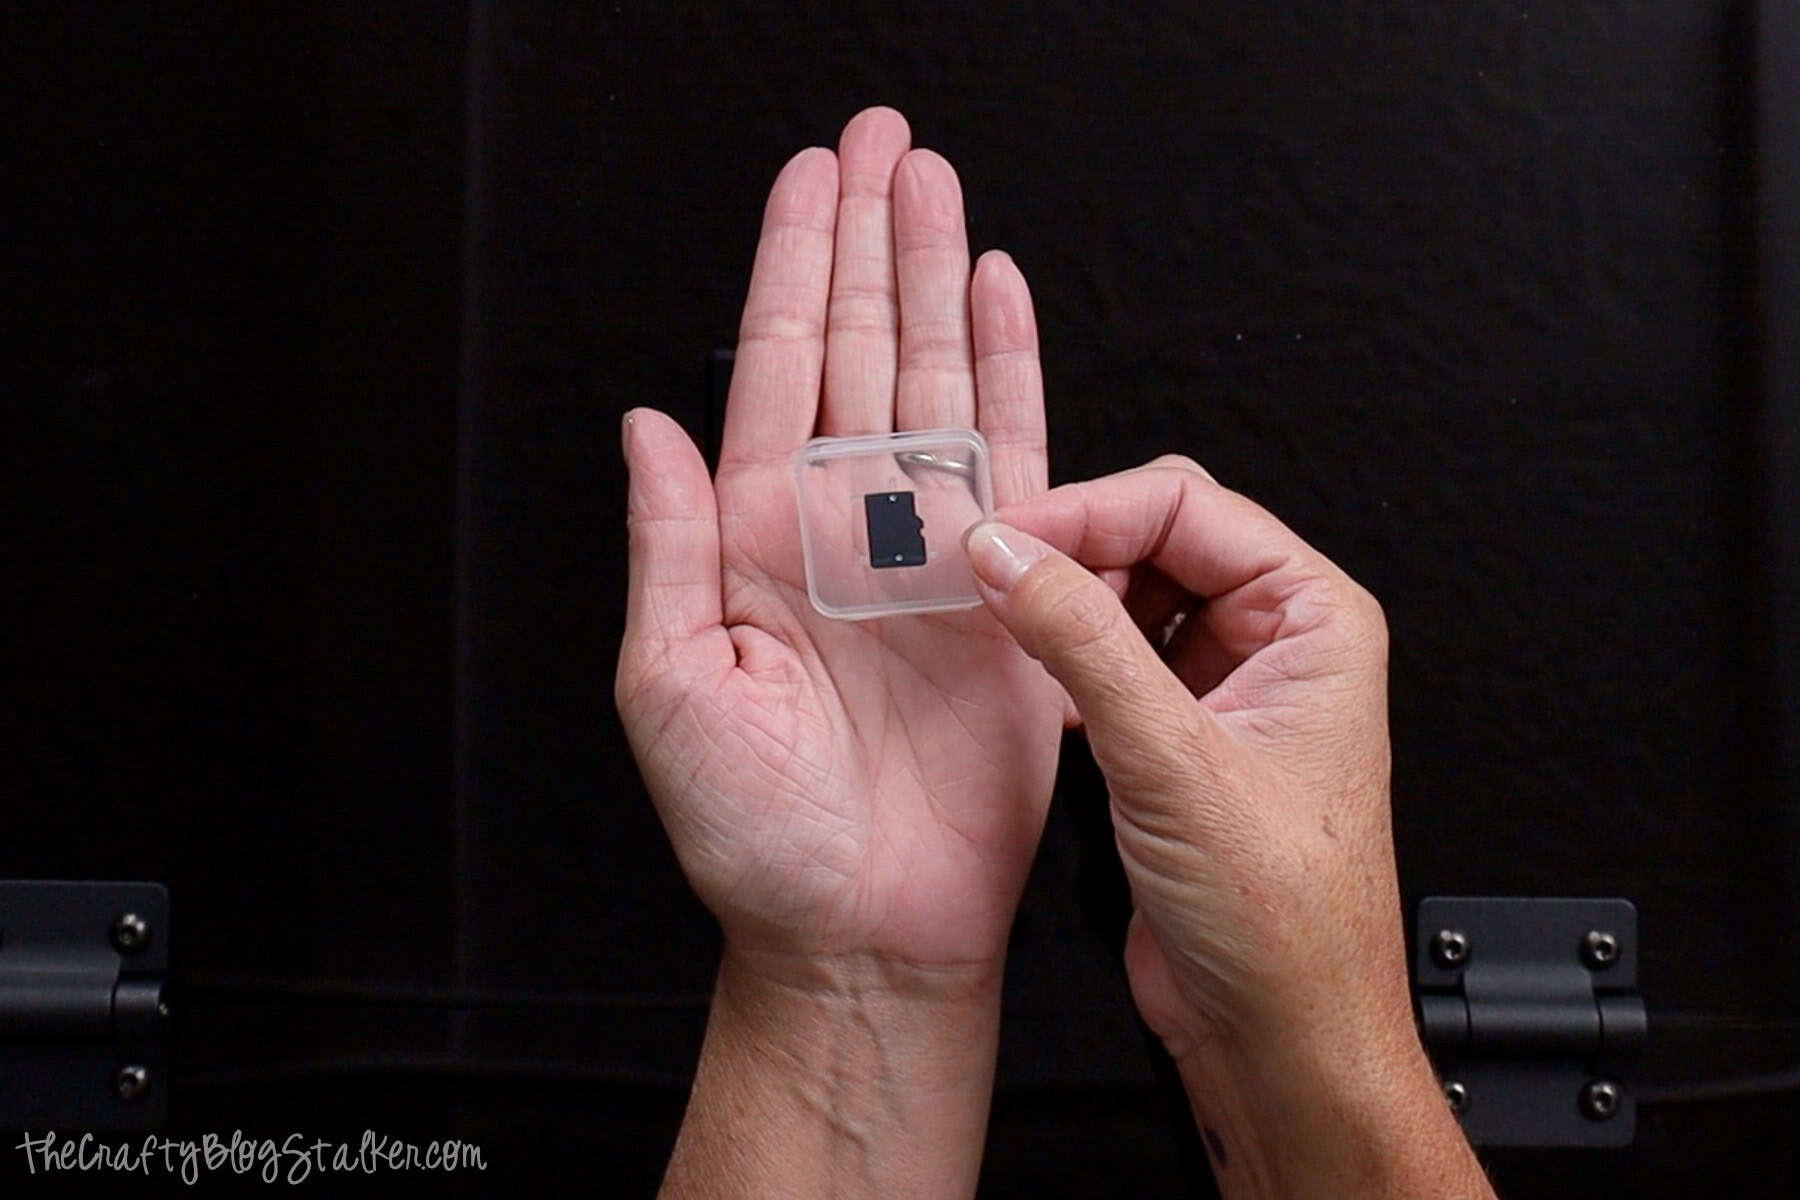
This card contains the necessary software to connect your computer to the laser and the LightBurn Software.
My card was faulty and wouldn't connect to my computer, but I was able to contact Acmer, and they provided me with the necessary files within 24 hours.
If possible, I recommend using the LightBurn Software. The Acmer P3 manual walks you through, step by step, on how to set up and calibrate using LightBurn.
The manual doesn't show the other software setups, so unless you are more familiar with them, it may be more challenging to get the machine up and running.

The manual will guide you through aligning the camera using this piece, which features block dots.
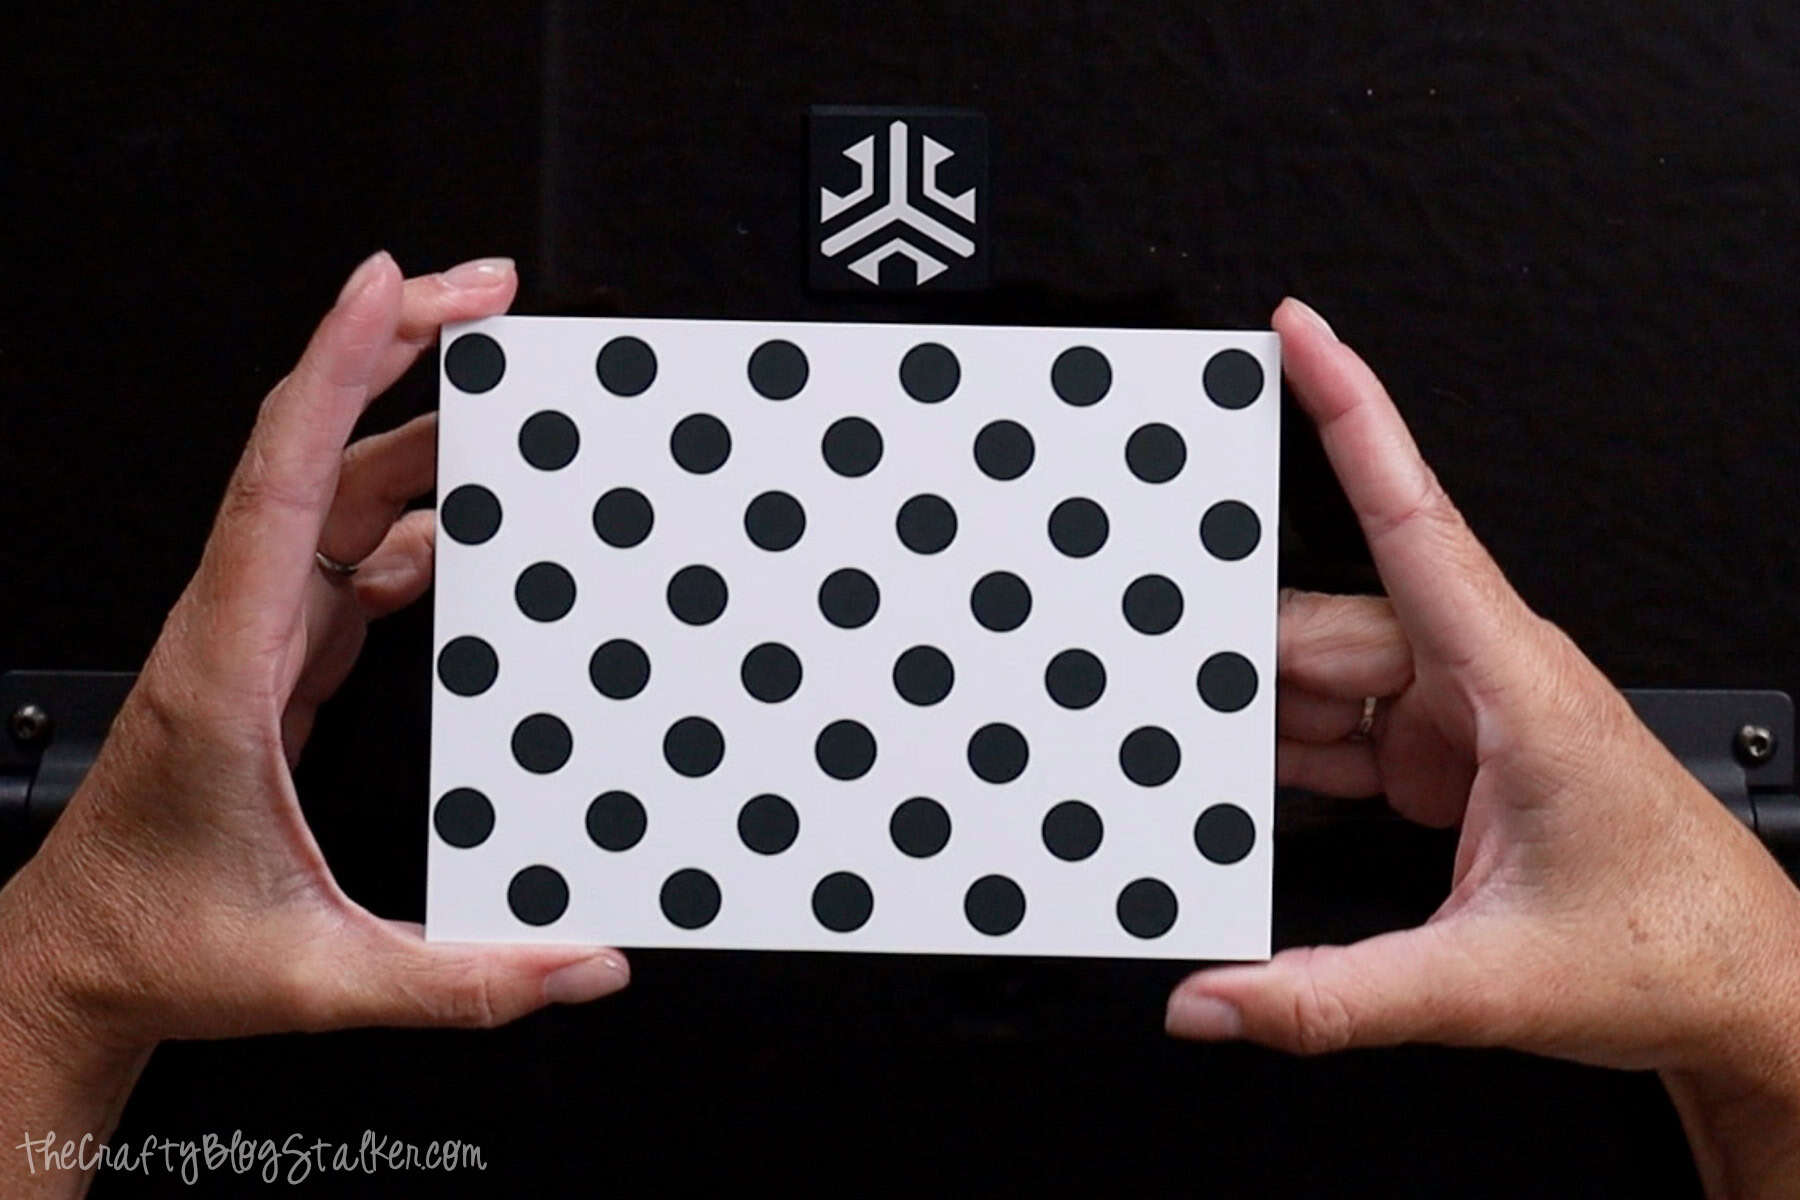
Then it will guide you to a test engraving using a few of the wood squares from the materials kit.

When everything is calibrated correctly, ensure that you save these settings so you won't need to repeat the process next time you use the machine.
First Project - Kitchen Conversion Magnet
If you'd like to make this project as well, I've made the file available for free!

Drag and drop the SVG file into Light Burn.
The file is sized to 3.25" x 4.5", but this design can be resized as needed.
To gauge the settings, refer to the cut cards that were part of the materials package.

This card illustrates the various settings.
When cutting, I refer to the bottom right section with the holes cut. I want a cut that is clean without a lot of burning or charring around the edges.
In LightBurn, I set the black line as cut with a power of 90% and a speed of 300 mm/min.
The blue lines in the design should be engraved, so I reference the top right side of the guide. I want a dark engrave with minimal charring.
I set the blue lines to fill with a power of 100% and speed of 9000 mm/min. I also like to turn off the air assist when engraving. It just helps darken the engraved design, but it is entirely optional.
I place my 3mm Bass Wood on the honeycomb base of my laser and secure it in place with the honeycomb pins, and close the lid.

In LightBurn, select 'Update Overlay' to update the camera view.
Move the file design over the wood, and click "Frame". This will outline the area to be cut with a beam of light.
Even though we have the camera view, I always double-check with the frame option because the camera can be slightly off at times.
Then click start to begin the cut.

When the machine is done cutting, lift the lid and remove the cut design.

The Conversion Chart Jar Magnet came out beautifully. The edges are beautifully cut with minimal charring, and the engraving is also very nice.
Final Thoughts
I am so glad that I was able to review the Acmer P3. I am very impressed with this high-quality laser cutting machine!
Pros
- I love the 16x16-inch cut area. It's fantastic! There are so many bigger projects that you can make.
- The included cutting and engraving guide helps you find the perfect settings without extensive testing beforehand.
- It really is a plug-and-play machine. Setup is super quick.
- Great step-by-step instructions included, helping to speed up the setup time.
- I did encounter a technical issue with the software, but their team was quick to respond and assist me in resolving it.
Cons
- HEAVY! The machine really is big and heavy. If you don't have a designated space for the laser where you can always keep it out, it's a pain to put it away, bring it out, and put it away again.
I really do think the Acmer P3 is a great laser! Whether this is your first laser or an additional one, you will not be disappointed with this laser's performance.
There are also other configurations with the same laser. I received the 2-in-1, which is a 10-watt diode with a 2-watt Infrared Laser for engraving. You can also purchase the 48-watt Diode P3, or the 24-watt P3.
To learn more about the Acmer P3 visit AcmerLaser.com.
Laser Craft Ideas
Now that you have a laser, there are so many fun things to make. Here are a few ideas!


Hi, I'm Katie!
I'm so glad you're here. Want to make something fabulous? I'm here to help!