
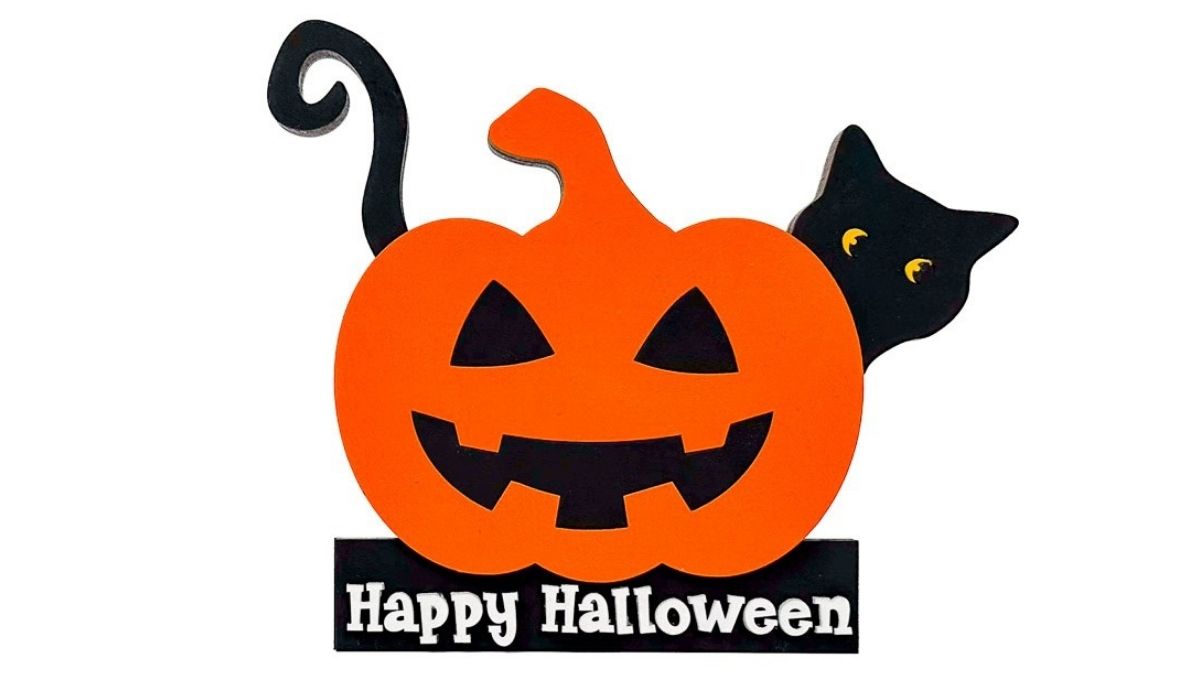
This Halloween mantle decor project features a laser-cut black cat. Easy to make and great for adding a handmade spooky touch to your home.
When it comes to Halloween decorating, the mantel is an easy place to add a little festive flair, but this project isn't limited to just one spot.
This laser-cut black car makes great Halloween mantel decor, but it also works perfectly as table decor or even a shelf sitter.
It's simple to make, adds just the right touch of cut and spooky, and doesn't take up much space.
Plus, you can pull it out year after year to give your home that classic Halloween vibe without a lot of effort.
Jump to:
Skill Level: Beginner
Total Time: 1 hour
Craft Tutorial Video
If videos are your thing, you're in luck-I've got a full tutorial ready for you!
Subscribe to my YouTube channel and stay inspired with every new project.
Supply List
- Laser Cutting Machine
- Black Cat Halloween Laser File
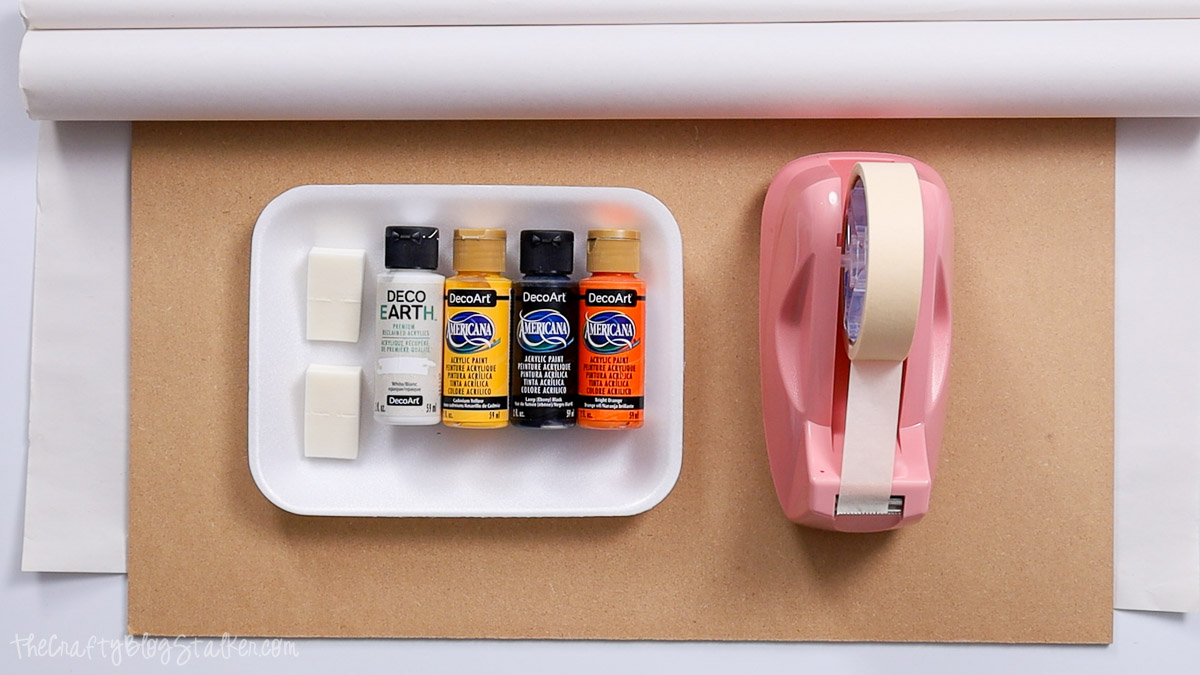
- 3mm MDF
- Acrylic Paint - White, Black, Yellow, and Orange
- Makeup Sponge Wedges
- Masking Tape
- Packing Paper
- Wood Glue
Grab the Free Laser Cut File
Download the SVG laser file to your computer or device.
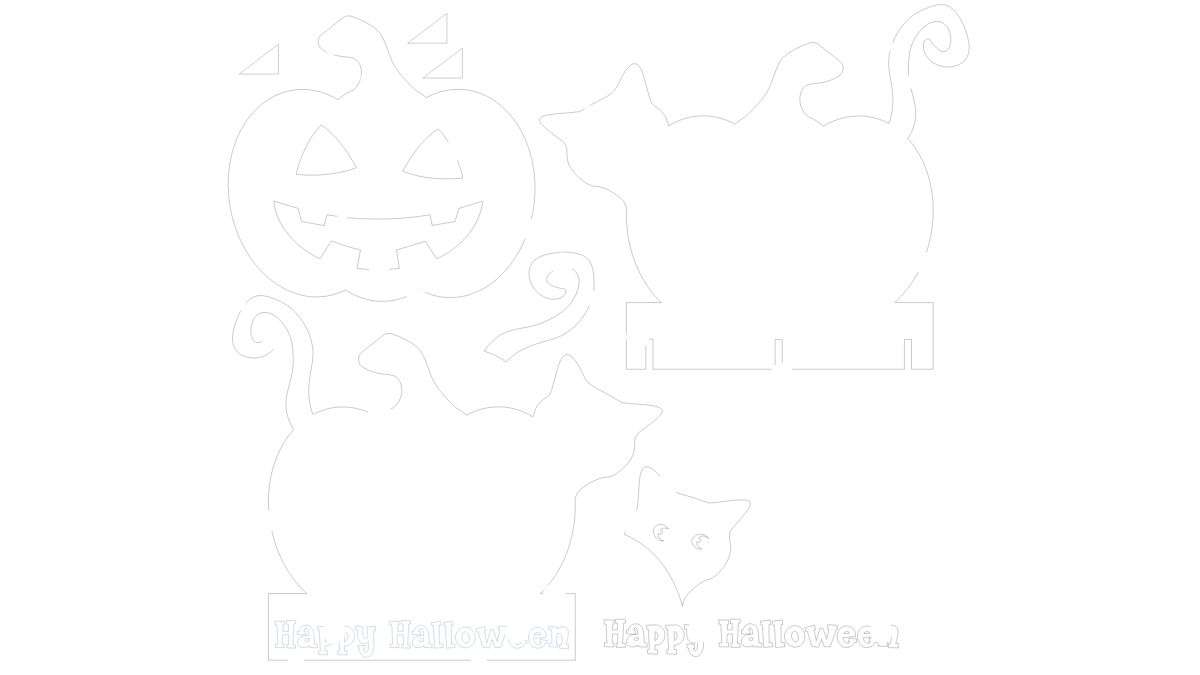
Cut File with Laser
Import the file into your laser-cutting software and proceed with cutting.
This file is designed to use 3mm material. If a different material is used, the back braces will not fit together perfectly.
Be sure to cut the black lines and score the blue lines.

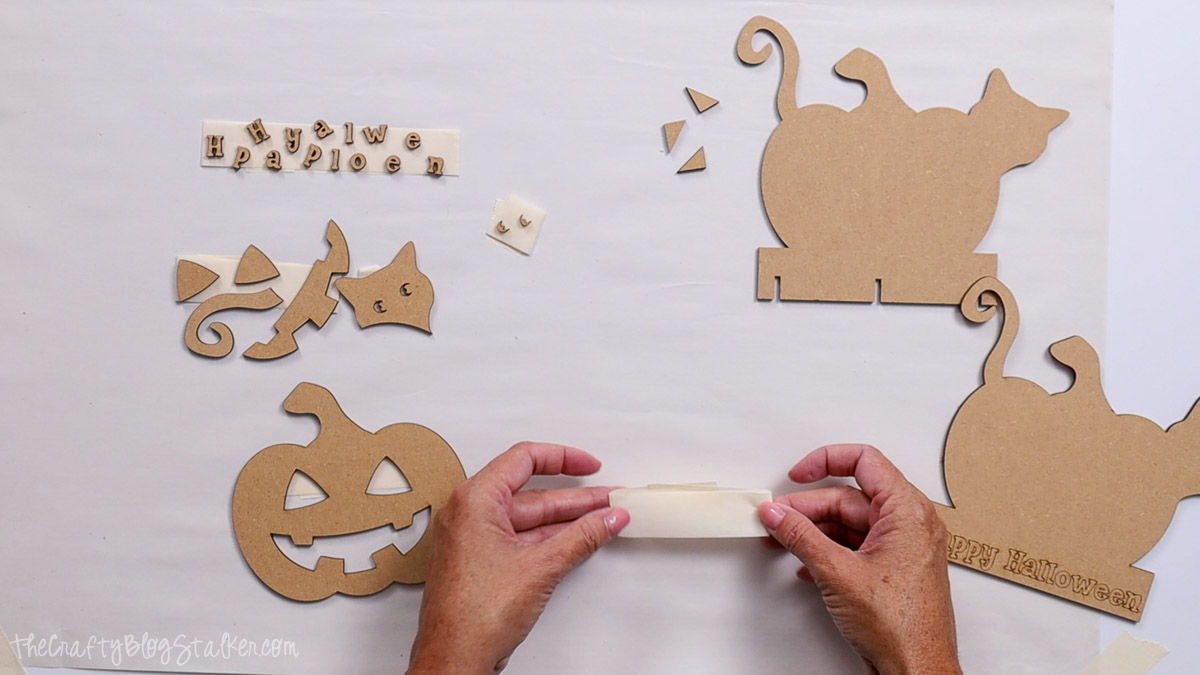
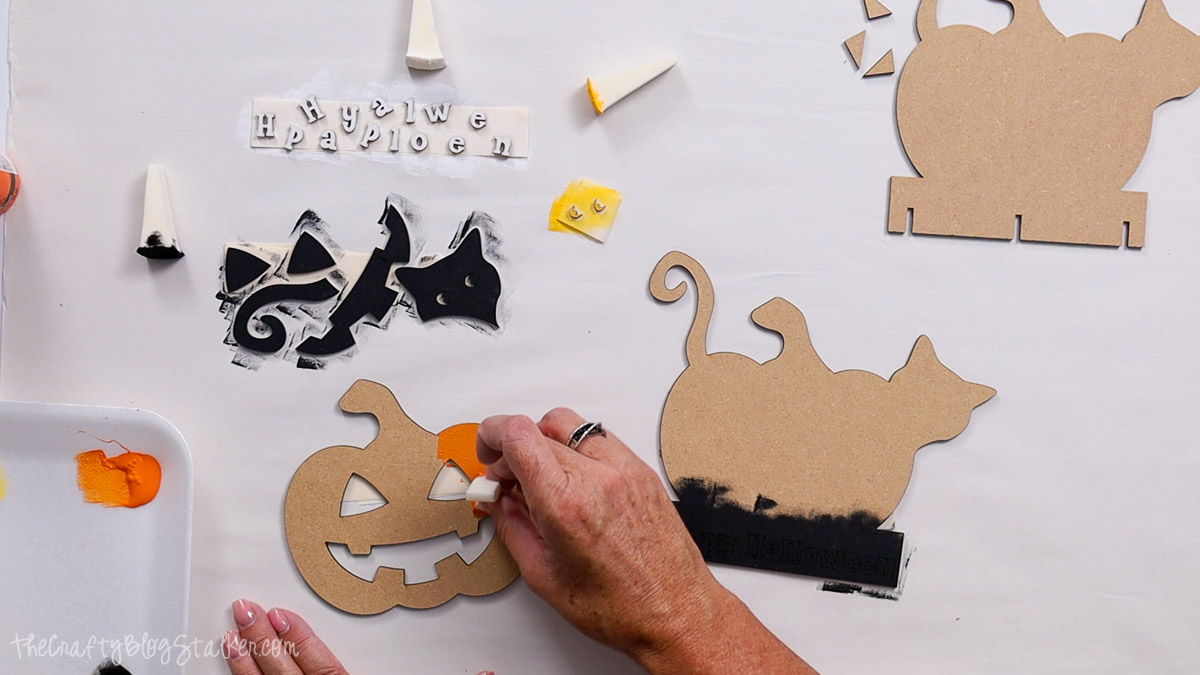
Paint Pieces
I like to tape the pieces down to a table covered with paper to prepare for painting.
The tape holds the pieces so I don't get paint all over my fingers, and the paper protects my table.
I grouped the pieces by color.
I like to paint these small pieces with cosmetic sponges because they are cheaper than sponge brushes and work just as well.
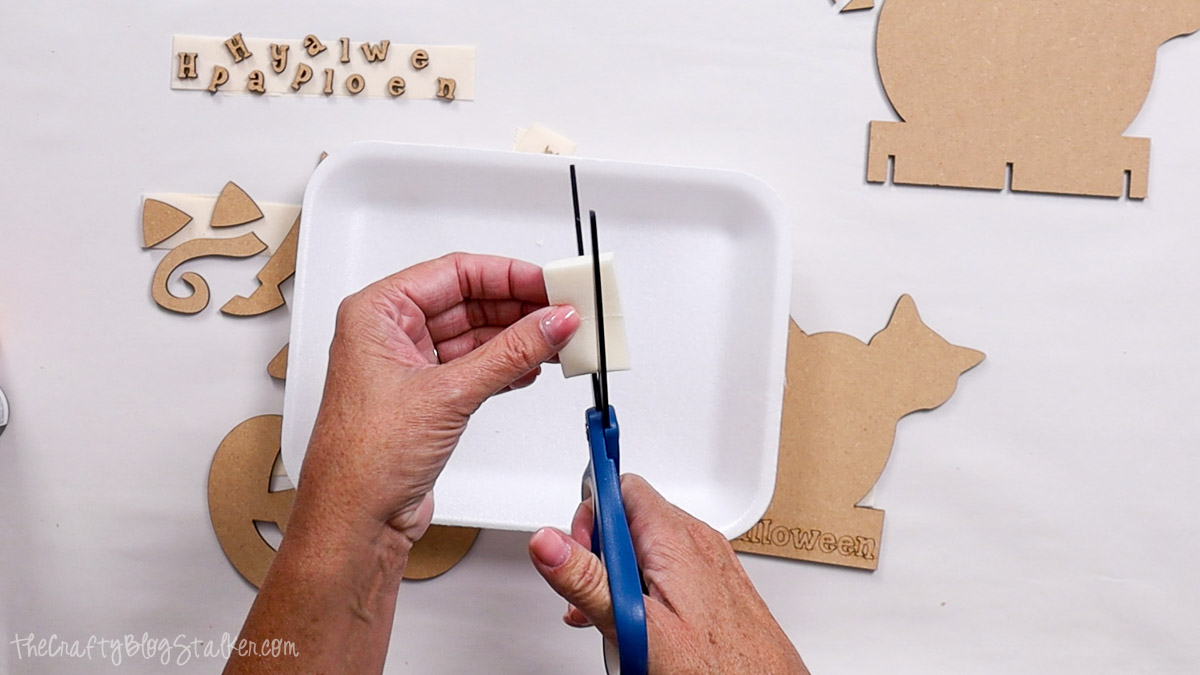
If you cut them in half, they are even more cost-effective!
Dab the fat end of the sponge into the paint, and then dab the paint onto the MDF pieces.
Apply 2-3 coats and let the pieces dry completely before proceeding to the next step.
Apply Glue
Squeeze glue onto the paper and apply it with a small paintbrush. This helps control the amount of glue, so there isn't excess around the edges.
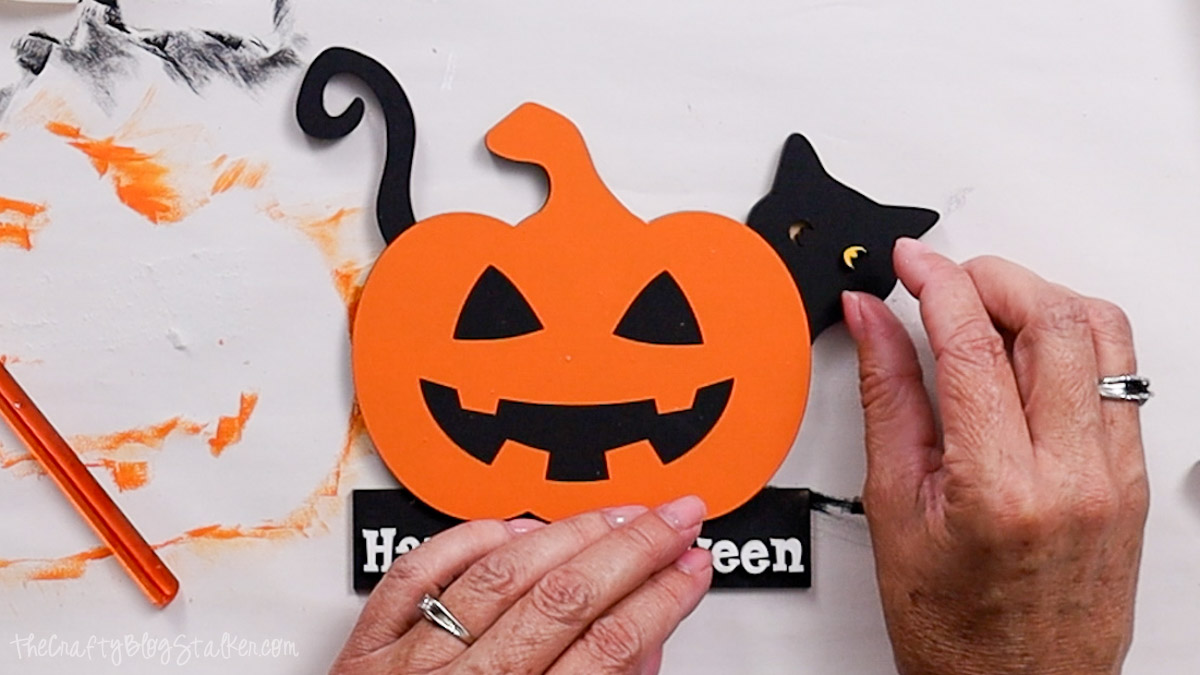
I started with the text "Happy Halloween" and then adhered to the base.
The base has each letter engraved so you can perfectly place the letters.
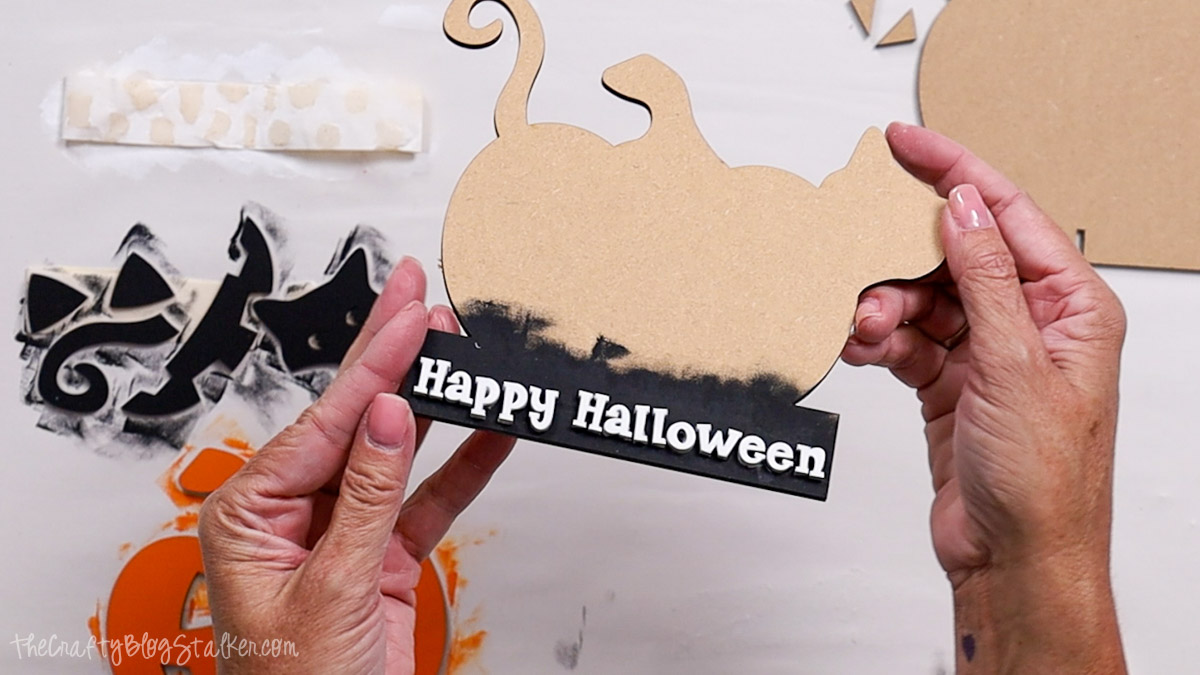
Next, adhere the pumpkin, aligning the edges of the pumpkin with the base.
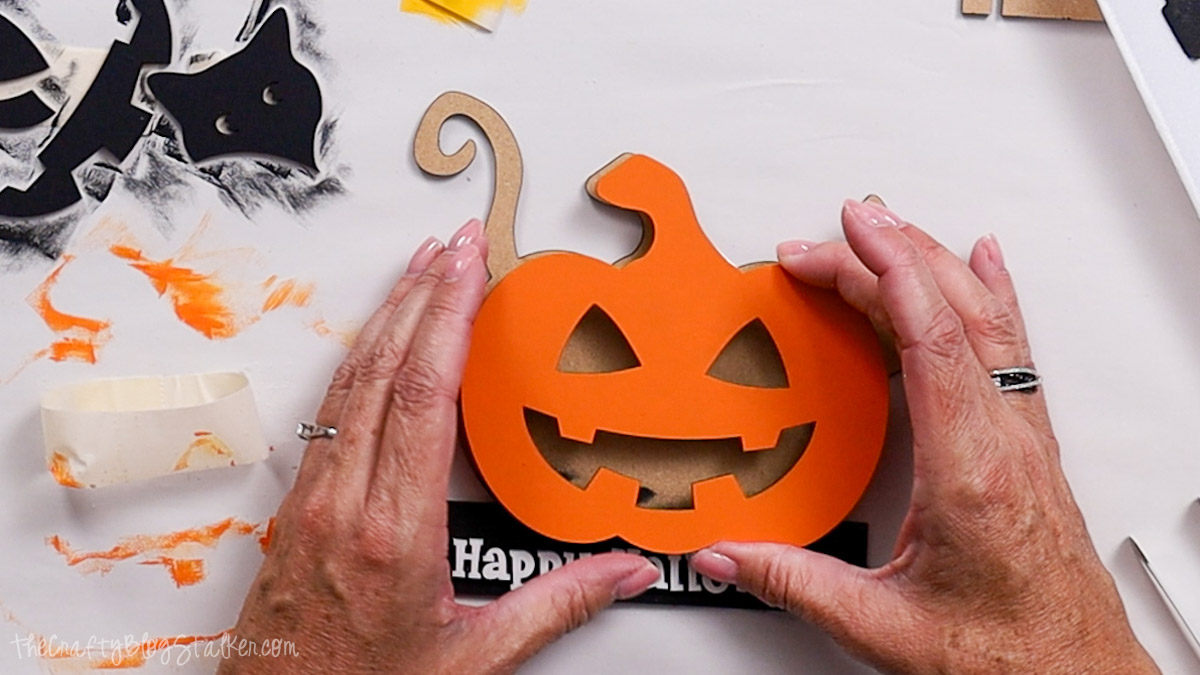
Add glue to the back of the pumpkin face pieces and place them in their opening. Each piece only fits one way.
Then align the cat pieces, and glue in the eyes.
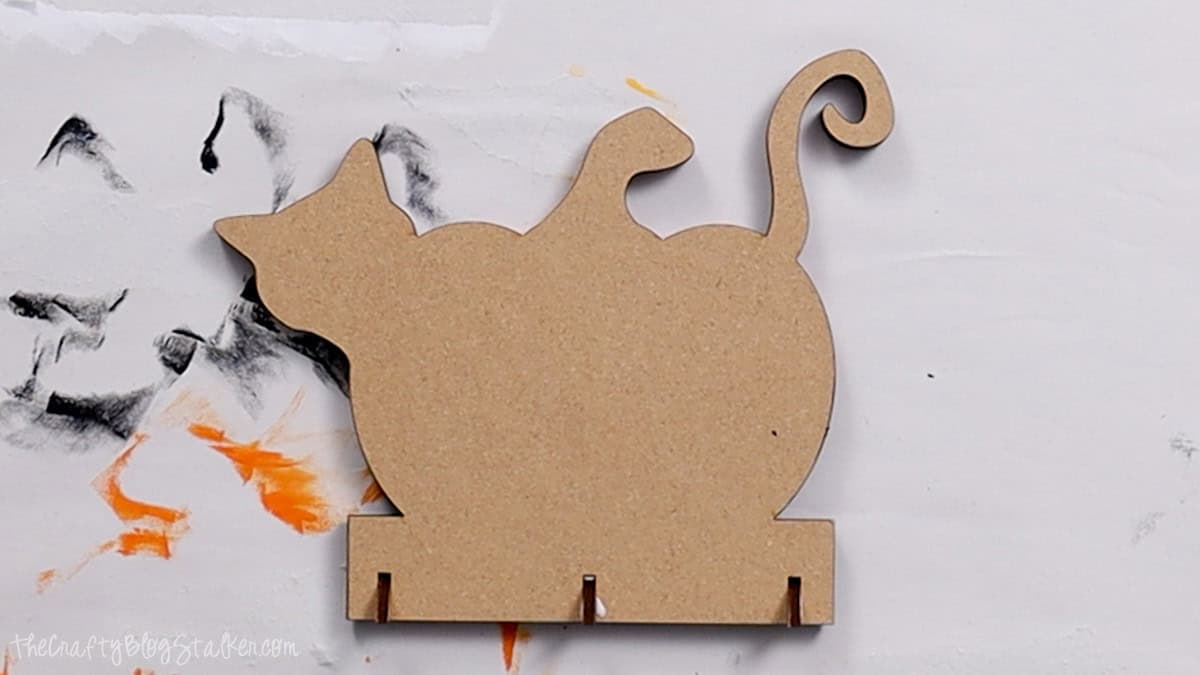
The back piece is the same shape, but with three notches in the bottom.
Adhere to the back, and glue the triangle pieces into the notches so the piece will stand by itself.
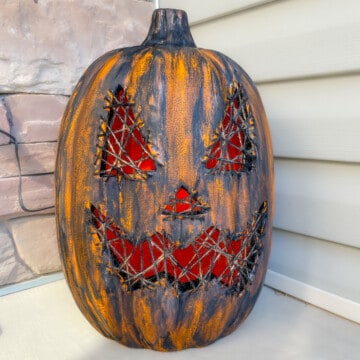
The finished project is so cute and only a little spooky.
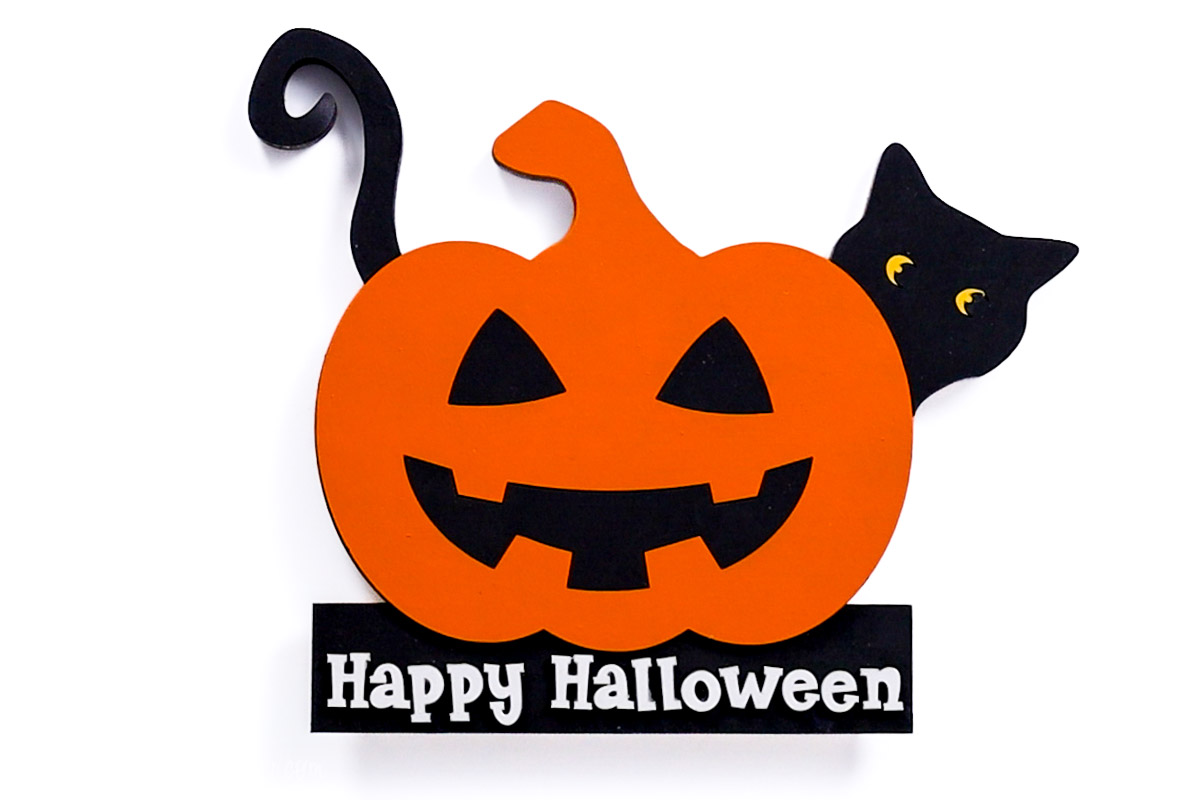
This little guy measures 7 x 6 inches and is a fun way to decorate for Halloween. Where will you put him?
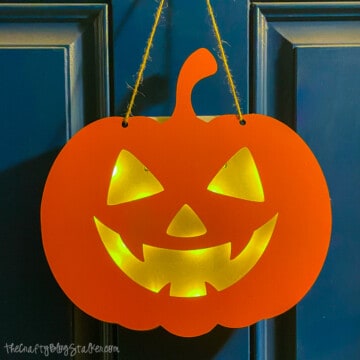
More DIY Halloween Decor
Ready to make a few more DIY Halloween pieces? Here are a few fun ideas.

Hi, I'm Katie!
I'm so glad you're here. Want to make something fabulous? I'm here to help!