



Make a fun vampire Halloween shirt with glitter iron-on vinyl and your Cricut. This easy project adds just the right amount of spooky sparkle!
Do you dress up for Halloween, or are you more of a festive T-shirt person?
I don't usually go all out with a costume, but I still like to show a little Halloween spirit.
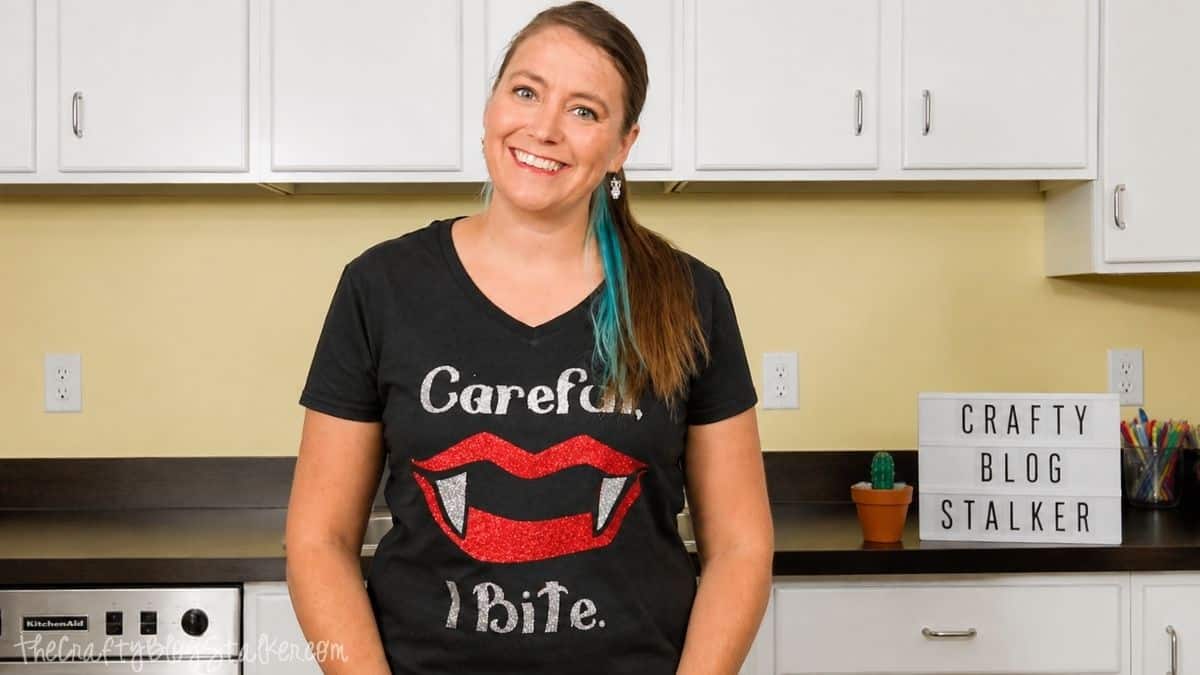
This year, I made myself a vampire T-shirt with glitter heat transfer vinyl, and I love how it turned out.
Honestly, I could wear this shirt all year long, not just for Halloween!
Jump to:
Skill Level: Beginner
Estimated Cost: $15-$20
Total Time: 45 minutes
Craft Tutorial Video
If videos are your thing, you're in luck-I've got a full tutorial ready for you!
Subscribe to my YouTube channel and stay inspired with every new project.
Supply List
Some links may lead to similar items when the exact item is unavailable.
How to Make a Halloween Shirt with Glitter Iron-On
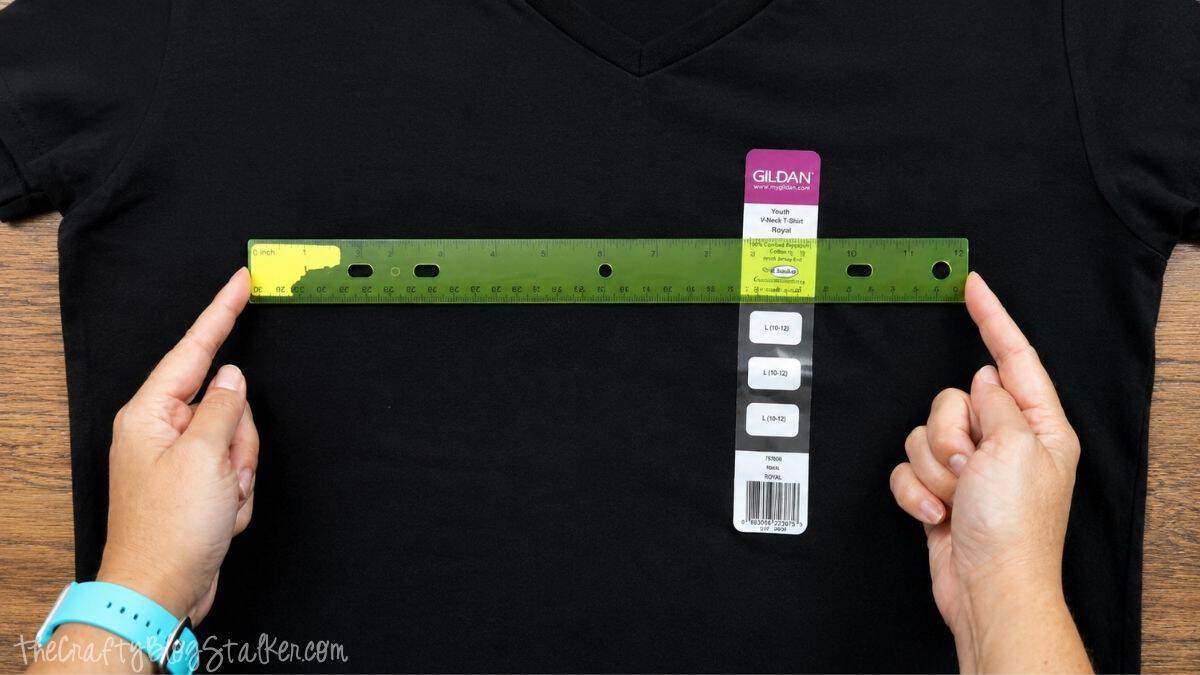
Start by laying your T-shirt flat and deciding how large you want the finished design to be. I like my shirt designs to fill a good portion of the front without looking oversized.
Use a ruler to measure the available space before sizing the design. I used a black adult large T-shirt and made my design 11 inches wide.
Keep the cutting limitations of your specific Cricut machine, mat, and material in mind when choosing the size.
Measuring first saves you from creating the perfect design only to discover it's too large to cut or doesn't look right on the shirt.
Prepare the Design in Cricut Design Space
I created my "Careful, I Bite" design in Cricut Design Space. You can use my Careful, I Bite Cricut Design Space project to make the same shirt.
My project is already sized at 11 inches wide. If you need a different size for your T-shirt, open the project and adjust the dimensions before cutting.
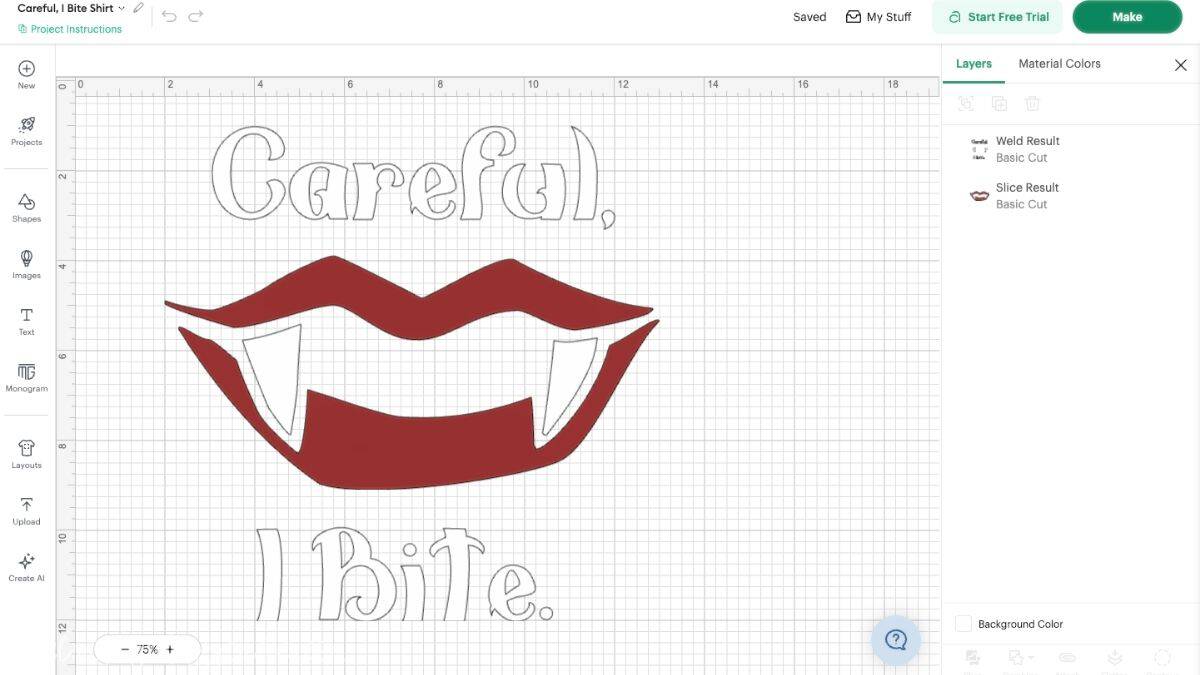
When your design is sized correctly, select Make It and follow the prompts in Design Space.
Since you're working with iron-on vinyl, make sure the design is mirrored before cutting. This is an important little step that's easy to forget until it's too late. Ask me how every Cricut crafter learns that lesson at least once!
I cut the lips from red glitter iron-on and used silver glitter iron-on for the words and vampire teeth.
Place the glitter iron-on onto the cutting mat with the shiny carrier side facing down, then load the mat and cut each color.
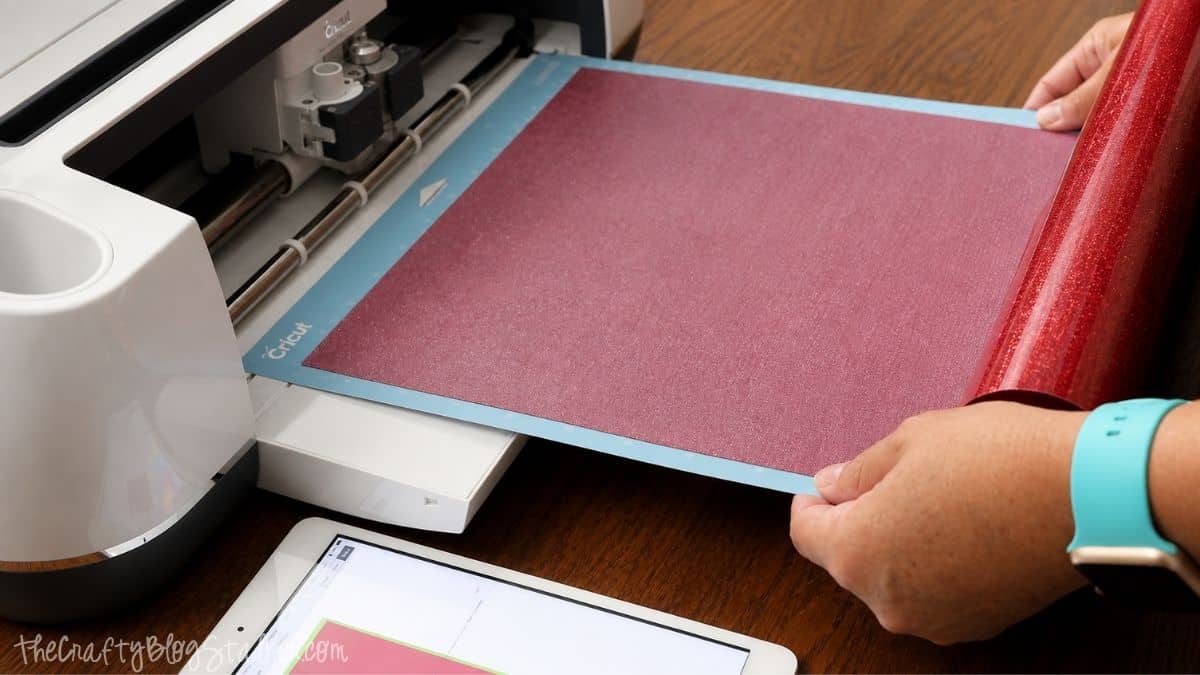
When the Cricut is finished cutting, remove the glitter iron-on from the mat.
Replace the protective plastic sheet on your mat when you're finished to help keep dust and debris off the adhesive surface.
Weed the Glitter Iron-On Vinyl
Next, weed both colors of glitter iron-on by removing all of the vinyl that isn't part of the finished design.
A BrightPad can make the cut lines easier to see, especially when you're working with glitter materials where those little cut lines sometimes like to hide.
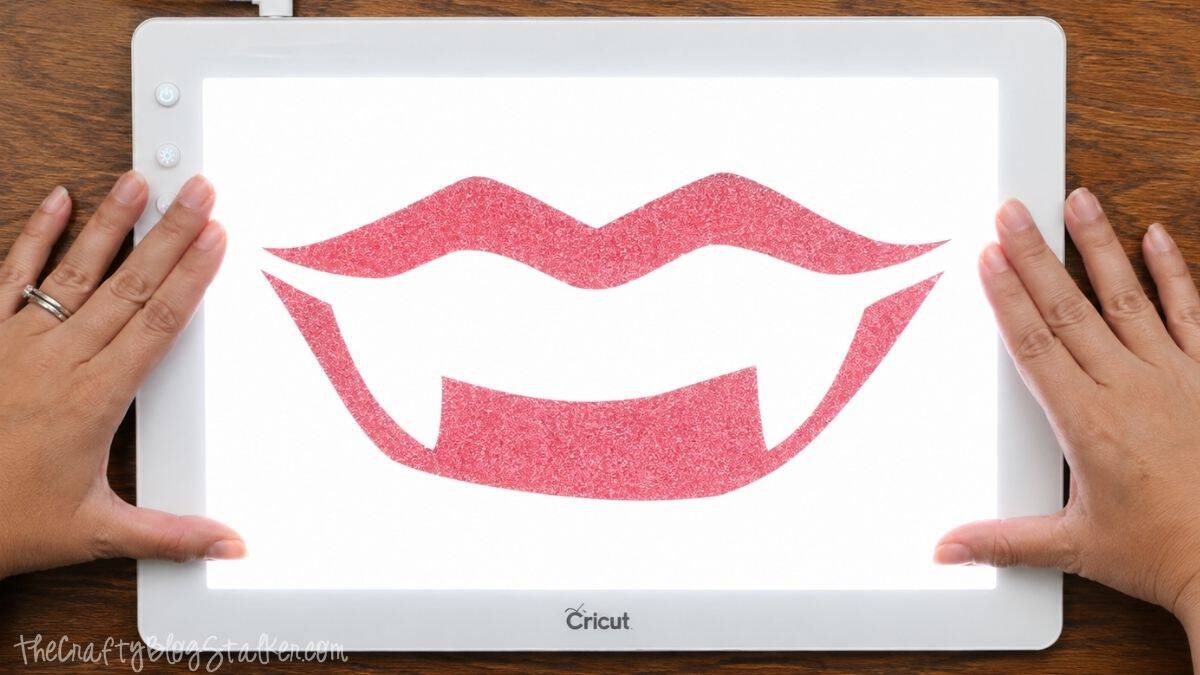
Take your time around the smaller details, especially the lettering and teeth.
When you're finished, look over the entire design before moving to the heat press so you can catch any tiny pieces you may have missed.
Apply the Glitter Iron-On
Once both colors are weeded, it's time to put everything together.
Start by positioning the silver layer on the front of the shirt. Take a moment to make sure the design is centered and straight before pressing.
The carrier sheet is slightly sticky, so it should hold the design in place while you make small adjustments.
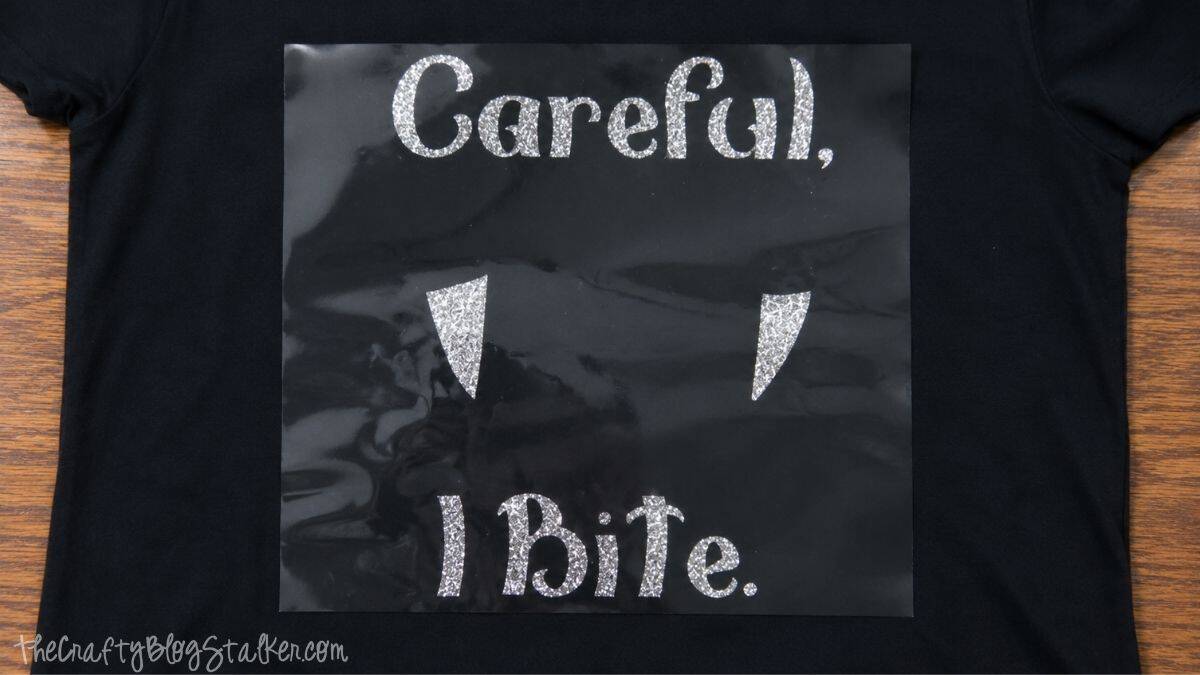
Heat settings can vary by the exact iron-on material, shirt fabric, and heat press you're using, so always check the current instructions for your products before pressing.
When I originally made this project, the recommended setting for my shirt and Cricut Glitter Iron-On was 340°F for 20 seconds.
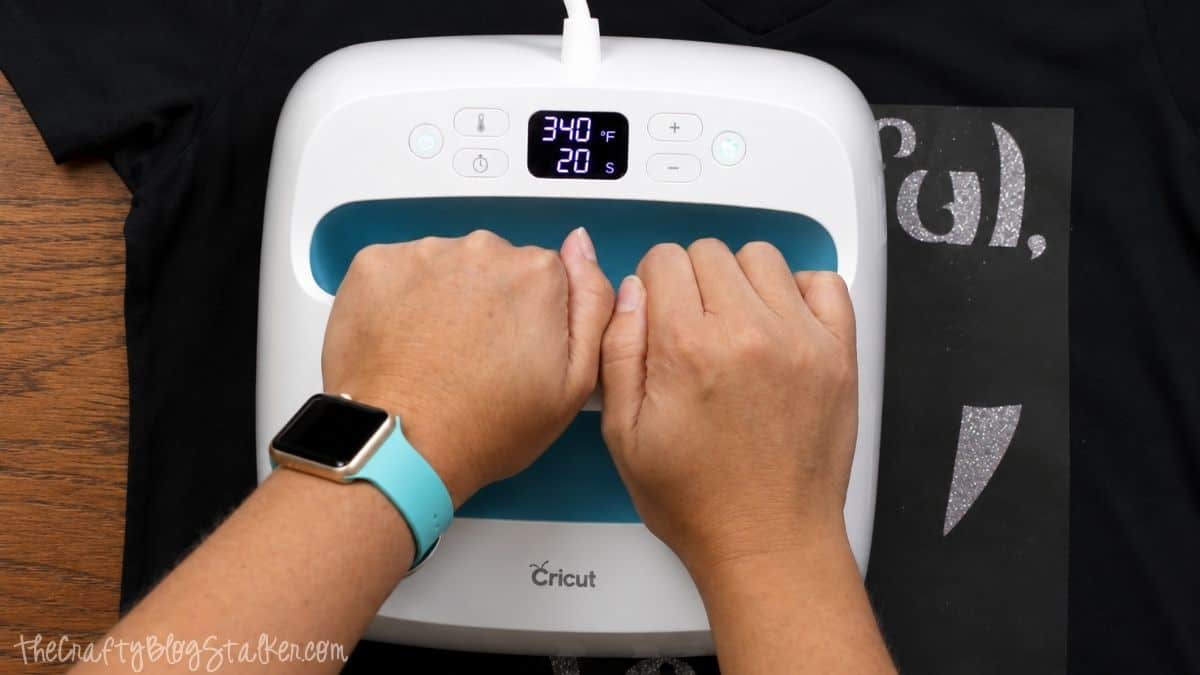
After pressing, allow the material to cool as directed before removing the carrier sheet.
Next come those sparkly vampire lips!
Center the red lips around the silver teeth and lightly press the carrier sheet into place.
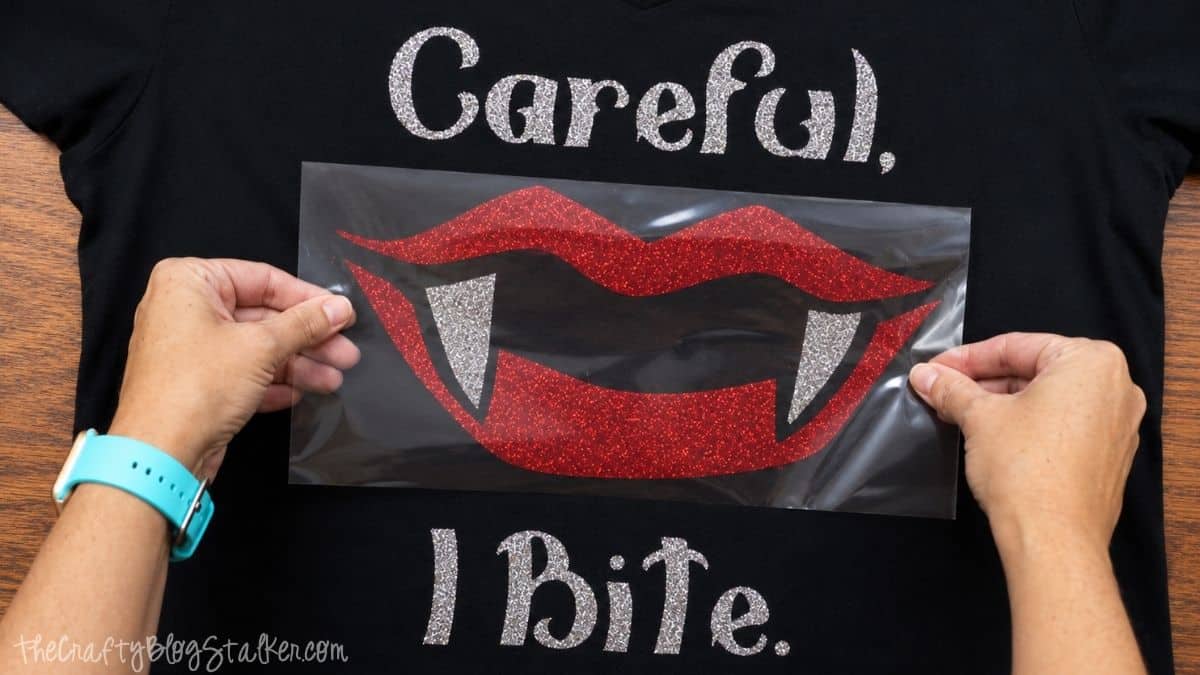
Before pressing the second color, make sure all previously applied glitter iron-on is protected. I reused the carrier sheet from the silver layer to cover the exposed design.
Don't let the heat plate sit directly on the glitter heat transfer vinyl, as it could damage the finished surface.
Press the red glitter iron-on according to the recommended settings for your materials.
Once the iron-on has cooled as directed, carefully remove the carrier sheet and check that every part of the design has adhered securely.
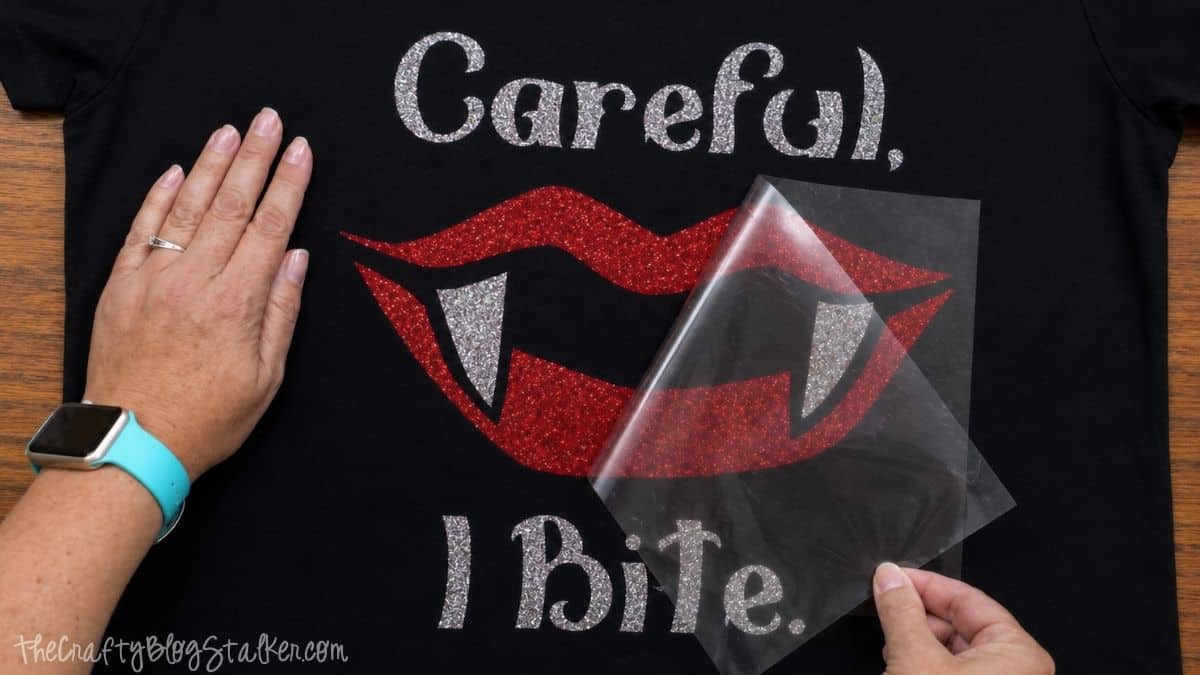
Didn't it turn out so cute?!
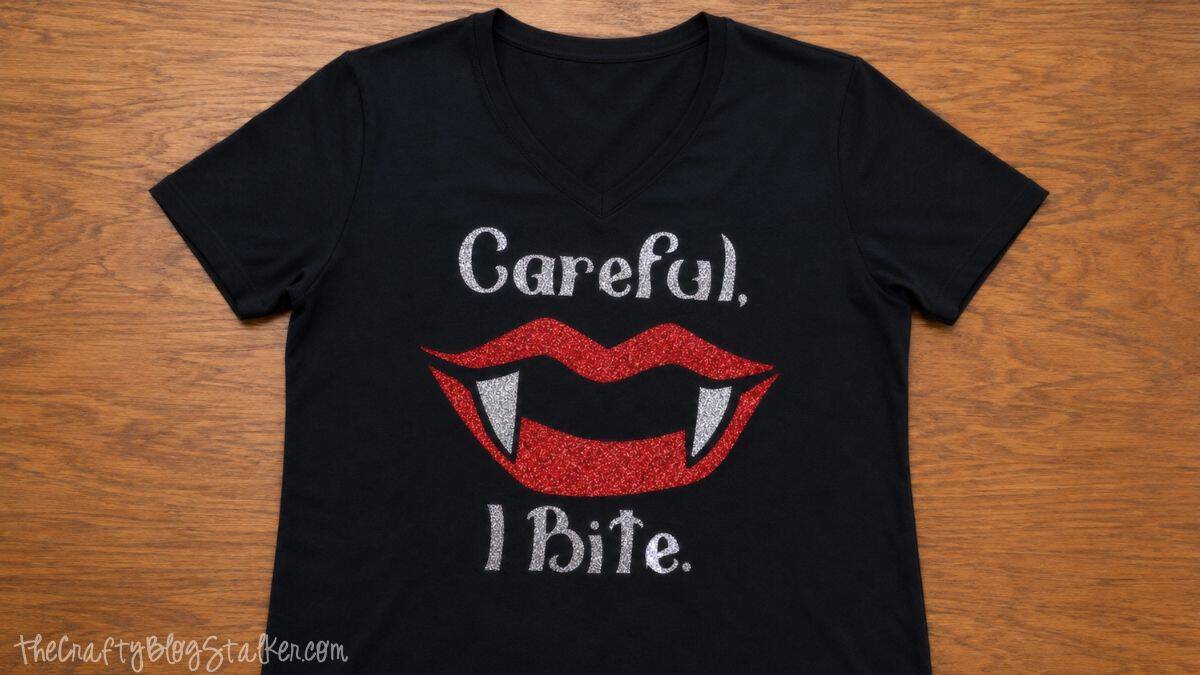
This is such a fun alternative to a full Halloween costume. Pair it with jeans, and you've got something festive to wear while handing out sweets, going to a party, or taking the kids trick-or-treating.
It would also make a cute handmade gift for someone who loves Halloween shirts but isn't necessarily interested in dressing up as a witch, skeleton, or vampire from head to toe.
Frequently Asked Questions
Yes. The finished shirt won't have the same sparkle, but you can use another compatible heat transfer vinyl. Always follow the cutting and pressing instructions for the specific material you're using.
No. You can use another heat tool approved for your heat transfer vinyl, such as a Cricut EasyPress. The important part is using the correct temperature, time, and pressure recommended for your particular vinyl and fabric.
Iron-on designs are cut from the back because the clear carrier sheet stays on top during application. Mirroring ensures that your words and images face the correct direction once they're pressed onto the shirt.
For this project, the red and silver pieces are positioned next to each other rather than stacking one glitter layer directly on top of another. Check the manufacturer's instructions before layering any heat transfer vinyl because not every material is designed to be used as a bottom layer.
Absolutely! Just resize the design to fit the smaller T-shirt before cutting. Measuring the shirt first will help you choose a size that looks proportional.
Follow the care instructions provided by the manufacturer of your heat transfer vinyl. Let the adhesive cure for the recommended time before the first wash to help your design last.
Need help with this project?
Click a button below to ask AI what size to make the design for my T-shirt.
More Halloween Cricut Crafts
Can you have too many bookmarks? I don't think so! Here are a few more fun ideas.

Hi, I'm Katie!
I'm so glad you're here. Want to make something fabulous? I'm here to help!
Beth
Thank you for the very informative tutorial. I’m new to Cricut Maker projects, even though I’ve had my machine for 1 year. I’ve just been overwhelmed with the instructions. Your video is easy to follow. You’re not word and cutesy. I’m happy to have found this with all the information you share. Thank you so much,,
Katie
Thank you so much, Beth! I am so glad you found my tutorial helpful!