

Decorative glass votive candle holders are easy to make and a nice way to provide a homemade candle holder for the kitchen or dining room.
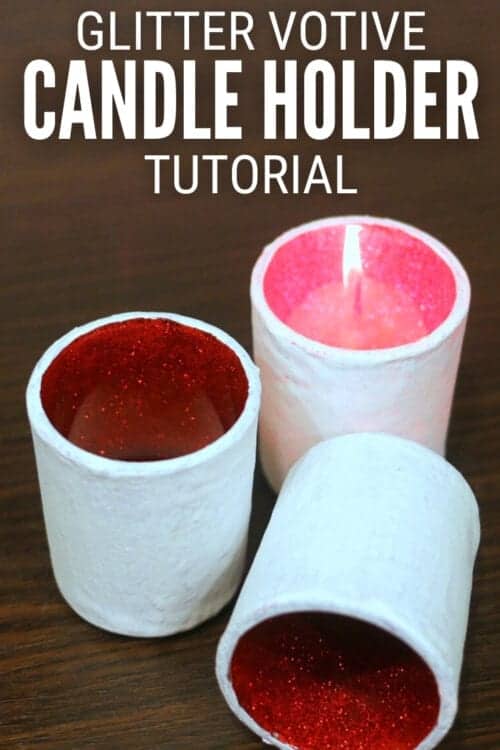
Do you love home decor that glitters and sparkles?
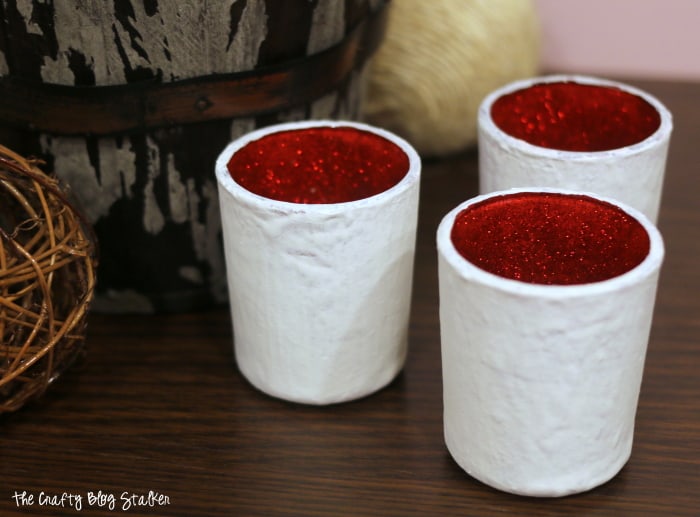
If so, you are going to love these votive candle holders. They are beautiful on their own but add a candle to them and they really shine!
You could use this technique on any type of glass, like vases, mason jars, or other home decor pieces.
They look like expensive candle holders but are made with supplies from the dollar store.
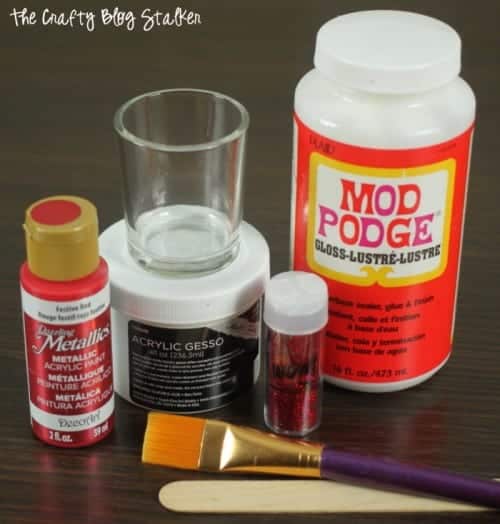
Supplies You'll Need to Create this Project:
This post contains affiliate links.
Instructions:
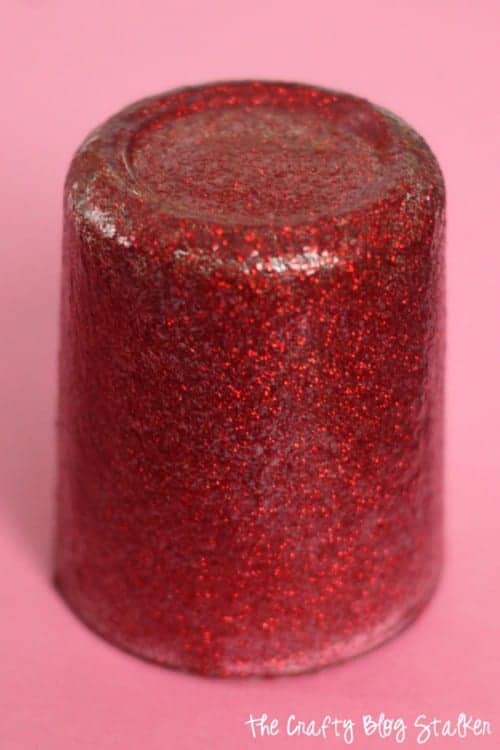
To begin, combine the red glitter and Mod Podge. I don't have an exact measurement but I would say about equal parts of each to get good coverage.
Then simply paint the mixture onto the outside of the glass candle holder with a paintbrush.

Apply 7 coats of the glitter and Mod Podge mixture. You want a majority of the surface to be covered in glitter.
Let each coat dry for 10-15 minutes before you add another.
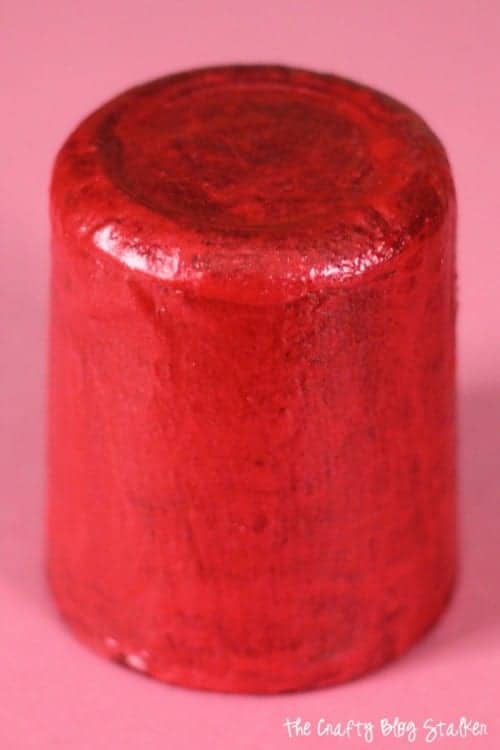
The next couple of layers is the Metallic Red Acrylic Paint. This will fill in all of the space that didn't get covered with glitter.
Apply two coats of this paint.
When the red paint is dry then it is time to paint with the Gesso.
Gesso is a canvas primer used on canvases. It is super thick so it is great to use for this project because it will cover all of the red.
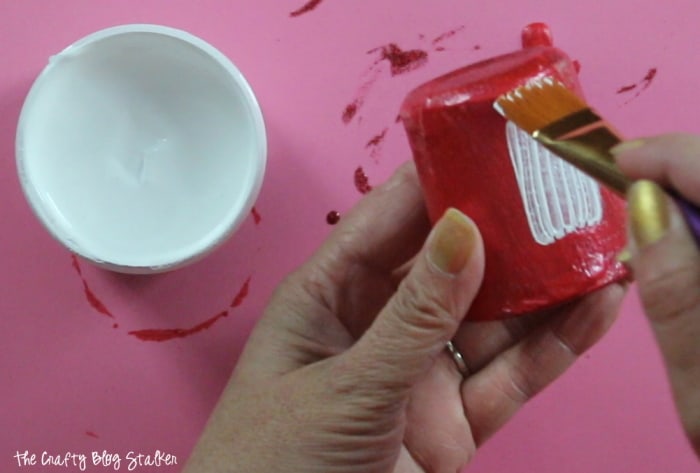
Apply two coats with a paintbrush.
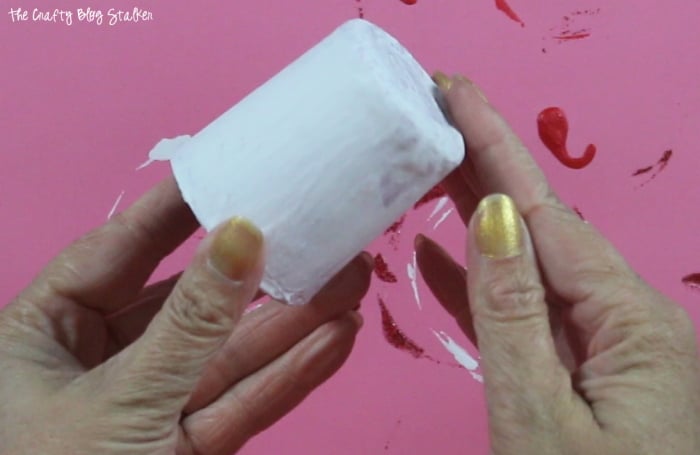
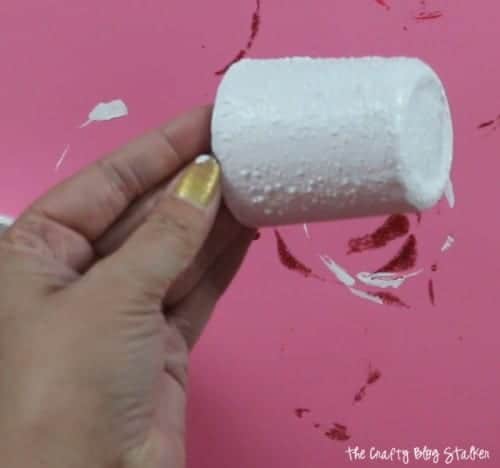
For the third coat of gesso, apply with a sponge. It will look kind of pokey, but don't worry, the paint flattens out as it dries.
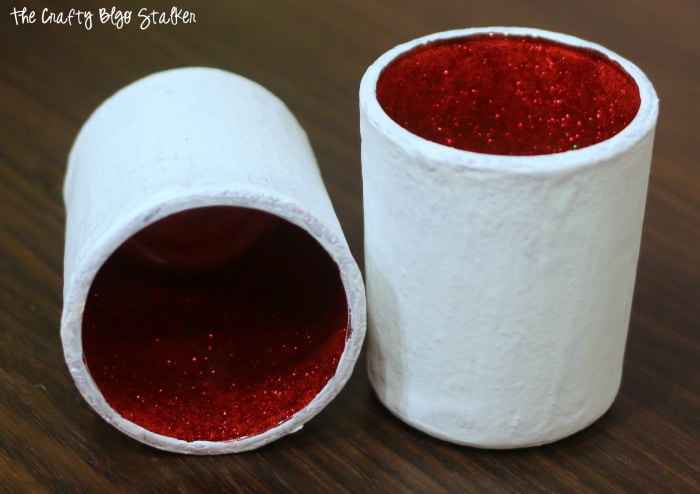
When the Gesso dries it looks like ceramic.
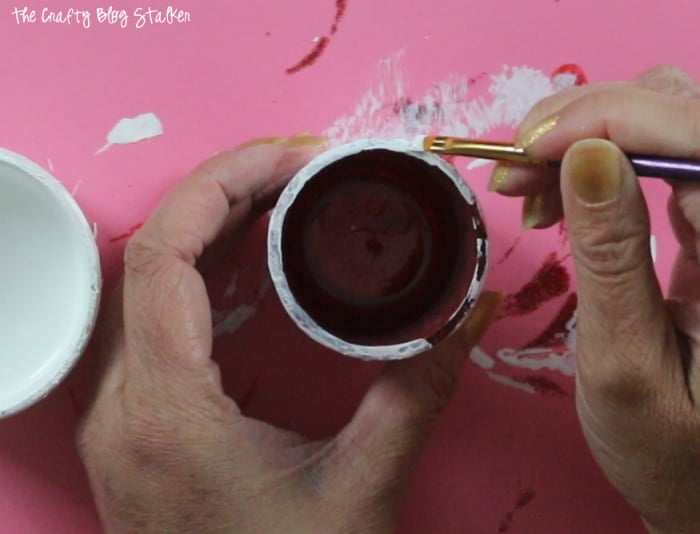
Make sure to paint the top rim. This will make the votive look more finished, and it just looks cool! 🙂
Aren't they beautiful? I love seeing all of the red glitter sparkles from behind the white ceramic outside.
These decorative candle holders could be used for any type of event centerpiece, and they would be perfect for weddings!
Of course, you can also customize and use any color of glitter to match your theme or home decor.
Craft Tutorial Video:
When you make your own glitter votives, please share a photo! We'd love to see it.
Crafting Essentials
- The Cricut Cutting Machine is easily my favorite crafting tool. We use it in so many of our tutorials!
- These MakerX Crafting Tools are perfect for keeping in the craft room and are always ready when needed!
- This Fiskars Paper Trimmer is easy to use and cuts nicely without frayed edges.
- These Scotch Precision Scissors cut like a dream, and you get multiple pairs in a pack!
Mary-the boondocks blog
A very cool idea! I like this gesso, I'll have to keep my eyes opened for it.
Shana
Katie, they are really cool!! Have a great day
Mattie
Such a cool idea that I haven't thought of before! Your video was great!
Thanks for linking up at the Let's Be Friends Blog Hop!
~Mattie
Denise/DIY Crush
Those are too cute!! Thank you for sharing this at my craft party! I just pinned your entries. Hope to see you again this Thursday at 7pm EST.!!
Kimberly
Love! Pinned and tweeted! Thank you so much for sharing this with us at our linky party. We hope to see you next Monday @ 7 because we can’t wait to see your new creations! Happy Sunday! Lou Lou Girls
Heather
Love this idea! great job the final product turned out amazing!
Katie
Thank you so much Heather! It was a fun little craft too!
Angie ~ ambient wares
Wow! I've never used gesso before but, I really like how you used it and the sparkling shimmer once the candle is lit, is just beautiful! Thank you for sharing this with us at Funtastic Friday!
Katie
Thank you Angie. It was a fun project to create. I am so glad that you like it!