

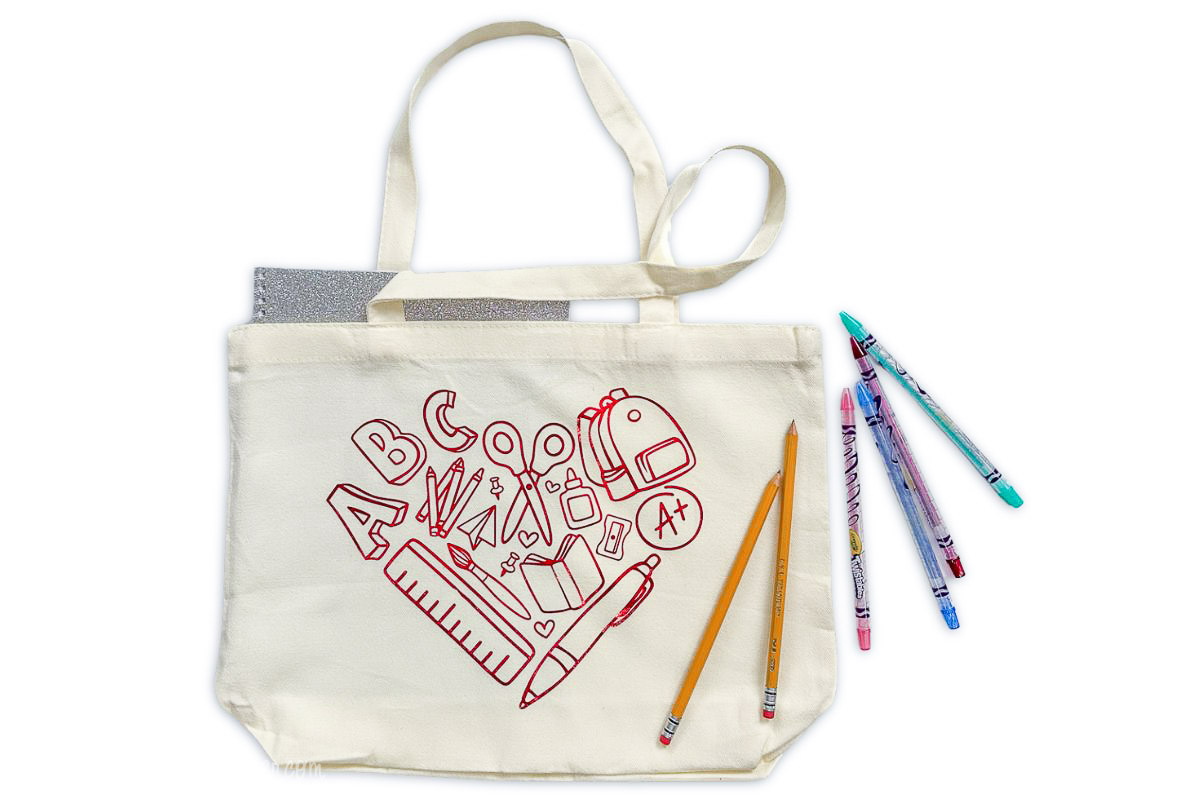
Grab this free Teacher Appreciation SVG and whip up a tote bag that's way better than another mug-handmade, useful, and straight from the heart.
If you're looking for diy projects to gift your favorite teacher, this one's a winner.
A handmade tote bag is something they'll actually use, and with this free Teacher Appreciation SVG, you can add a personal touch that's equal parts fun and heartfelt.
This simple project makes it easy to say thank you in style-for Teacher Appreciation Week, an end-of-year gift, or just because.
Plus, there are 16 more Free Teacher Appreciation SVG designs at the bottom of the tutorial!
Jump to:
Skill Level: Beginner
Total Time: 30 minutes
Craft Tutorial Video
If videos are your thing, you're in luck-I've got a full tutorial ready for you!
Subscribe to my YouTube channel and stay inspired with every new project.


Measure
First, measure the front of your tote bag to decide how big the design should be.

My bag front is about 11.5 inches tall, so I will cut the design 8 inches tall.
Cricut Design Space
For the following steps, I'll be using Cricut Design Space.
If you use Silhouette Studio or a different design software, your steps may be different than mine.
To start, upload the SVG into Cricut Design Space and add it to your Canvas.
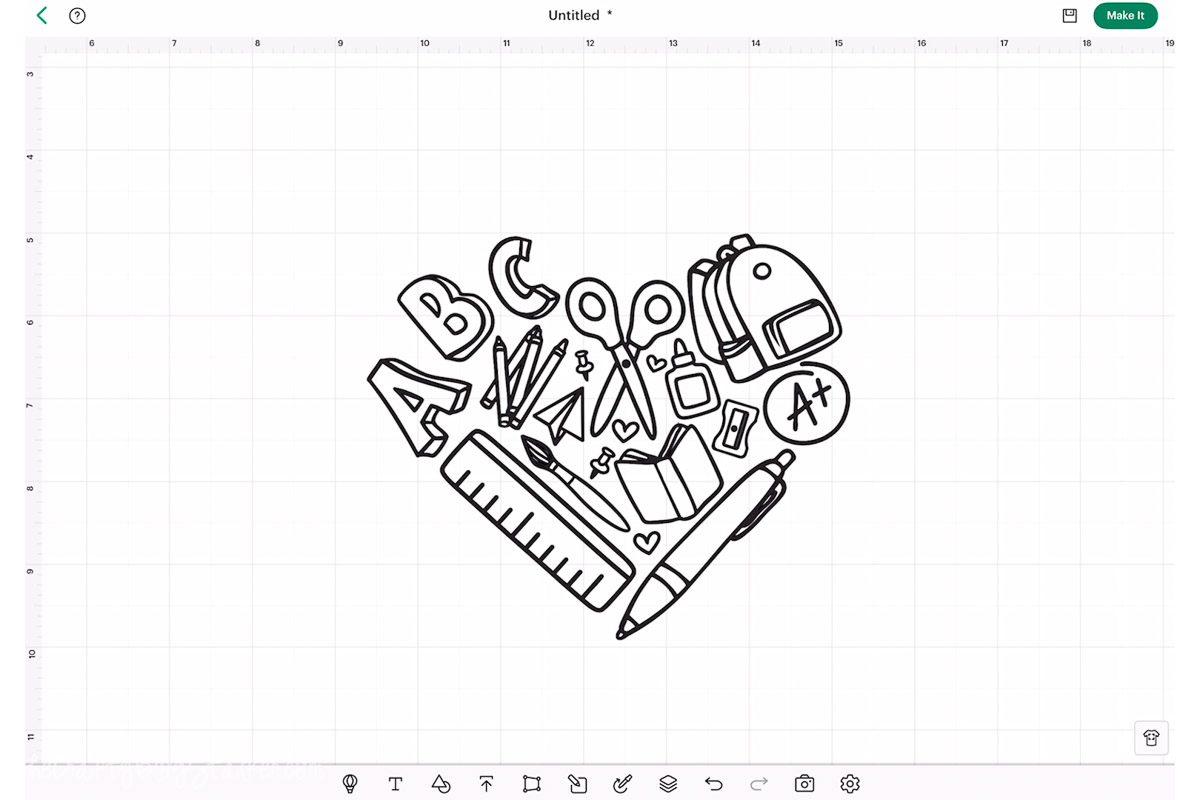
The only change I need to make to this file is the size.
Above, I measured my tote and decided on 8 inches tall.
On a device, the path is Edit, Height. Type the new height (8), keeping the ratio locked.
On a computer, change the height at the top of the screen to 8.
The design is now ready to be cut. Click Make.
The next screen is the Mat Preview.
I made sure to mirror the design since I am using Iron-on.
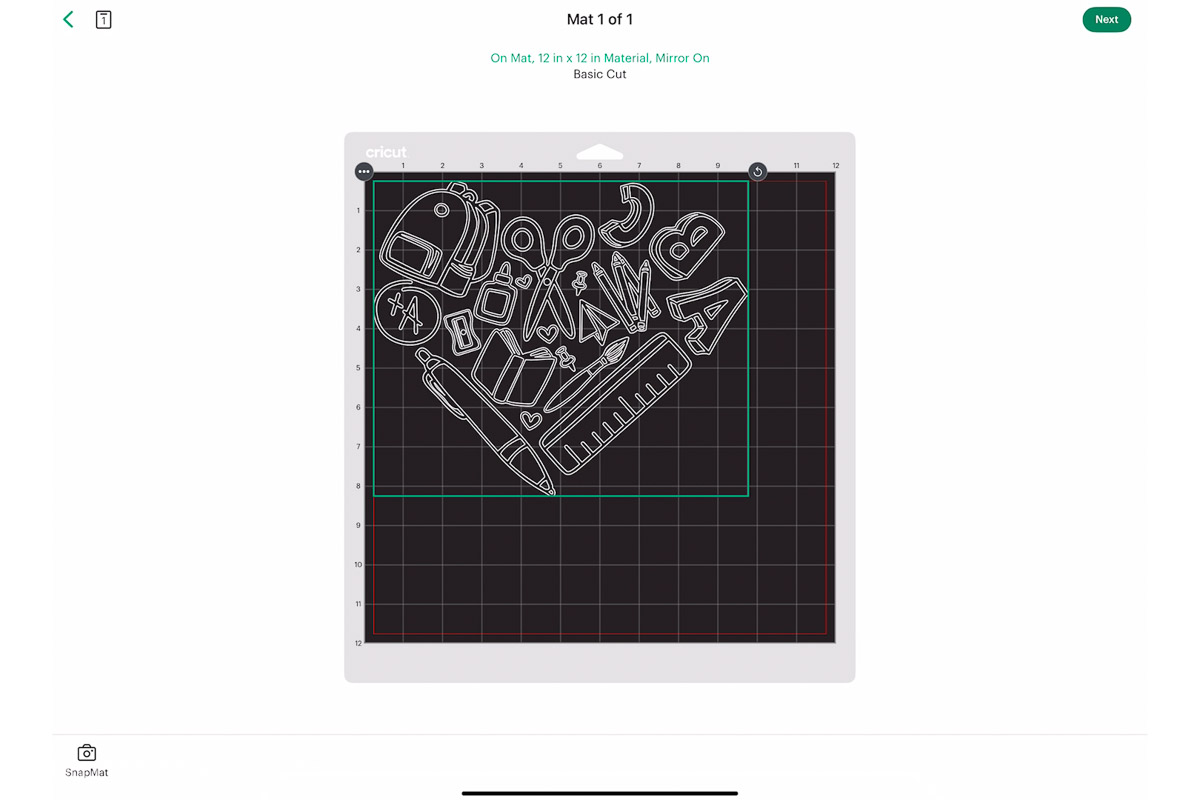
Then, I can select my material, which is Foil Iron-on.
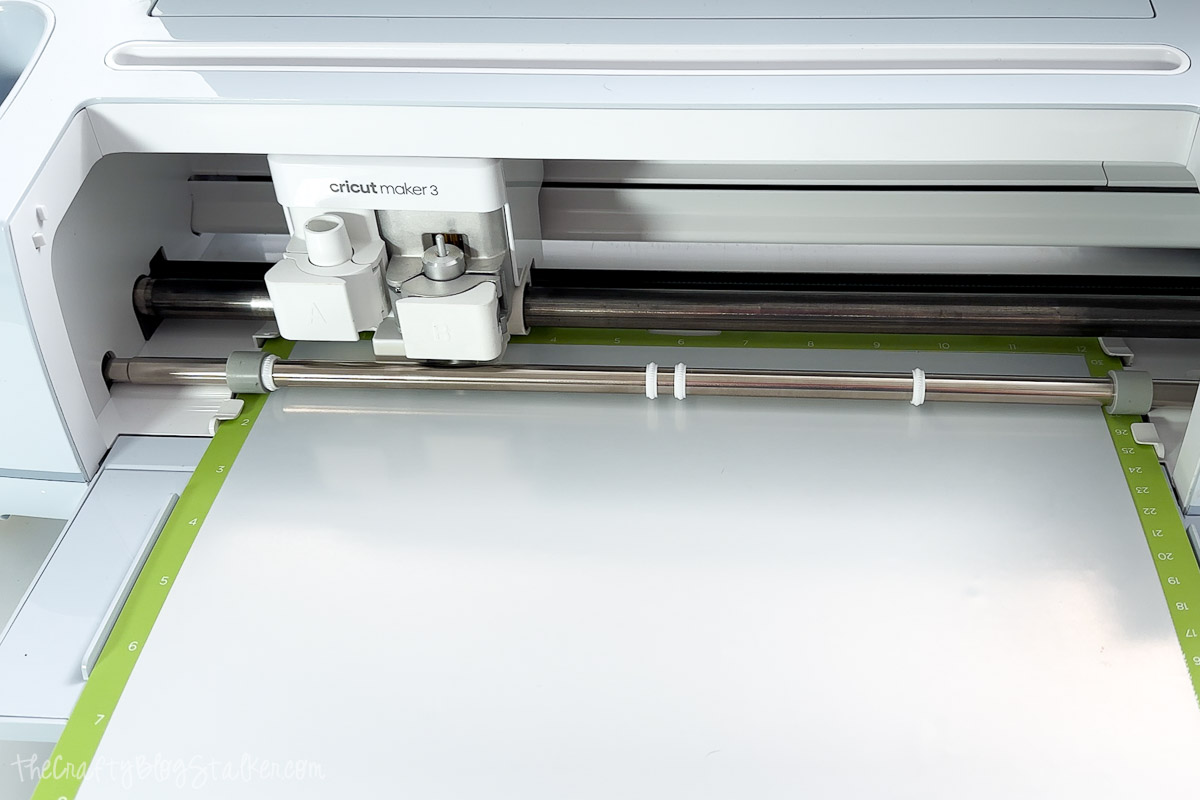
Place the material on the mat with the shiny side down. The color goes down for the foil, and the white is on top.
Load the mat into the Cricut and begin the cut.
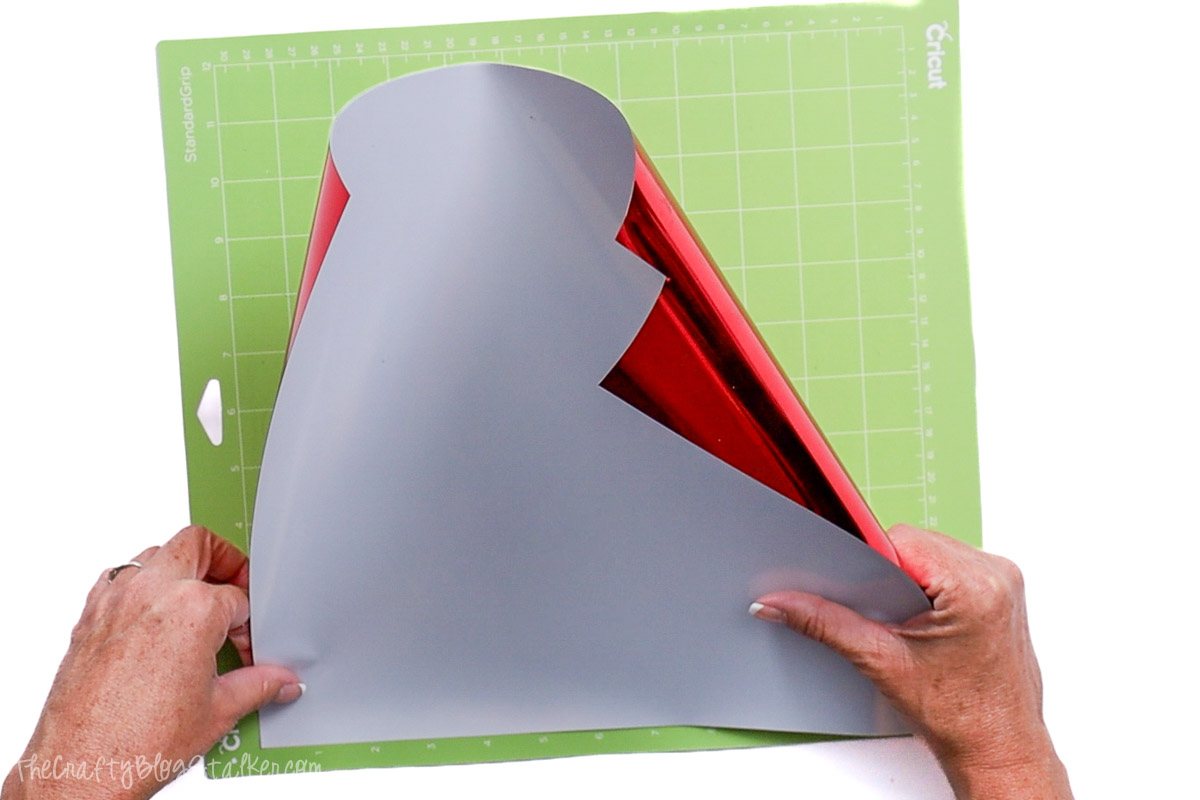
Weed Iron-On
I love to weed iron-on because it is so easy.
I leave the vinyl on the mat to weed, then start in the corner and remove the material from the transfer liner.
Don't forget the inside of the letters.

When the design is weeded, I remove it from the mat and turn it over. Then, I can double-check to ensure I weeded all the pieces correctly.

Can you spot the tiny bit I missed? It is part of a pushin near the scissors. I fixed it!
Apply Iron-on
I am using my Cricut Autopress to apply the design.
To check the temperature settings, I go to the Cricut Heat Guide.
I enter the heat press I am using, the heat transfer material, and the base material.
It then gives me the temperature and time for the press application.

I preheat the heat press, then place the tote for a quick press to remove the wrinkles.

Center the design on the front of the tote and press according to the heat guide.

With these materials, I am instructed to do a cool peel. So I wait until the plastic backing sheet is cool to the touch and then carefully peel it back.

If any part of the design pulls up with the transfer liner, lay it back down and press for one more cycle.
The handles of my tote were a bit wrinkled since I had been storing the bag for the perfect project. So I quickly grabbed my Mini Press to make them look fresh and wrinkle-free.

Final Thoughts
I love how this tote turned out. The red foil is so pretty!

This tote bag is perfect for school supplies or other goodies, whether for teacher appreciation, back-to-school, or just because!
What will you fill the tote bag with?
More Free Teacher SVG Files
Can you make too many personalized crafts for teachers? Absolutely not! Here are a few more fun design files.


Hi, I'm Katie!
I'm so glad you're here. Want to make something fabulous? I'm here to help!