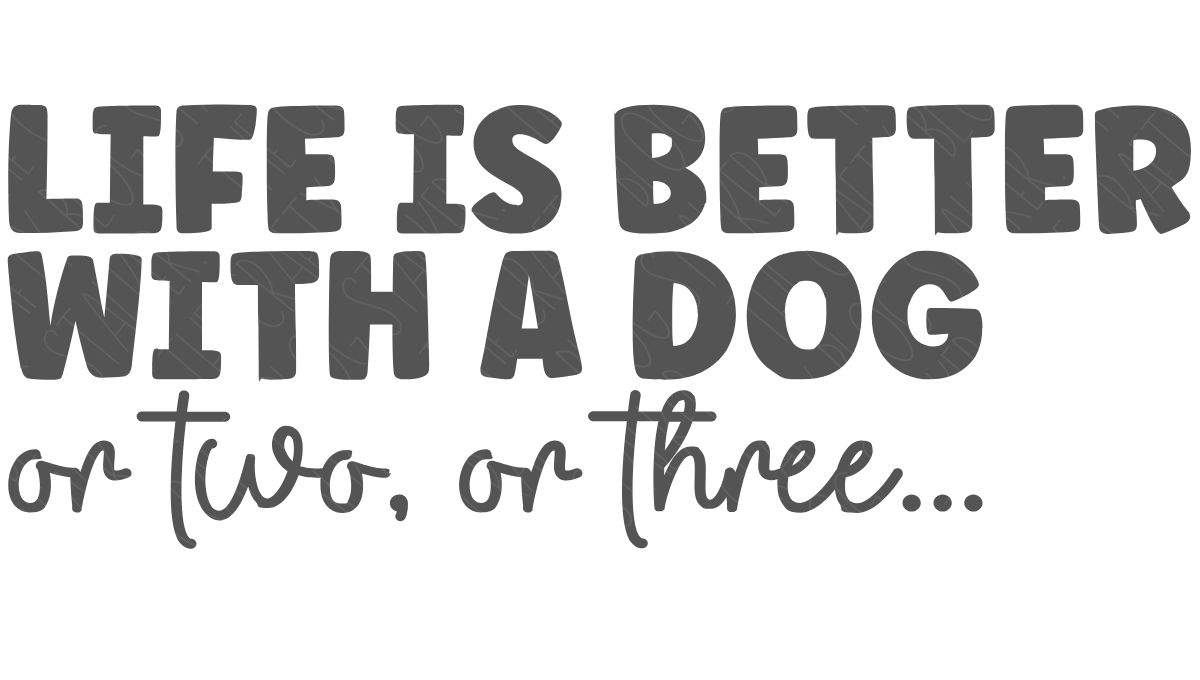
If your life is better with a dog (and we all know it is), this free SVG is for you! With this fun design, you can make shirts, mugs, and more.

Whether your pet is a cuddle buddy, walking partner, or professional floor crumb cleaner, our furry friends make every day a little brighter.
That's why I created this fun "Life is Better With a Dog" shirt design, and I'm sharing the free SVG so you can make your own!
Whether you add it to a t-shirt, tote bag, or coffee mug, it's a perfect way to show off your love for pups.
And if you're looking for more free pet-themed SVGs, keep scrolling. Even more free animal and pet designs are waiting for you at the bottom of this page!
Jump to:
Craft Tutorial Video
If videos are your thing, you're in luck-I've got a full tutorial ready for you!
Subscribe to my YouTube channel and stay inspired with every new project.
Supply List
- Life Is Better With A Dog SVG
- Cricut Cutting Machine
- StandardGrip Mat
- Heat Transfer Vinyl
- Heat Press
- T-Shirt

Sadly, the Cricut Autopress has been discontinued, but the Cricut EasyPress is a great option!
Download the SVG
This digital media is for personal use only. You do not have permission to redistribute.
Measure
First, measure the front of the shirt to decide how big the design should be.
I am placing the design on a medium-sized shirt and decided on a width of 10 inches.

Cricut Design Space
For the following steps, I'll be using Cricut Design Space.
If you use Silhouette Studio or a different design software, your steps may be different than mine.
To start, upload the SVG into Cricut Design Space and add it to your Canvas.

The only change I need to make to this file is the size.
Above, I measured my shirt and decided on 10 inches wide.
On a device, the path is Edit, Width. Type the new width (10), keeping the ratio locked.
On a computer, change the width at the top of the screen to 10.
The design is now ready to be cut. Click Make.
The next screen is the Mat Preview.
I made sure to Mirror the design since I am using Iron-on.
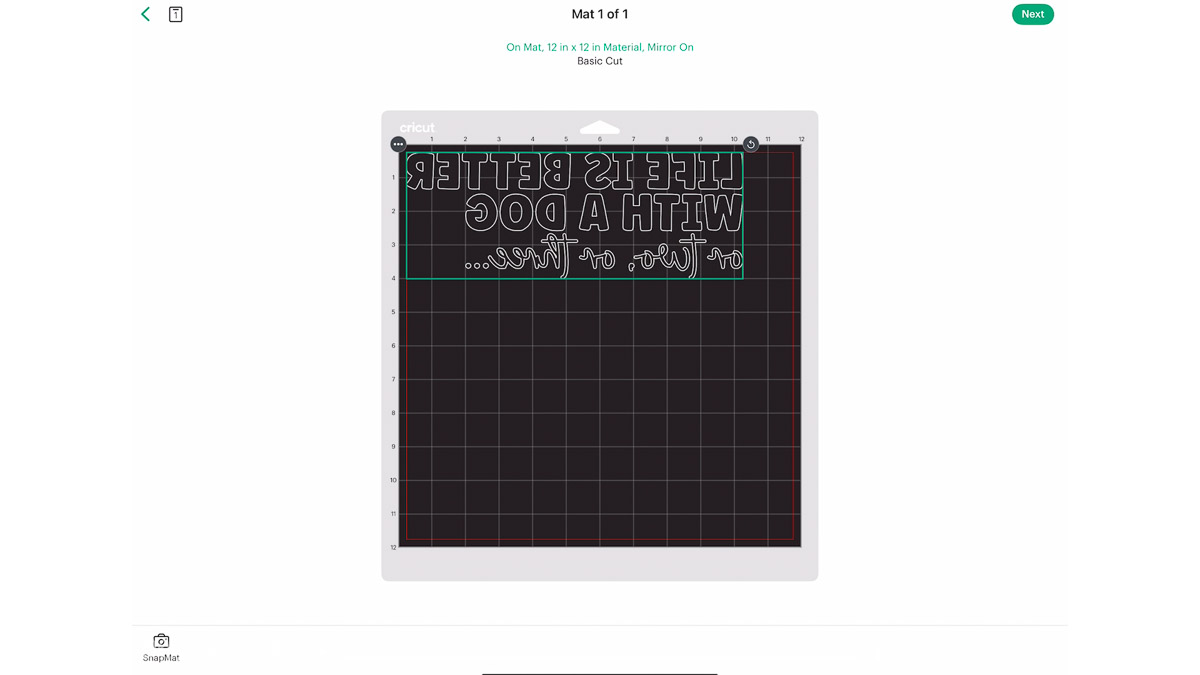
Then, I can select my material, which is Everyday Iron-on.
Prepping the Mat
I am not using Smart Materials, so I will cut my iron-on on a mat.
To cut the iron-on to size before loading my mat, I can measure my material using the mat with the protective sheet still on.
Simply roll out and cut with a pair of scissors.

Then remove the protective sheet and apply the iron-on, shiny side down onto the mat.

Weed Iron-On
I love to weed iron-on because it is so easy.
Start in the corner and simply pull the material away from the transfer liner.
Don't forget the inside of the letters.

Ensure it is completely weeded by turning it over and reading the design. It looks great!

Apply Iron-on
I am using my Cricut Autopress to apply the design.
To check temperature settings, I go to the Cricut Heat Guide.
I enter the heat press I am using, the heat transfer material, and the base material.
It then gives me the temperature and time for the press application.

Place the shirt in the press for a quick 5-second press to remove any wrinkles.
Center the design on the front of the shirt and press according to the heat guide.

With these materials, I am instructed to do a cool peel. So I wait until the plastic backing sheet is cool to the touch and then carefully peel it back.

If any part of the design pulls up with the transfer liner, lay it back down and press for one more cycle.
Final Thoughts
I love my new shirt, and it completely fits my personality.

We have three dogs, and we had four a couple of months ago! BUT my son moved out and took his dog with him.
It was crazy with four dogs running around, but I loved them all. 😂
More Free Pet SVG Files
Can you make too many pet crafting projects? Absolutely not! Here are a few more fun design files.