



Make a Home Sweet Haunted Home sign with your laser cutter for spooky Halloween decor. This layered design is easy to paint and assemble.
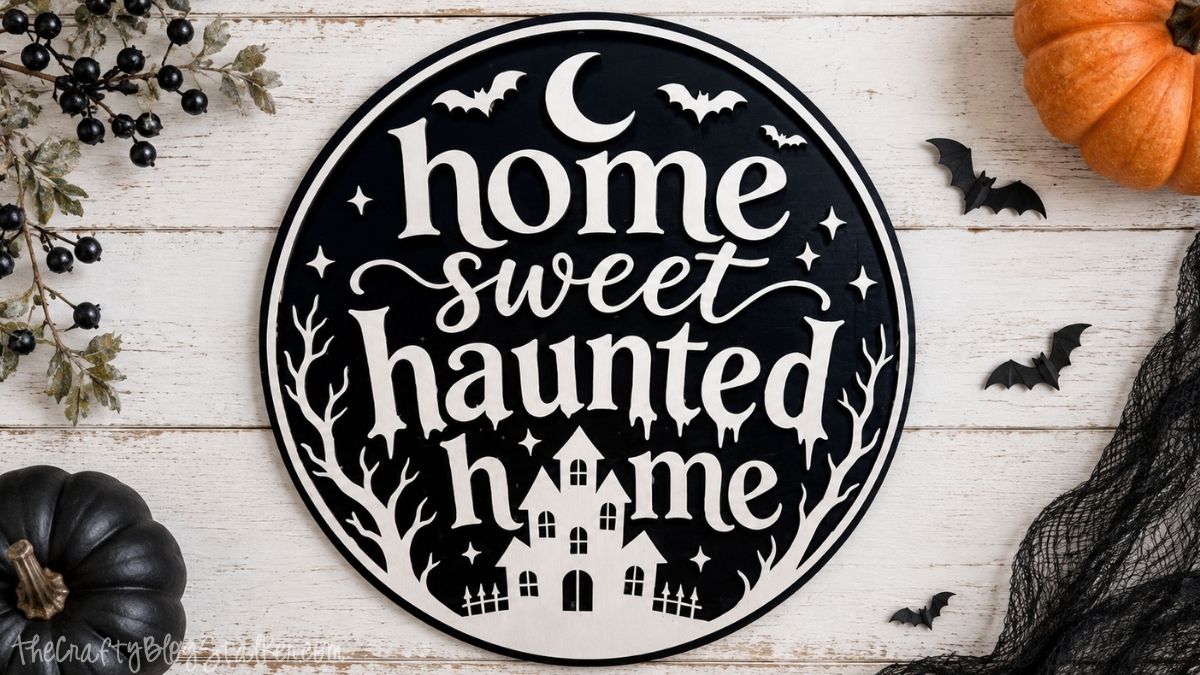
If you love Halloween decor that feels spooky without being too scary, this Home Sweet Haunted Home sign is such a fun project to make.
I love how the layered laser-cut pieces come together to create a detailed design while still being easy to assemble.
It's a great project for anyone with a laser cutter who wants to add a handmade touch to a front door, front porch, mantel, or Halloween display.
Grab your supplies, and I'll show you how to make your own haunted house sign from start to finish!
Jump to:
Skill Level: Beginner
Estimated Cost: $20
Total Time: 2 hours
Craft Tutorial Video
If videos are your thing, you're in luck-I've got a full tutorial ready for you!
Subscribe to my YouTube channel and stay inspired with every new project.
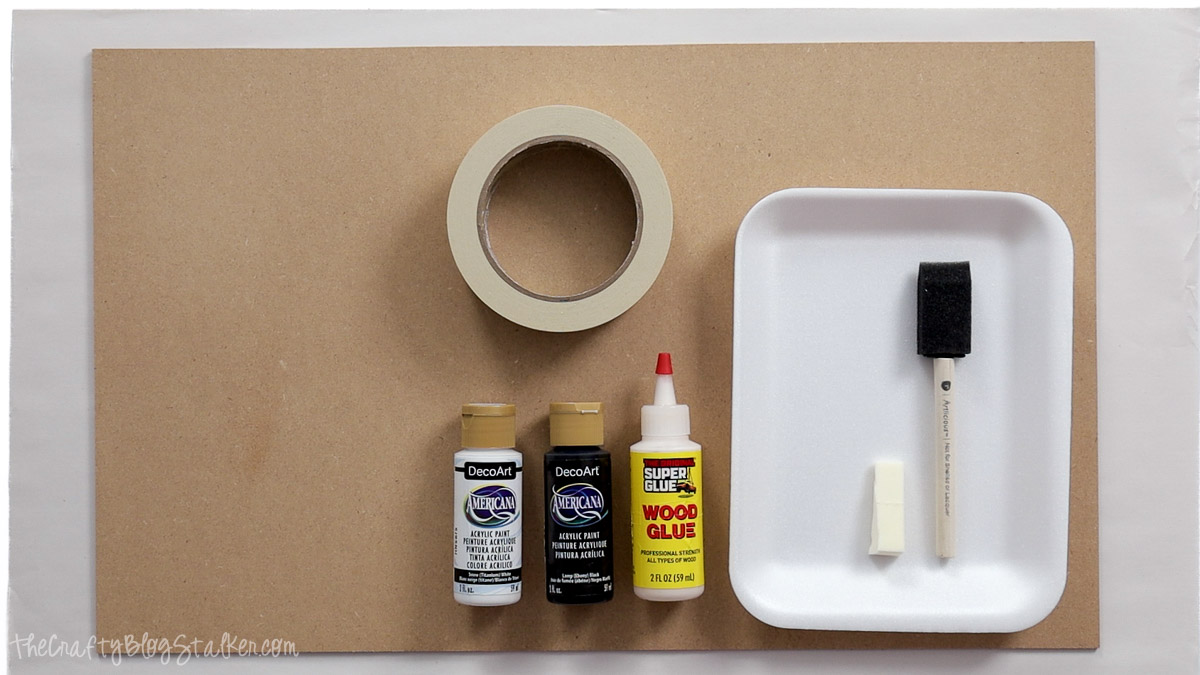
Supply List
- Laser Cutting Machine
- Home Sweet Haunted Home Sign Laser SVG
- 3mm MDF
- White Paint
- Black Paint
- Cosmetic Sponge
- Sponge Brush
- Wood Glue
- Easel Paper (optional)
- Masking Tape (optional)
Grab the Laser File
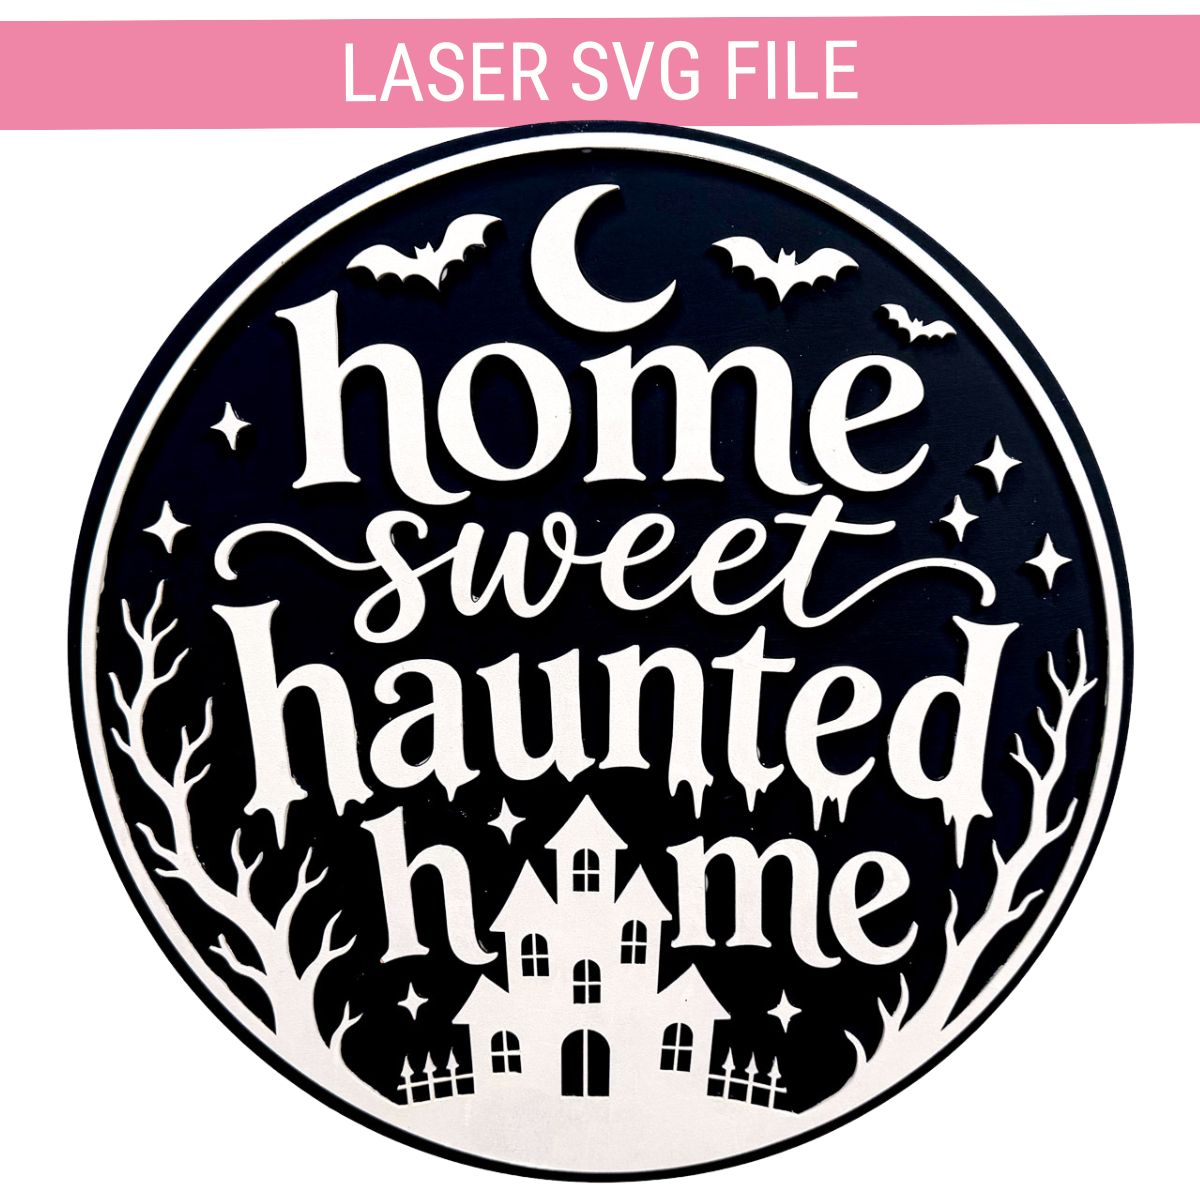
Download the Home Sweet Haunted Home Sign Laser SVG to your computer or device before opening your laser software.
Cut and Prepare the Sign
Upload the SVG into your laser-cutting software. I use LightBurn, but these instructions may look a little different depending on your machine and software.
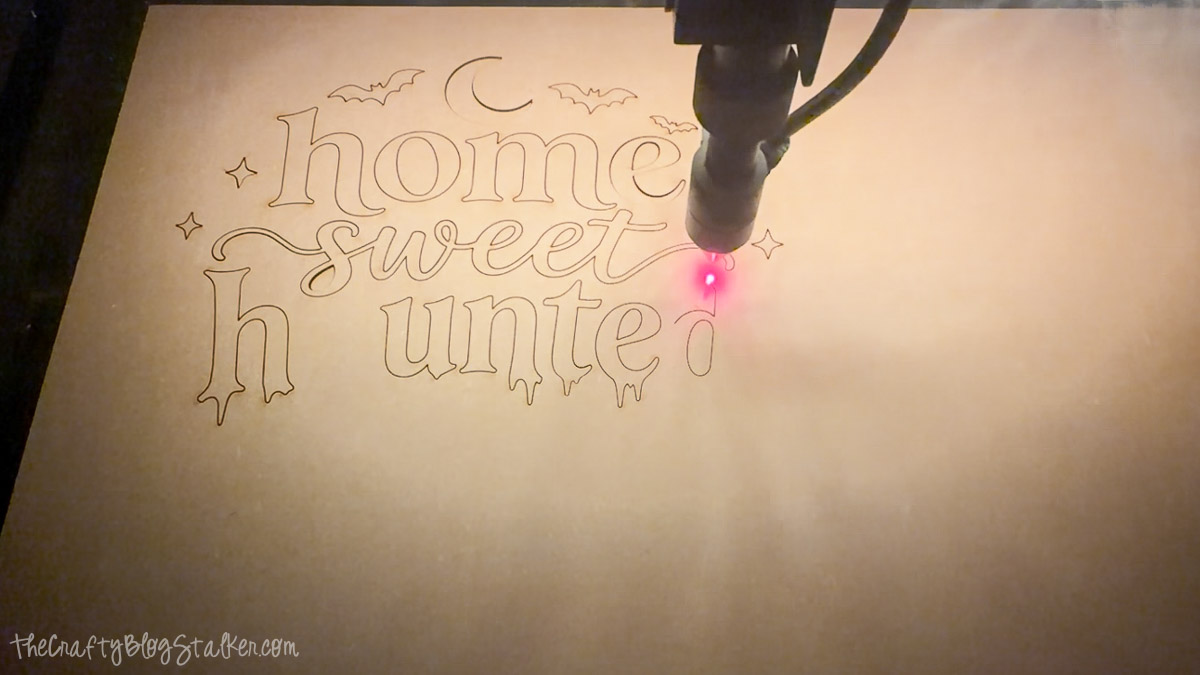
The file uses two line colors to make setup easier. The black lines are the cut lines, while the red lines are engraving lines.
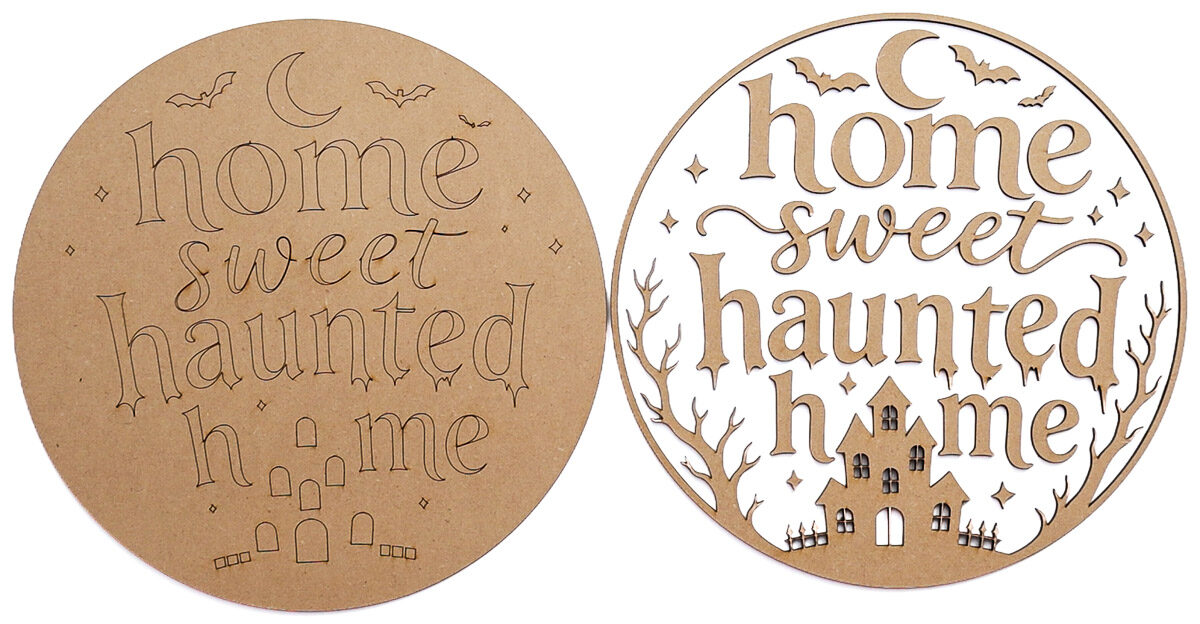
The engraved lines are optional, but I highly recommend using them. They act as placement guides when it is time to assemble the sign, making it much easier to keep the letters, haunted house, bats, and other pieces exactly where they belong.
The engraved lines are slightly smaller than the pieces placed over them, so they disappear completely once the sign is assembled.
I cut my sign on my OMTech 50-watt laser using 3mm chipboard. You can use another laser-safe wood or MDF material and resize the design if you want a larger or smaller finished sign.
Always adjust your laser settings for the exact machine and material you're using rather than relying on settings from another machine.
Once everything is cut, gather all of the pieces and keep them together. There are several smaller pieces in this design, and you don't want a little bat or star disappearing before you're ready to assemble!
Here are all of my cut pieces. You can also see the engraved placement lines on the round sign base.
Paint and Assemble the Sign
Before painting, I like to cover my countertop with a large piece of paper. Then I take a long strip of masking tape, connect the ends to create a loop with the sticky side facing out, and press it onto the paper.
The smaller laser-cut pieces stick right to the tape, which keeps them from sliding around while I paint. It's a simple trick, but it makes painting small wood crafts much easier and keeps paint off my fingers.
I also lay the letters out in order before taping them down. This helps me make sure everything is facing the right direction and that I'm painting the correct side.
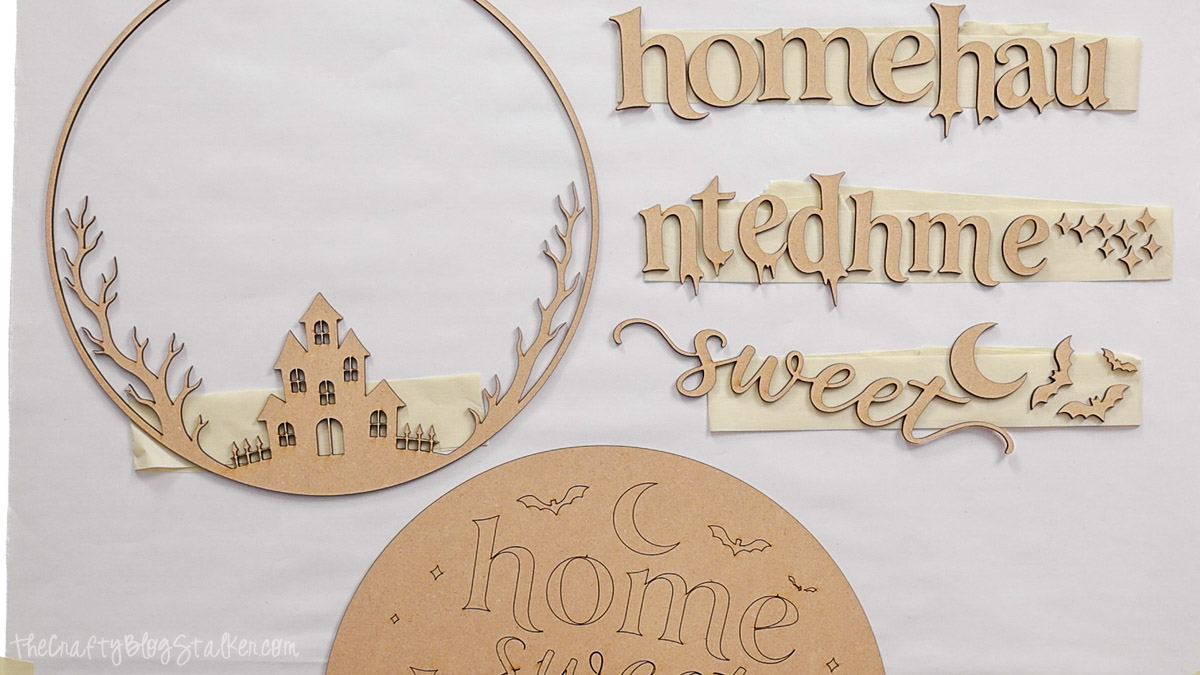
I didn't tape down the large circle base, but I did secure all of the smaller pieces.
For my sign, I went with classic Halloween colors, black paint for the base and white paint for the layered pieces. I love the contrast, especially because all of those little details really stand out against the black background.
You definitely don't have to stick with black and white, though. This would be a fun way to get creative with your Halloween decor. Orange and black would be cute, or you could go in a completely different direction with light pink, purple, or whatever colors fit your Halloween style.
I used a sponge brush to paint the large base because it covers a bigger area quickly.
For the smaller pieces, I used a cosmetic sponge. Makeup sponges are one of my favorite inexpensive tools for painting small laser-cut pieces because they're easy to control and much cheaper than using a new sponge brush every time.
My black base needed two coats of paint, while the white pieces needed three coats for good coverage. The number of coats you need may vary depending on your paint color and the material you're using.
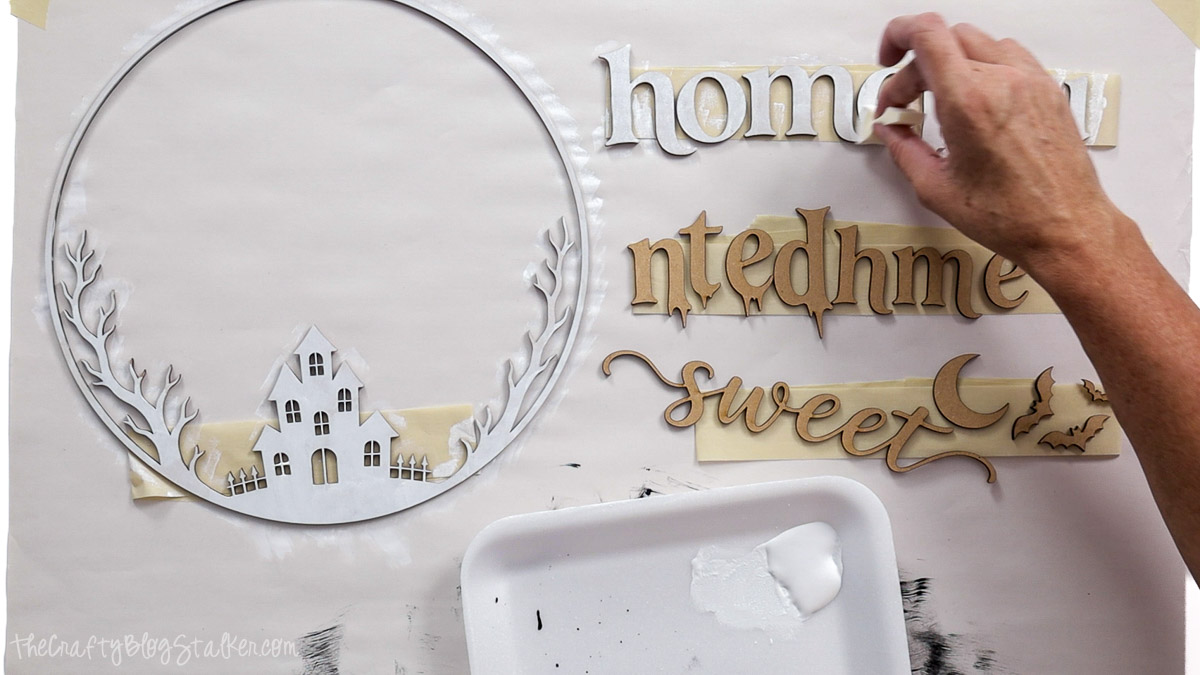
Let all of the painted pieces dry completely before you begin assembling the sign. It's much easier to work with everything when you aren't worrying about fingerprints or smudged paint.
I started with the inner frame of the circle because it gave me a good reference point for the rest of the design.
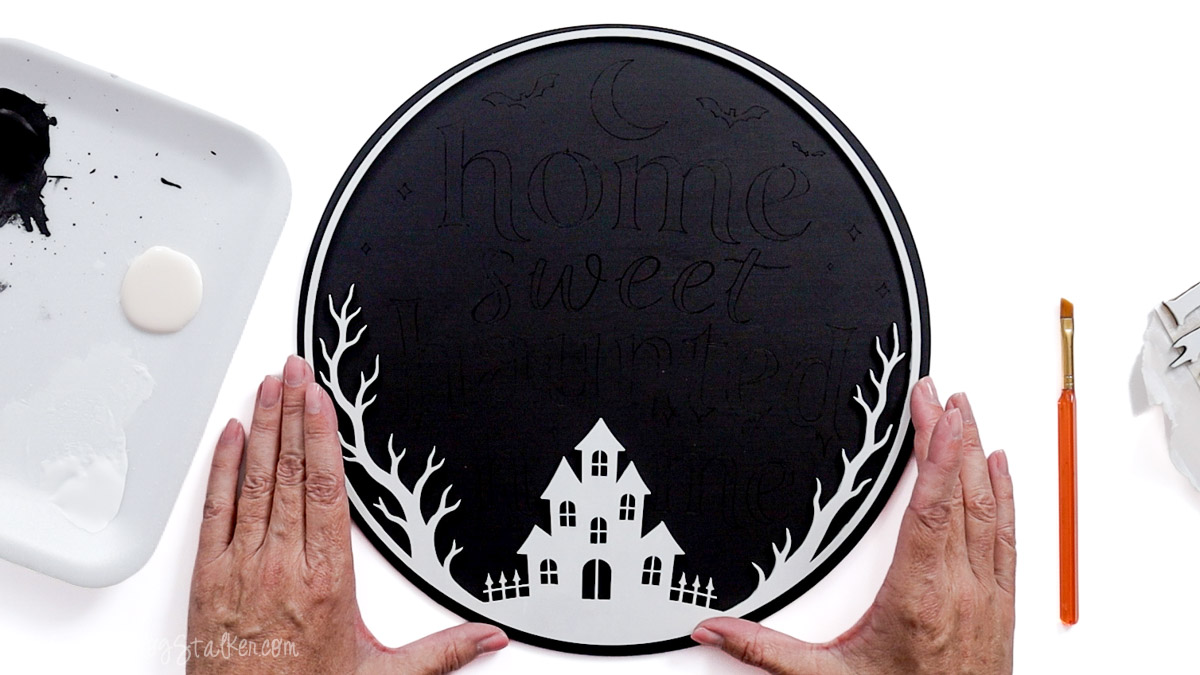
Instead of squeezing wood glue directly onto the pieces, I like to brush a thin layer of glue onto the back. This gives me more control and helps prevent glue from seeping out around the edges when I press the piece into place.
I even have a designated glue paintbrush for projects like this so I don't accidentally ruin one of my good brushes.
Continue brushing glue onto the back of each piece and placing it over the corresponding engraved lines on the base.
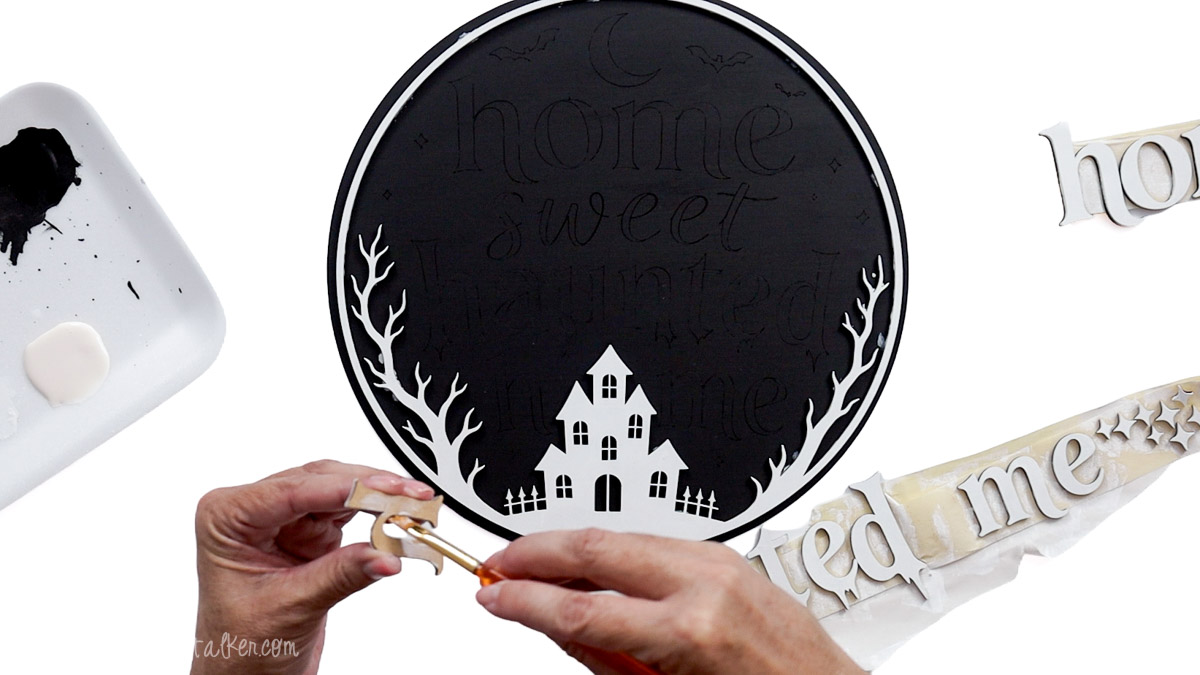
This is where those engraved guides really come in handy. They make it easy to get nice straight lines and keep all of the small details properly positioned without constantly measuring and adjusting.
Once everything is glued in place, let the sign sit flat until the glue is completely dry.
I love how it looks when it's fully assembled!
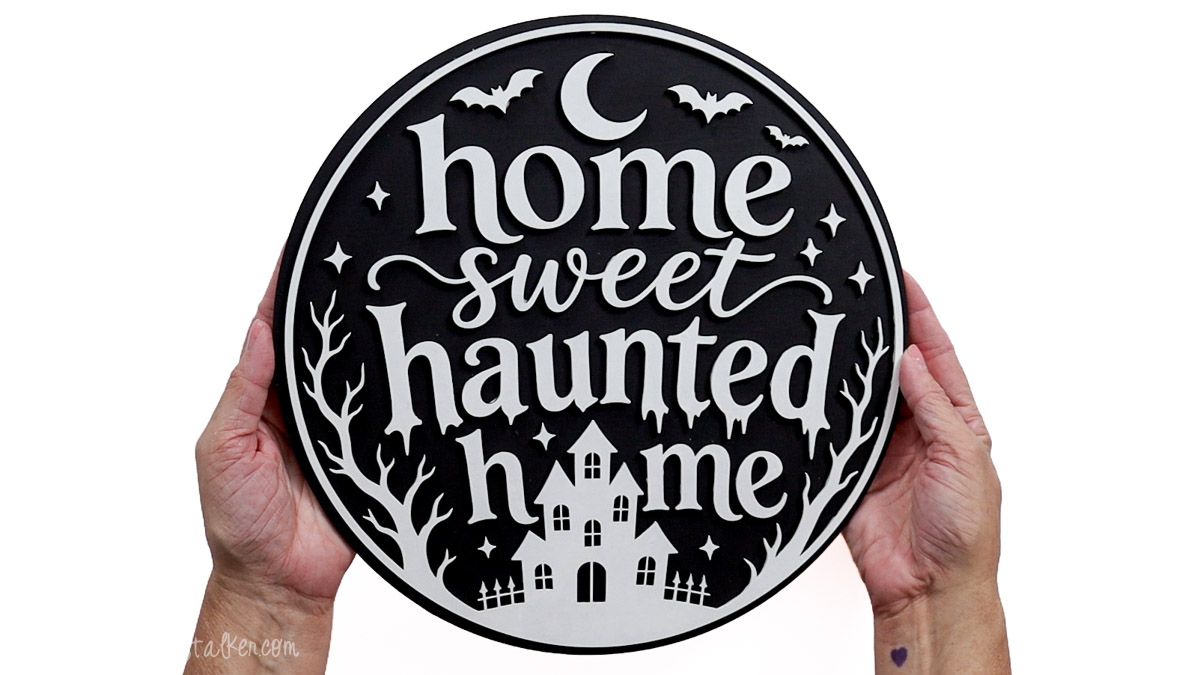
You can display the finished sign on an easel, shelf, table, or mantel.
If you'd rather use it as a Halloween hanger on your front door, you can easily add ribbon to the back with a popsicle stick and hot glue. Here is my full door hanger tutorial.
Frequently Asked Questions
I used 3mm chipboard for my sign, but you can use another laser-safe wood or MDF material that works with your laser cutter. Just remember that different materials and thicknesses may require different laser settings.
No. The engraved lines are optional, but I think they're worth adding because they make assembly so much easier. They show exactly where each layered piece belongs and are completely covered when the pieces are glued in place.
Yes. You can resize the SVG in your laser software to fit your space or material. Make sure all design elements are selected and resized together so the layered pieces still fit the base correctly.
Absolutely! Black and white give this sign a classic spooky look, but you can try so many fun Home Sweet Home sign ideas. Orange, purple, green, pink, or even metallic paints could completely change the finished look.
Add a ribbon hanger to the back using a popsicle stick and hot glue. This turns the finished piece into one of those cute wooden door hangers that is easy to display throughout the Halloween season.
If you want to use the sign on a front porch or exterior door, consider how protected it will be from rain and moisture. MDF and similar wood products can be damaged by water, so an outdoor-rated protective finish and a covered location will help protect your finished project.
Need help with this project?
Click a button below to ask AI how to customize your colors.
More Laser Cut Ideas
Want more spooky laser crafting inspiration? Here are a few more fun Halloween projects to make with your laser cutter.

Hi, I'm Katie!
I'm so glad you're here. Want to make something fabulous? I'm here to help!