

If you've got a Cricut and a cute baby nearby, this DIY baby onesie is calling your name. Grab the free "Holy Cow I'm Cute" SVG and get started.

Boring baby gifts? Not on your watch.
This DIY baby onesie tutorial shows you how to turn a simple one-color SVG into a layered two-color design, with no fancy software skills needed.
You'll get step-by-step instructions plus a free "Holy Cow I'm Cute" SVG to make a custom onesie that's actually cute and clever.
Perfect for a baby shower gift, new parents, or your own little moo-machine.
Jump to:
Skill Level: Beginner
Total Time: 30 minutes
Craft Tutorial Video
If videos are your thing, you're in luck-I've got a full tutorial ready for you!
Subscribe to my YouTube channel and stay inspired with every new project.
Download the Free SVG
This digital media is for personal use only. You do not have permission to redistribute.

Measure
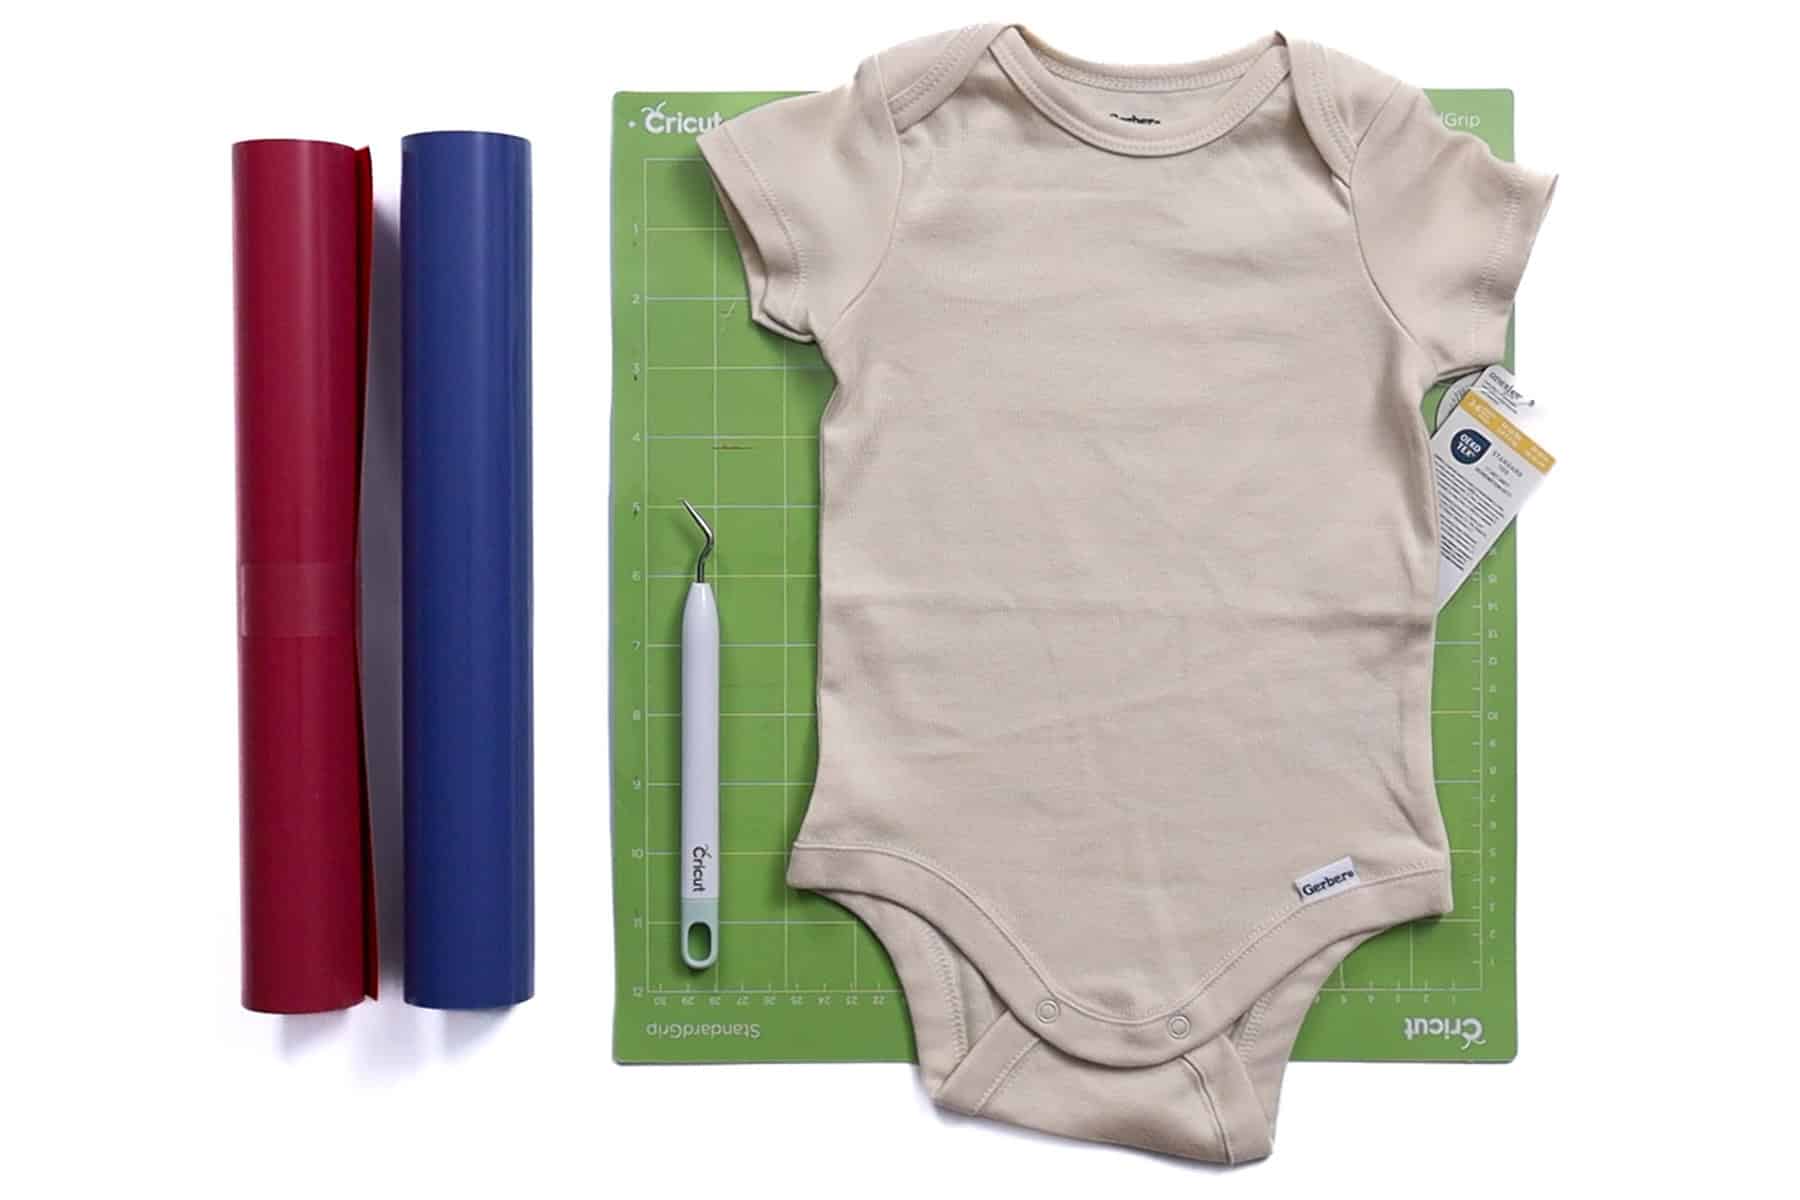
First, measure the space you want to put the heat-transfer vinyl design. I am using a 3-6 month onesie.

I decided to go with a width of 4.5 inches.
Cricut Design Space
For the following steps, I'll be using Cricut Design Space.
If you use Silhouette Studio or a different design software, your steps may be different than mine.
To start, upload the SVG into Cricut Design Space and add it to your Canvas.
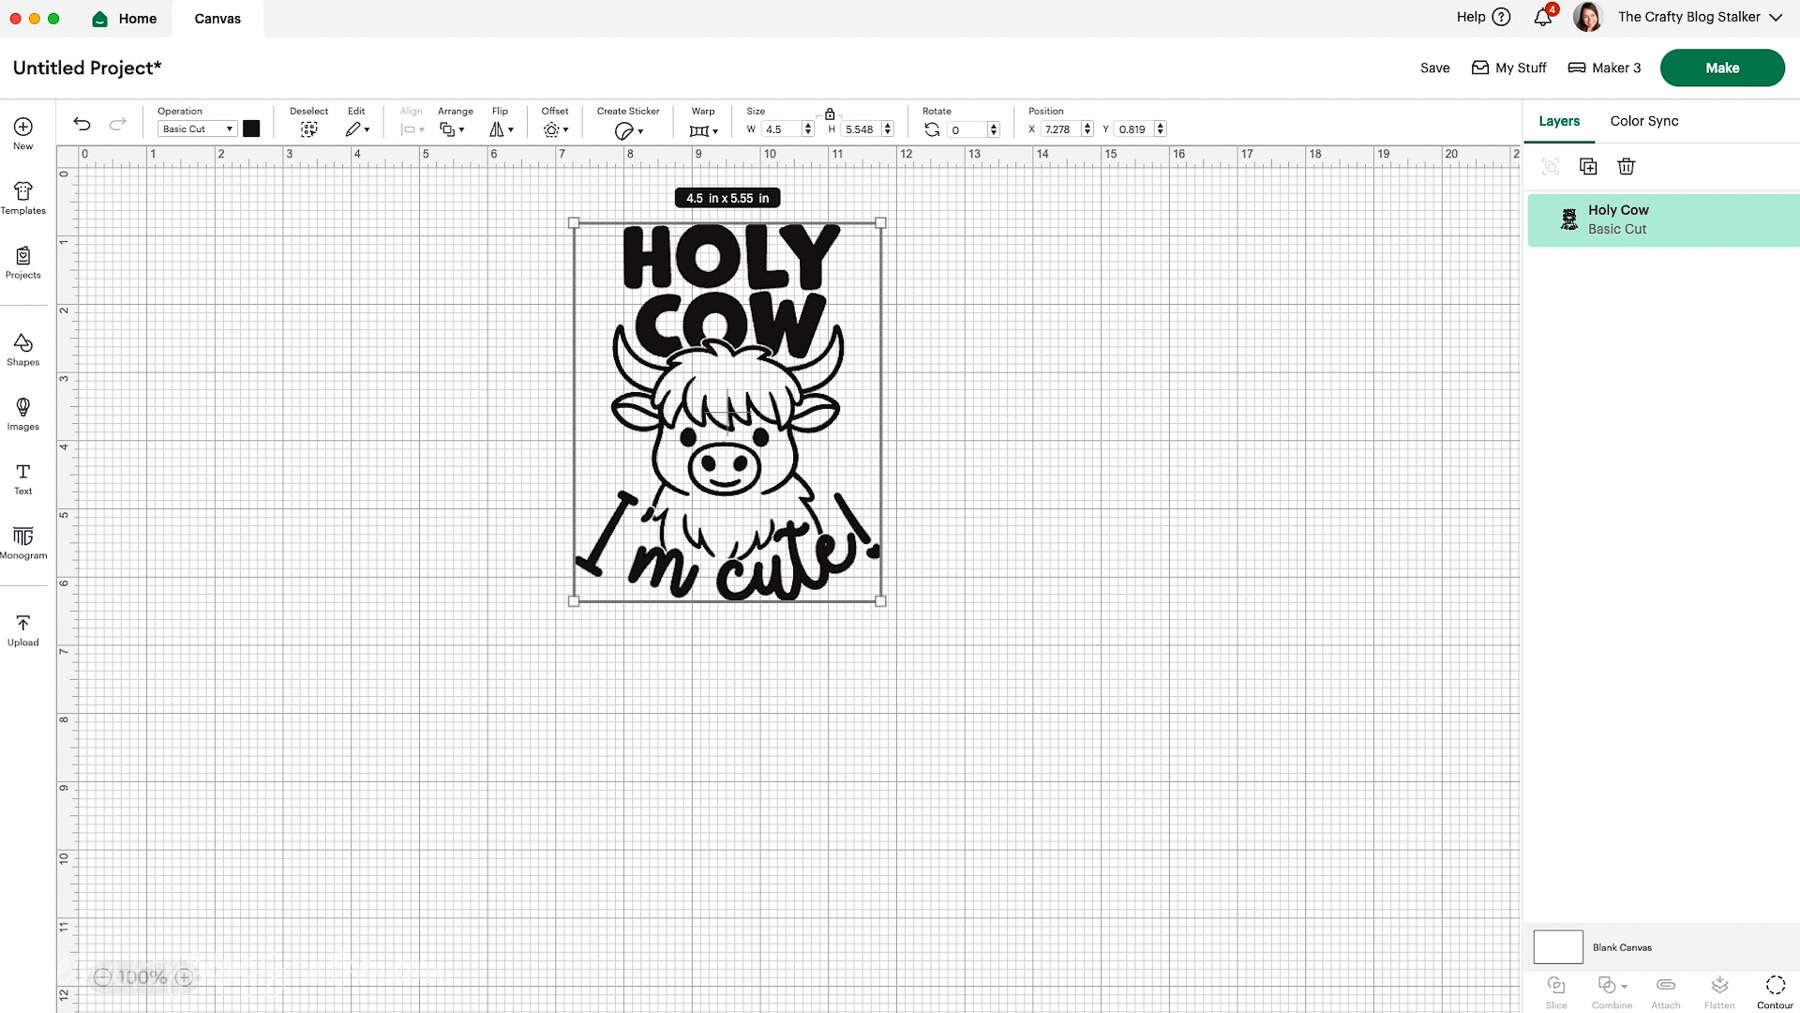
Resize the design to the desired width; mine was 4.5 inches.
Create a 2-Color Design
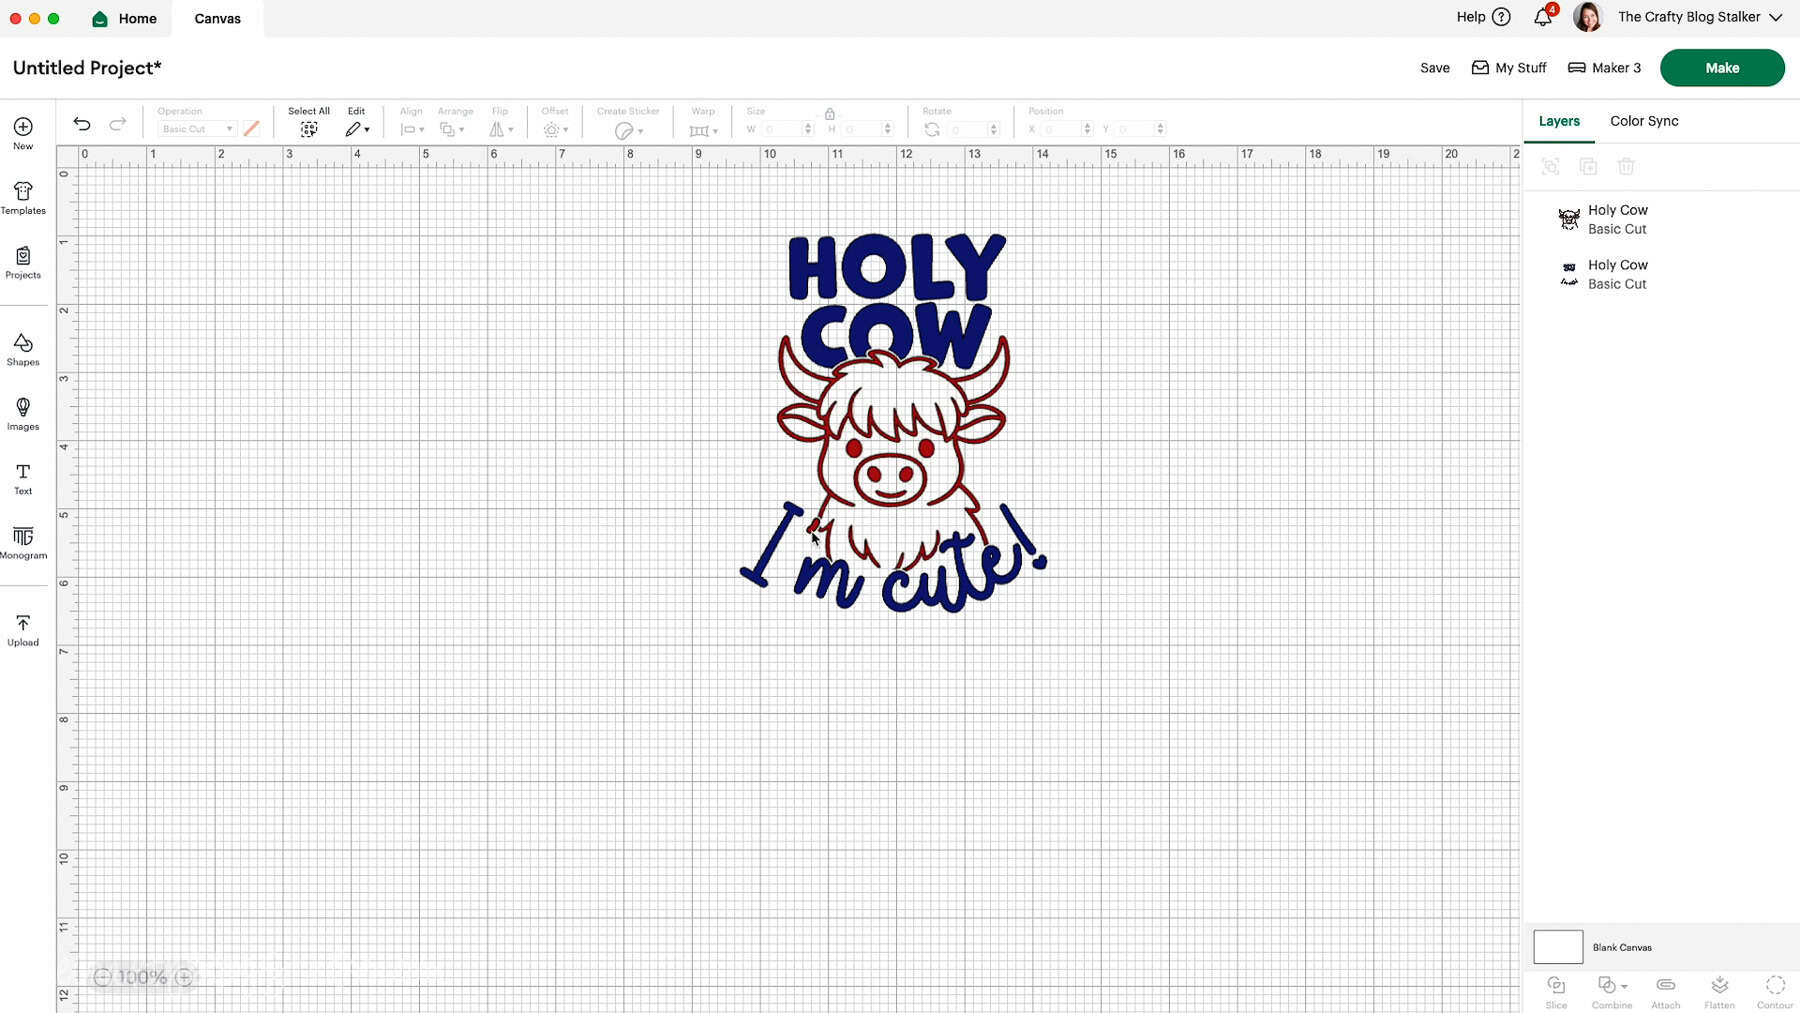
I want to transform this single-color design into a two-color design, so I'll copy and paste it to create two versions on my canvas.

I will make the cow red, and the letters red.
Two begin, layer the designs, and center align so they are perfectly stacked.
Highlight one of the designs in the layers panel, and select Contour.
This opens the highlighted design, allowing you to hide shapes within it.
For this first layer, I only want the cow pieces highlighted, so I select all of the other pieces to hide them.

Click the X in the top right corner to return to the canvas, and change this layer to red, under Operation.
Highlight the second design, select Contour, and this time hide all of the cow shapes.

Click the X to return to the canvas, and change this color to blue.
Now, the Holy Cow design is a two-layer design. Super easy, right?
Cut Layers on Same Mat
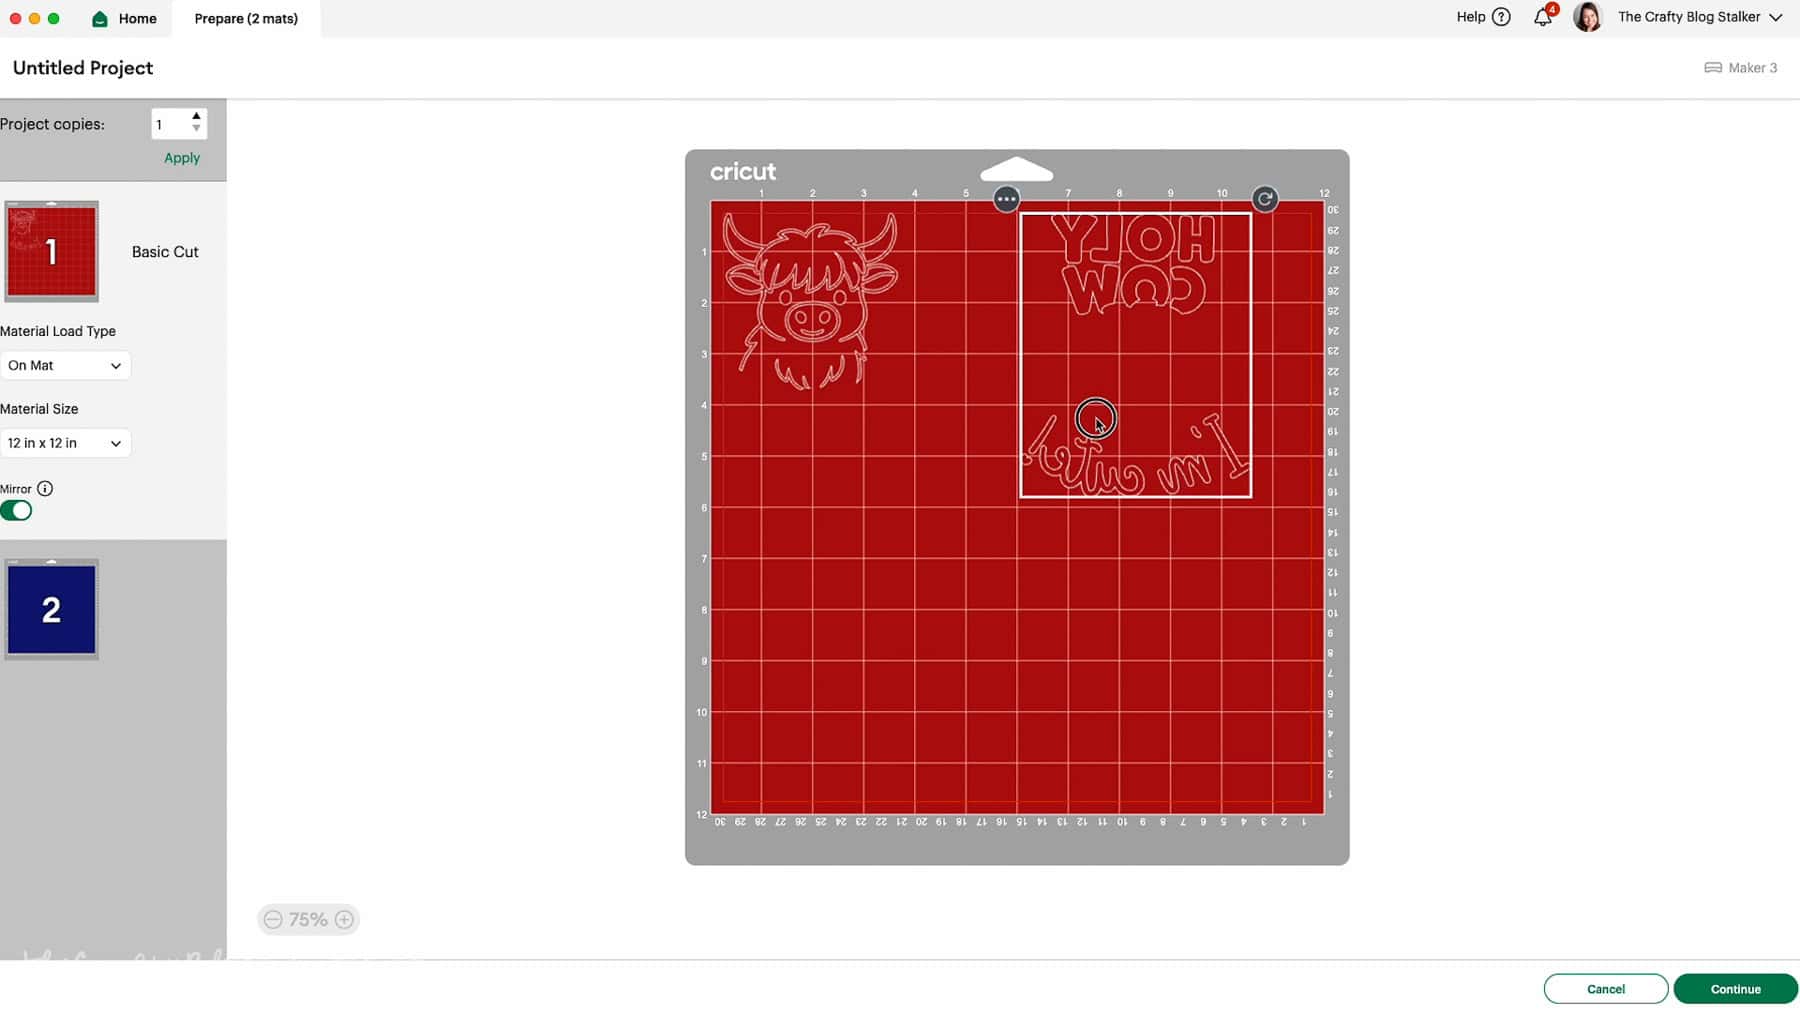
The design is ready to be cut. Click Make It and mirror both of the mats.
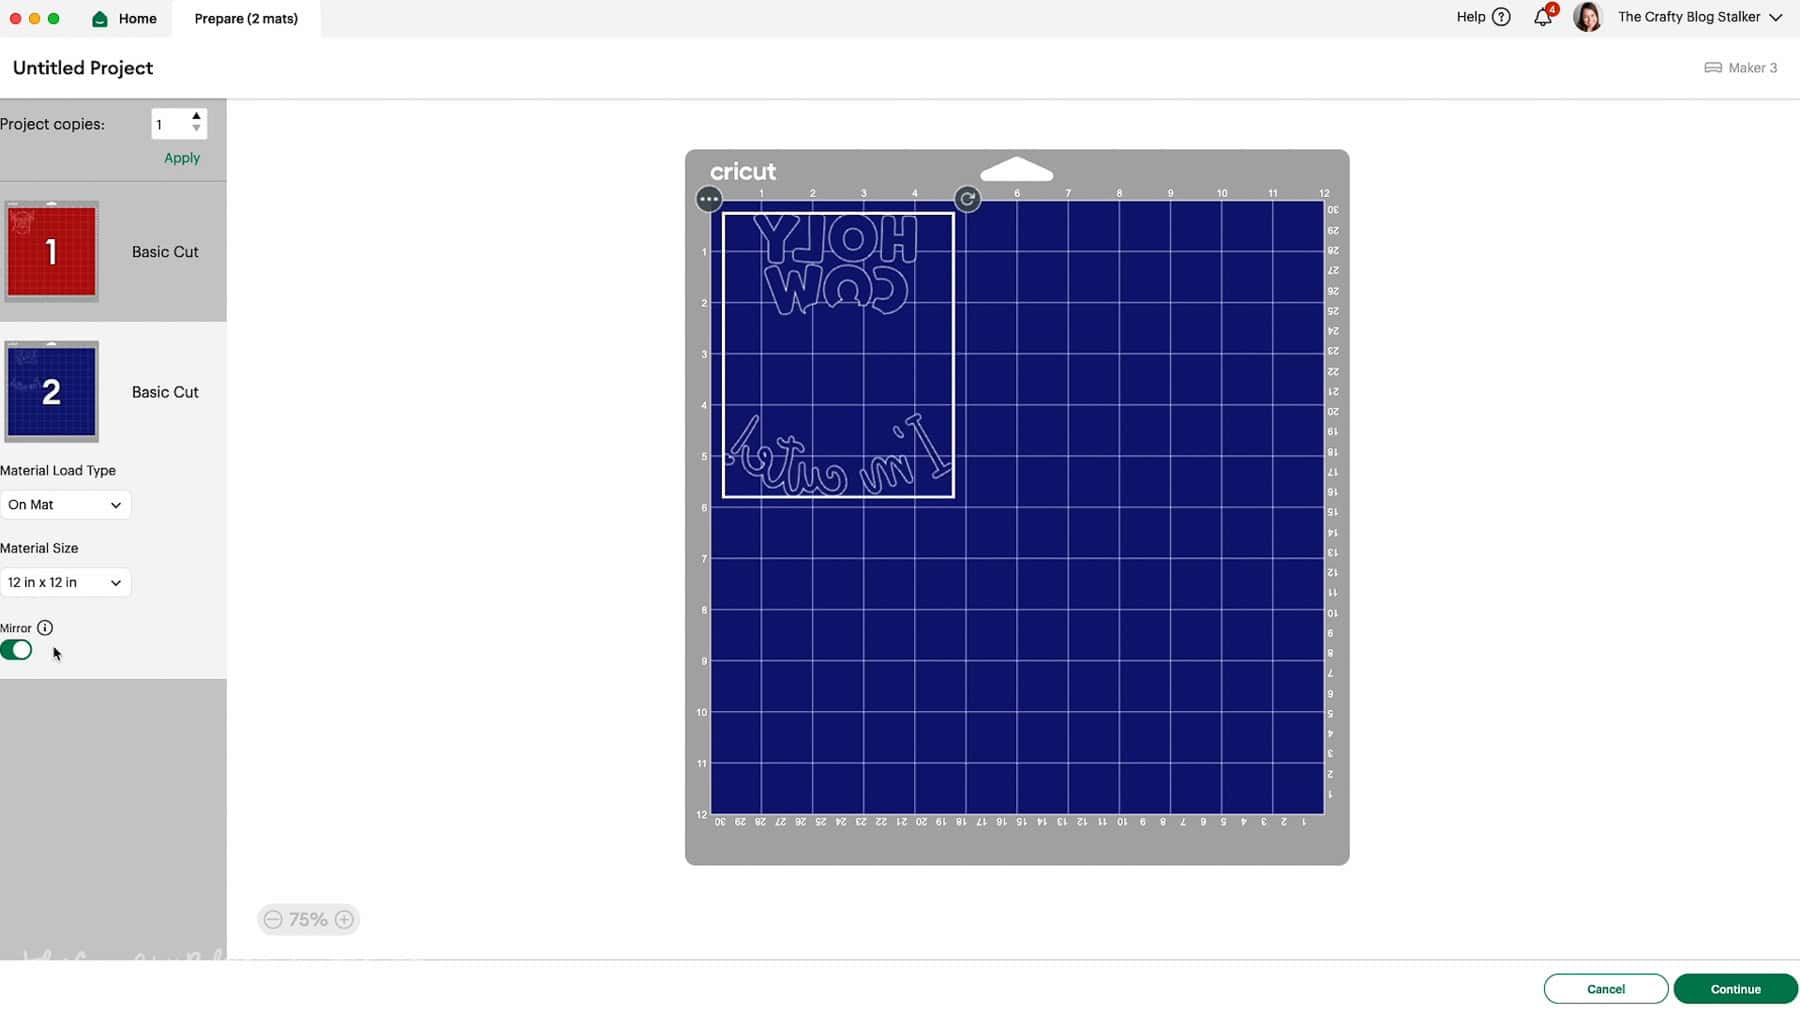
While on Mat Preview, I can see the size of vinyl each layer will use.
I like to precut the vinyl according to the Mat Preview to save vinyl.
This material doesn't have a grid on the back, so I measure it on the cutting mat with the protective sheet still in place.

Then, to save a bit of time, I'll cut the two layers on the same mat.
Back in Mat Preview, highlight the design on one of the mats (doesn't matter which one), click the three dots in the left corner, and move to the other mat.
This will change the color of the design, but that's ok. Pay attention to where you place the design on the mat and lay the correct color of iron-on in the same place.
Select Continue in Mat Preview, and choose your material. I had to search for materials to find Flocked Iron-on.
Load the mat, and when the play button blinks, press to begin the cut.

Weed the Iron-On
When done cutting, unload the mat and weed the designs.
For this project, I kept the material on the mat while I was weeding.
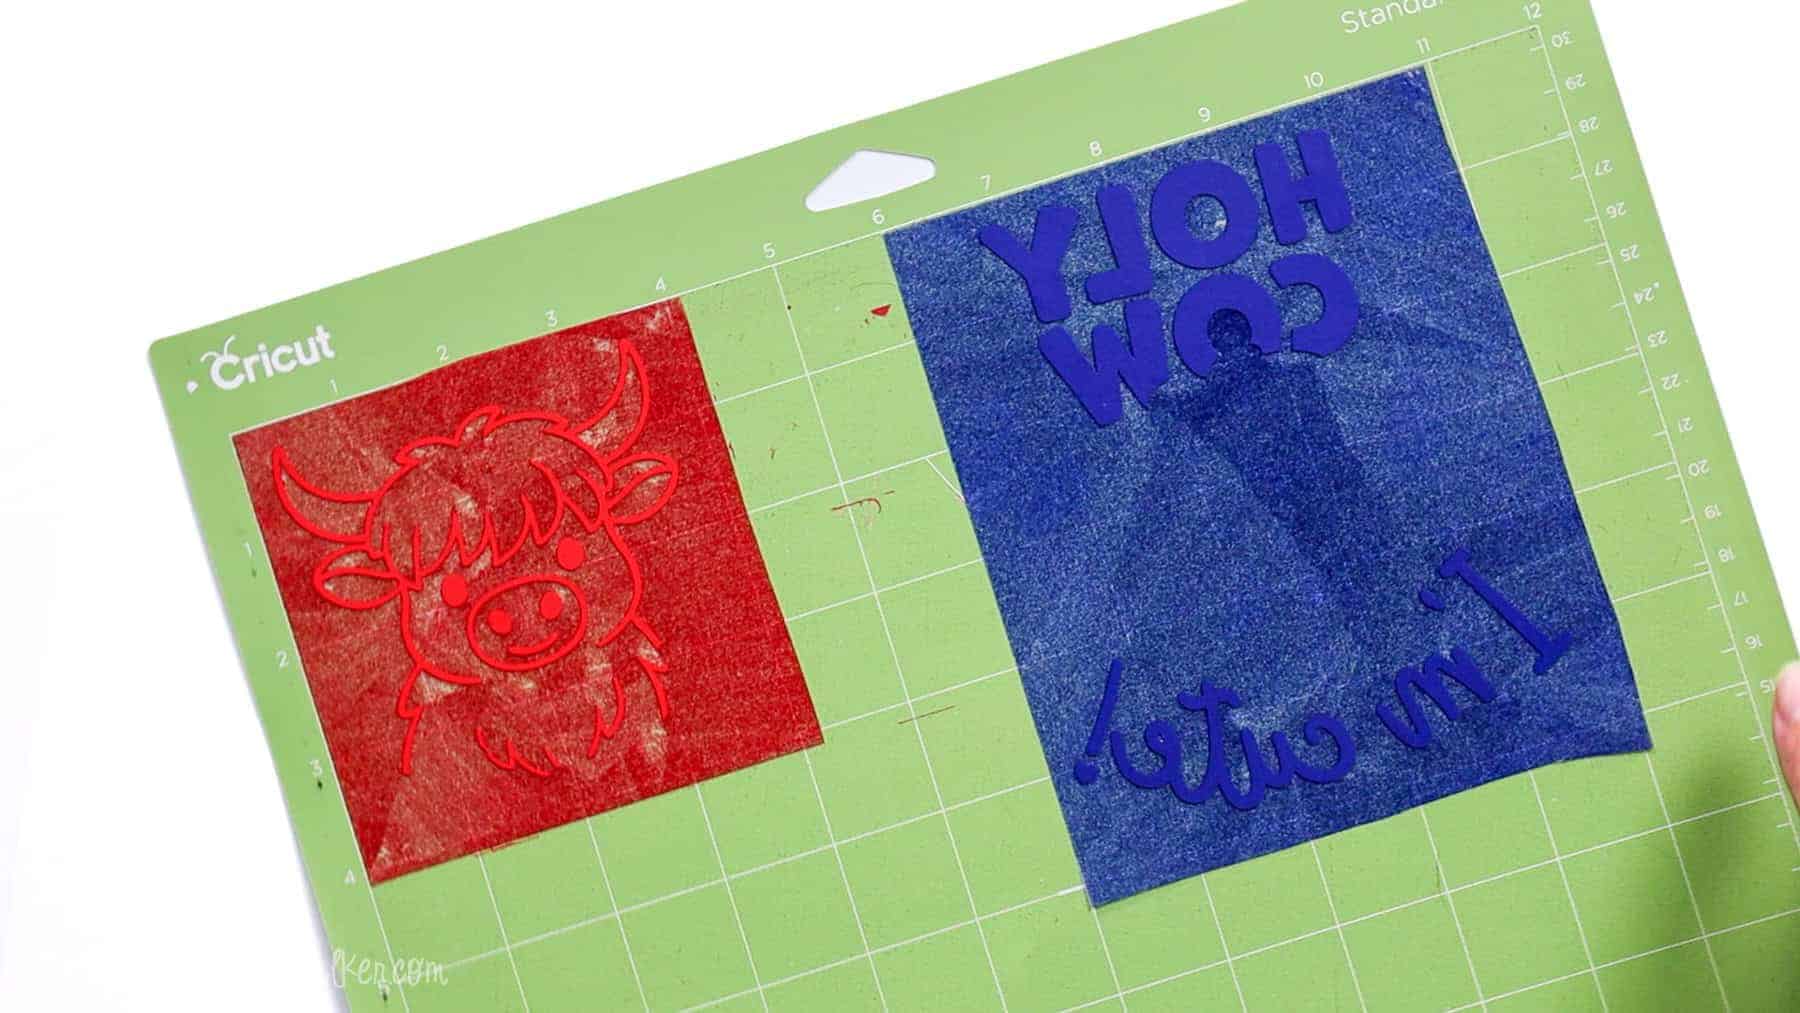
Some of the "fuzz" sticks to the transfer sheet after being weeded, and that is okay. It won't transfer to the project.
Turn the mat over to remove the weeded designs from the cutting mat.
Apply Iron-On
To check the heat settings, refer to the vinyl instructions. It will tell you the best settings to use.
For my flocked vinyl, I set the heat press to 320°F for 15 seconds and a warm peel.
Go over the onesie with a lint roller to remove any stray hairs or dust.
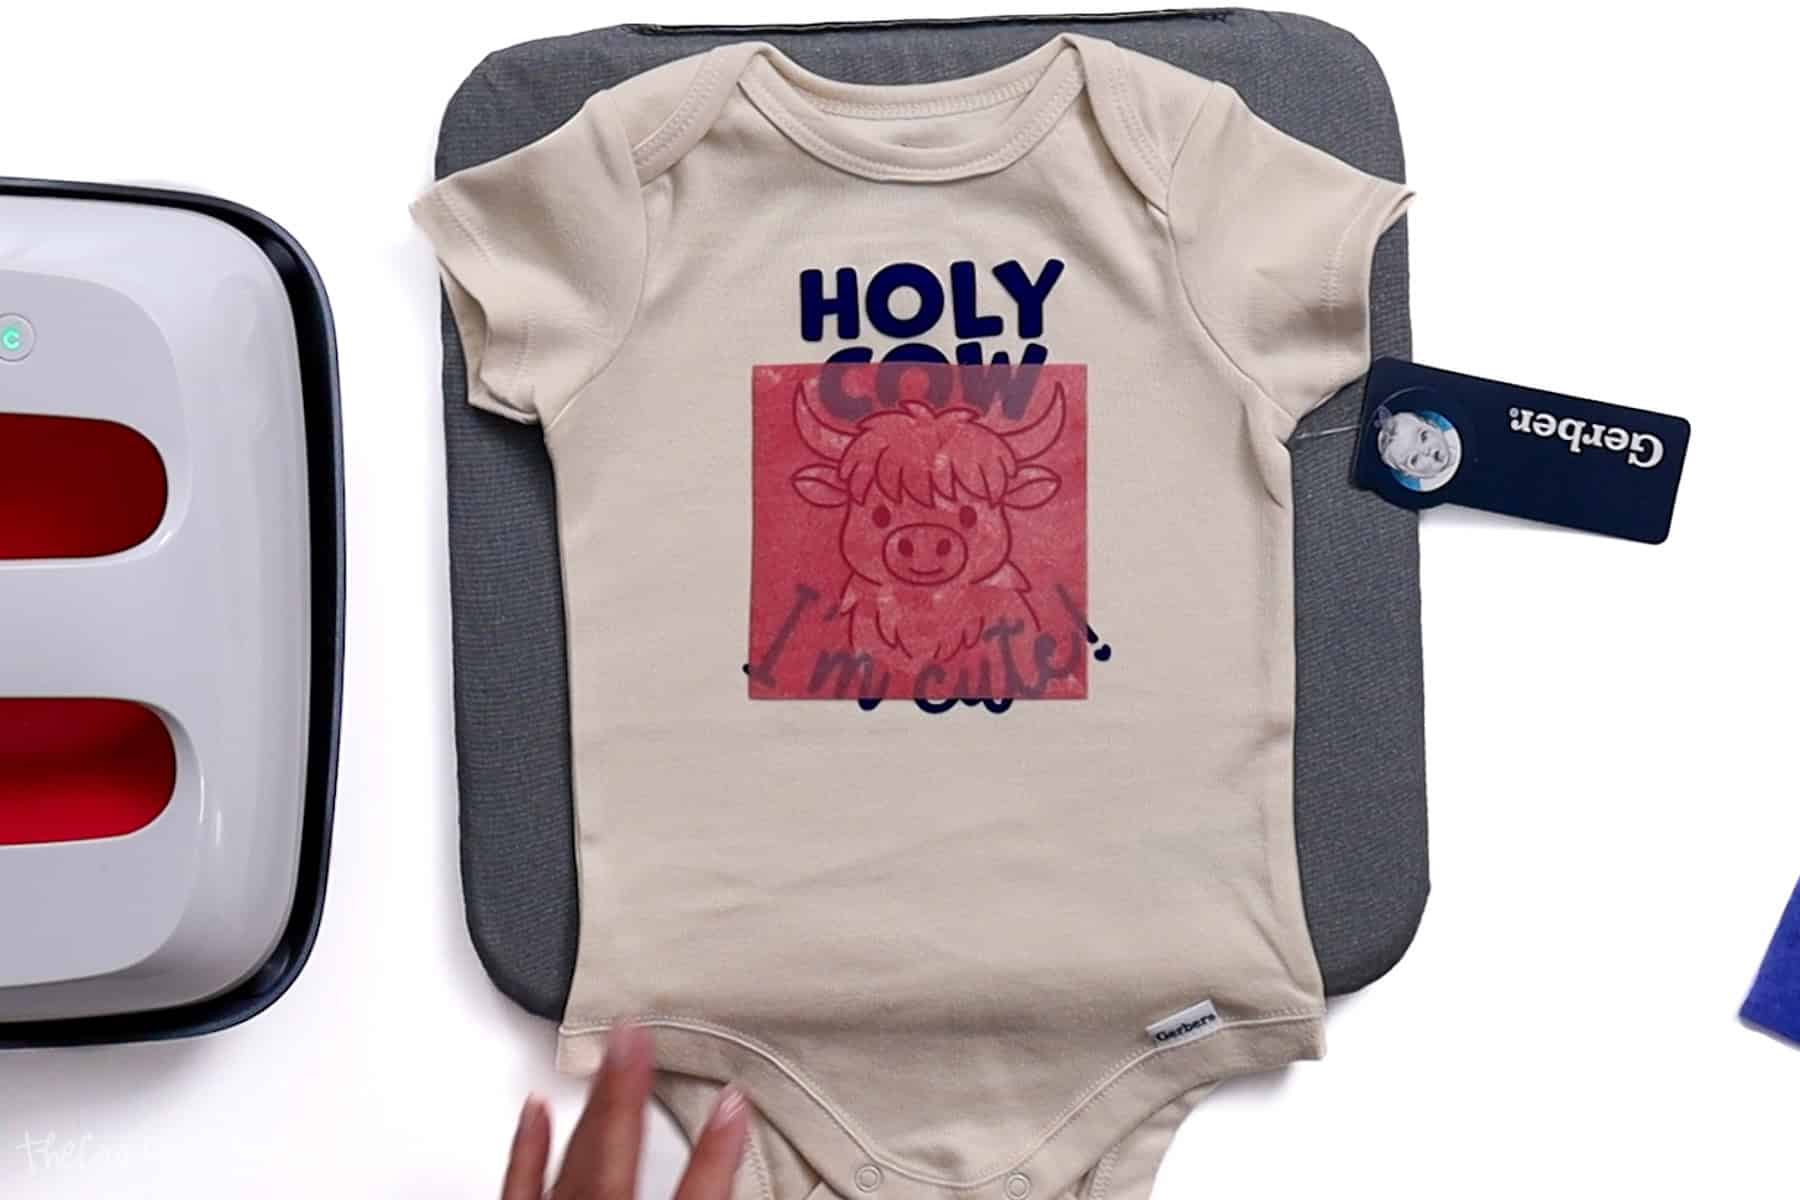
I am starting with my largest layer, which is the blue layer, and centering that on the front of the shirt.

Then I applied the heat press according to the package instructions.
Lightly fan the shirt to help it cool down a little. You don't want to burn your fingers. Then you can peel off the transfer sheet.

Next, center the red layer inside the applied blue layer.
I like to place the transfer sheet from the first layer on top to help protect it during the second press.

Apply the heat press again.
This time, as I lifted the corner, I could see that the vinyl was not adhering to the shirt, so I laid it back down and repeated the entire cycle.
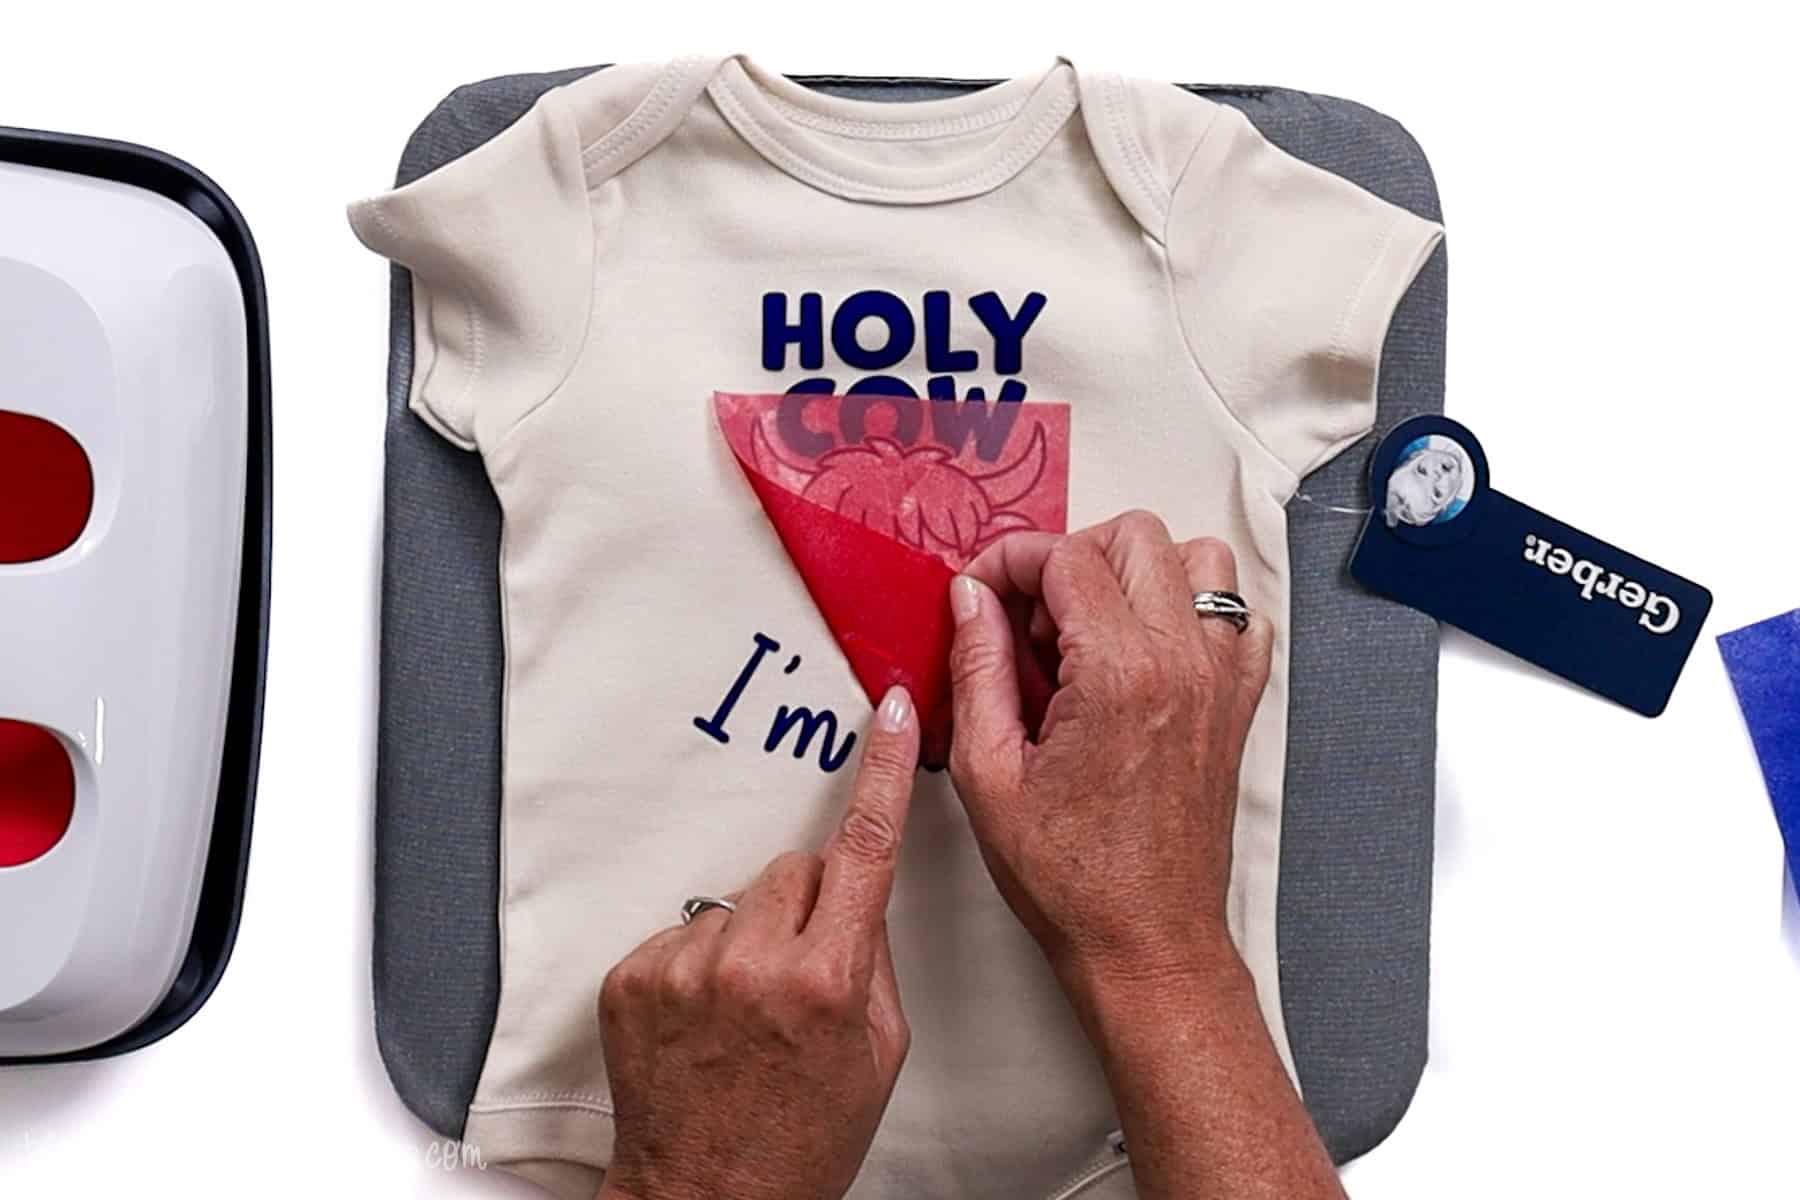
After this press, I tried peeling from a different corner, and it worked!

Lastly, I turned the shirt right-side facing down and applied one more cycle of the heat press. Just to make sure that the design is nicely adhered.

Final Thoughts
This onesie turned out even cuter than I imagined. I love it when that happens!

The flocked texture is so soft, almost like velvet, and I know my grandson is going to look so cute wearing it!
More Free SVGs
Don't put that Cricut away yet. There are more fun things to make with free SVGs. Here are a few more fun ideas.


Hi, I'm Katie!
I'm so glad you're here. Want to make something fabulous? I'm here to help!