
Try these wire-wrapped star homemade Christmas ornaments for an easy DIY project that brings handmade charm to your holiday decor.

If you love making homemade Christmas ornaments, this wire-wrapped star is a fun project to start with.
I just shared my Christmas mantel, so the holiday season has officially begun, and this little star fits right in with my cozy, rustic style.
It's great for anyone who likes simple projects that still look special hanging on the Christmas tree.
Follow along to the end of the post for 9 more DIY Christmas ornament tutorials that you won't want to miss!
Skill Level: Beginner
Total Time: 40 minutes
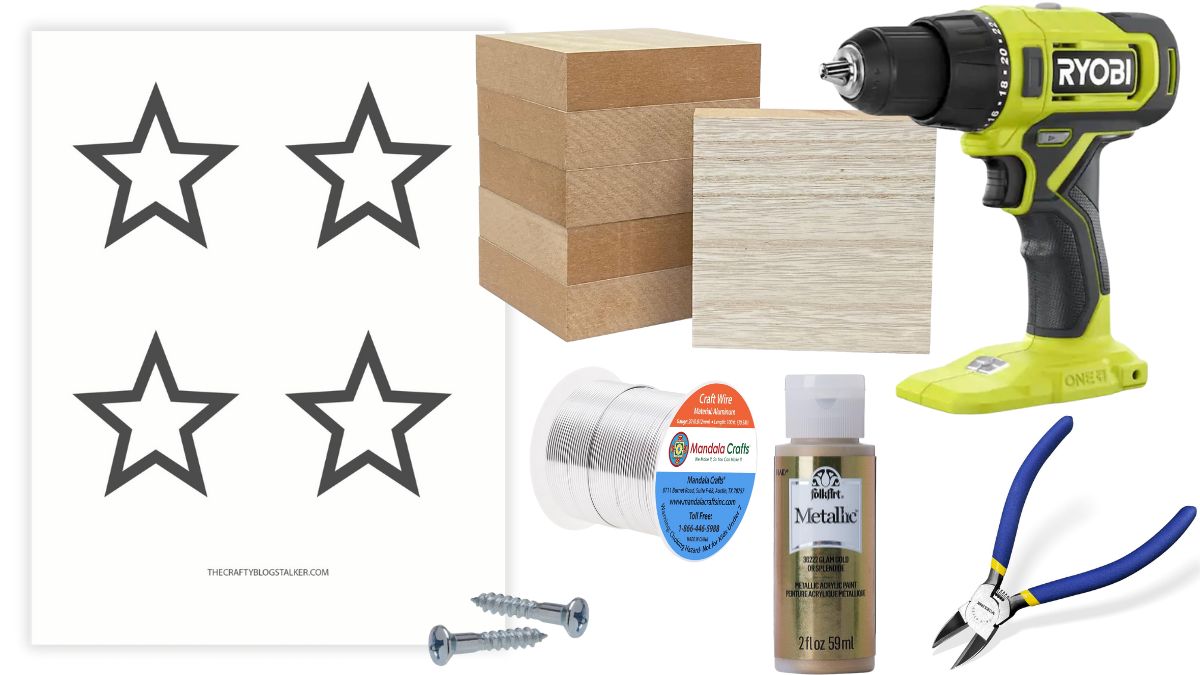
Supply List
- Craft Wire - 20 Gauge
- Scrap Piece of Wood
- Drill or Impact Driver
- 10 Wood Screws
- Printable Star Template
- Wire Cutters
- Paint (optional)
Grab the Free Printable Template

Instructions
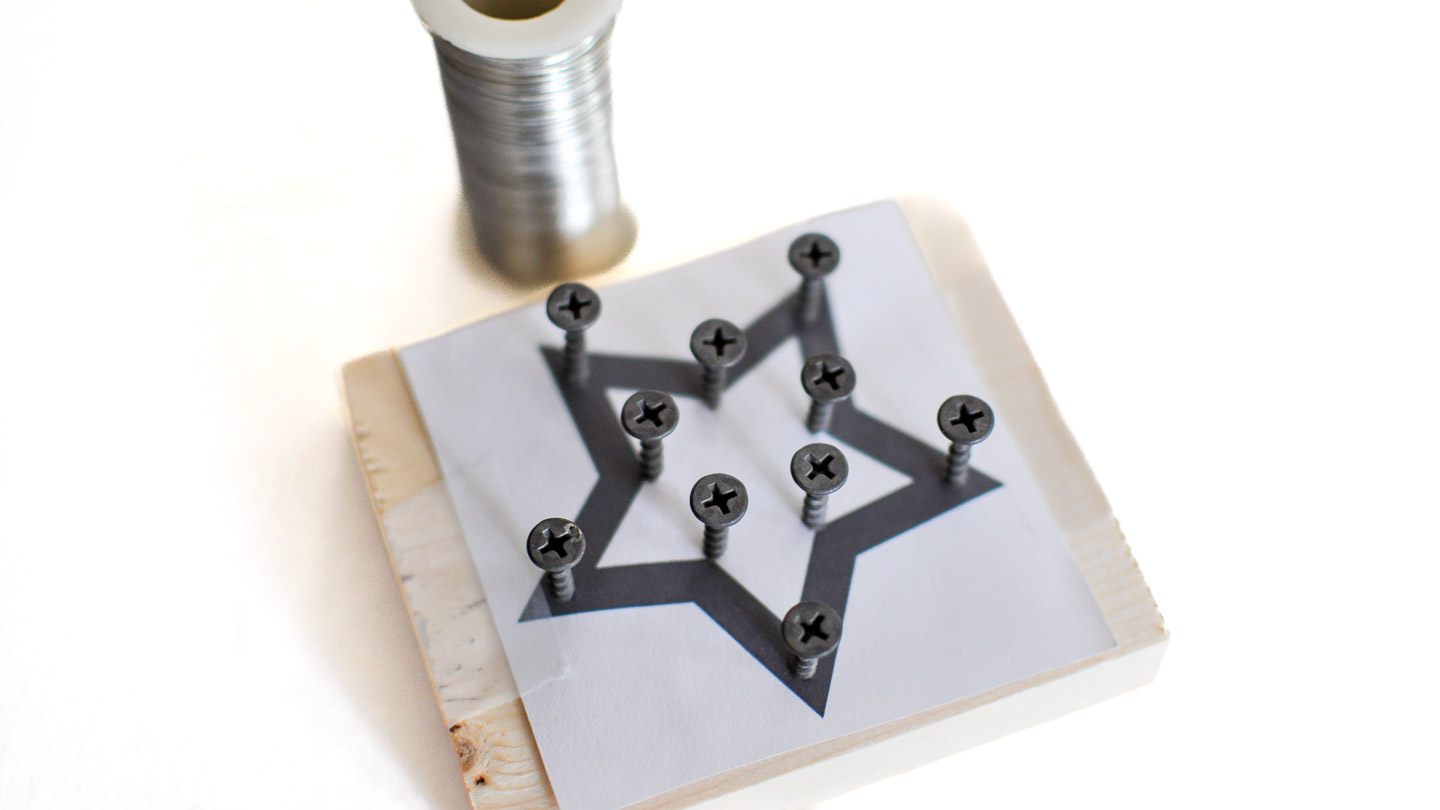
Print out the star template and cut a square around each star.
You can also draw the star onto the wood block, but I didn't trust my star to be even, so I created this free printable.
Tape the star to the block, and then use a drill to insert a screw into each point of the star.
To begin, wrap the end of the wire around one screw to keep it in place.
Then, weave it around the screws as pictured below. This will create the base for the star.
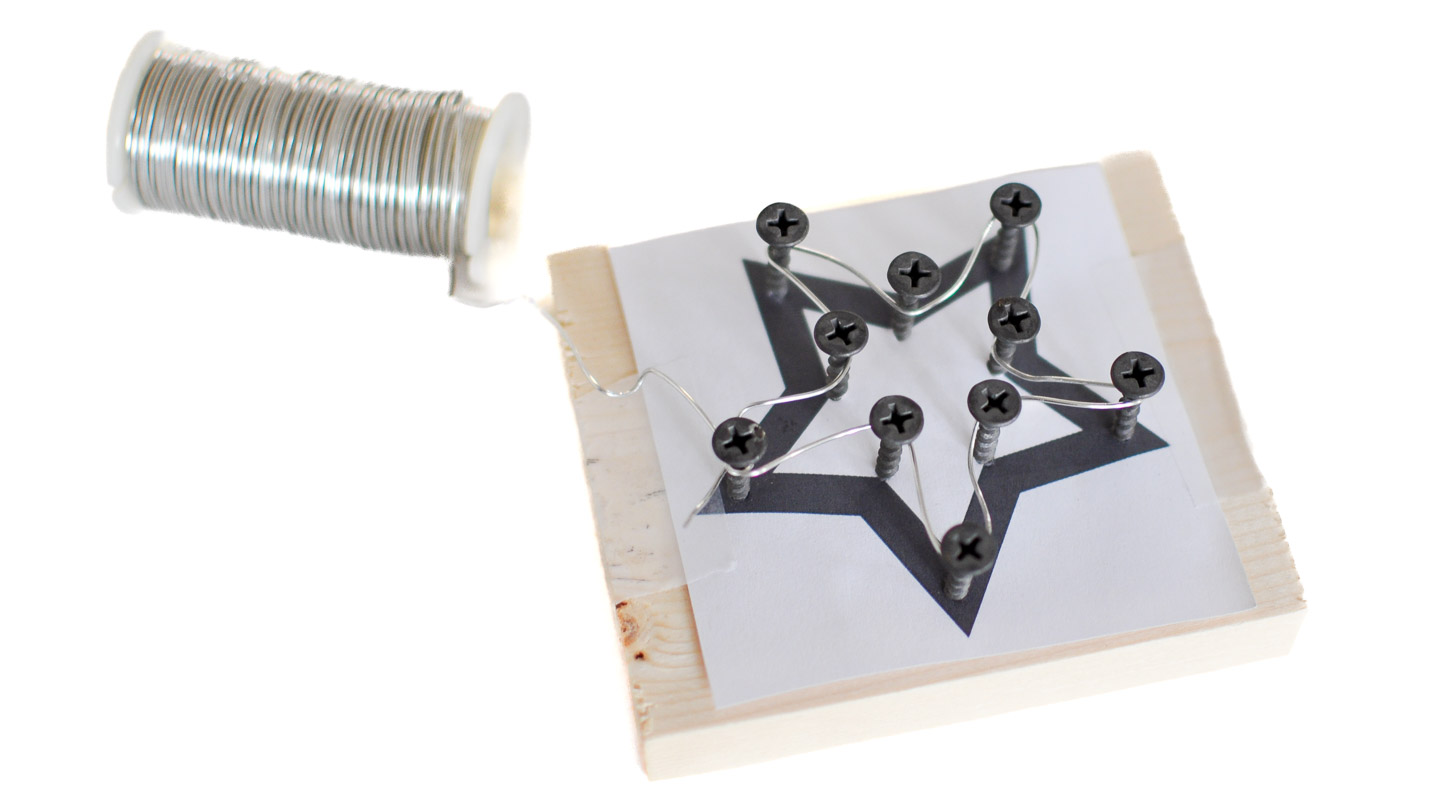
After creating the base, continue wrapping the wire around the screws.
Periodically, wrap the wire around a screw to form small circles.
Continue wrapping around the screws until you get the thickness you want.
I made about 6 full paths around the star to create mine.

Leave some excess wire at the top to form a loop for hanging the ornament.
Then cut the wire off with the wire cutters.
To remove the ornament from the block, remove the screws slowly and carefully. Make sure the screws don't get tangled with the wire.
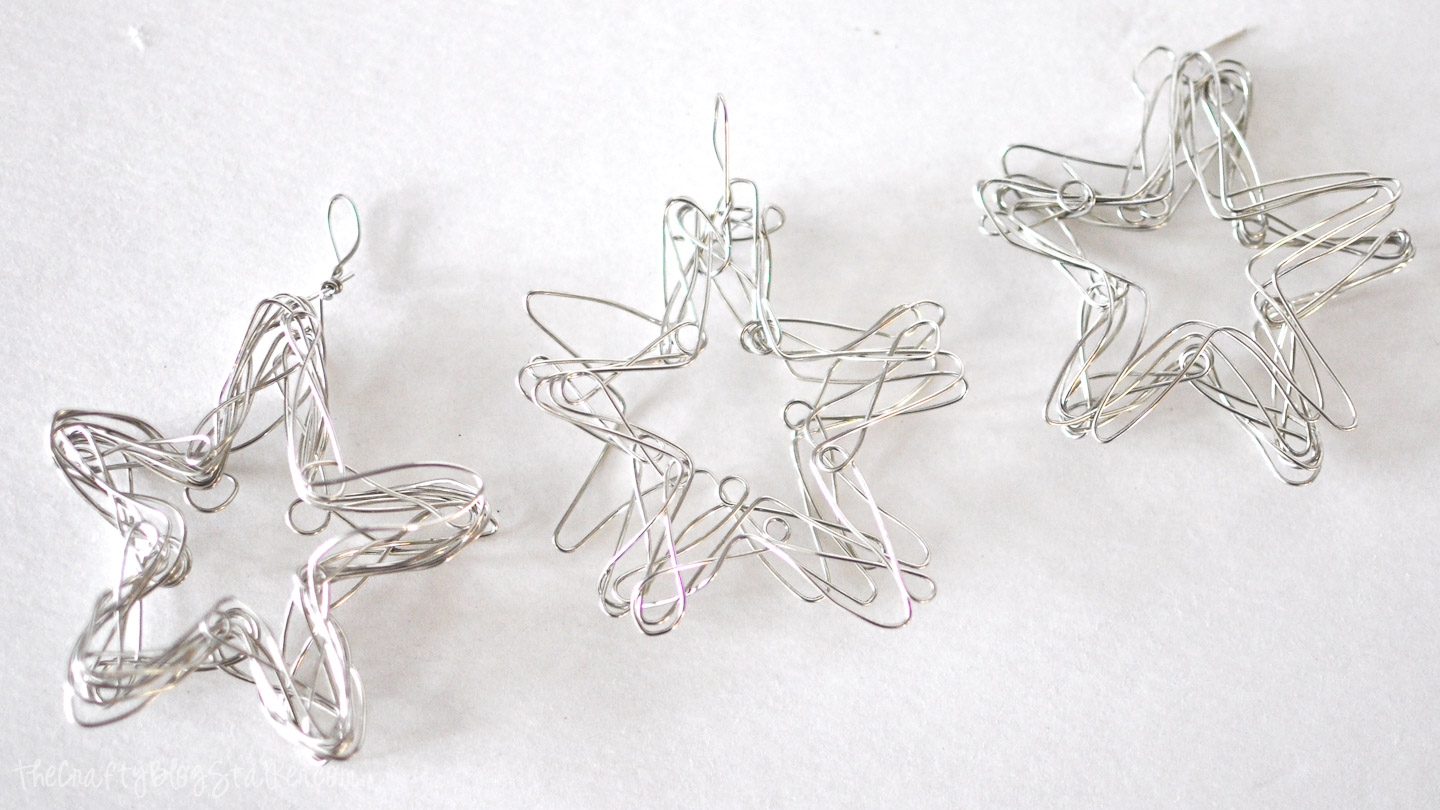
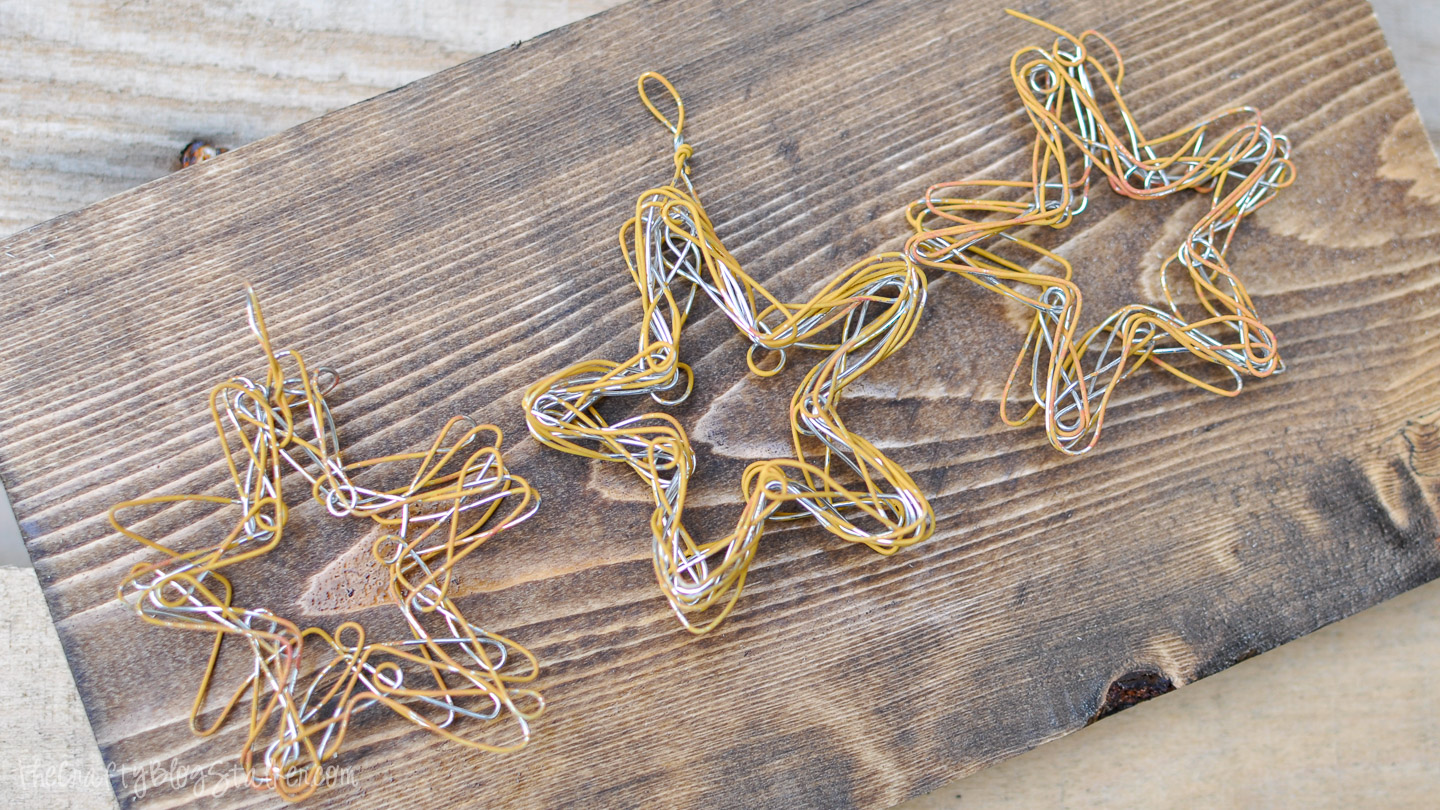
After wrapping my stars, I decided I wanted to make them look rusty. Looking through my paint, I could only find a dark gold.
Using a small sponge dauber, I applied a small amount to the top of the ornaments.
I actually love how they turned out! I love that you can still see the silver wire behind the painted wire. They actually do look a little rusty!
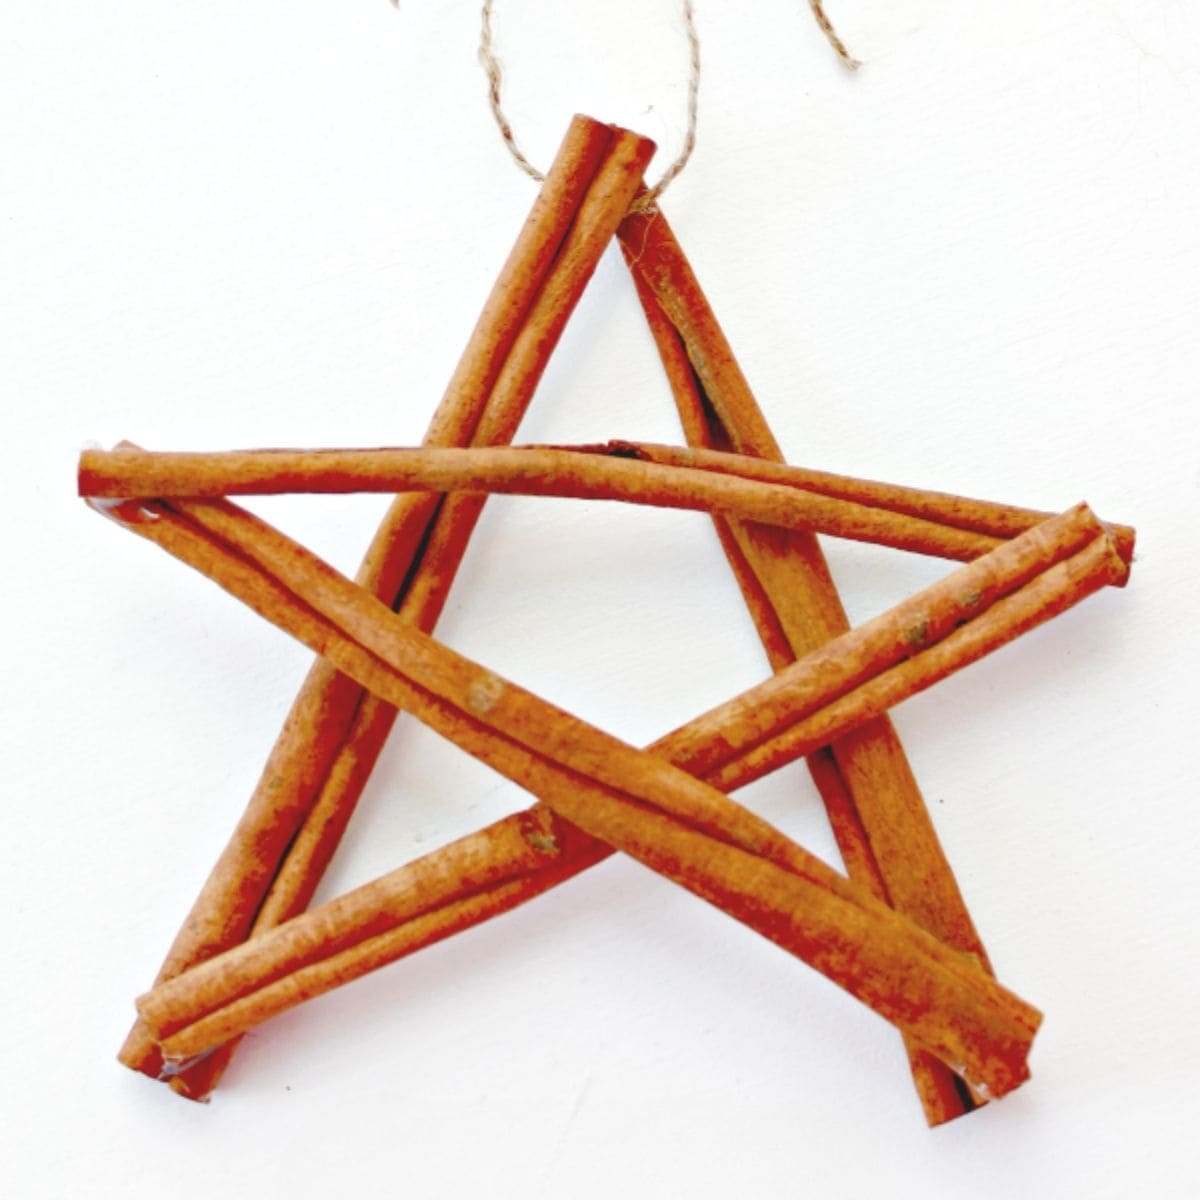
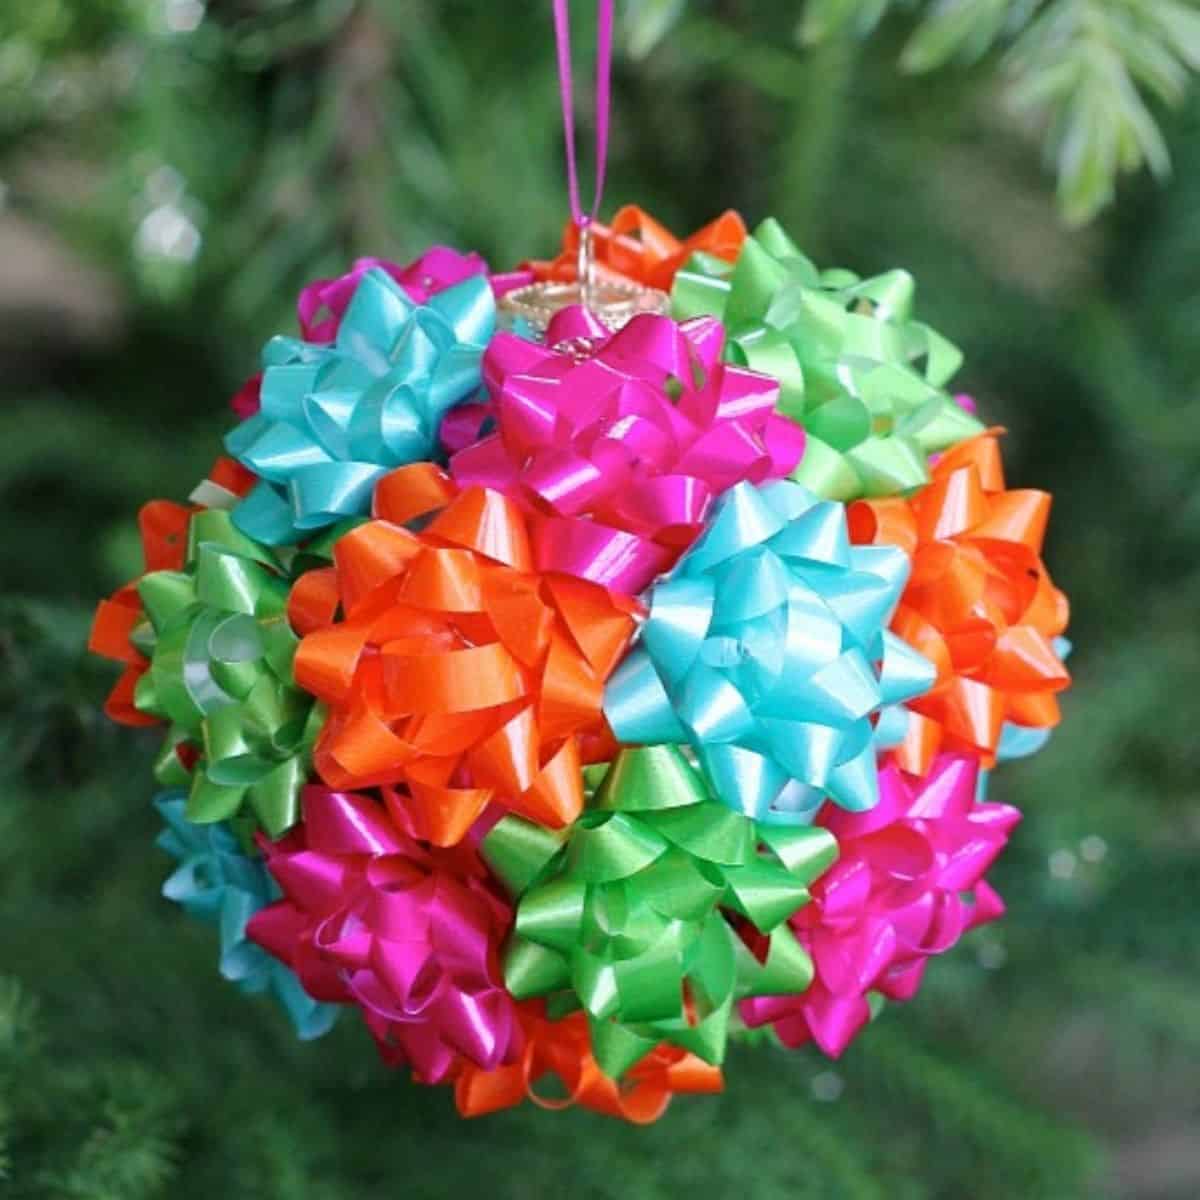
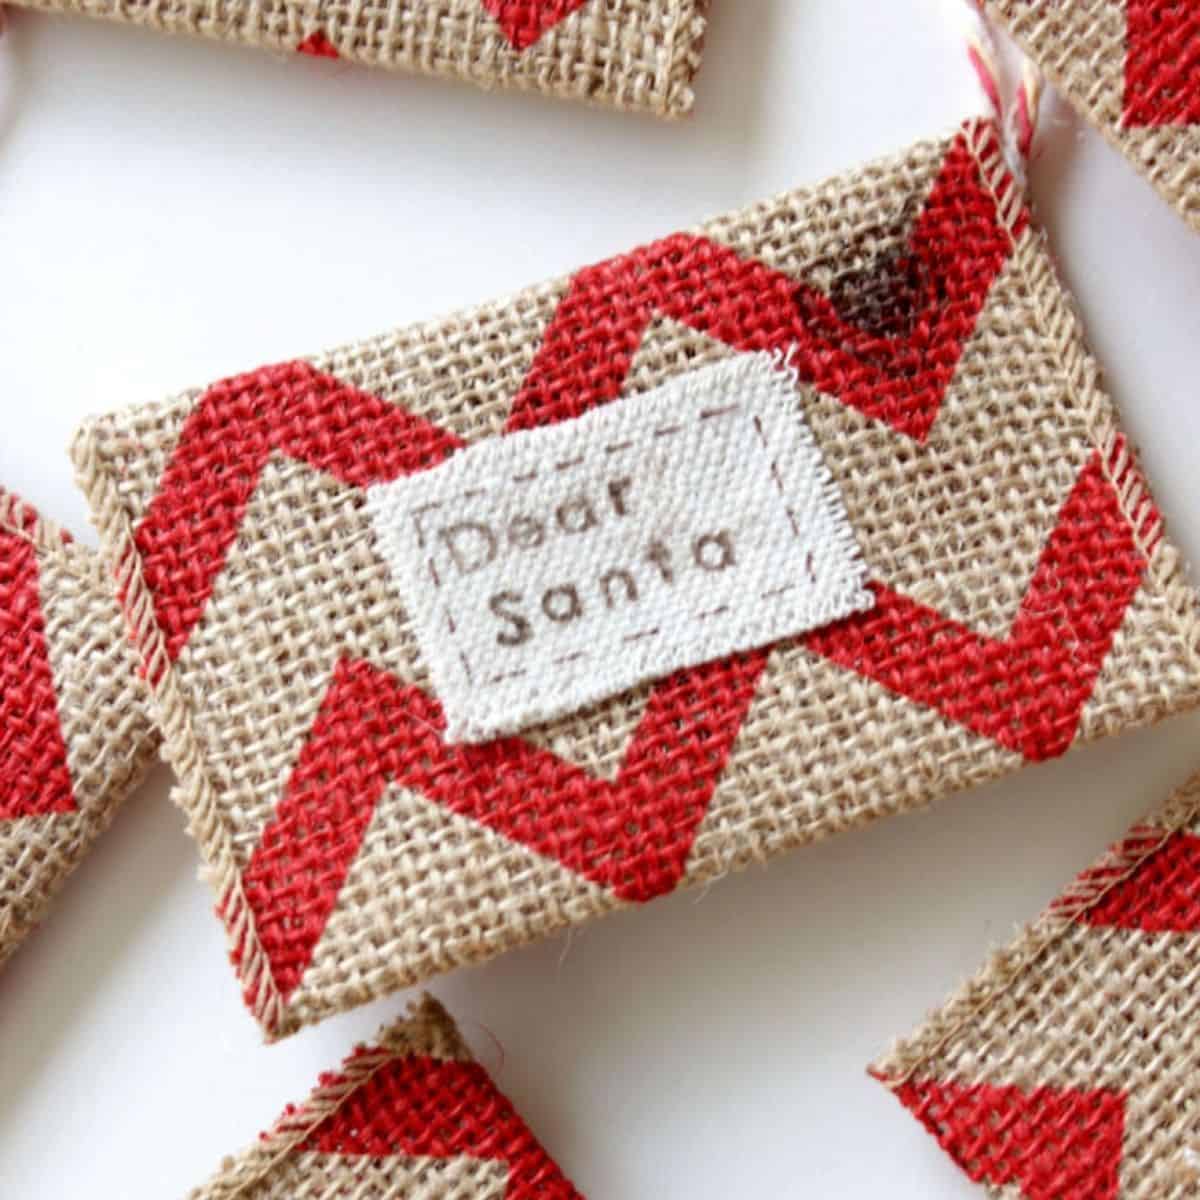
More Handmade Christmas Ornaments
Making homemade Christmas ornaments is one of the best parts of the season. Here are more tutorials to keep the creativity going.


Hi, I'm Katie!
I'm so glad you're here. Want to make something fabulous? I'm here to help!
Linda @ It All Started With Paint
I am head over heels in love with this project!!! So darling and inspires me to grab my drill! I'm so happy to be crazy Christmas crafting with you this year!
🙂 Linda
Katie
Thank you SO much Linda! I think this might be my favorite Christmas ornament yet : )
Chaney
So cute! I would never have thought that you used a few screws and a template to make these! I was wondering how in the world I would have made them look so perfect :). Glad to be Christmas crafting with you!
Katie
Thanks Chaney, I'm excited to be on this crazy crafting journey with you too!
Cristina
This project is right down my alley, drill, wood, wire, rust...Common, I love it! Looking forward to see what you'll come up for the next 11 days!
Katie
Thanks Cristina! I love anything that involves my power tools : ) xoxox
Vidya @ Whats Ur Home Story
These are adorable and yet very rustic. Really like the textures and the different color wires you used. Great to be Christmas crafting with you.
Katie
Thanks Vidya! : )
Chrysanthemum
Perfect... For my silver and gold theme. Keep the projects coming!
Katie
Thanks so much! I've got lots more ornaments to share for this year but these are definitely some of my favorite! : )
Julie @ Restyle Relove
These are so cute! 🙂 Julie
Katie
Thanks Julie! : ) xoxox
Dusty @All Things G&D
I'm happy to be opening that Christmas door with you! These turned out great!
Katie
Thanks Dusty!! xoxox
Jean
My Home Has Been All Country For Years Now But There Are Always New Things Coming Out All The Time.
These Things Fit Right In.
Thanks you So Much!
Jean