



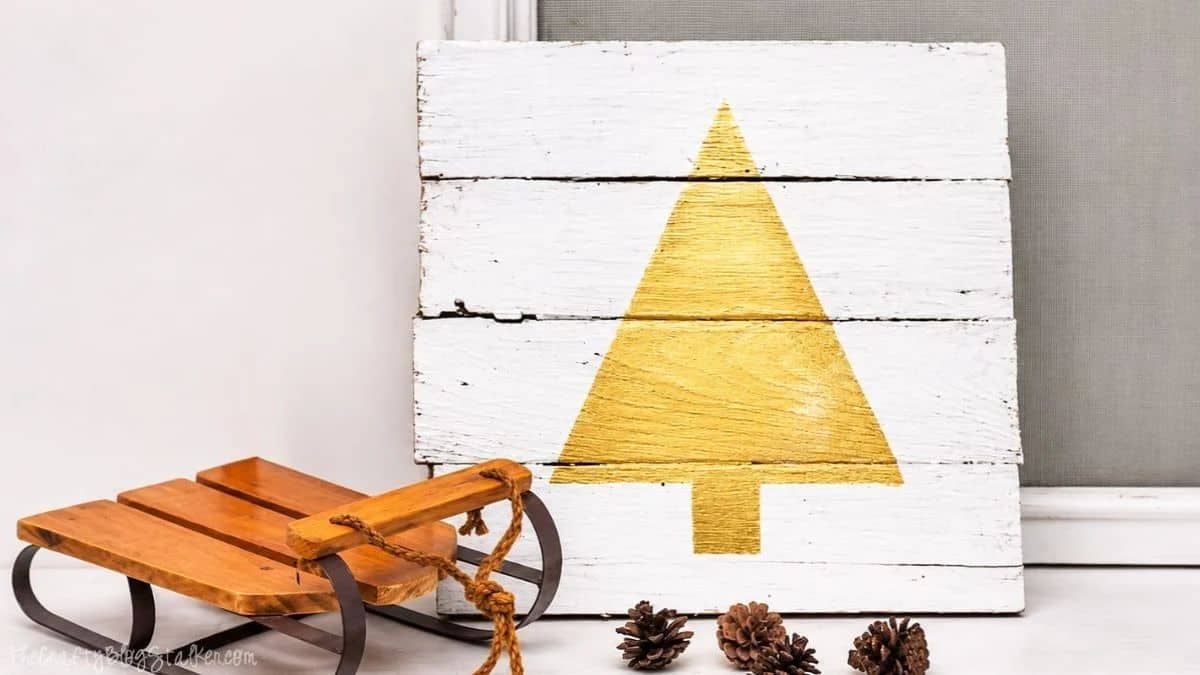
Make your own DIY Christmas sign with just a tree stencil and a little paint. This rustic wood sign is easy to make and looks so cute for the holidays!
I love making Christmas decorations, even if my husband thinks it's too early to put them up before Thanksgiving!
This year, I want to try a more rustic look for my Christmas decorations. This simple gold Christmas tree sign is a fun way to start.
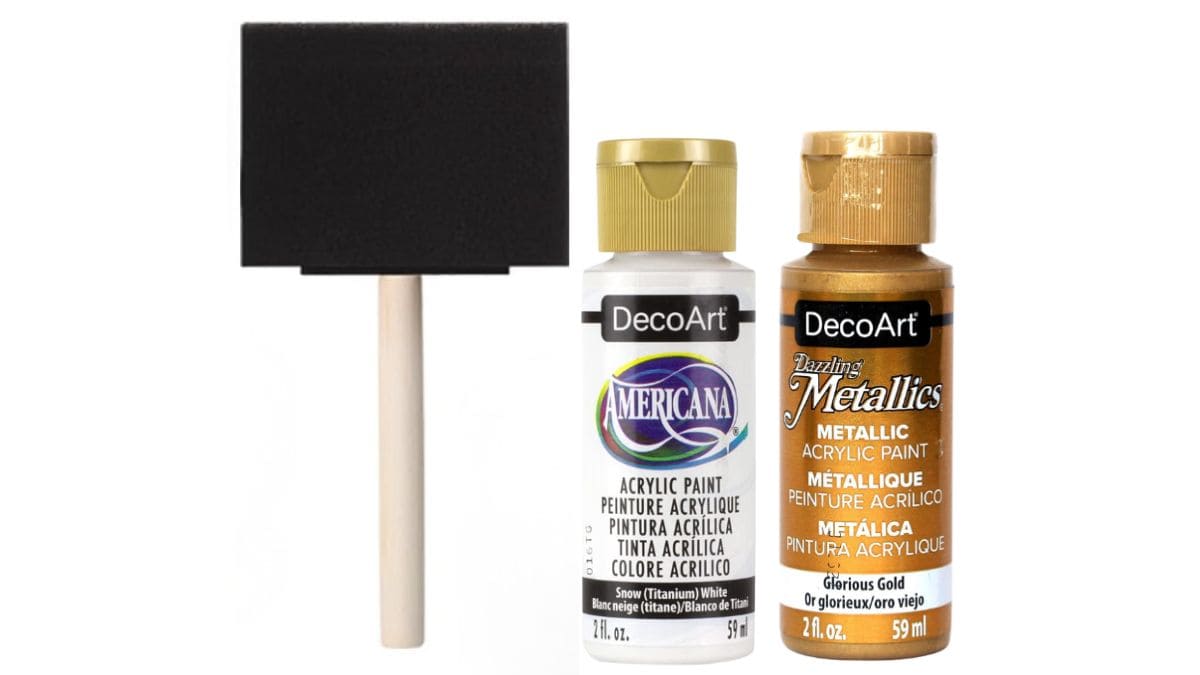
All you need is a wood sign, some paint, and a Christmas tree stencil. That's it! You might even have these supplies at home already.
The best part is you can use this stencil on almost anything you like. You don't have to use pallet wood if you don't want to. Try it on canvas, a gift bag, or whatever you have handy.
Jump to:
Skill Level: Beginner
Estimated Cost: $5-$15
Total Time: 1 hour
Supply List
Grab the Christmas Tree Stencil
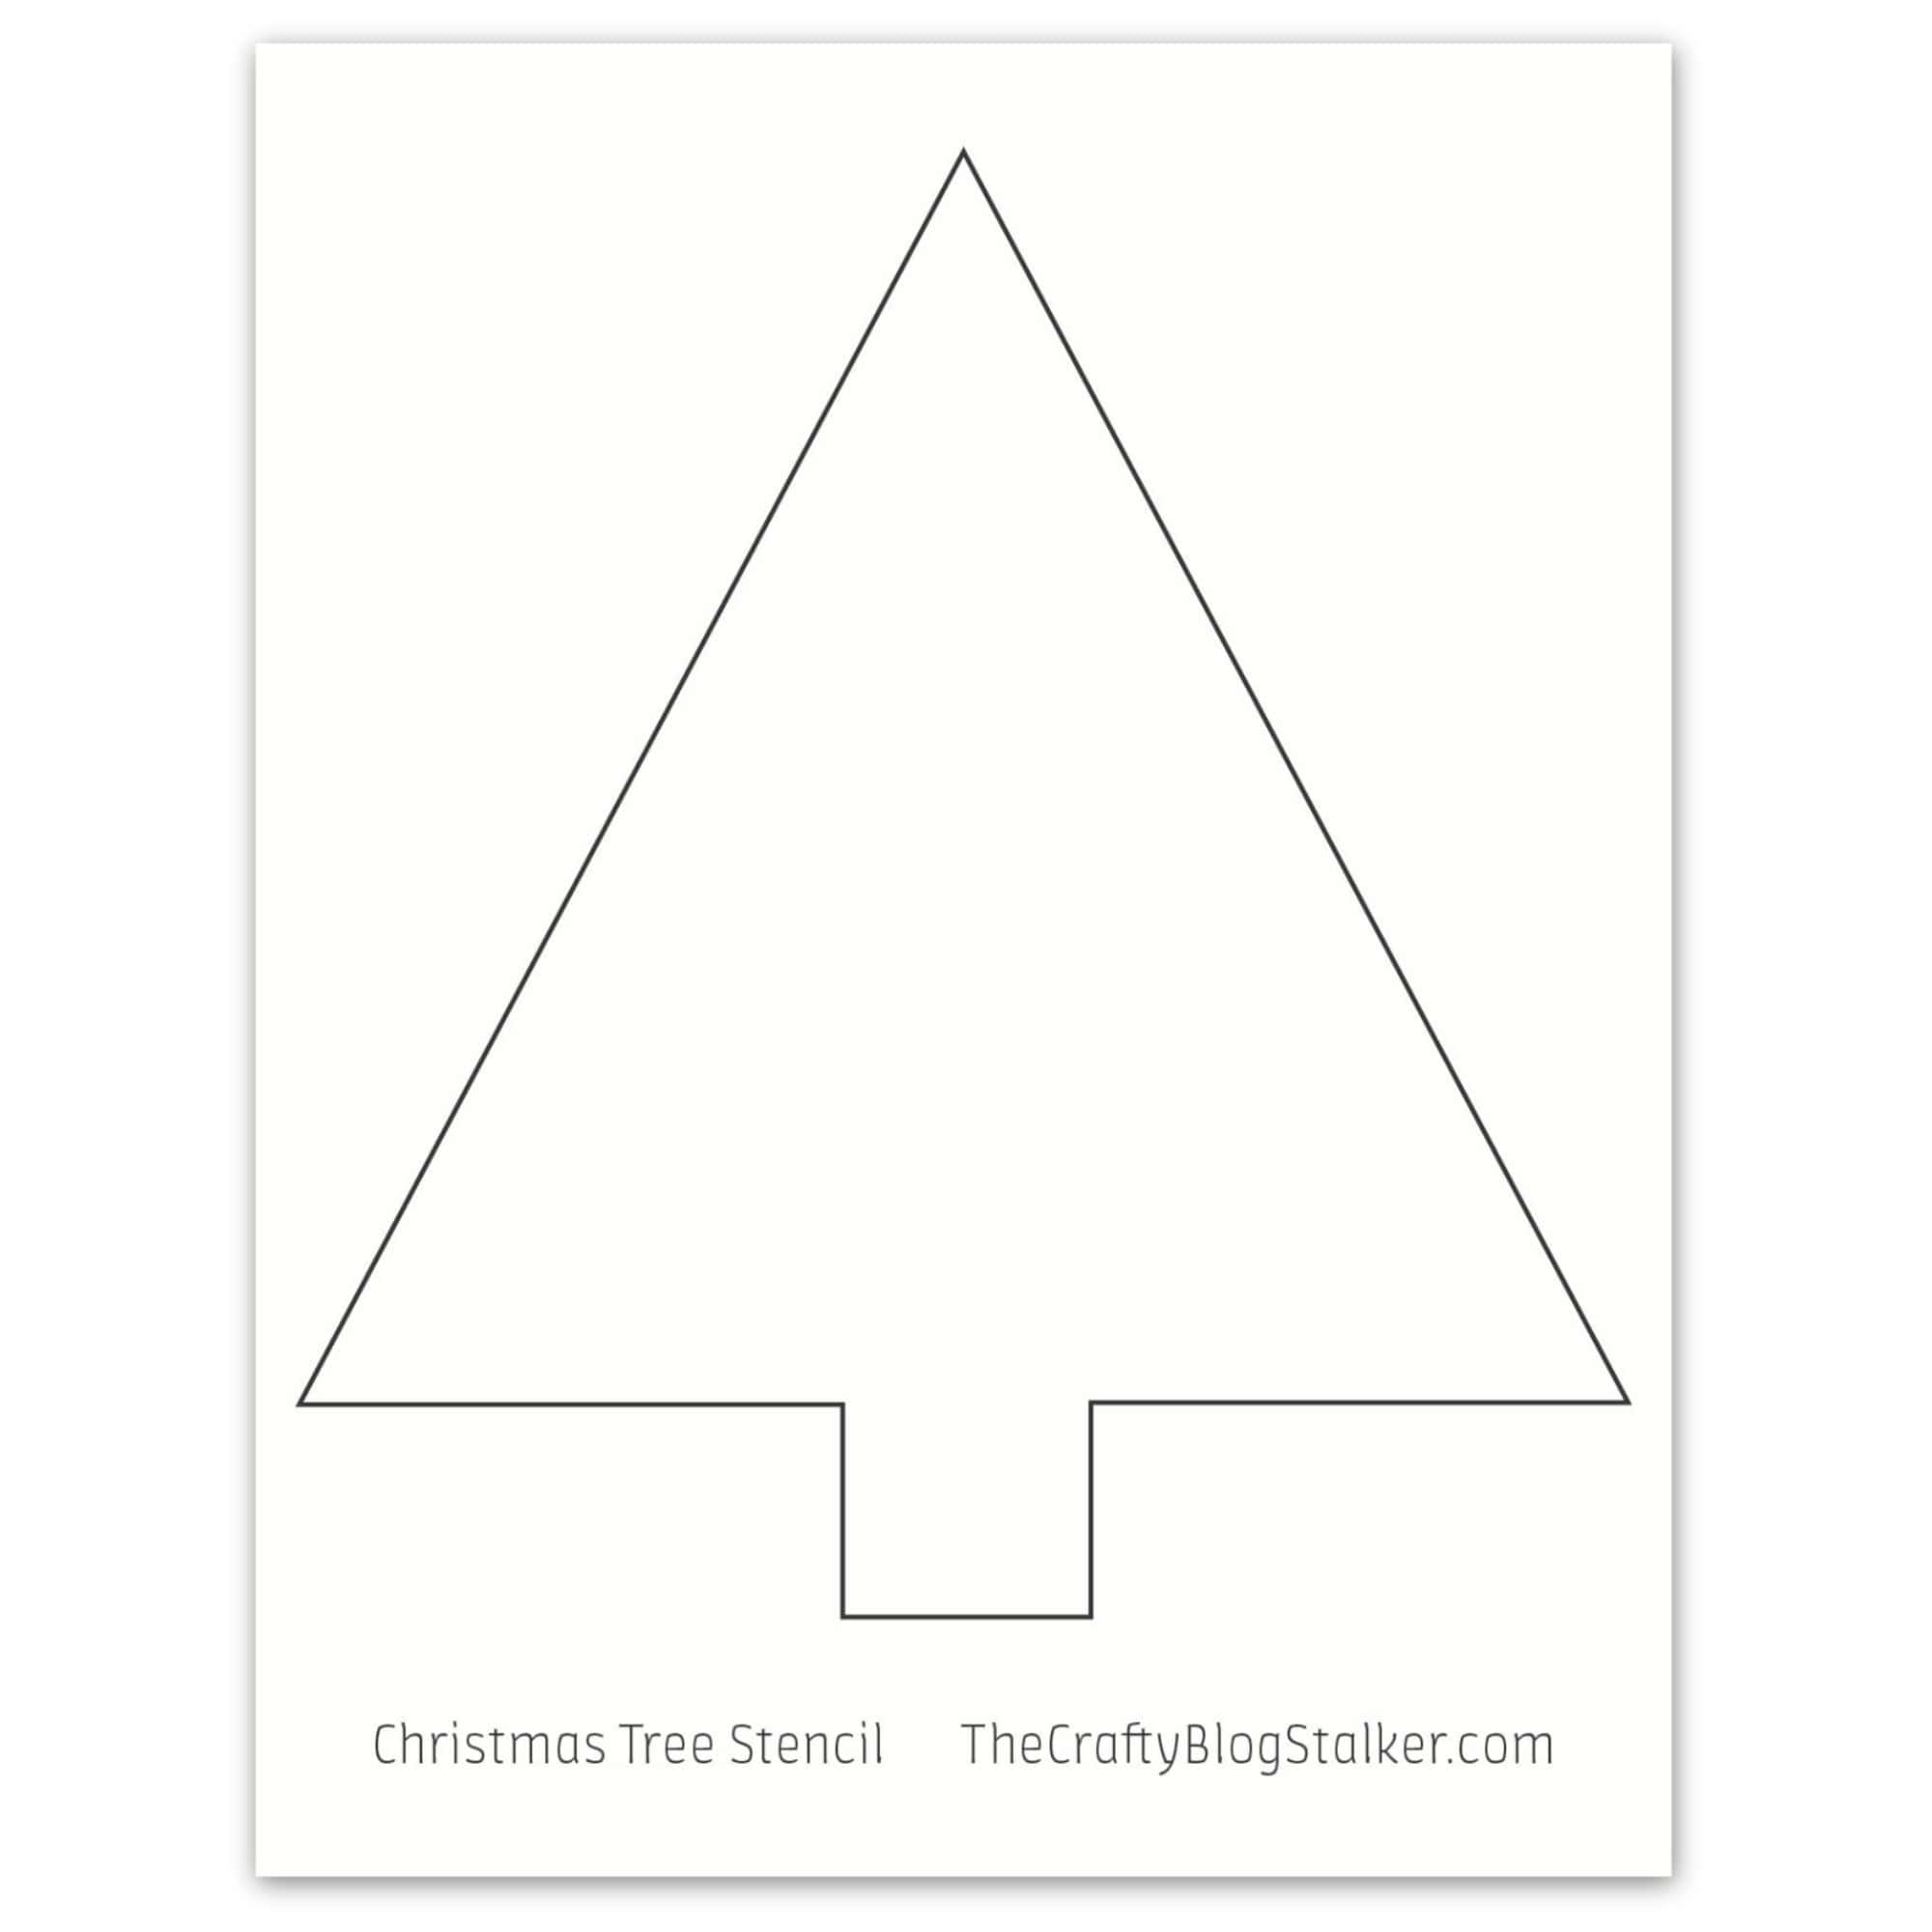
You don't need to draw your own Christmas tree for this project! I have a simple tree stencil that makes it easy to get the same look.
The design comes in both PDF and SVG formats. Print the PDF and cut it out by hand, or use the SVG with your Cricut or another cutting machine.
You can also resize the tree to fit your project. Use it on wooden signs, canvas, gift bags, or other surfaces you can paint.
Prepare the Wood Sign
The wooden sign I used for this project came from my Snowflake Wood Chargers Made from Repurposed Pallets tutorial.
I made those wood chargers for a holiday table setting, but they also work great as decorative signs. I love finding new ways to use things I've already made!
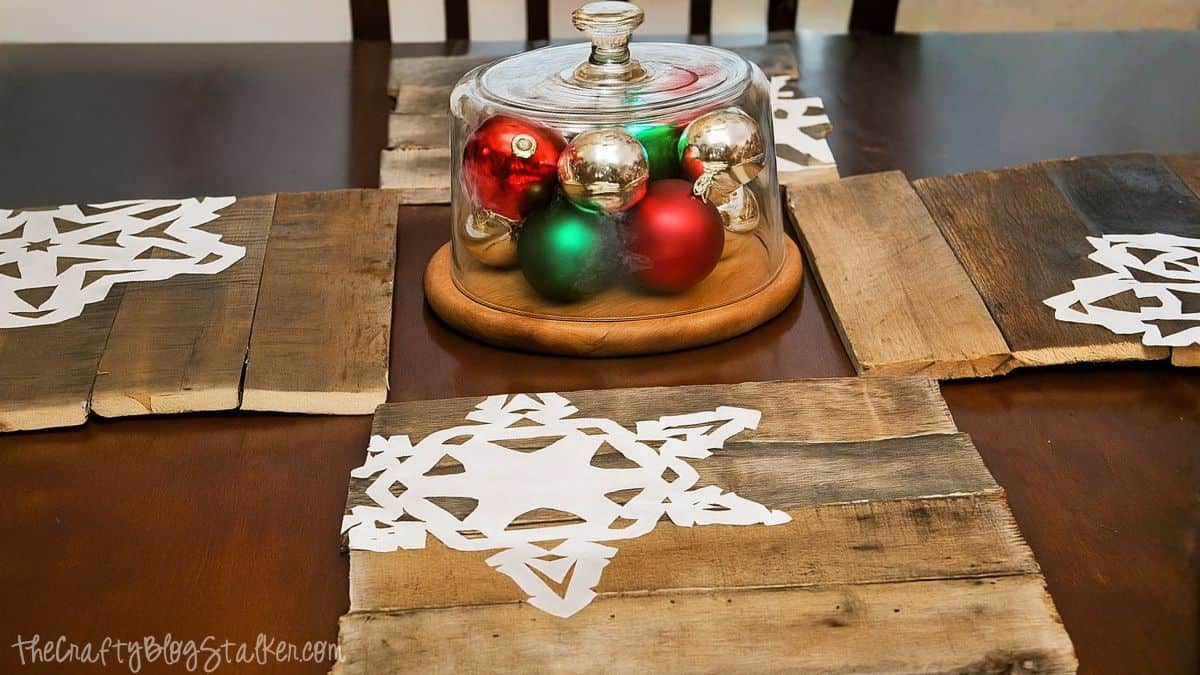
If you want to make your own sign from pallet wood, follow the steps in that tutorial to assemble the pieces.
You can also use a plain wood sign from the craft store. This is perfect if you want to skip the woodworking and get right to the fun part, painting.
Before you start, make sure your wood is clean and dry. If it feels a little rough, give it a quick sanding, then wipe away the dust.
Paint the front of your sign with white acrylic paint using a foam brush. Let the first coat dry, then add a second coat for more coverage.
I like the look of a little wood showing through the paint. It gives the sign that worn, rustic feel that works so well with classic Christmas decor.
Let the white paint dry before adding your stencil.
How to Make a Christmas Tree Sign with a Stencil
Now for the fun part! Let's add a shiny gold Christmas tree to your white wood sign.
Step 1: Cut Out the Christmas Tree Stencil
Print the Christmas tree stencil at the size you want for your sign.
Place the paper on a cutting mat and carefully cut out the tree shape with a craft knife. Keep the outer piece of paper because that's the part you'll use as your stencil.
If you're using a Cricut, you can cut the stencil from stencil vinyl instead.
Set the stencil on your painted wood and move it around until you find the spot you like best.
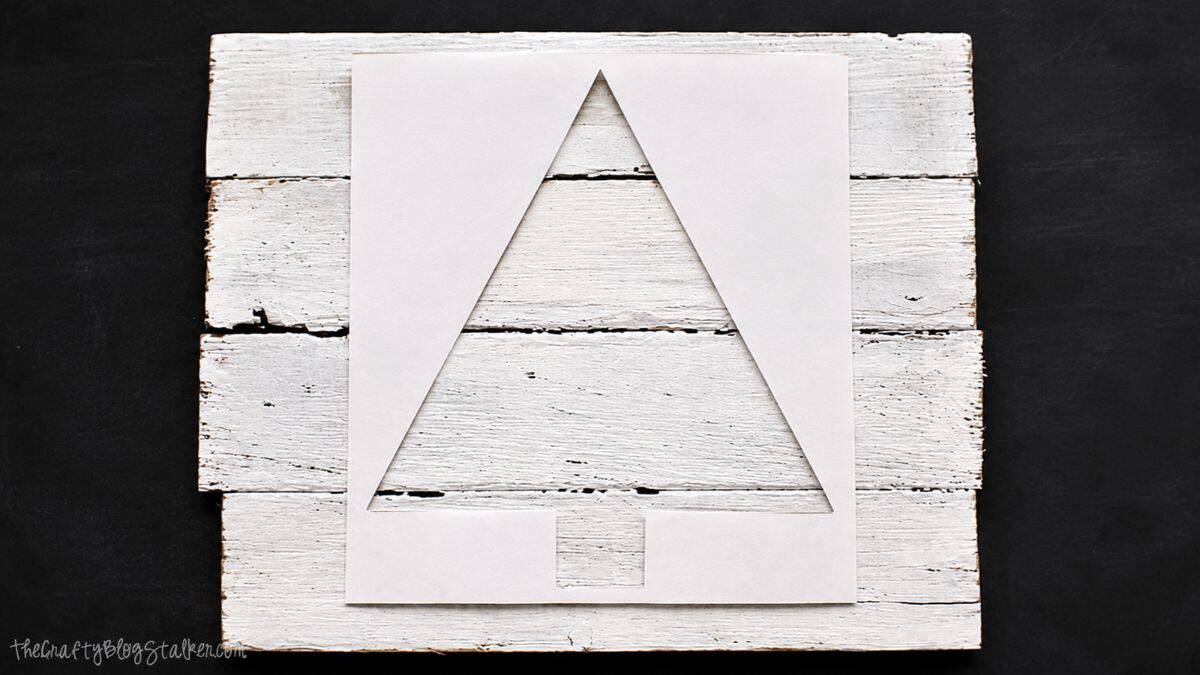
Step 2: Paint the Christmas Tree
Once your stencil is in place, tape it down with painter's tape to keep it from moving.
Or, if you're like me and get a little impatient, you can carefully hold it in place while you paint. I won't judge! 😉
Dip your foam brush into the gold metallic paint, then dab off the excess. A little paint works best because too much can seep under the stencil.
Gently dab the paint inside the tree shape, starting around the edges.
I started by painting the edges of the tree, then lifted the stencil and filled in the center. This way, the wet paint didn't smear when I moved the paper.
If you're using stencil vinyl, you can leave it in place while you paint the whole tree.
Try to keep the paint coats thin. You can always add more paint, but it's much harder to fix if it spreads under the stencil.
Step 3: Remove the Stencil and Touch Up the Paint
Carefully lift the stencil away from the wood.
If you're using a paper stencil, lift it straight up so it doesn't drag across the wet paint. If you're using stencil vinyl, peel it away slowly.
Check the edges of your Christmas tree. If any spots need a little help, use the corner of your foam brush or a small paintbrush to touch them up.
Let the gold paint dry, then add a second coat if you want the tree to stand out more.
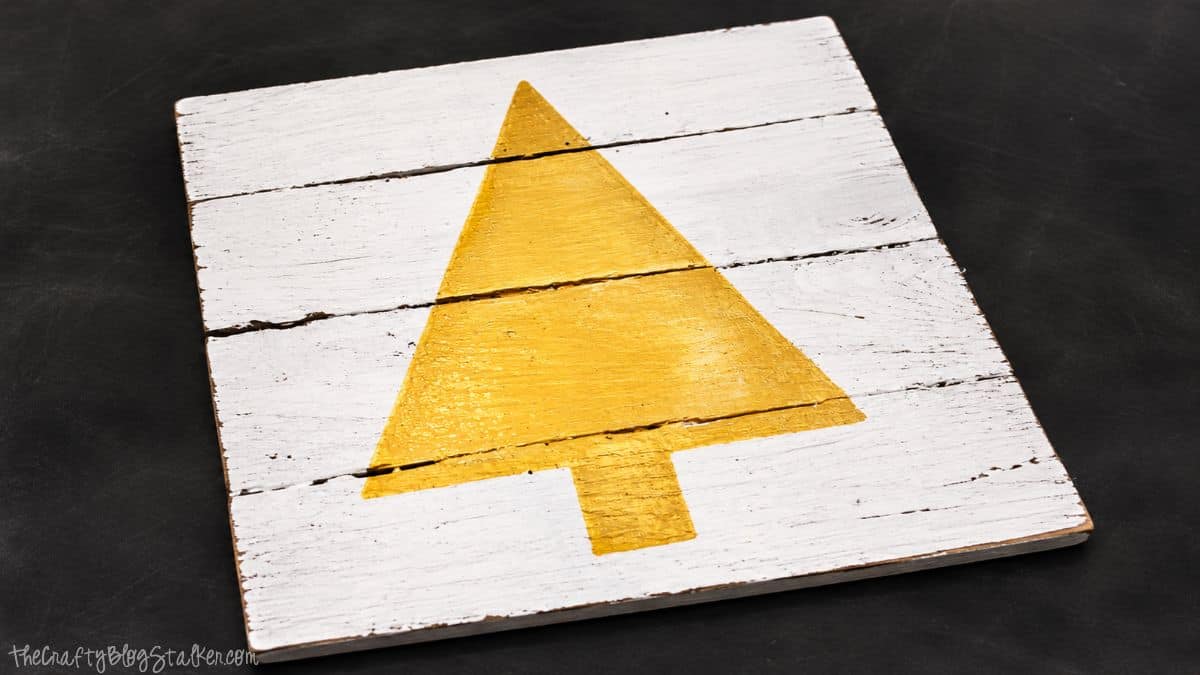
Step 4: Let the Sign Dry and Display It
Once the paint is dry, your DIY Christmas sign is finished!
I love how the gold tree pops against the white wood. It's simple, pretty, and has just the right amount of shine.
You can lean your sign on a shelf, set it on a mantel, or add a hanger to the back to make Christmas wall art.
If you plan to hang it, use a hanger that can support the wood's weight.
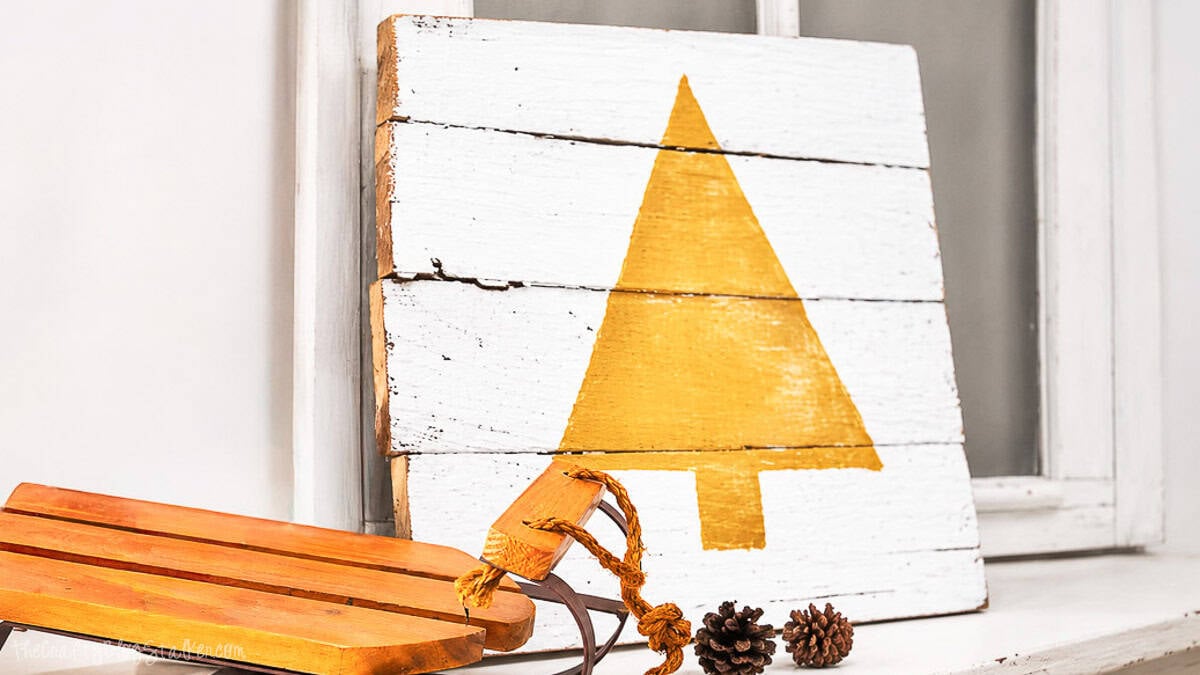
I put mine next to a wooden sled and some pinecones. It's such a cute Christmas display, and I love that I made it myself!
You could also paint the tree green, red, or silver to match your holiday decorations. You can even add a little "Merry Christmas" or a welcome message to make the sign your own.
I can't wait to show you more of my Christmas decorations this year. Last year, we went with a fun, bright theme because my kids wanted it. This year will look a little different, but we're still making popcorn garland for the tree. I love that tradition!
Frequently Asked Questions
Acrylic craft paint works great for wooden Christmas signs. It's easy to use, comes in lots of colors, and dries fairly fast. I used white acrylic paint for the background and gold metallic paint for the Christmas tree.
Yes! You can use this stencil on canvas, paper, gift bags, and other paintable surfaces. Just choose paint that is made for the surface you're using.
Use a small amount of paint and dab it on with a foam brush instead of brushing back and forth. Make sure the stencil edges are flat against the wood. Several thin coats work better than one thick coat.
Of course! I made my sign with a printed paper stencil and a craft knife. You don't need a cutting machine for this project.
Yes! A plain wooden sign from the craft store works just as well. You can even use a piece of scrap wood if you have one. Just make sure the surface is smooth enough for painting.
You don't need to seal it if you're keeping it indoors in a dry spot. If you want extra protection, choose a clear coat that works with acrylic paint. For outdoor signs, use paint and a sealer made for outdoor use.
Need help with this project?
Click a button below to ask AI how to give a new wooden sign a rustic, weathered look.
More Christmas Crafts
I love making my own Christmas decorations, especially when I can use simple supplies I already have!
Check out my other Christmas crafts for more fun ways to decorate your home and make handmade holiday gifts.




Hi, I'm Katie!
I'm so glad you're here. Want to make something fabulous? I'm here to help!
Elaine
This is so adorable! I live the simplicity and the colour palette. Great job. Nice and timeless too. You hubby should be glad you don't live in Canada - our Thanksgiving is in October! 😉
Samantha @ Five Heart Home
So cute and rustic...love it! We don't put out our Christmas stuff until the day after Thanksgiving, either, and I feel like an oddball here in Blogland... 😉
Katie
Thanks Samantha! I haven't gotten all my stuff up yet still... pictures can be deceiving, lol
Ella
I love this ! Rustic but chic…and so cute for any table. I might make some smaller ones for table beside my bed ! You did a fantastic job.Thanks a lot for inspiration.
Katie
Thank you Ella! Have a great weekend!
Inspire Me Heather
That turned out beautiful, thanks for the idea!!
Linda
Awesome. Simple. Perfect. Pinned. Linda
Chiara from One O
Hi Katie, nice to meet you. This is so simple that totally anyone can do it! But the final effect is elegantly charming.
We're new to the diyers blogging world, andyou're definitely an example.
Katie
Thank you! I'll be sure and stop by, have a great weekend!
Amy @ Homey Oh My!
So cute and simple! Gold is my favorite 🙂
Katie
Thank you Amy! I am loving Gold too this year : ) Have a great weekend.
Bonnie @ Uncommon Designs
so simple and beautiful! love!
Katie
Thanks Bonnie! : )
Lisa Hall
Oh my goodness! This is SO pretty!
I haven't attempted any pallet crafts yet, but this one seems like something I could do and I love the rustic look!
I've got to pin this one!
Katie
Thank you Lisa! They are so easy, you will be addicted to pallets once you try it! Thanks for pinning!
Liz Fourez
I just love a good pallet project! This is so cute! Loving the gold right now : )