



Installing a freestanding vanity against wall spaces gives your bathroom a clean, custom look with extra style and storage.
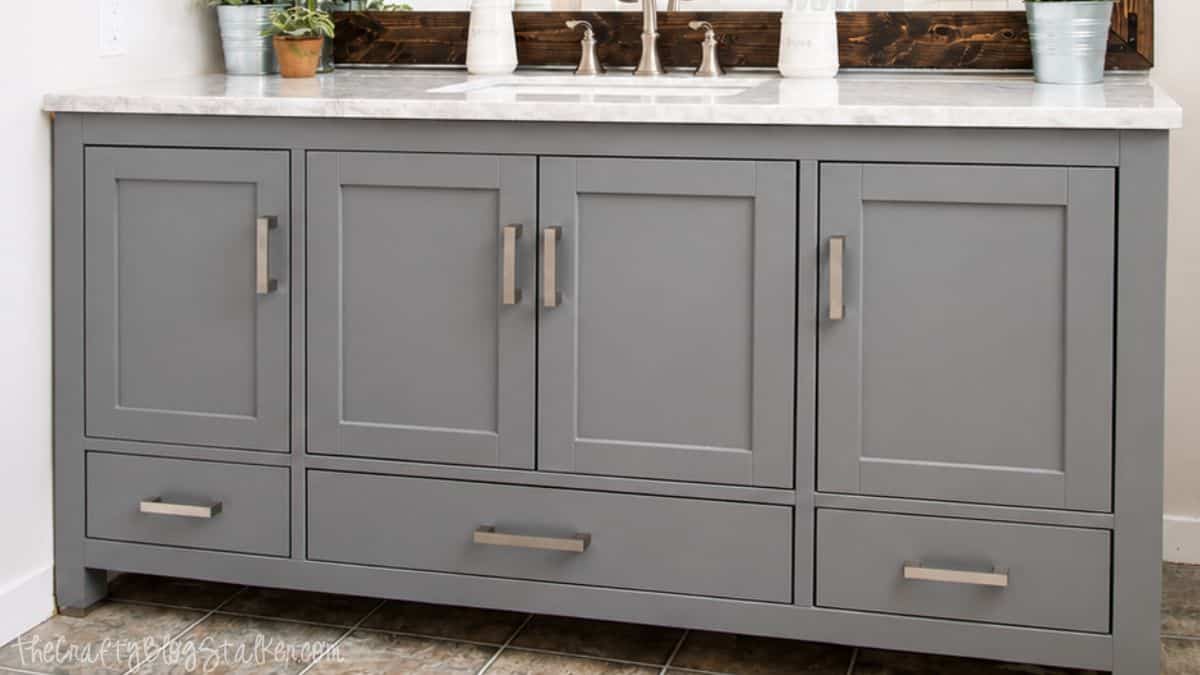
Our bathroom remodel has been finished for a few weeks now, and I have completely changed my mind about how important bathrooms are.
I used to think they were more of a practical space than anything exciting, but having a bathroom that feels finished and organized honestly makes getting ready every morning so much nicer.
Throughout this remodel, I shared projects like framing our bathroom mirror and decorating on a budget, but today I wanted to walk through how we handled the bathroom vanity installation.
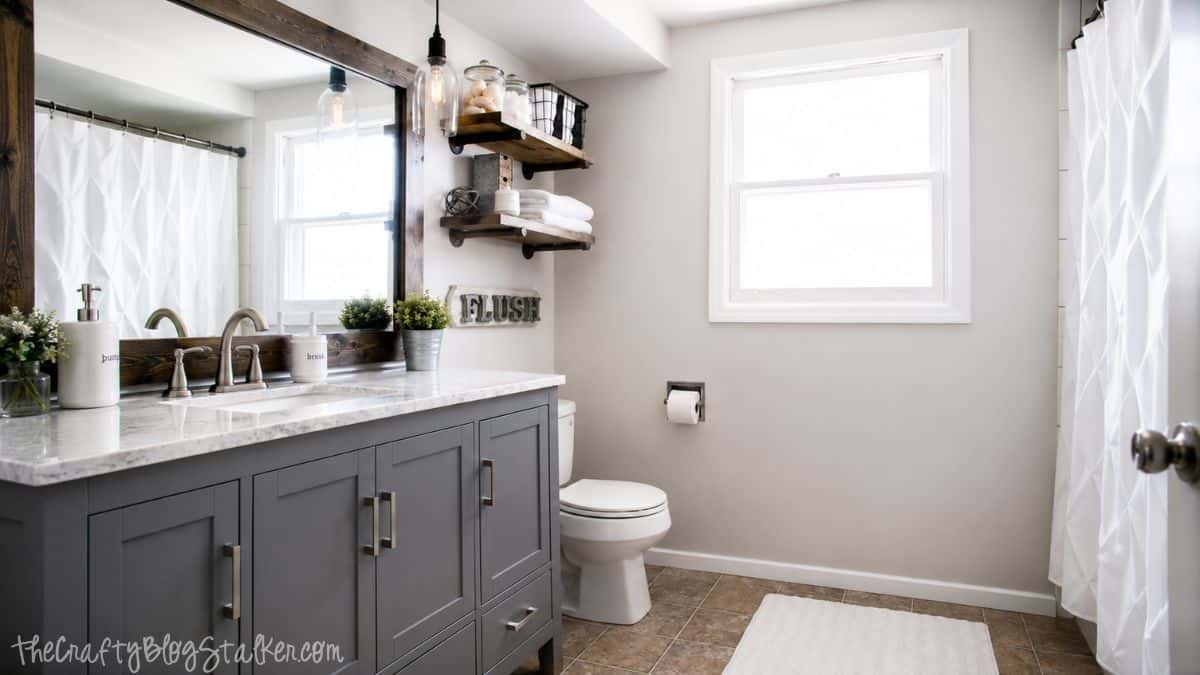
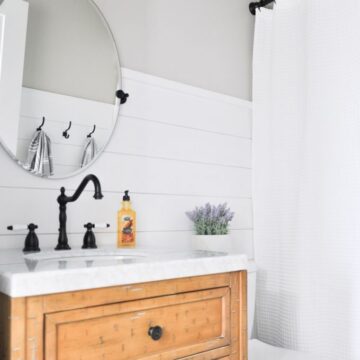
We chose a freestanding vanity for this remodel, and it completely changed the look and feel of the room.
Jump to:
Skill Level: Intermediate
Total Time: 4-6 Hours
The time can vary depending on your bathroom setup, flooring repairs, plumbing adjustments, and whether you need to patch or paint the walls first.
Choosing the Right Freestanding Vanity
Before starting installation, it helps to think through a few important details about your space.
Freestanding vanities are popular because they add flexibility and usually make a bathroom feel more open compared to built-in cabinets. The visible floor space underneath can make a smaller bathroom appear larger, while still giving you plenty of storage.
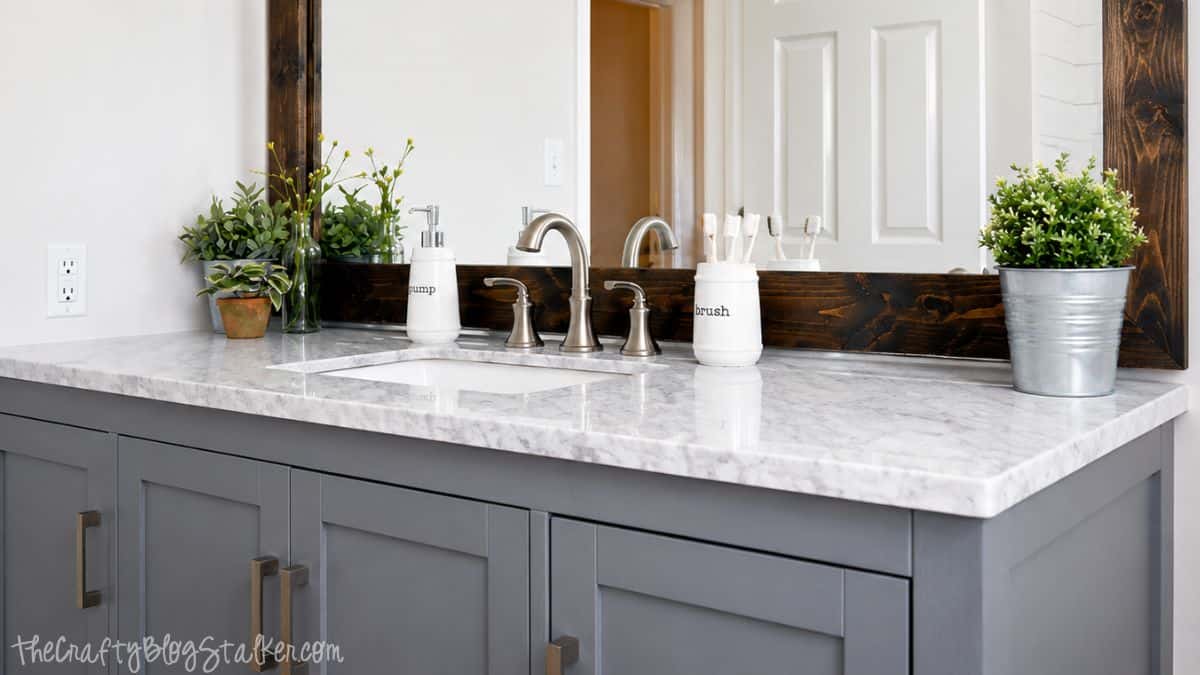
We chose a gray bathroom vanity from Wayfair, and I still love it. The drawers glide smoothly, the finish feels durable, and it gives the bathroom a much more polished look.
When choosing a freestanding vanity, make sure you check the measurements carefully, especially around plumbing, electrical outlets, and flooring. Some vanities sit flush against the wall, while others have open backs or different leg styles that may affect installation.
How to Install a Freestanding Vanity
Turn Off the Water Supply
Before removing anything, turn off the water supply under the sink.
This step sounds obvious, but it is definitely one you do not want to skip. The last thing you want during a bathroom remodel is water spraying everywhere while disconnecting plumbing lines or the faucet.
Once the water is off, disconnect the plumbing underneath the sink and remove the faucet connections if needed.
Remove the Old Vanity
Removing the old vanity usually happens in sections.
We started by removing the vanity top after disconnecting the sink and plumbing beneath it. Since we were not planning to reuse our old vanities, we were not too worried about damaging them during removal. If you want to save yours to sell or repurpose, you will probably want to work more carefully.
Depending on the size and placement of your mirror, you may also need to remove it during this step.
Once everything was out, we found a surprising amount of dust and grime underneath. We cleaned the area thoroughly and sprayed everything down to make sure there were no moisture or mold issues hiding behind the old vanity.
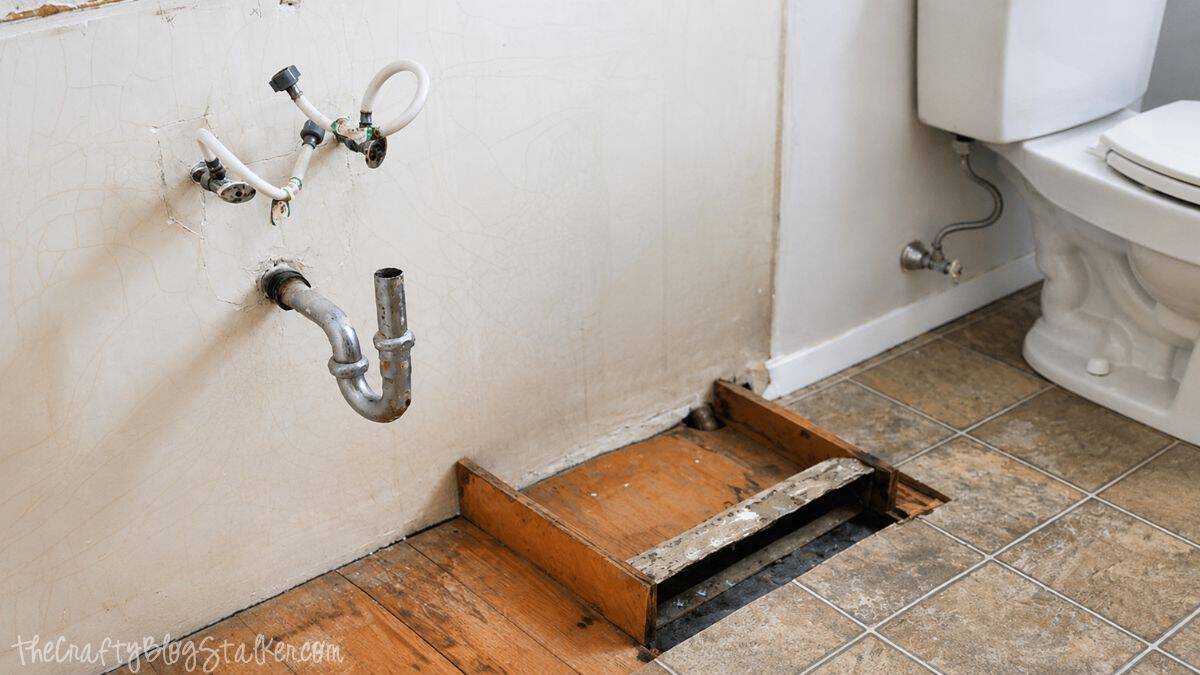
One thing we discovered during the removal was a vent pipe rising through the floor. We had to frame around it and make sure it was secure before continuing the installation.
Check the Flooring and Wall Condition
Before installing the new freestanding vanity, take a close look at the flooring and walls behind the old cabinet.
Some bathroom vanities cover unfinished flooring or damaged drywall, so this is the best time to patch, paint, or repair anything before the new vanity is installed.
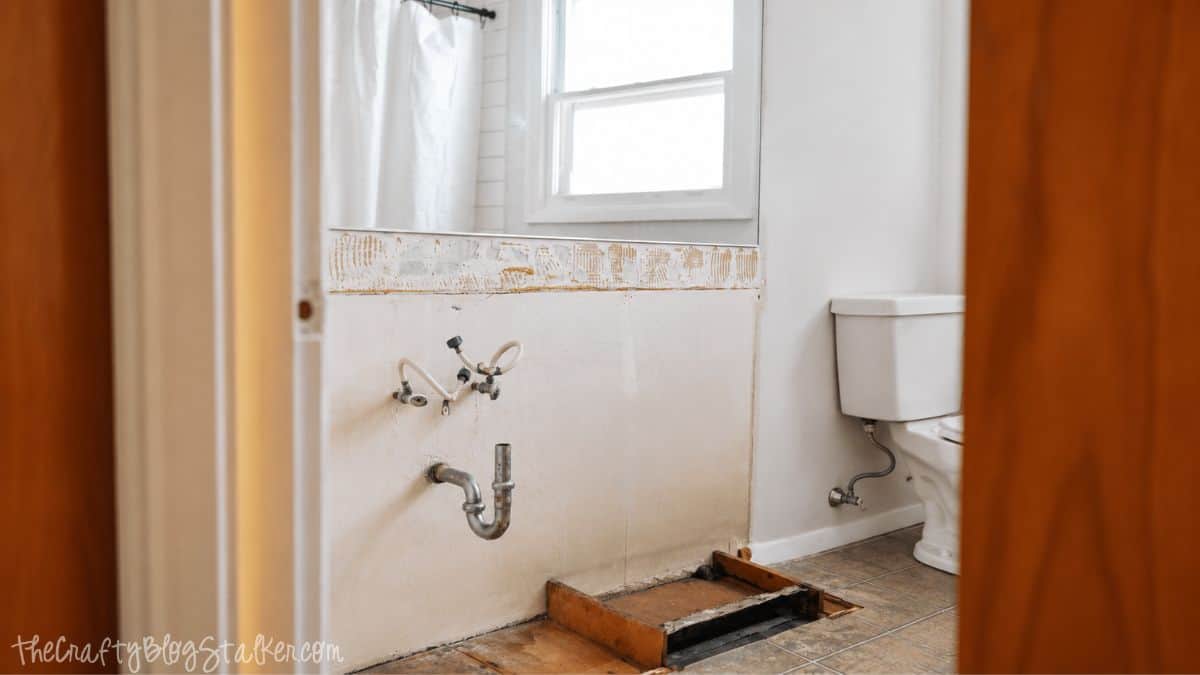
Because our previous vanity was oddly shaped and sloped backward, the flooring actually extended pretty far underneath it. Thankfully, the new vanity covered everything nicely. Depending on your layout, you may need to patch or extend flooring before installation.
Position and Level the Vanity
Once the space is prepped, move the freestanding vanity into place.
At this point, carefully measure and level everything before permanently attaching it. Even small differences in floor height can affect the stability of the vanity and cause doors or drawers to sit unevenly.
If needed, use shims underneath the legs until the vanity sits level.
Most freestanding vanity designs include a support apron along the back for wall attachment. Locate the wall studs and secure the vanity using the correct screw length for your specific model.
Install the Vanity Top and Sink
Before placing the vanity top, apply a bead of silicone caulk along the top edges of the vanity base where the countertop will sit.
You may need an extra set of hands during this part because vanity tops can get heavy and awkward to position.
Once the top is set, allow the silicone to cure according to the instructions.
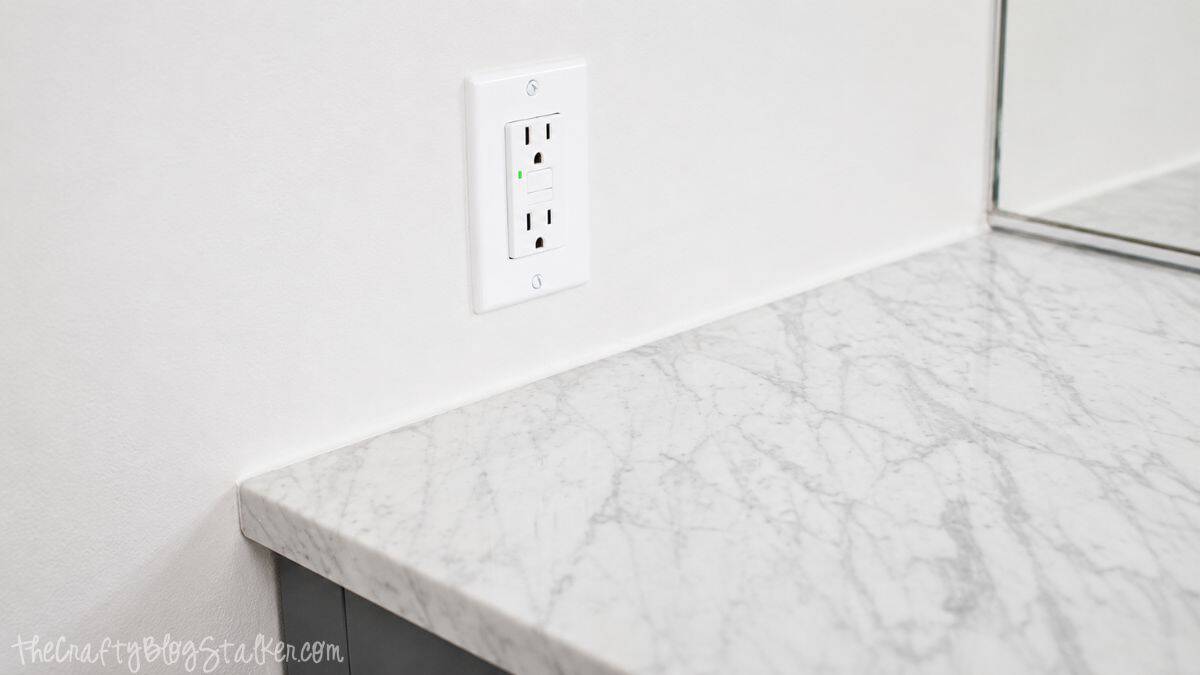
If the vanity sits against a wall, apply another bead of caulk where the countertop meets the wall. This helps prevent water from dripping behind the vanity near the sink or shower area.
Reconnect the Plumbing
Now comes the part nobody really looks forward to: reconnecting the plumbing.
Every bathroom setup is a little different, so your sink drain and faucet connections may not look exactly like ours. Take your time reconnecting everything and check carefully for leaks once the water supply is turned back on.
If plumbing work makes you uncomfortable, this is definitely one of those projects where hiring a professional can save a lot of frustration.
Final Thoughts
Once everything was finished, the bathroom felt completely different. The freestanding vanity added so much character while still giving us the storage we needed.
It made the room feel brighter, more open, and honestly, much more enjoyable to use every day.
Bathroom Source List
Here's a source list for our bathroom makeover in case you'd like to recreate the look.
Some of the exact items are no longer available, so I linked similar options with the same style and feel.
Bathroom Vanity - Wayfair
White Rug - Wayfair
Mirror Frame - DIY Tutorial
Pipe Shelves - DIY Tutorial
Soap Pump - Amazon
Toothbrush Holder - Amazon
Pendant Lights - Amazon
Shower Caddy - Wayfair
Back Scrubber - Amazon
Shower Curtain - Amazon
Towels - Amazon
Wire Basket - Amazon
Glass Jars - Amazon
More Bathroom Ideas
Looking for more bathroom inspiration? Here are a few more ideas to help update your space.

Hi, I'm Katie!
I'm so glad you're here. Want to make something fabulous? I'm here to help!
Christine
Love it!! Goodness, the bathroom is looking absolutely perfect! Will you be showing us your bathtub area? I saw a mini sneak peak through the mirror. hehe I'd love to see it!
Katie
Thanks so much Christine! There is a more full view of the bathtub area in the full reveal post: https://thecraftyblogstalker.com/industrial-farmhouse-bathroom-reveal/ Thanks for stopping by!
Vineta @ The Handyman's Daughter
Your bathroom looks amazing! We have a sad, tiny vanity that I'm dying to replace in our half bath. I just need to take the plunge!
Katie
Thanks so much! Bathrooms and Kitchens seem the hardest place to take the plunge... we use them everyday so it's always scary to rip them apart, lol! But you can do it! ; )
Robbie Lennox
This is a really helpful information. when we remodel a bathroom and the total cost depends on style and budget. Read at least one time when you repair or remodel your bathroom vanities.
Michelle wayne
That looks fantastic! I have a question for you. Did your vanity top have an overhang? And if so, how did you get it flush to the sidewall????
Katie
It was pretty flush with the cabinet to begin with. We just caulked the edge of the countertop and there was a very slight gap between the cabinet and the wall.
Angelina Prucha
Katie, I am working on a remodel with a very similar vanity. It has a 1/2 inch overhang on the marble top, so we are considering buying the marble top locally and having it installed flush to side wall. How did you get the vanity flush to the wall with the baseboards? My hubby is debating whether to notch the baseboards or create a 1/2" filler strip (painted to match the cabinet). Thanks! - Angie
Emma
Our bathroom remodel has been completed for a few weeks, and I’ve decided bathrooms are a very important room to remodel. I always kinda thought they weren’t that important, but it makes getting ready for the day so much more enjoyable! I’ve shared a few tutorials throughout the process of our bathroom remodel, like how to frame a bathroom mirror, and I’ve talked about accessorizing bathrooms on a budget. Today let’s talk about how to install a freestanding bathroom vanity.