

This post is sponsored by Plaid. All opinions expressed are my own.
Follow this easy tutorial and learn how to paint a plaid stool. This simple process shows you how to recreated this look!
I recently refreshed our upstairs bathroom and while doing so I solved a big problem in our house. My little boy climbing and hanging off the sink trying to brush his teeth. We have stools, but they are the little foldable ones and to be honest my kids just carry those all around the house. I had this unfinished wood stool lying around and decided to paint it to go with our bathroom. Let's get started with this Plaid Stool Tutorial.

I wanted something modern and fun for kids in this bathroom, but also still fit with the time period of this space that includes an original sink and tub. I came up with this fun plaid stool print that was inspired by some clothing I've seen lately. You know, the adorable button down shirts that look amazing on the models and end up looking like maternity shirts... oh wait, is that just me? Hm....

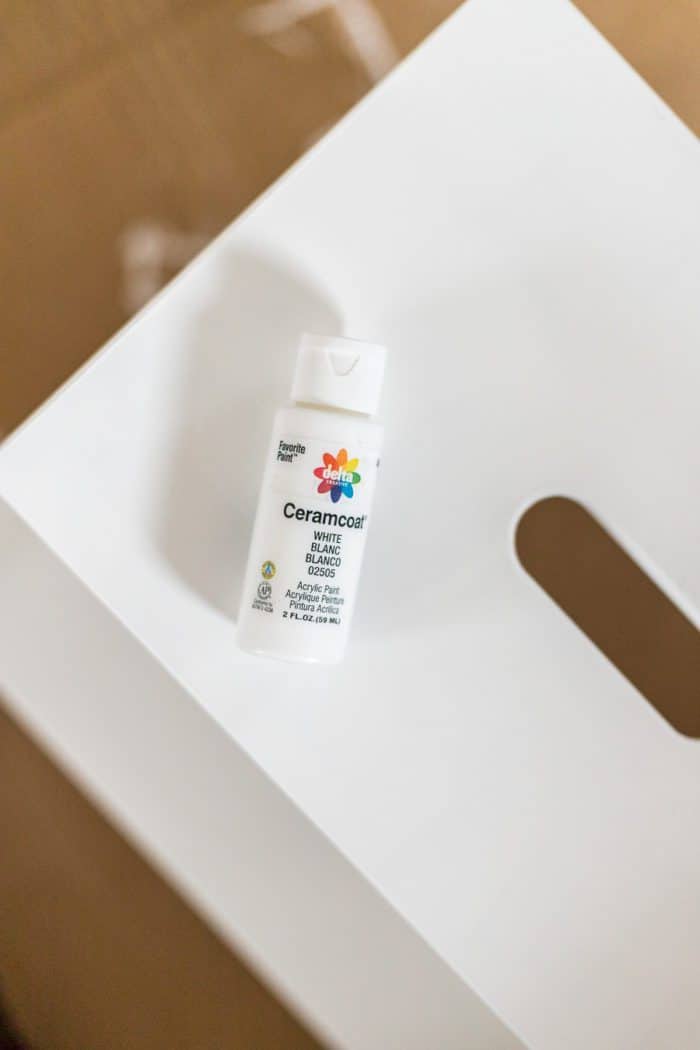
For this particular tutorial I used the Delta Cermacoat. This paint offers excellent coverage on multiple surfaces, making it a great choice. Ceramcoat's rich and creamy formula is great for base coating and stenciling and then dries to a beautiful matte finish. All Ceramcoat acrylic paints are non-toxic and made in the USA, and because the paint is water-based, cleanup is simple with soap and warm water. Now let's gather up some supplies and I'll show you how to create this simplistic plaid pattern.
Supplies:
How to Paint a Plaid Stool
I began by giving my plaid stool a base color. I chose white.
Paint Stripes in Alternating Sizes
Once that was dry I being taping off my stripes. Begin by finding the center point and put two pieces of tape on either side of the line. For this pattern you are going to alternate between a thicker line and a thinner line. I just eyeballed this and worked my way from the center out to make sure the pattern as a whole was centered.

Once all your tape is in place use a stencil brush to paint the exposed wood in black.

Immediately remove the painter's tape to make sure the paint doesn't bleed or dry in place. I wanted my lines to have a slight faded look, but if you want a more bold stripe then you can paint a thicker coat of paint. I offloaded my brush quite a bit when painting.

Paint a Plaid Pattern
Once your paint dries you are going to re-create this pattern in the opposite directions. So for example I started with vertical stripes, now it's time to do the horizontal ones. Just make sure your first center line is the same thickness as your other center line and continue like you did for the previous step.

Again, remove the painter's tape quickly and then allow the paint to fully dry before using the stool.
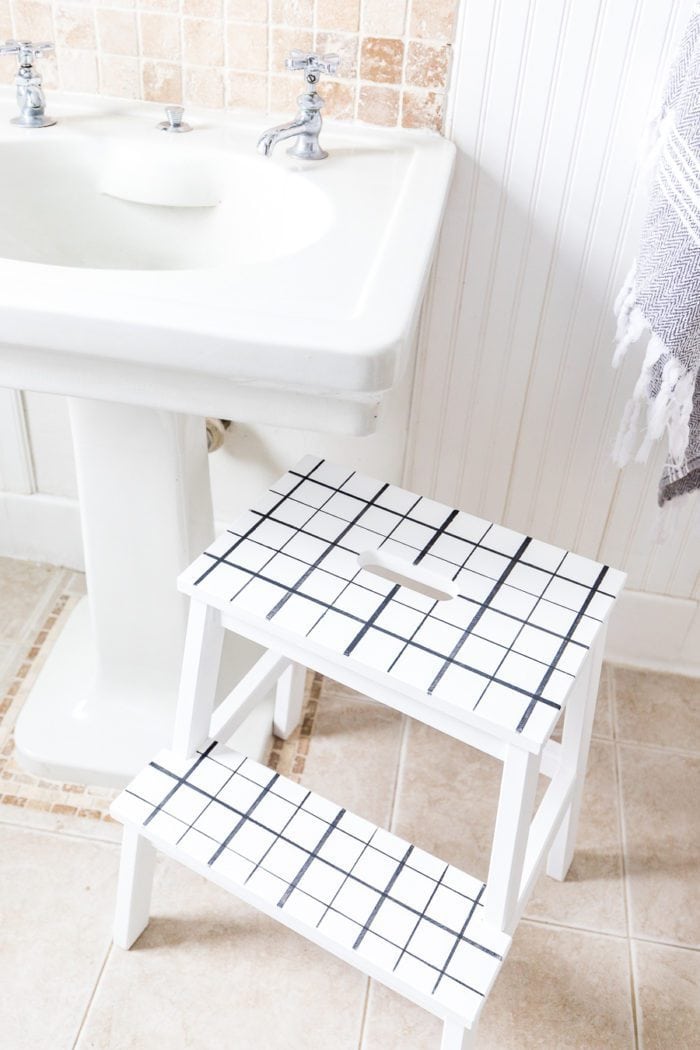
This stool is a fun and easy project that allows you to create something specific to your space. Use different colors to customize the style you want for your home!
For more products and inspiration, be sure and keep up with Plaid® and see how you can use the Delta Cermacoat paint!
Facebook | Instagram | Pinterest
Come take a Tour of our Downstairs Bathroom
Carol@BlueskyatHome
Katie, great stool for the bathroom. Love the pattern you created. Next time you might consider trying ChalkArt from A Maker’s Studio. It’s designed specifically for stenciling - no chance of bleed through. And great colors. Just a suggestion.
ninesix
Very nice, simple, but makes a difference. I think I will try putting a sticker on it, so anytime I want, or it gets a little dirty I can change it! Great idea!
Mar
Love this idea! New homeowner wondering where you foundnd that brick backsplash? It's amazing!