

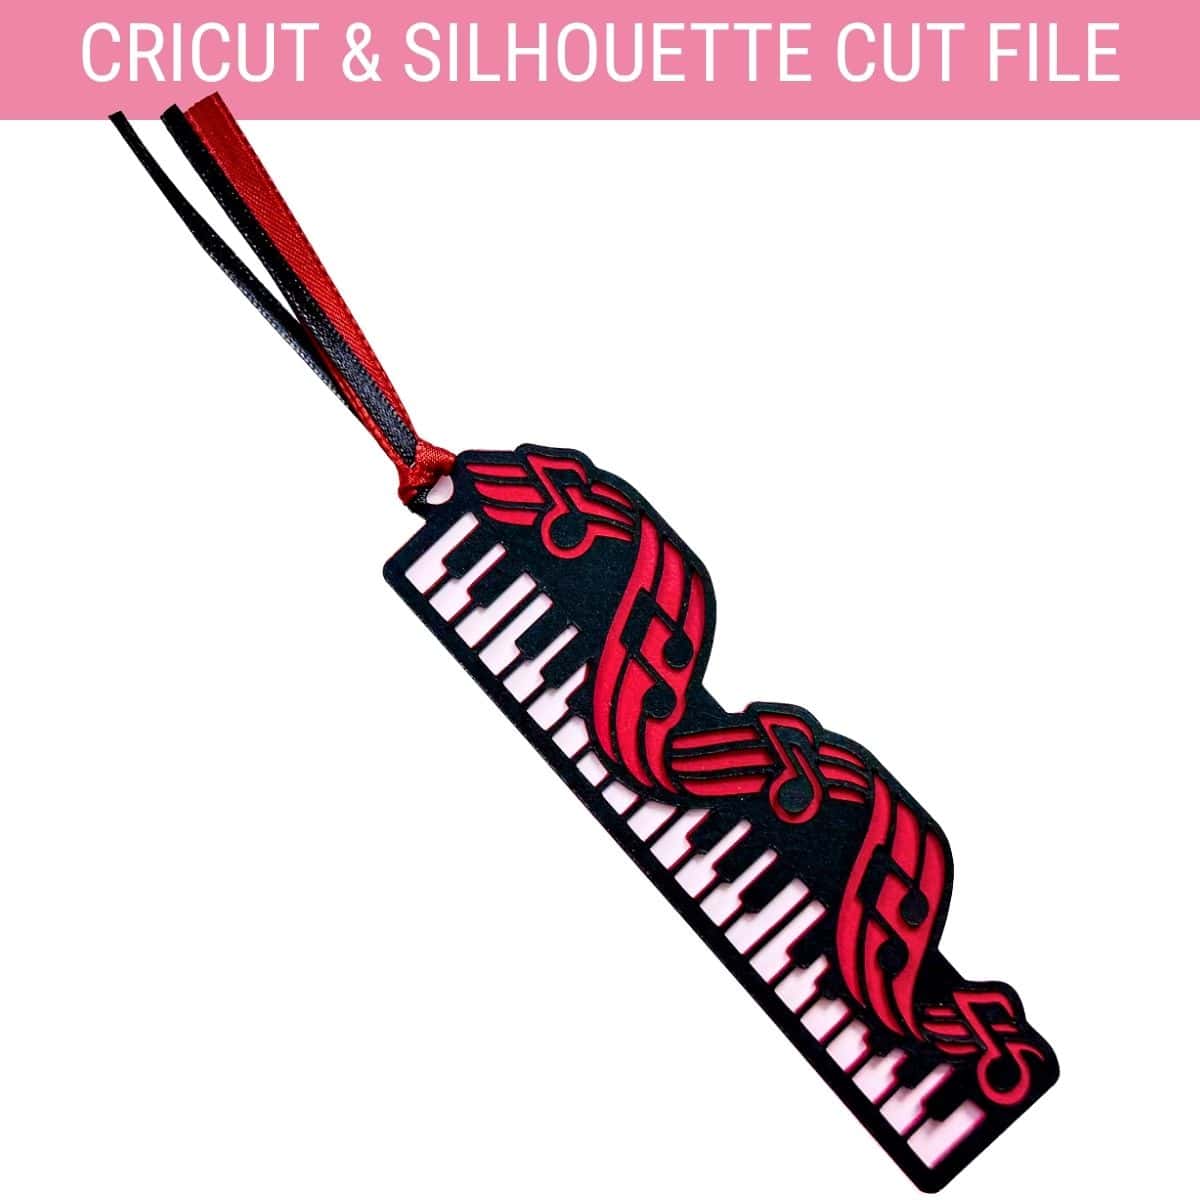
Learn how to make homemade bookmarks with your Cricut and simple layering techniques. These piano-themed designs make thoughtful handmade gifts.
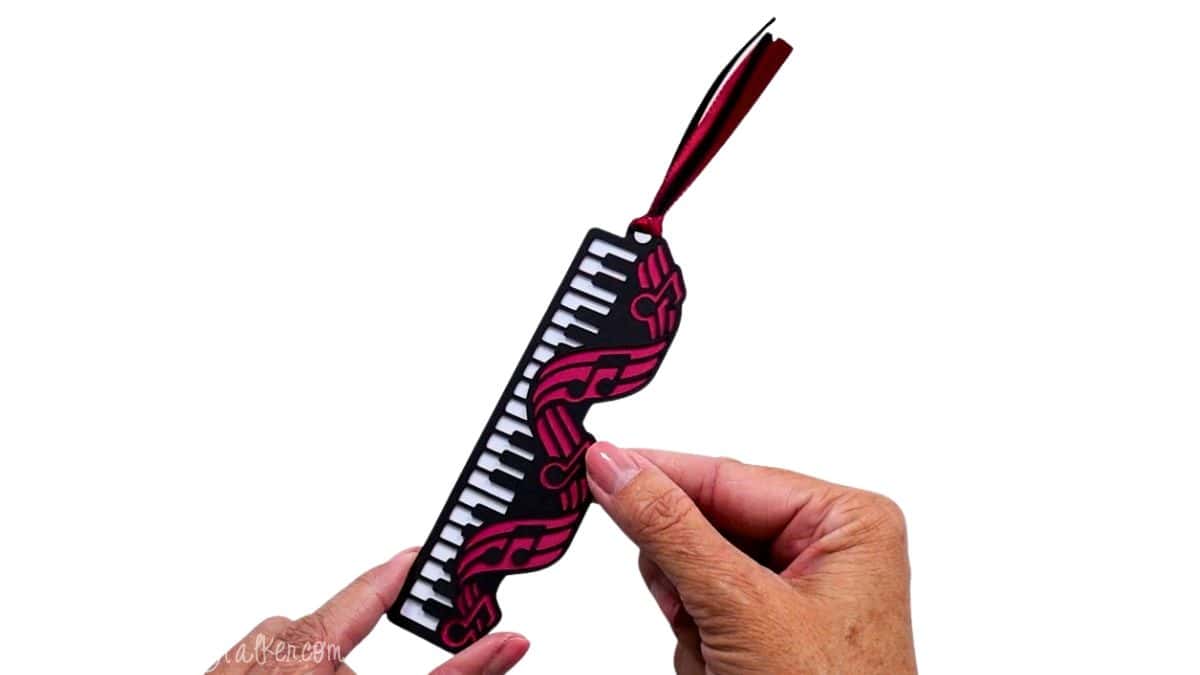
I love making homemade bookmarks with my Cricut, especially when they have a fun theme like these layered piano designs.
They're a cute little craft for music lovers, piano teachers, students, or anyone who enjoys a good book.
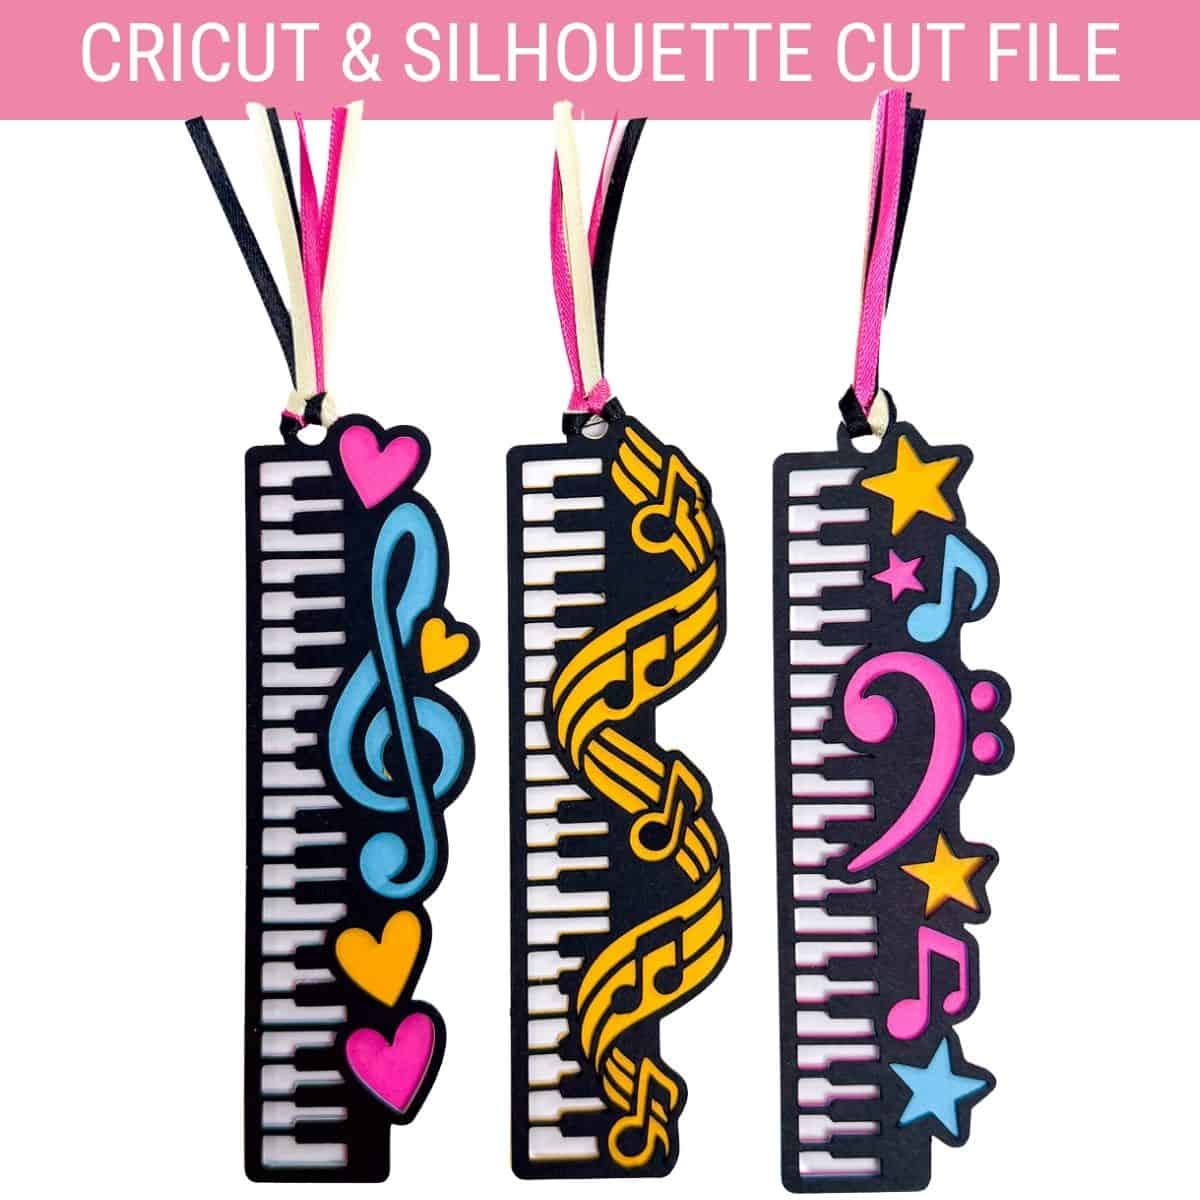
In this tutorial, I'll share a free piano bookmark SVG, or you can grab my bundle of three music-themed bookmarks if you want a few more designs to choose from.
All three are assembled the same way, so pick your favorite cardstock colors and let's make some bookmarks!
Jump to:
Skill Level: Beginner
Estimated Cost: 20 minutes
Total Time: $1-$2
Craft Tutorial Video
If videos are your thing, you're in luck-I've got a full tutorial ready for you!
Subscribe to my YouTube channel and stay inspired with every new project.
Supply List
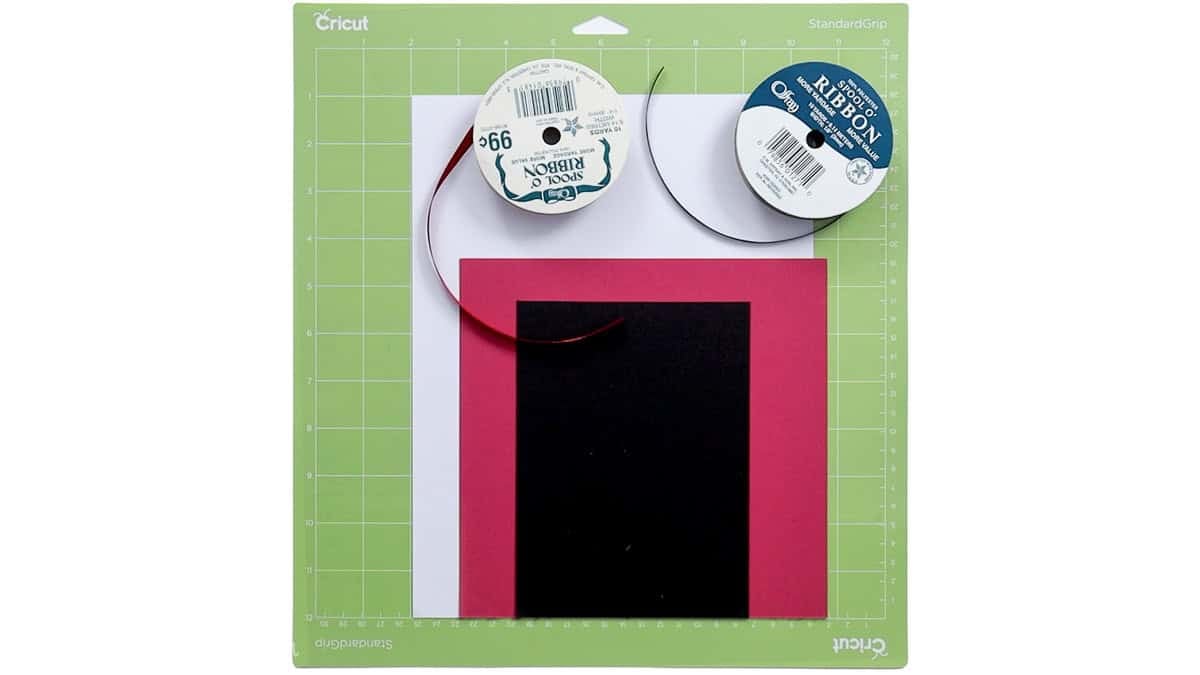
- Cricut Cutting Machine
- StandardGrip Mat
- Free Piano Bookmark SVG
- Cardstock
- Spatula Tool
- ¼" Ribbon
- Glue (optional)
Grab the Piano Bookmark SVG
This project offers two SVG options. You can grab the single piano bookmark SVG for free or purchase the bundle of three music-themed bookmarks.
All three use the same basic layering technique, so once you've made one, you'll know how to assemble the others.
Preparing the Bookmark in Cricut Design Space
I'll be using the free piano bookmark SVG for this tutorial, but the same tips apply to the other designs in the bundle.
The bookmark measures about 1.5 x 5 inches, a nice size for most books. Y
You can make it larger if you'd like, but I don't recommend going smaller because some of the piano keys and musical details are pretty intricate.
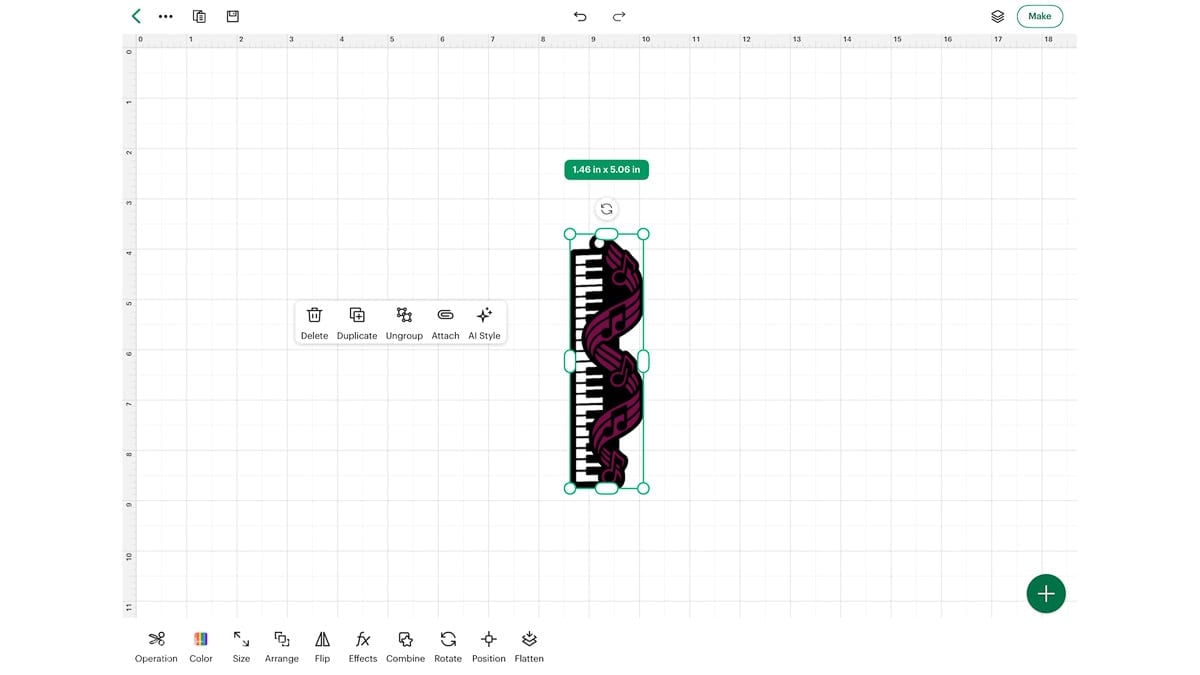
One thing I love about this SVG is that it's ready to cut as soon as you upload it into Cricut Design Space. No special operations or layers need to be added.
I used 60 lb. cardstock with the More Pressure setting. I've found that a little extra pressure often gives me cleaner cuts, especially on designs with smaller details.
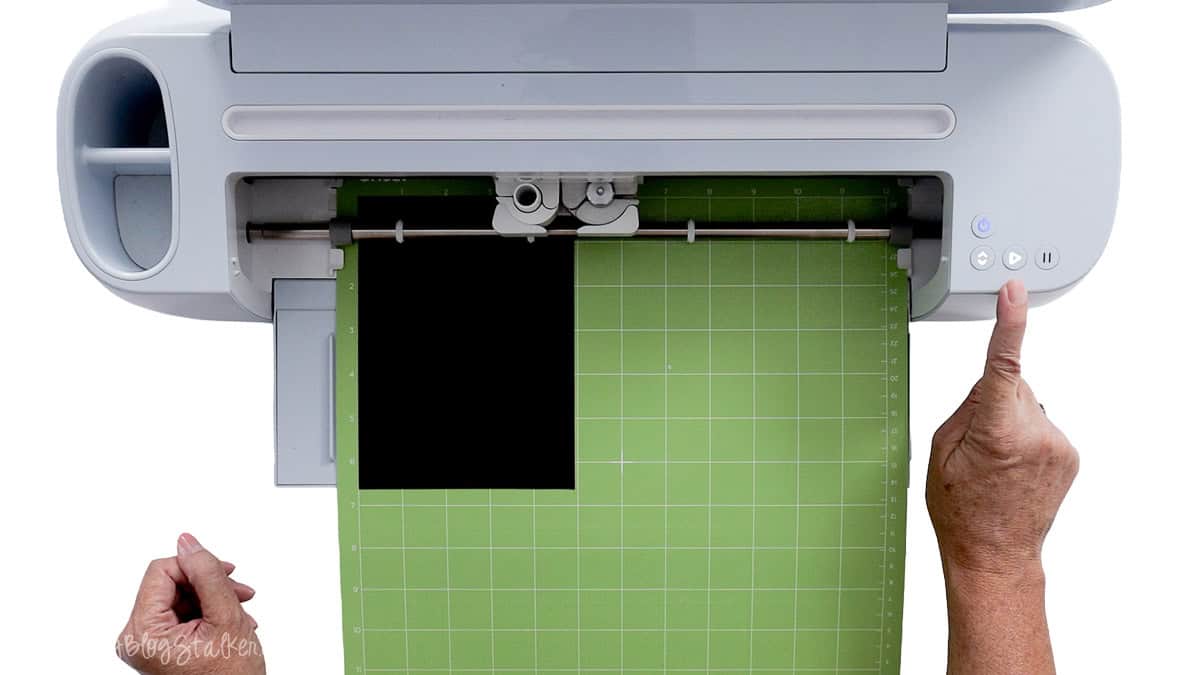
A clean, sticky cutting mat and a sharp blade make a big difference. If your Cricut drags the paper or tears the small details, check your mat and blade before trying again.
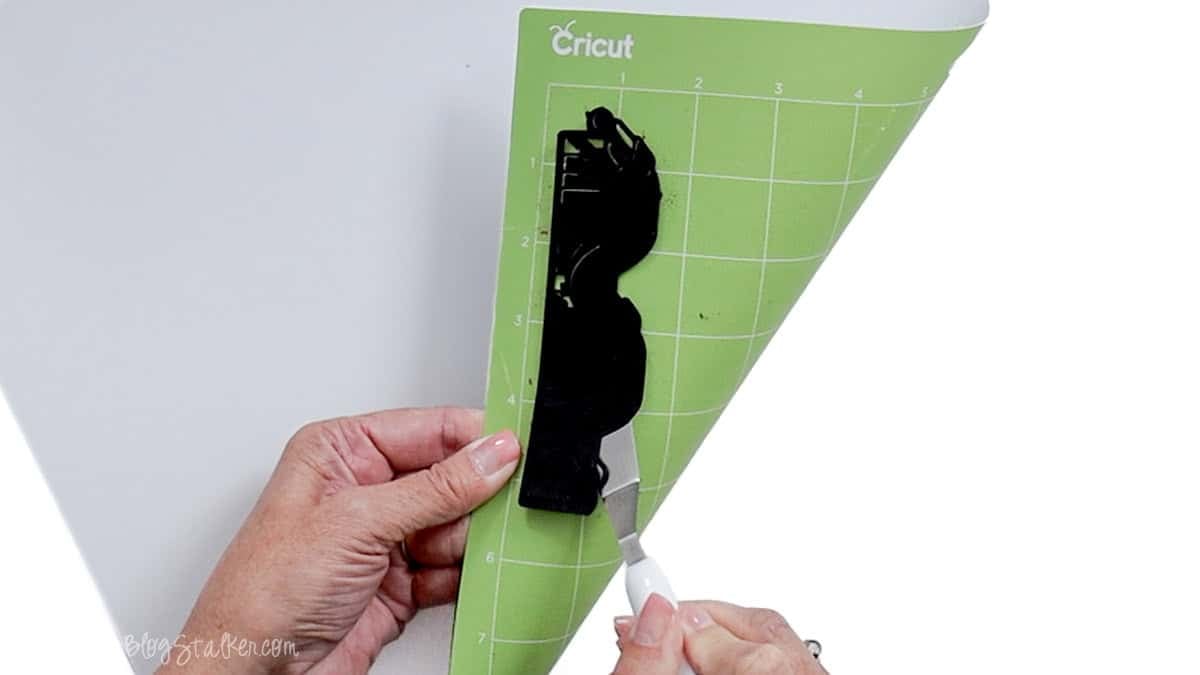
Carefully removing the cardstock is just as important as getting a clean cut.
I like to flip my mat over and gently bend it away from the paper. A spatula tool also helps lift delicate pieces without bending or tearing them.
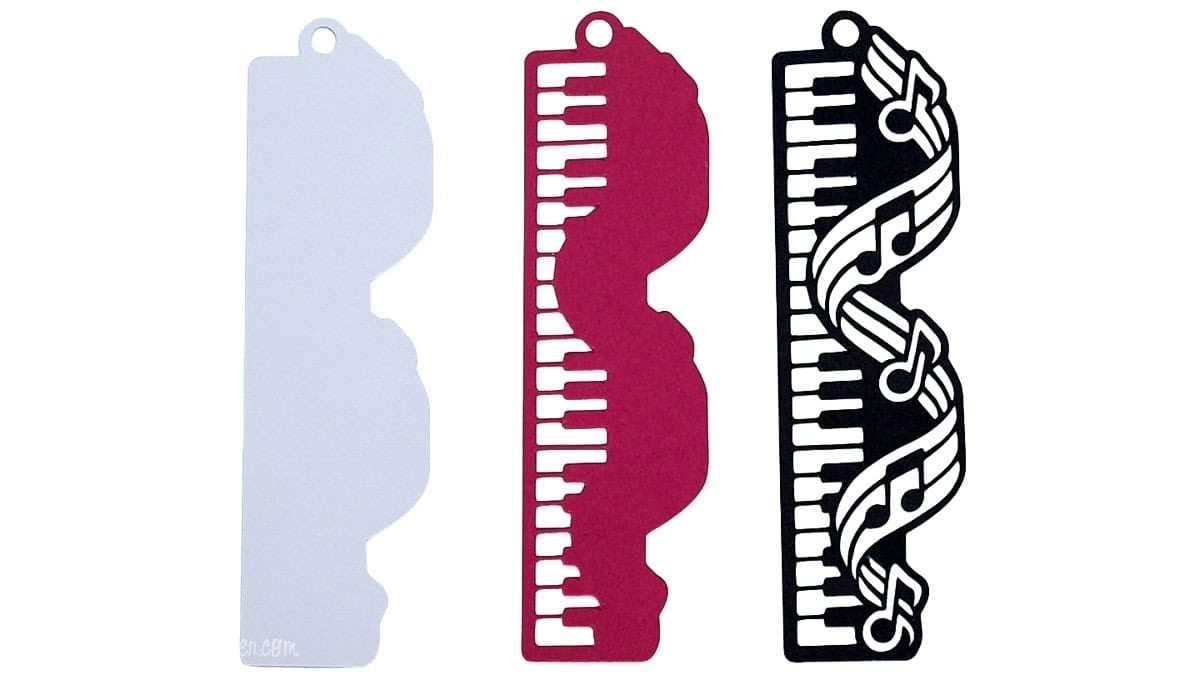
The free bookmark has three cardstock layers that come together to create the finished piano design.
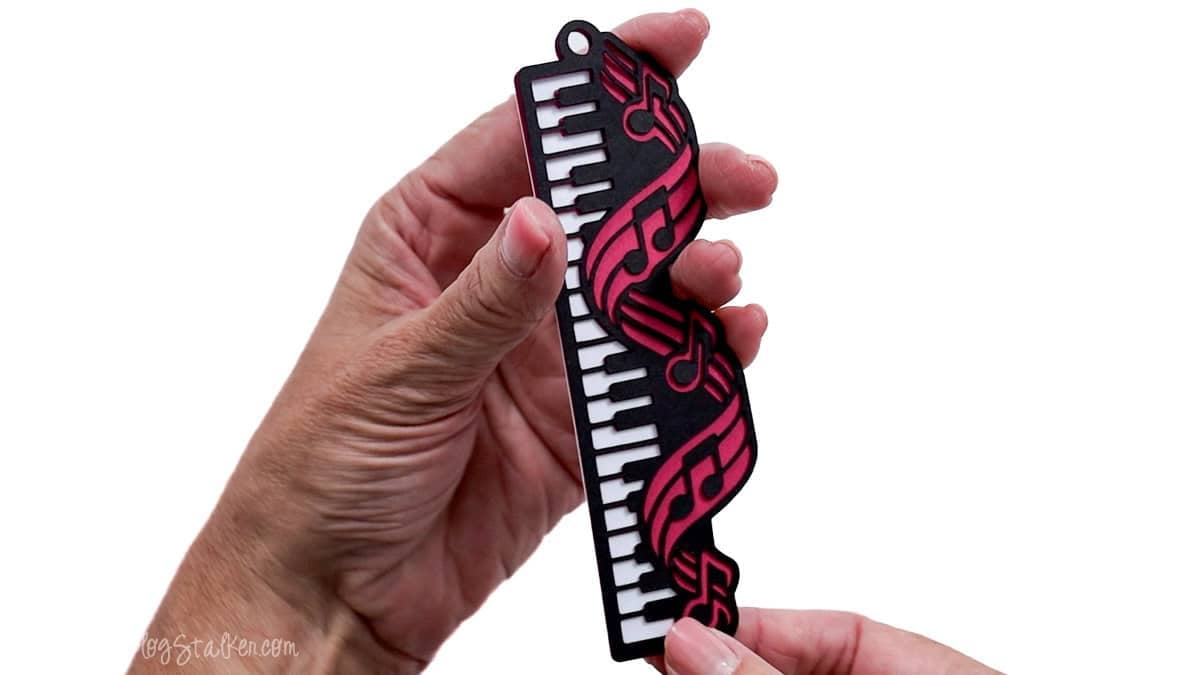
Assembling Your Layered Piano Bookmark
The fun part is seeing all those little cardstock pieces come together into one design!
The layers line up along the outside edges, making it easy to position everything correctly. I like to check the alignment before deciding whether to secure the layers with glue.
I used a few pieces of ¼-inch ribbon, each about 5-6 inches long, to make a little tassel at the top.
The ribbon adds a cute finishing touch and makes the bookmark easy to find between the pages.
Use one ribbon color or mix a couple of coordinating colors to match your cardstock.
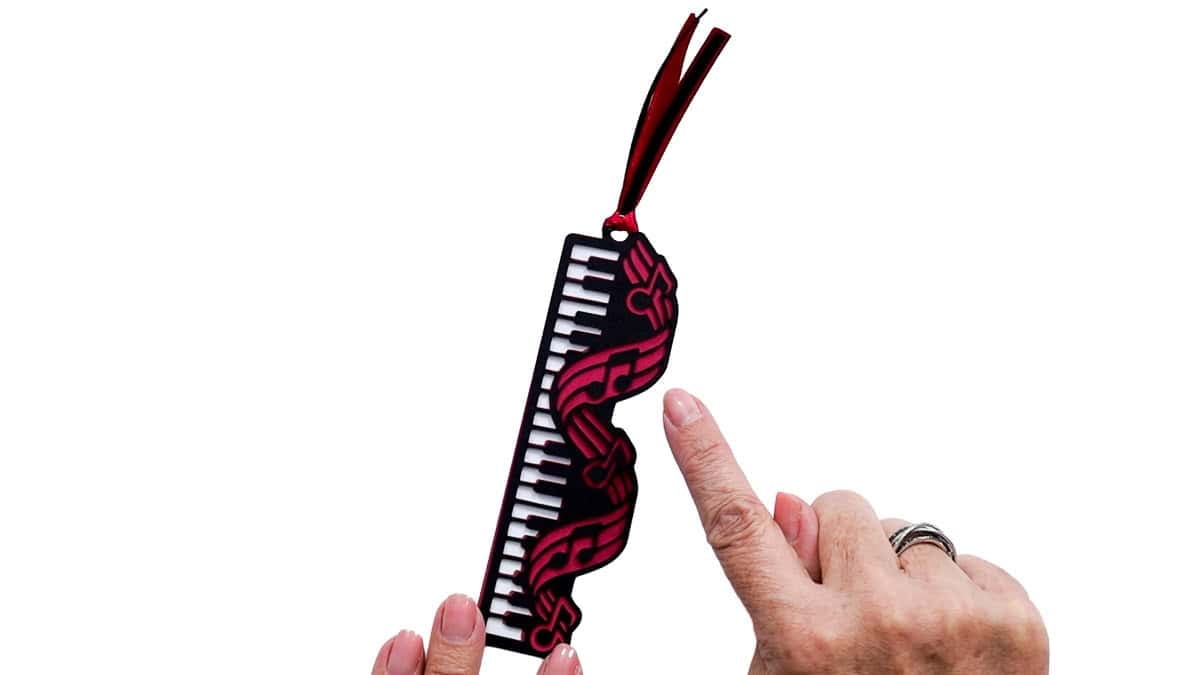
And that's it! Aren't these cute?
You can add a little glue between the cardstock layers if you want everything to stay together permanently.
Personally, I like leaving mine unglued so the layers can fan out a little, but either way works.
That's one of the fun things about making your own bookmarks. You get to decide exactly how you want them to look!
Tips for Making Homemade Bookmarks
Cardstock choice makes a difference when creating layered bookmarks. You want paper that's sturdy enough to hold its shape but not so thick that the finished bookmark becomes bulky.
I used 60 lb. cardstock, which worked well with the small details in this design. If you're using a different weight, you may need to adjust your Cricut cut settings.
Color is another easy way to personalize these bookmarks. Black and white are perfect for the piano keys, but the accent layer can be almost any color you like. Try school colors for a music teacher, a favorite color for a friend, or a few different combinations if you're making several gifts.
If you're giving these as presents, tuck one inside a new book, pair it with a bookstore gift card, or add it to a small gift for a piano teacher or music student.
These would also make cute little gifts for book lovers who enjoy music.
Frequently Asked Questions
The free piano bookmark measures approximately 1.5 x 5 inches. You can resize it in Cricut Design Space, but I recommend keeping it close to the original size or making it larger to preserve the small details.
I used 60 lb. cardstock for this project. It cuts nicely with my Cricut and provides enough structure for the layered design without making the bookmark too thick.
No. Glue is completely optional. I like leaving the layers loose so they can fan out, but you can glue them together if you prefer a more secure bookmark.
Absolutely! The ribbon is just a decorative finishing touch. You can leave it off or use a different ribbon color to match your design.
Yes. You can make the design larger, but I don't recommend making it smaller because the piano keys and musical details may become difficult to cut cleanly.
A dull blade, dirty cutting mat, or incorrect cut setting can cause problems with delicate paper designs. Make sure your cardstock is firmly attached to the mat and that your blade is clean and sharp. You may also need to adjust the pressure for your specific cardstock.
Yes! The free piano bookmark and both additional designs in the bundle use the same basic layering and assembly technique.
Definitely! They're a fun handmade gift for piano teachers, music students, musicians, and book lovers. You could even make several in different colors for a classroom or music recital.
Need help with this project?
Click a button below to ask AI how to prevent my Cricut from tearing small paper details.
More Free Music SVGs
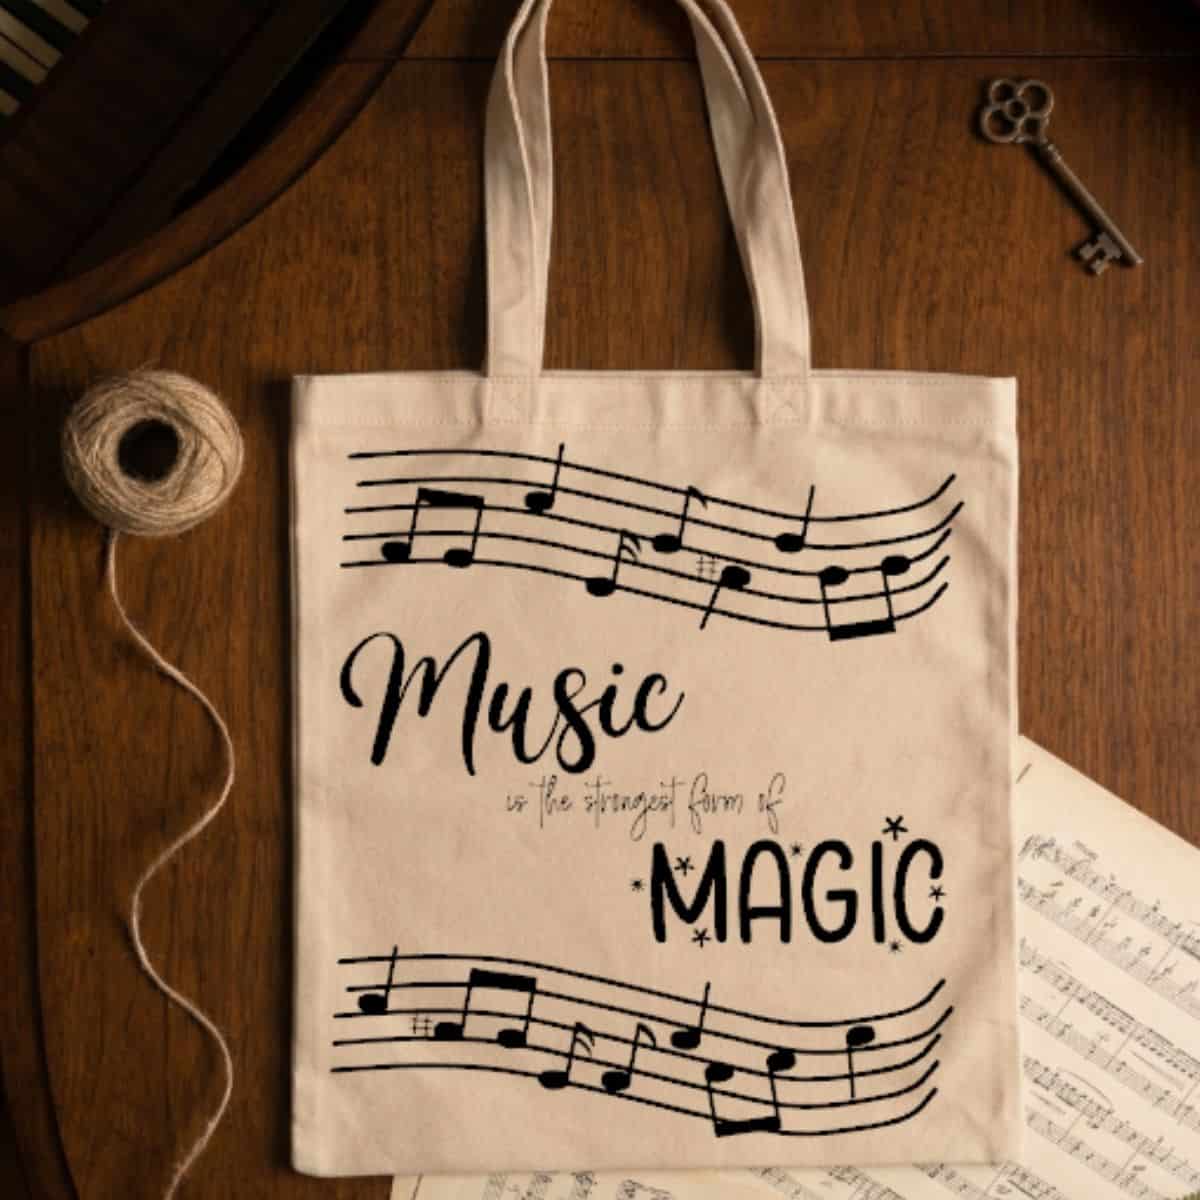
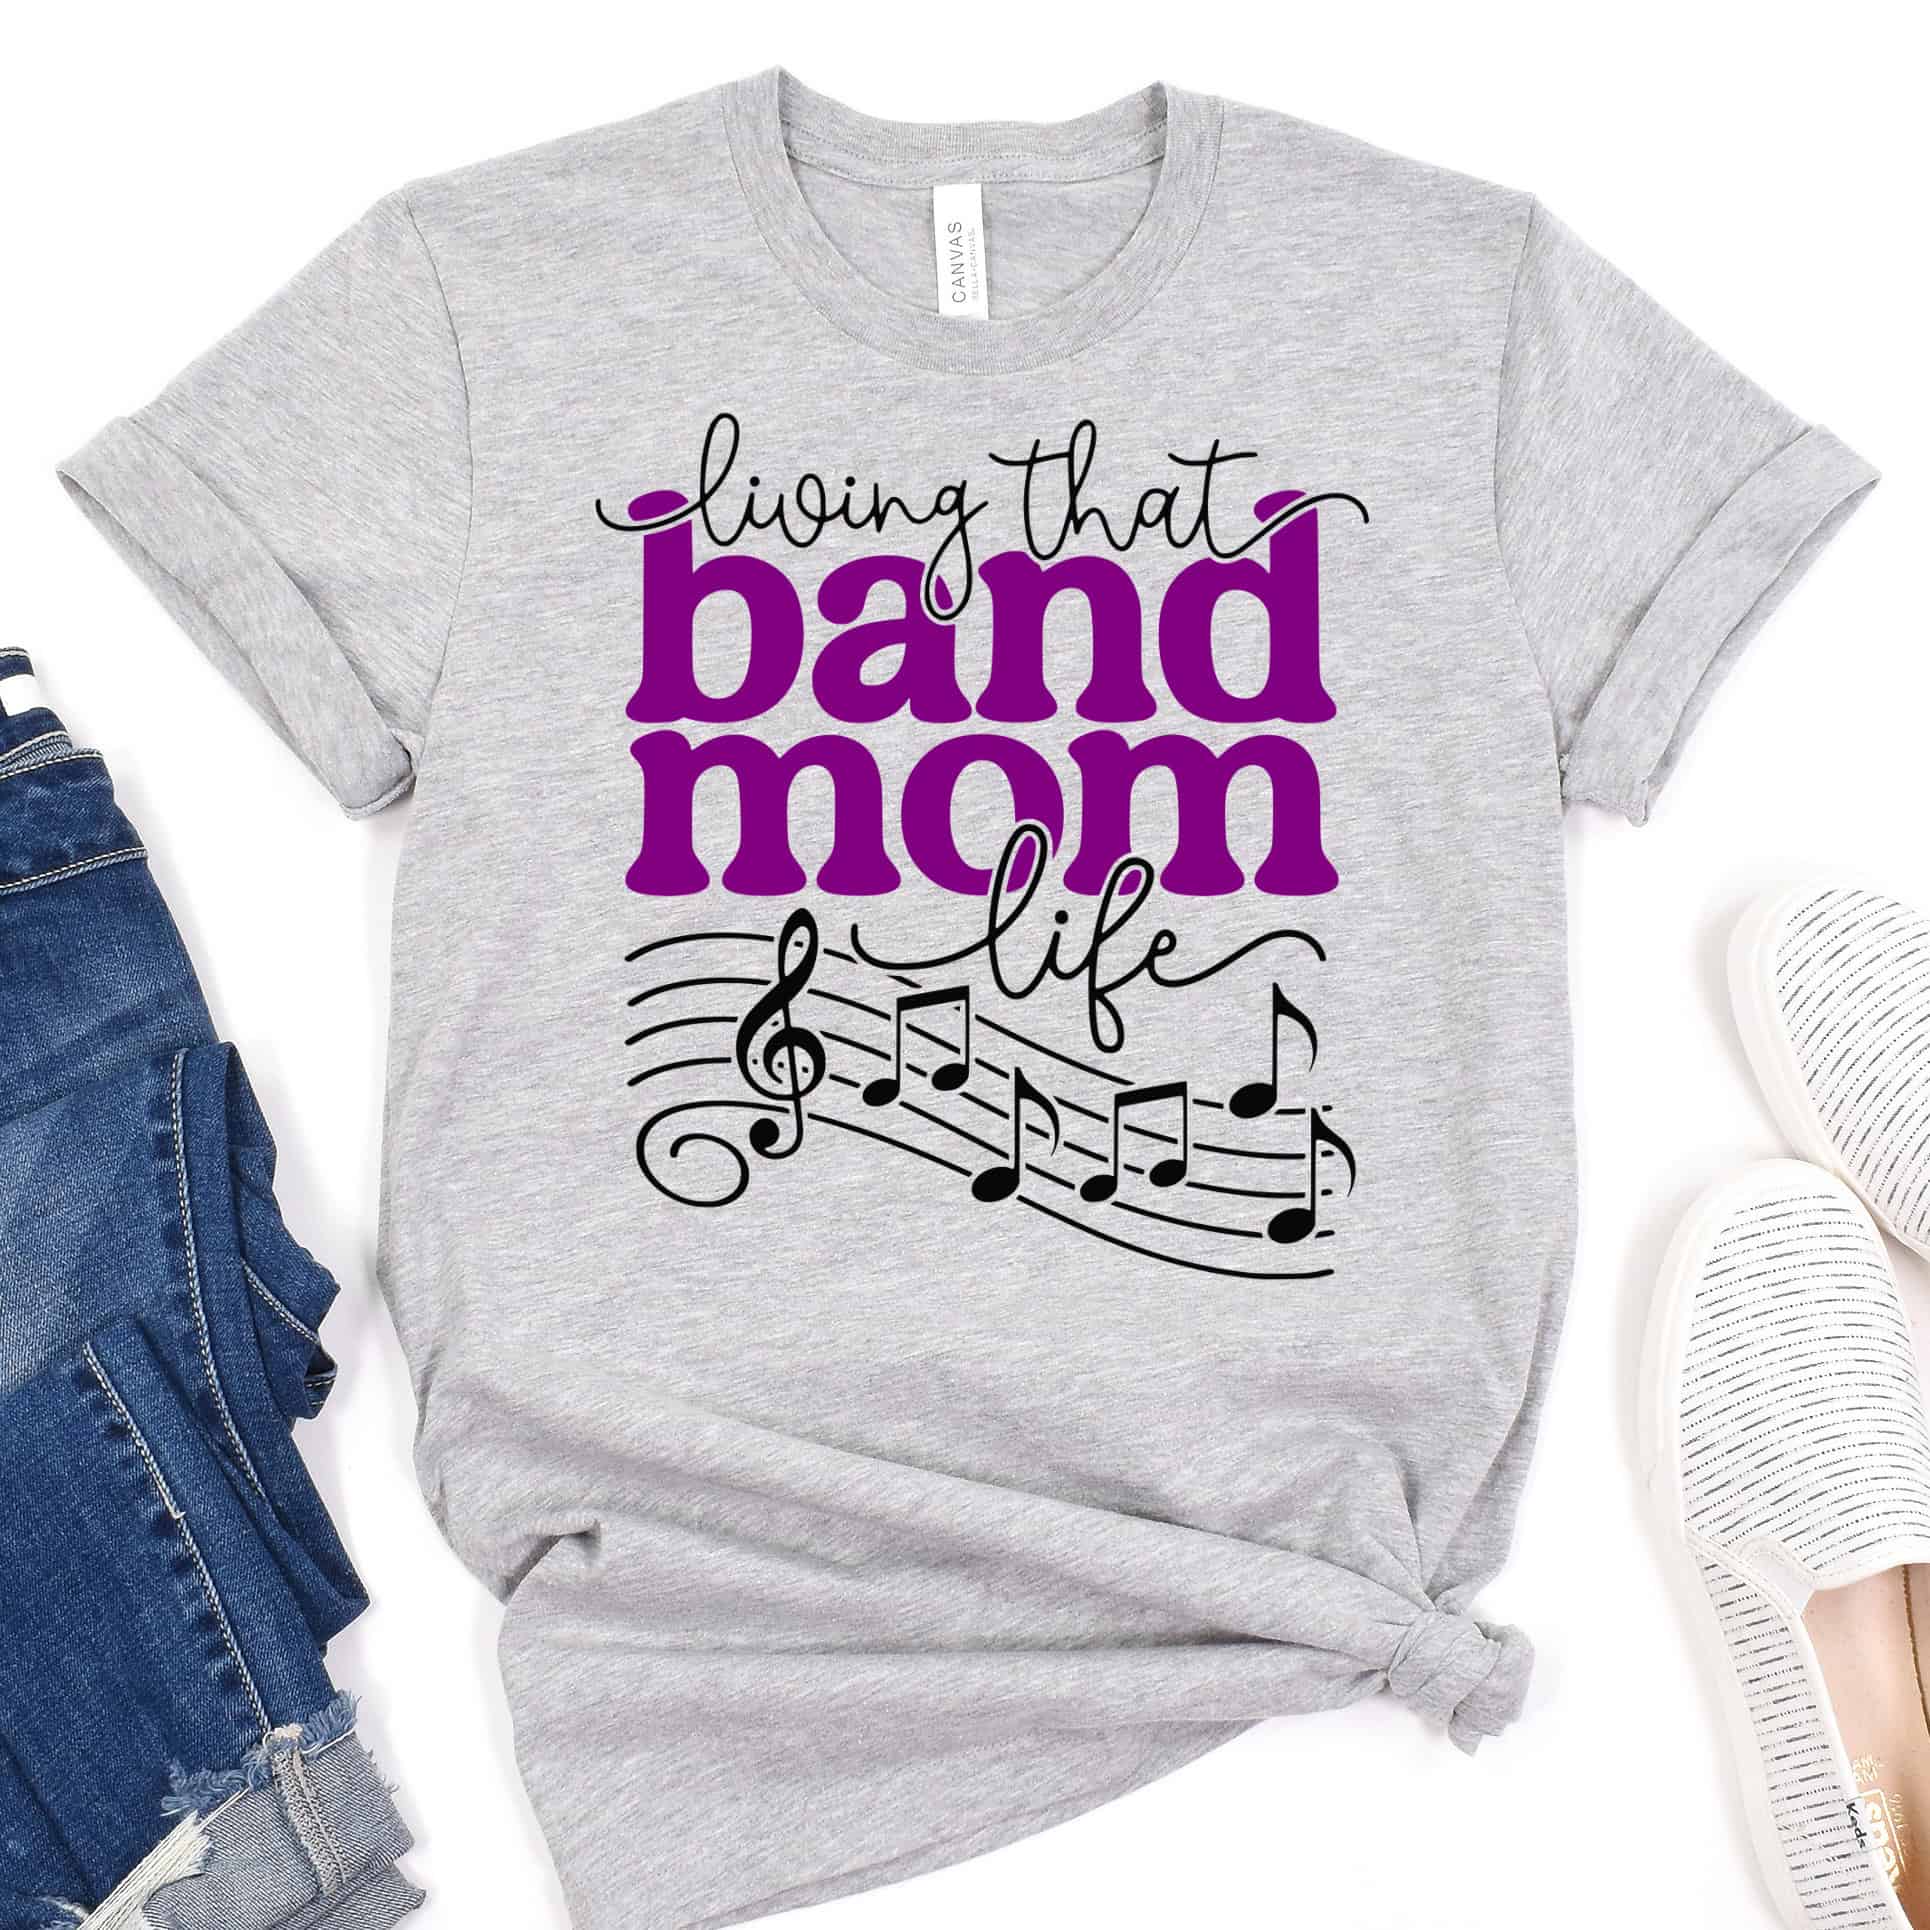
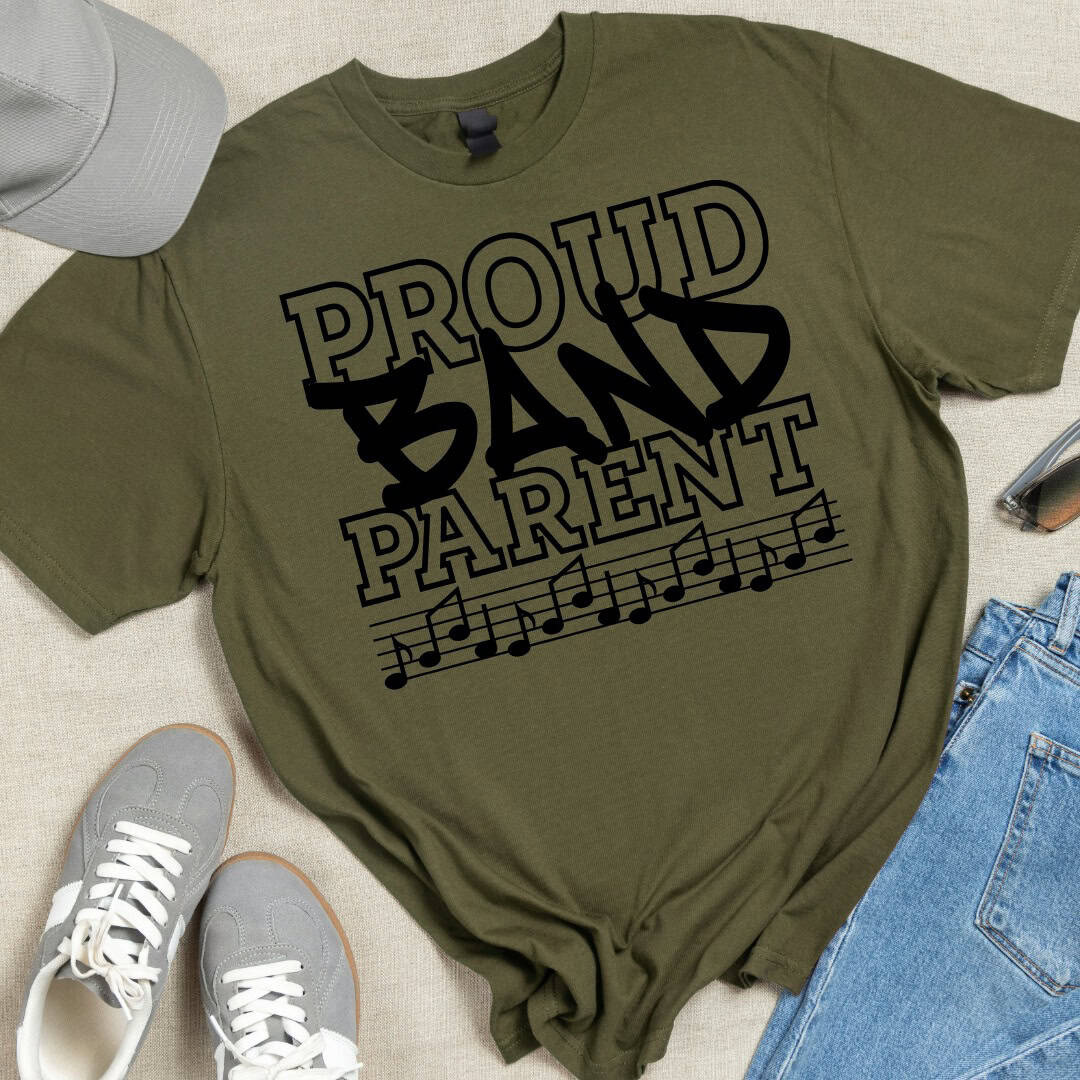
If you love crafting with music-themed designs, here are a couple more free SVG projects to check out.
They're perfect for making something special for musicians, music teachers, or anyone who always has a favorite song playing.




Hi, I'm Katie!
I'm so glad you're here. Want to make something fabulous? I'm here to help!