



Make a thank you Cricut card with a free SVG for a sweet, handmade way to show your appreciation. Cut, assemble, and personalize it with ease.

There's something extra special about giving a handmade card, especially when you want someone to know how much you appreciate them.
This thank you Cricut card is easy to make with my free SVG and is perfect for teachers, friends, neighbors, colleagues, or anyone who deserves a little gratitude.
I love having simple card designs like this ready to go because I always seem to need a thank you card when I don't have one on hand.
Keep reading to the bottom of the post for nine more free gratitude-themed SVGs you can use for your next Cricut project!
Jump to:
Skill Level: Beginner
Estimated Cost: $3 per card
Total Time: 30 minutes
Craft Tutorial Video
If videos are your thing, you're in luck-I've got a full tutorial ready for you!
Subscribe to my YouTube channel and stay inspired with every new project.
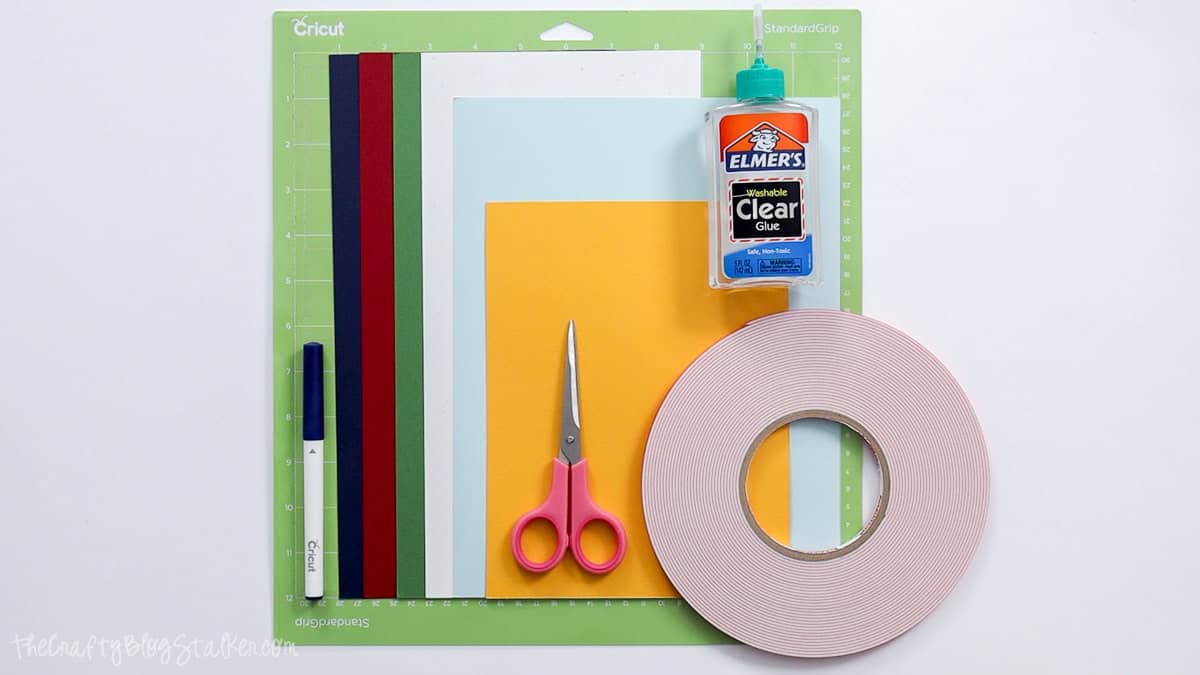
Supply List
- Cricut Cutting Machine
- Floral Thanks Card
- Scoring Wheel or Stylus
- StandardGrip Mat
- Cardstock in 6 colors
- Pen
- Glue
- Adhesive Foam Tape
- Scissors
- Craft Tweezers (optional)
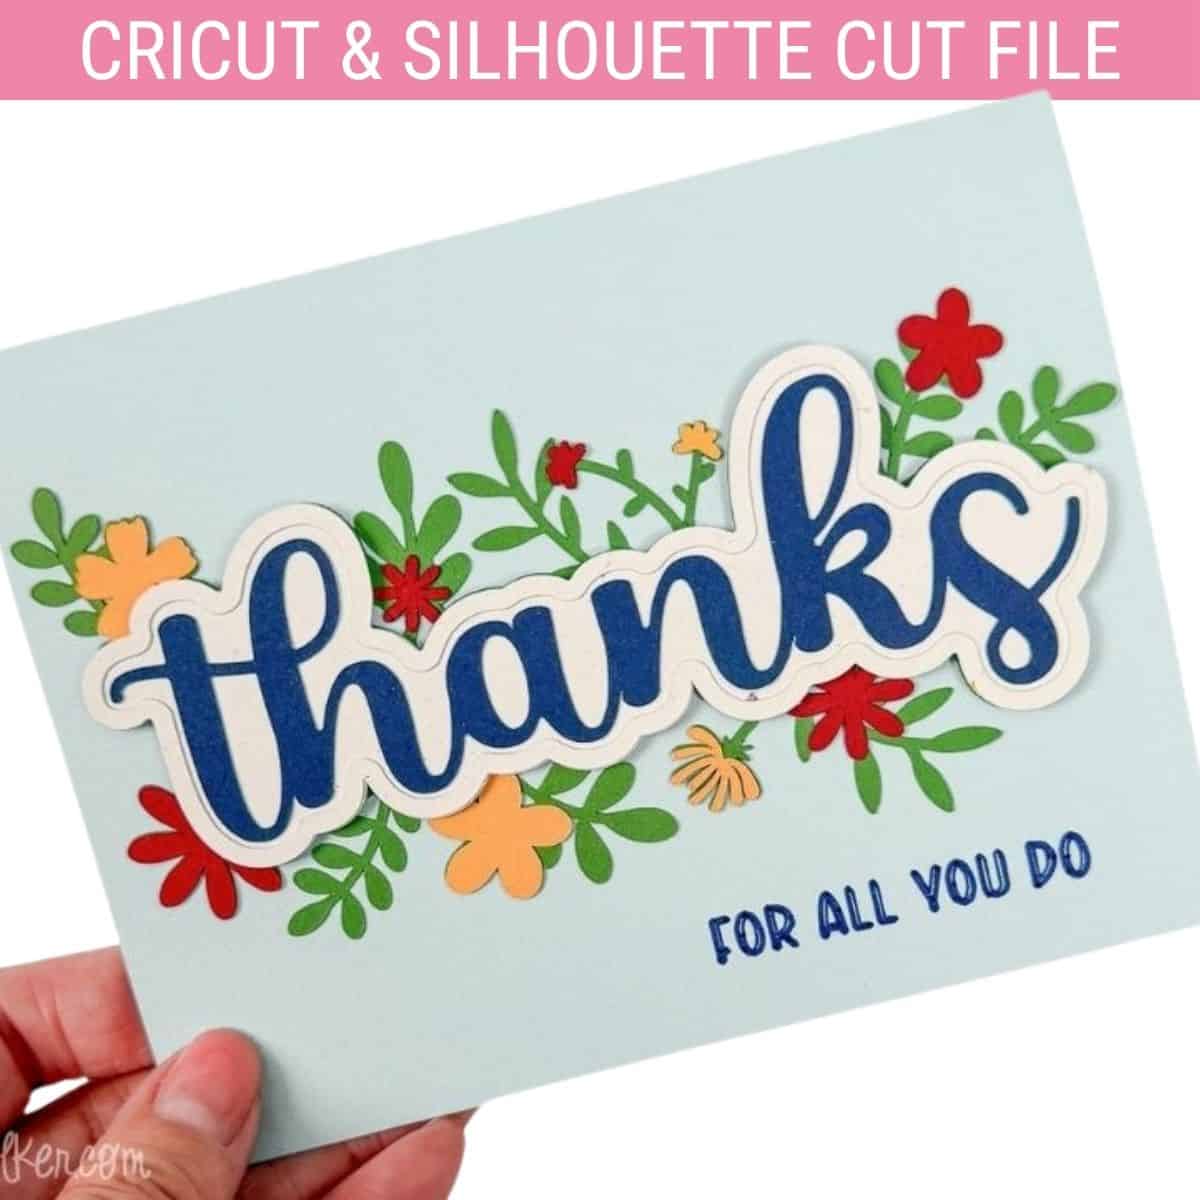
Grab the Free SVG
The Floral Thanks Card SVG includes all of the layers you need to create the card, including the floral pieces, layered "Thanks" design, card base, written sentiment, and score line.
Prepare the Card in Cricut Design Space
Open Cricut Design Space and start a new project.
Upload the Floral Thanks Card SVG and add it to your canvas.
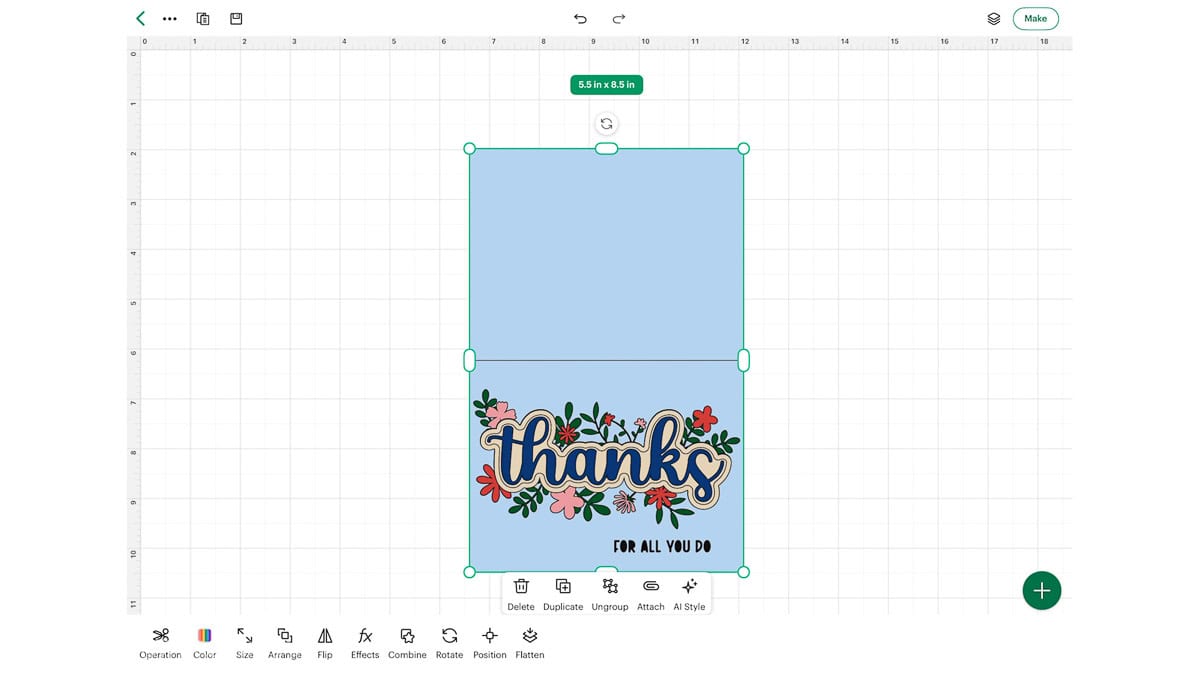
There are a couple of changes you need to make before sending the design to your Cricut.
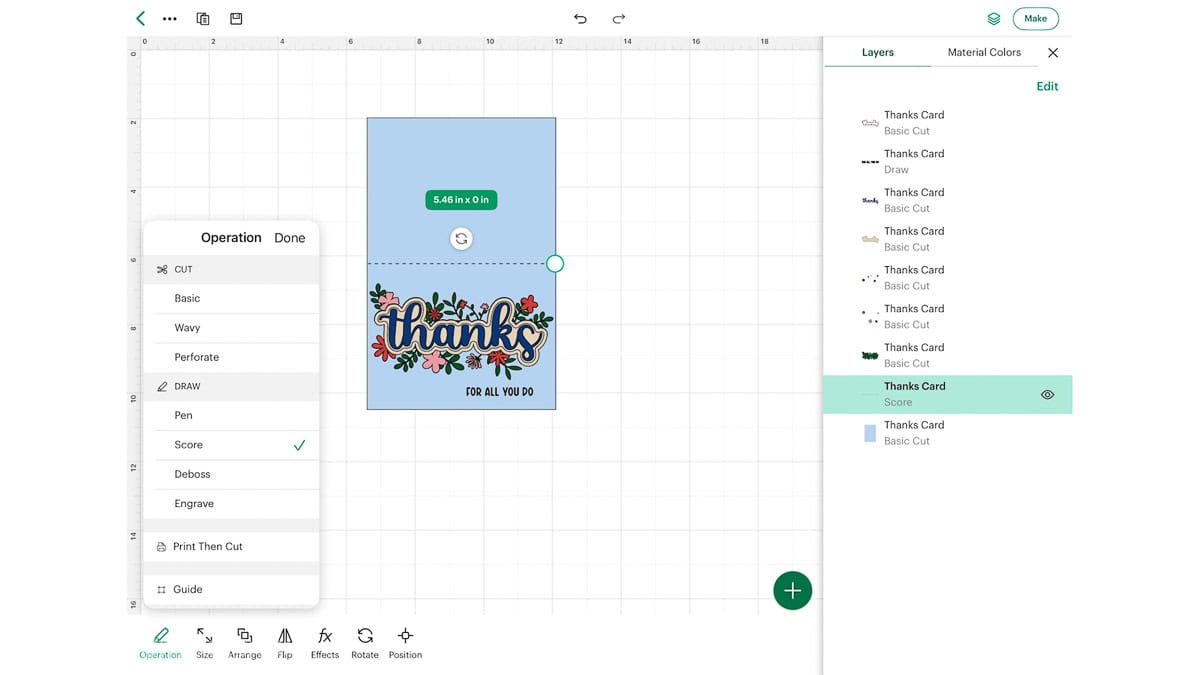
Ungroup the design and open the Layers panel. Change the "For All You Do" sentiment from a cut operation to Draw, and change the line through the center of the card to Score.
To change either element, select it, open the Operation menu, and choose the correct operation.
Next, select only the written sentiment, score line, and card base, then click Attach.
Attaching these three layers tells Design Space to keep everything in the correct position when your Cricut draws the sentiment, scores the fold line, and cuts the card.
Once you've made those changes, click Make.
Check the mat preview to make sure everything looks correct, then click Next and select your material settings.
I'm using 60 lb. cardstock with More Pressure, and I like to save my material settings so I don't have to select them again between every mat.
Pay attention to the Load Tools and Mat section in Design Space. Your Cricut will tell you when it needs the pen and when to load your Scoring Wheel or Scoring Stylus.
Place the appropriate cardstock on a StandardGrip Mat and follow the prompts to cut each color.
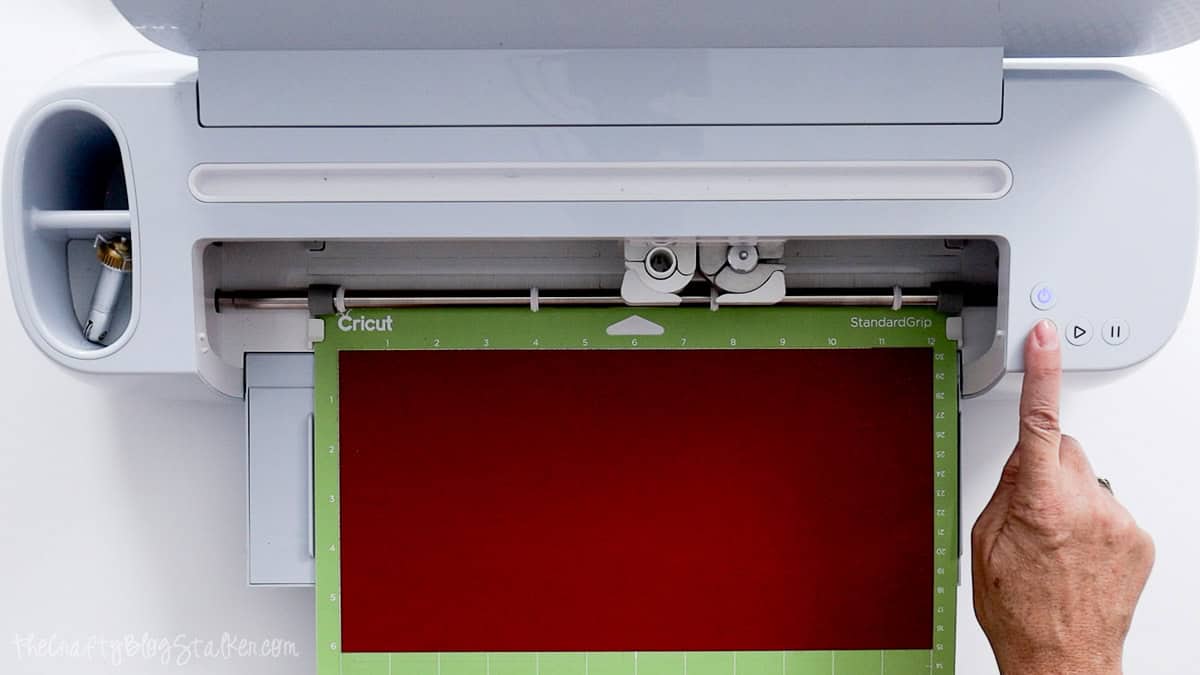
Some of the flower pieces are tiny, so take your time when removing the cardstock from the mat.
I like to keep all of the little pieces together until I'm ready to assemble the card because those tiny flowers have a way of disappearing.
Once everything is cut, you'll have all of the pieces ready for assembly.
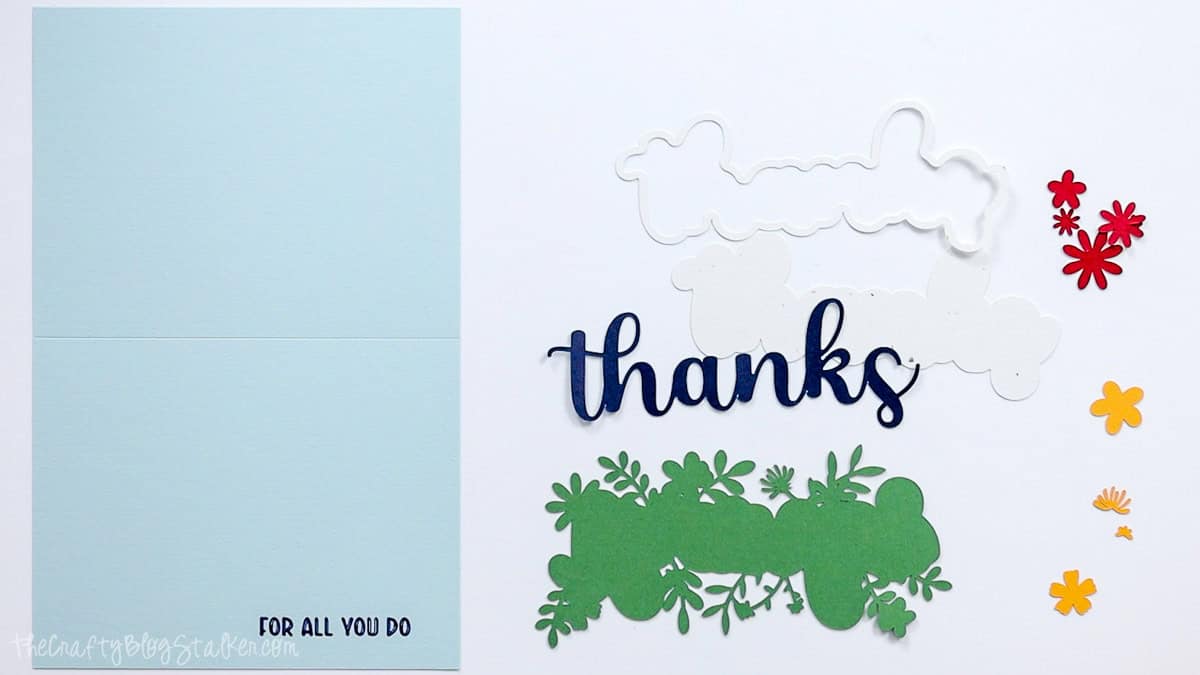
Assemble the Thank You Card
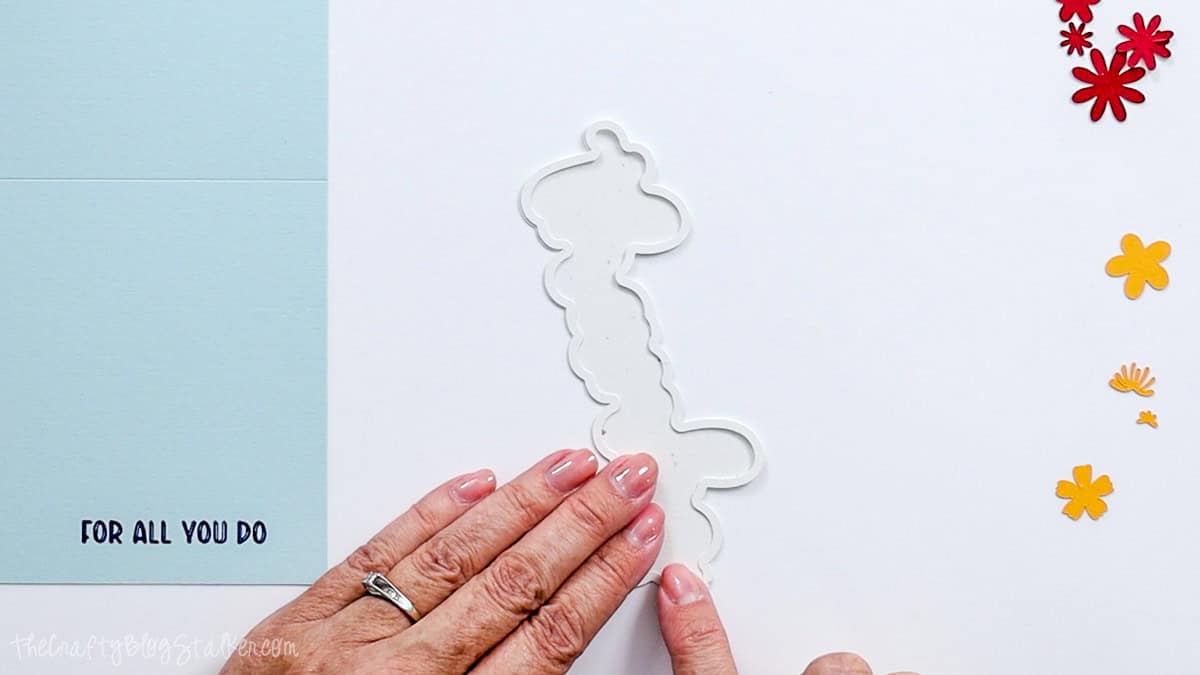
Start by gluing the white frame onto its matching background piece.
Small dots of glue around the back of the frame are plenty. Too much glue can squeeze out around those narrow edges.
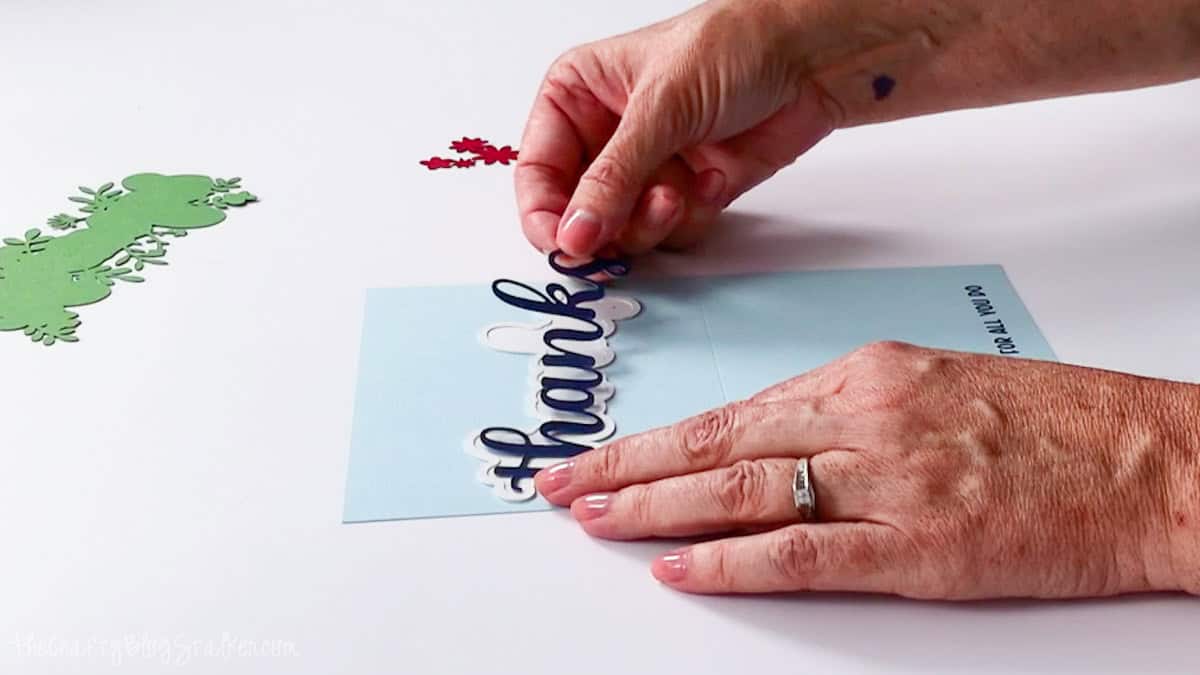
Next, glue the blue "Thanks" script inside the frame.
For the floral layer, match each flower with its corresponding shape on the green background piece and glue it into place.
Craft tweezers are really helpful here because some of these flowers are pretty small.
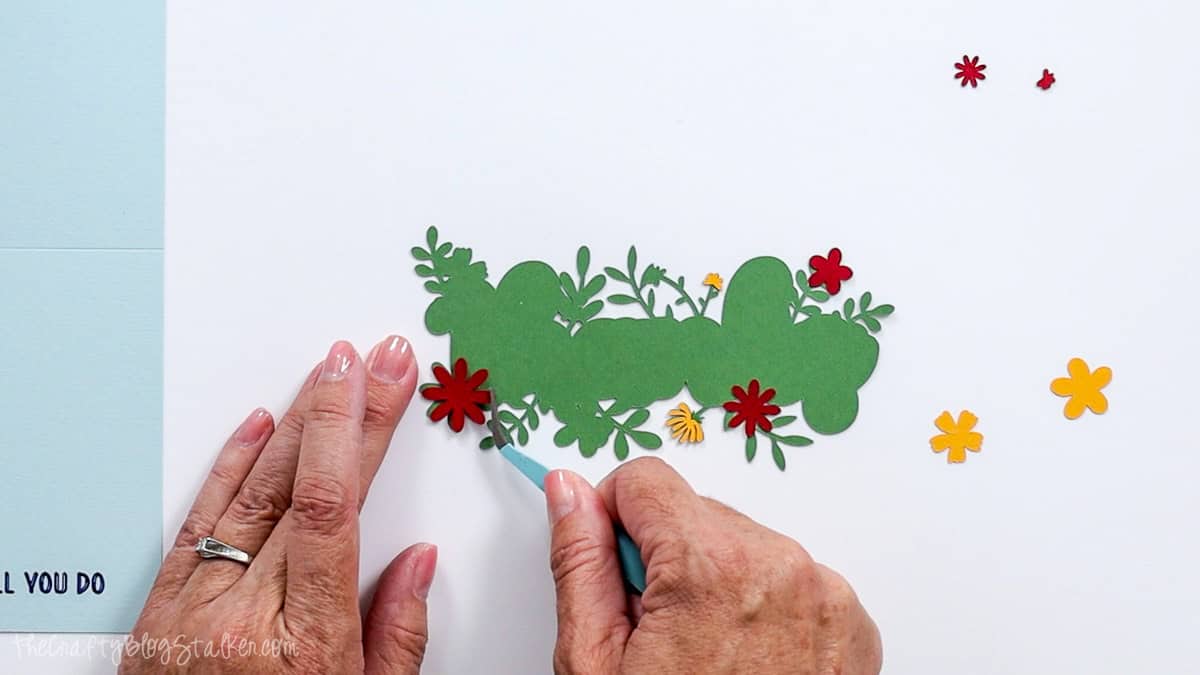
Cut strips of adhesive foam tape and place them on the back of the layered "Thanks" piece.
Center it over the green floral layer and press it into place.
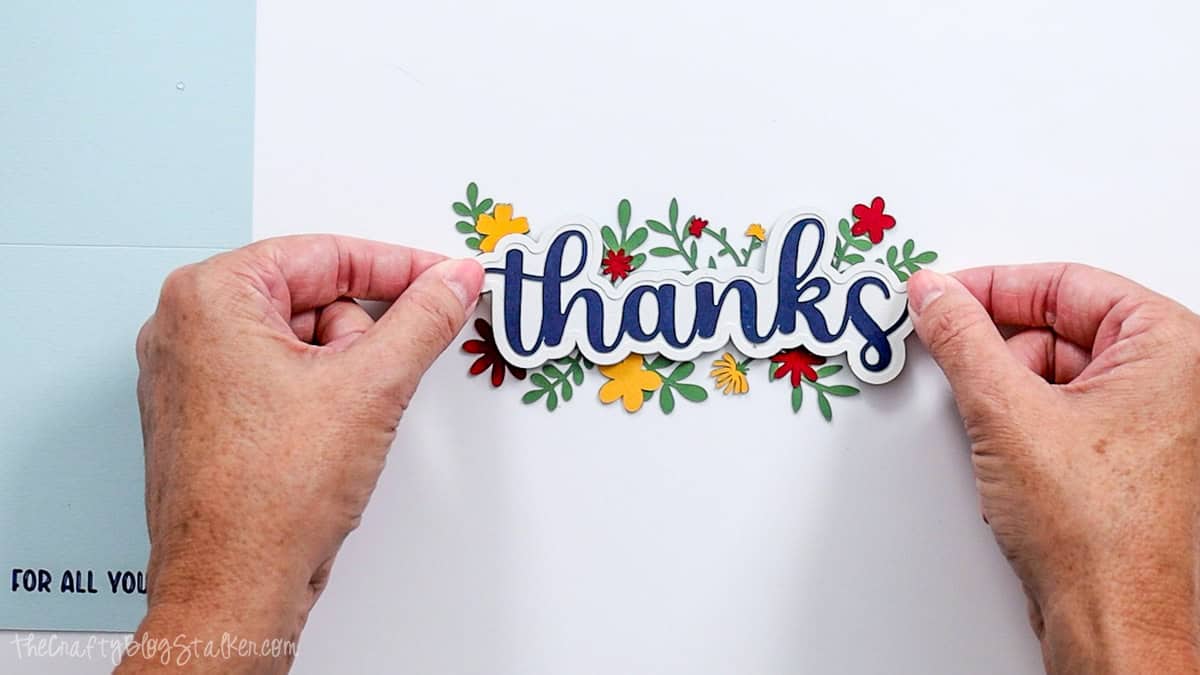
I love using adhesive foam tape on cards because it adds just enough dimension to make the layers stand out without adding much bulk.
The finished card still fits nicely in an envelope and is easy to mail.
Apply glue to the back of the completed green floral piece and center it on the front of the card above the "For All You Do" sentiment.
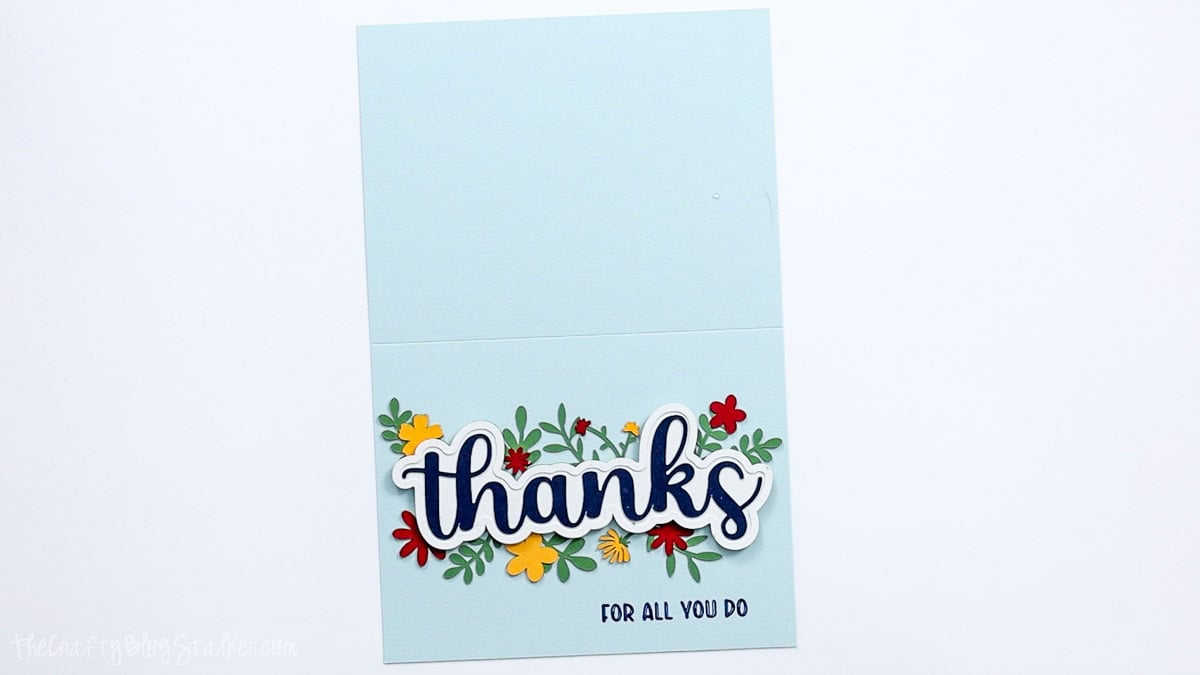
Fold the card along the scored line, and it's ready to give!

A handmade card is such a simple expression of gratitude, whether you're thanking someone for a thoughtful gift, small favors, extra help, or simply letting them know their kindness didn't go unnoticed.
It works just as well for friends and family as it does for colleagues or more formal situations.
Whenever I make a card like this, I like to cut a few at once. It doesn't take much more work once everything is set up in Design Space, and then I have a little stash ready for the next thank-you emergency!
Frequently Asked Question
The card base in the SVG is 5.5 by 8.5 inches before folding. Once folded in half, the finished card measures approximately 4.25 by 5.5 inches.
I used 60 lb. cardstock for this card. You can use another cardstock weight you prefer, but you may need to adjust your Cricut material settings to get a clean cut.
No. You can use either a Cricut Scoring Wheel or Scoring Stylus, depending on your Cricut machine and the tools you have available.
Attach keeps the score line and drawn sentiment positioned correctly on the card base. Without attaching them, Design Space may move those elements when you send the project to the mats.
Absolutely. The six cardstock colors I used are only one option. Try the recipient's favorite colors, school colors for a teacher card, or a more neutral color palette for a different look.
Yes, and that's one of my favorite ways to make this project. Once the design is ready in Cricut Design Space, making a few cards at once is an easy way to build a stash for future thank-yous.
Need help with this project?
Click a button below to ask AI for different color combination ideas.
More Free Gratitude SVGs
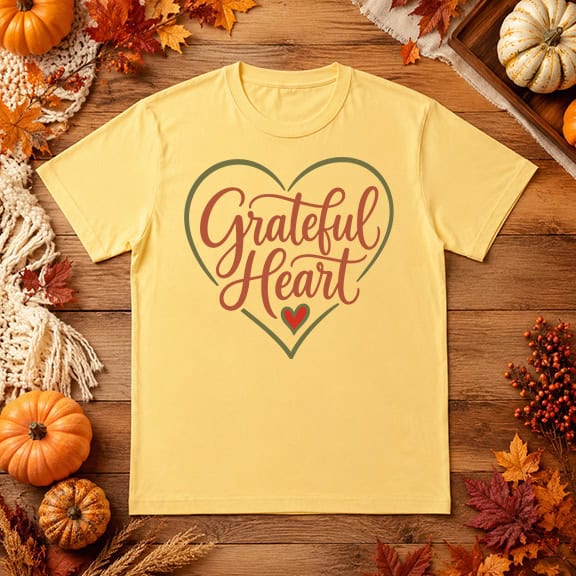
A handmade card isn't the only way to show a little appreciation. I've teamed up with some of my crafty friends to bring you nine more free gratitude-themed SVGs for shirts, cards, home decor, and more.







Hi, I'm Katie!
I'm so glad you're here. Want to make something fabulous? I'm here to help!