Craft a beautiful wood door hanger with this free laser-cut shiplap SVG. A simple way to add farmhouse style to your home decor.
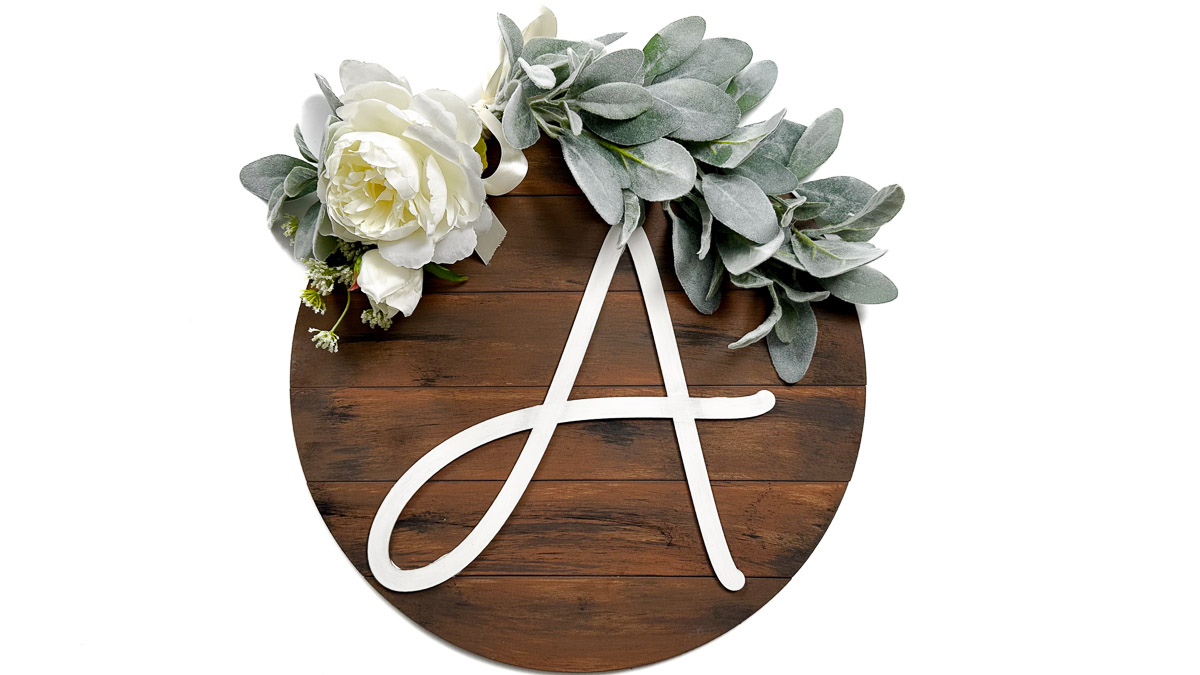
If you love crafting home decor that looks store-bought but costs a fraction of the price, this object is for you.
This laser-cut shiplap wood door hanger is the perfect mix of rustic and modern style.
It's an easy DIY that works great for beginners and experienced crafters alike.
With the included free SVG file, you can create a custom design that fits any season or space.
Jump to:
Skill Level: Beginner
Total Time: 1 hour
Craft Tutorial Video
If videos are your thing, you're in luck-I've got a full tutorial ready for you!
Subscribe to my YouTube channel and stay inspired with every new project.
Grab the Laser File
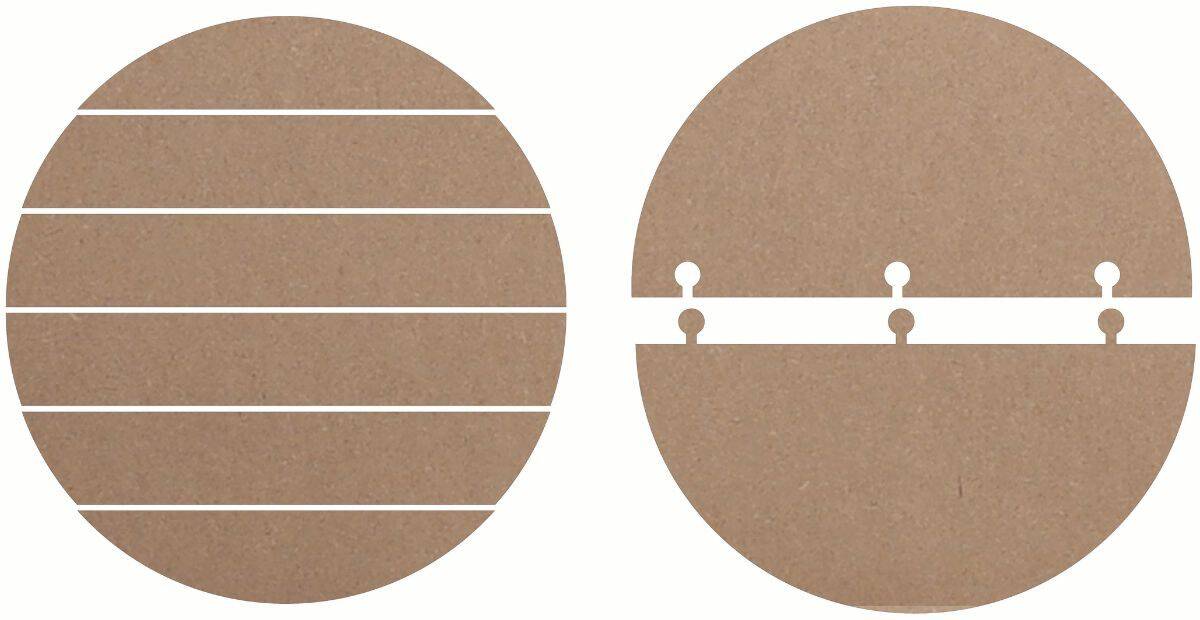
Laser Cut Pieces
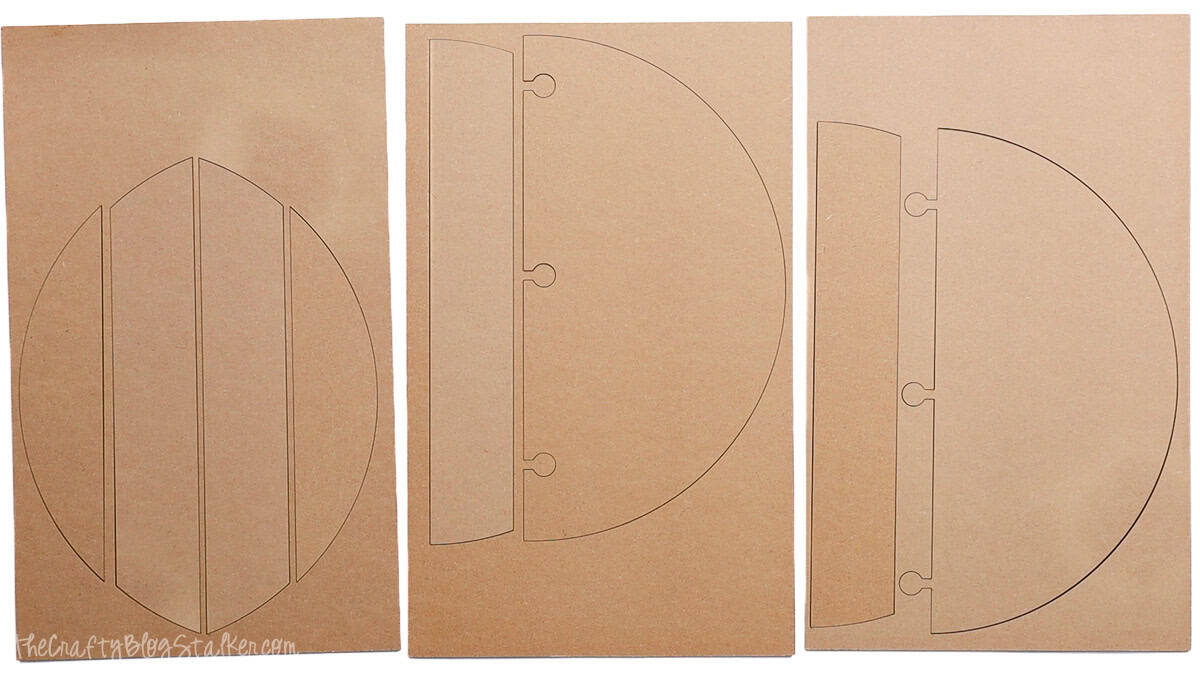
Import the file into your laser-cutting software and cut the pieces. I used 3mm MDF, but it can be cut out of any material.
Cutting a 16-inch circle door hanger requires 3 sheets of 12x19-inch material.
If you are making a monogram door hanger like me, make sure to cut your letter.
The font I used to create my letter A is Baby Girl Monoline.
Sand (optional)
To give the shiplap slabs a bit more texture, I used a sanding block on the straight edges.
This gives them a slight curve and uneven edge.
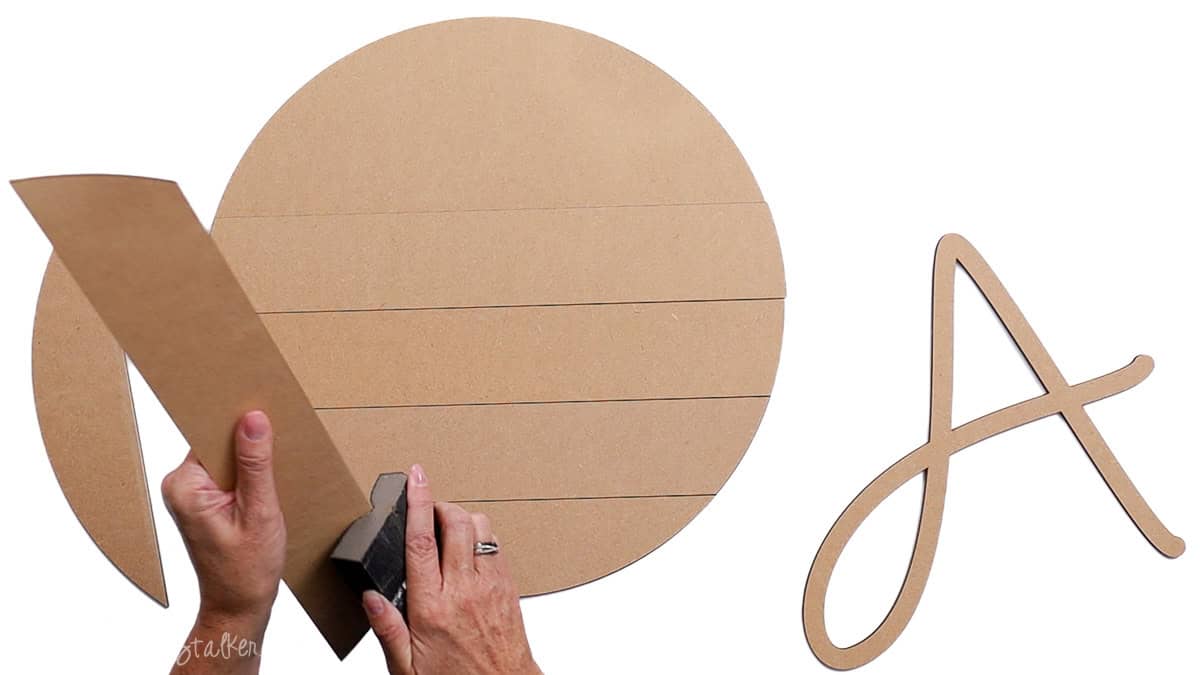
This step is entirely optional, but I really like the added imperfect texture it gives the door hanger.
Paint
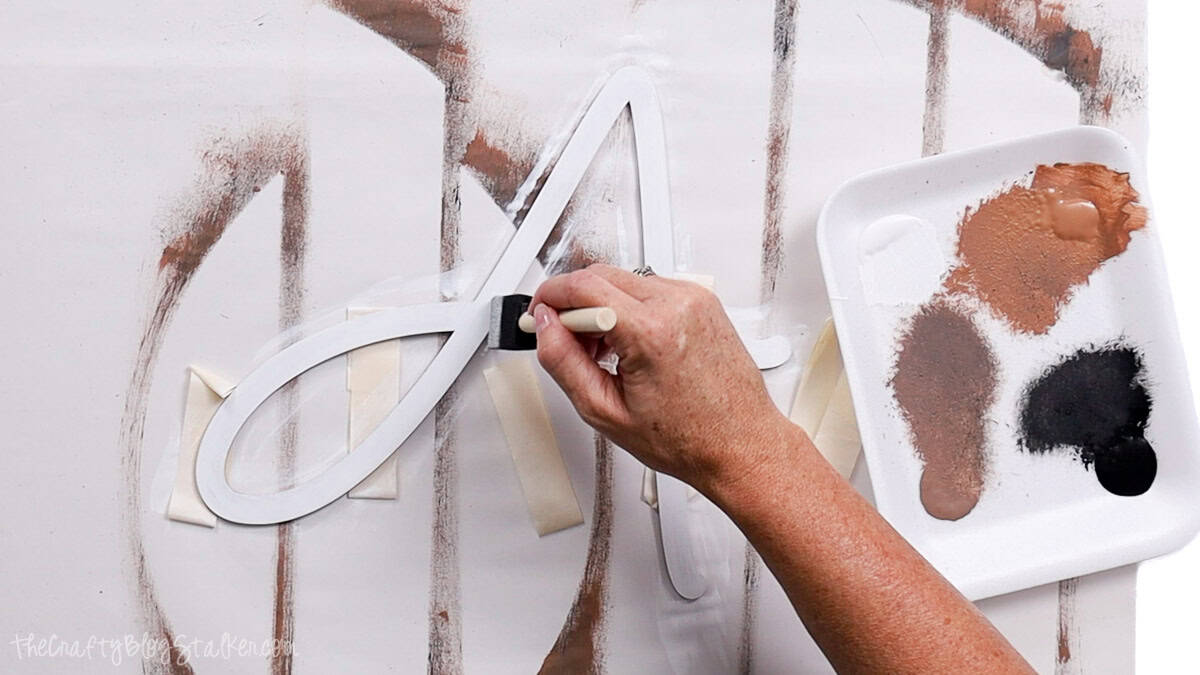
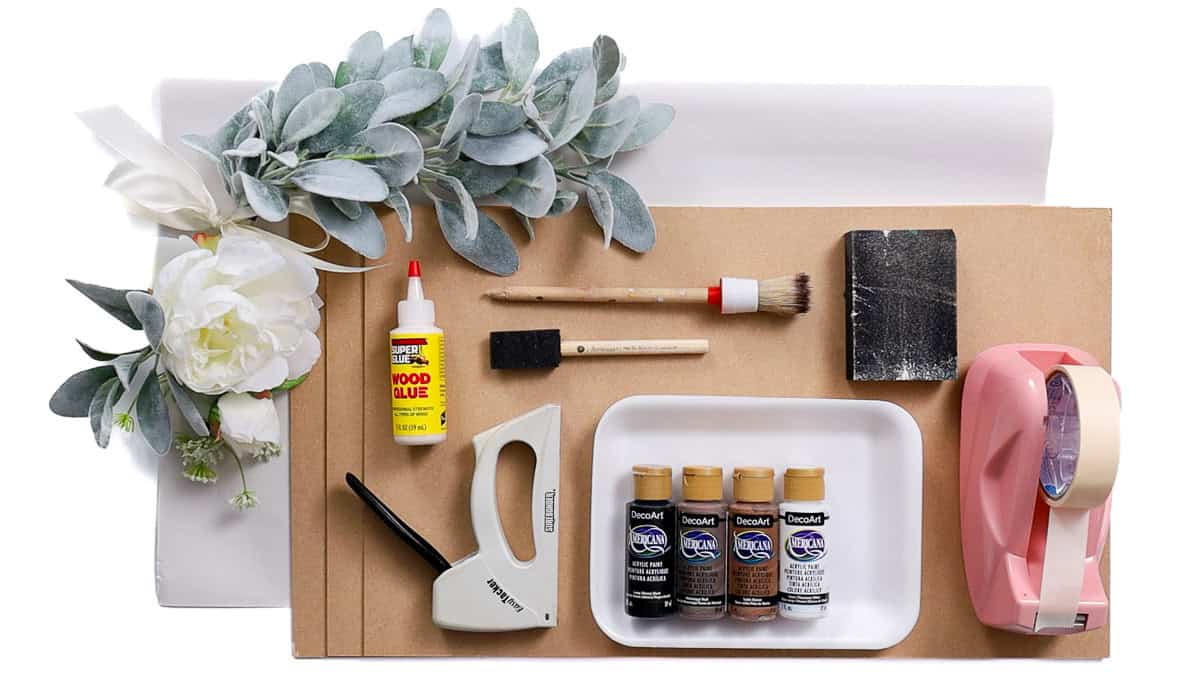
When painting laser-cut pieces, I like to lay a large sheet of paper on my table and stick the pieces to it.
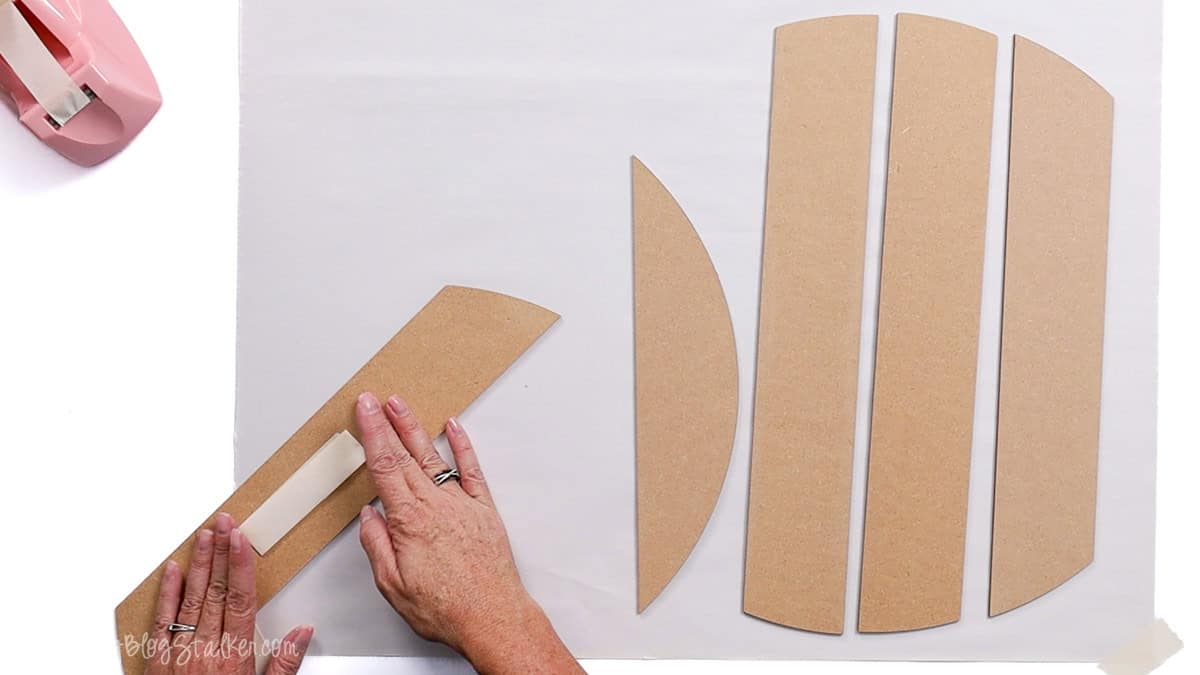
This way, the tape holds the pieces instead of my fingers, so I am less covered in paint when I am done.
The two back puzzle pieces don't need to be painted because they won't be seen.
I want the shiplap slabs to look like aged wood, so I painted them in three colors, starting with brown.
Using a foam brush, I painted all the slabs, knowing I was missing some spots.
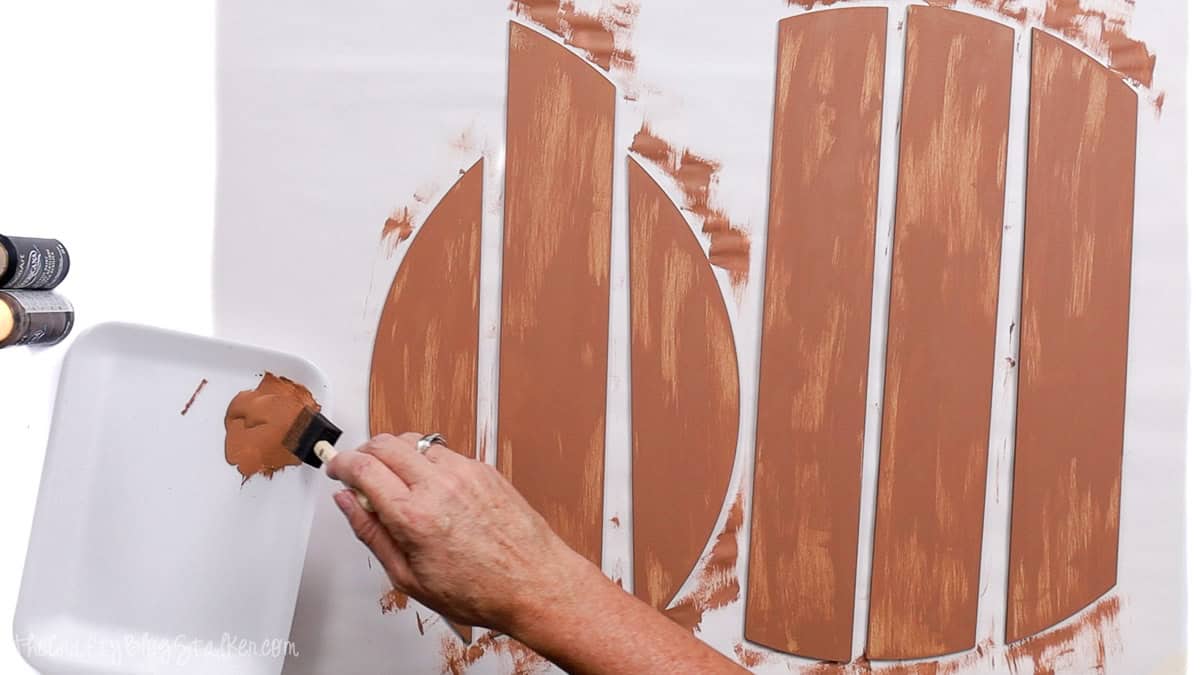
Next, I switched to my bristle brush. This is my dry brush. This brush is never cleaned and never saturated with paint. I use it to create a wood grain look.
For the second layer, I used black paint and my dry brush, lightly painting over the top of the pieces so the paint is applied in patches and streaks.
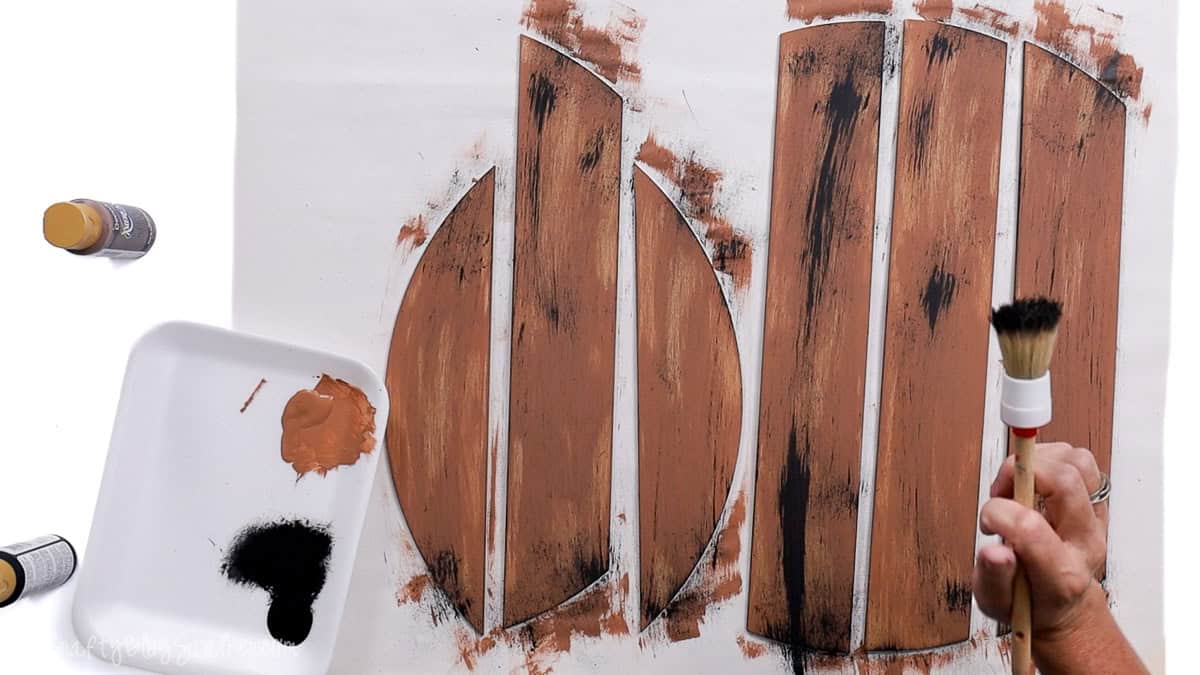
Using the dry brush again, without washing, I apply the dark brown paint using the same method.
I repeated dry brushing with the different colors until the pieces had the look that I wanted.
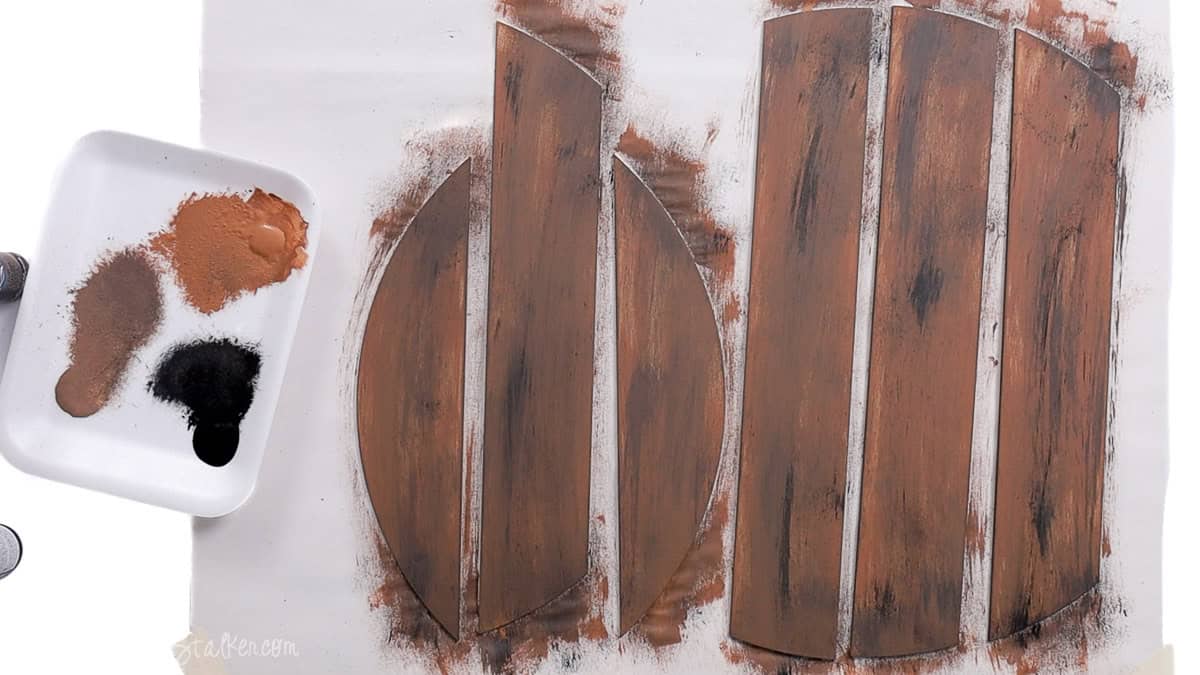
Let the pieces dry completely before moving them.
When dry, I carefully removed the slabs and then stuck the letter A to the paper using the same tape.
The letter A was painted solid white with several coats of white paint, then left to dry.
Assembly
Click the two back pieces together to make the solid circle.
Glue the shiplap slabs to the circle base. The slabs will hold the circle back together.
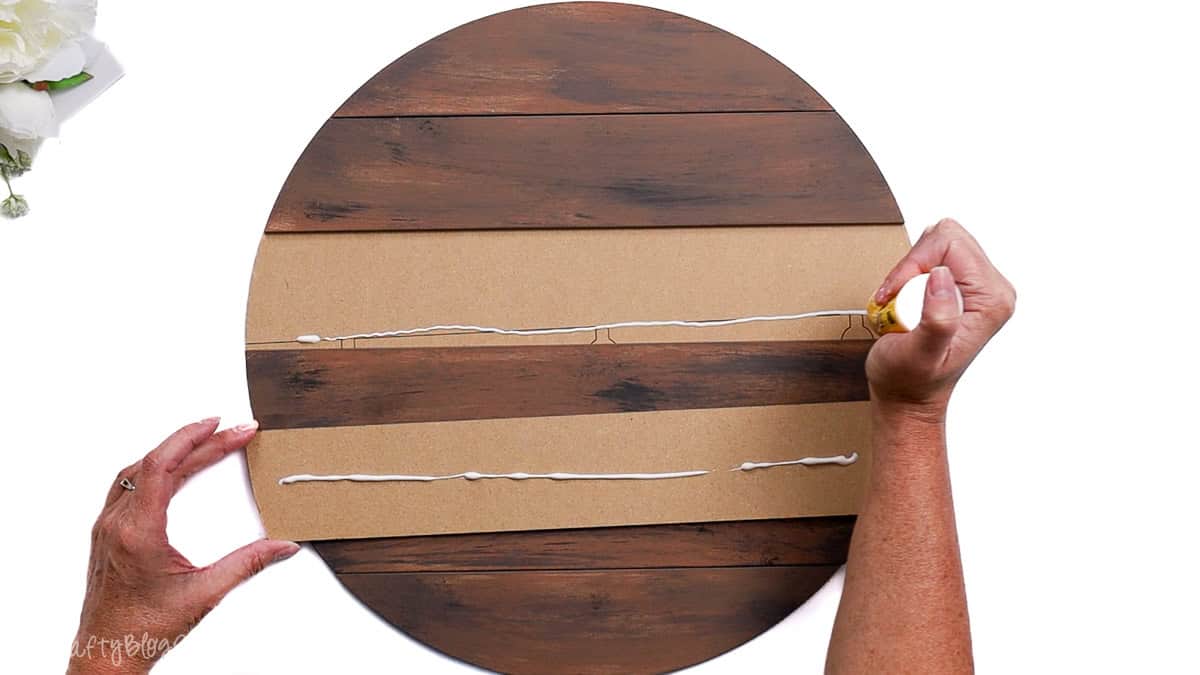
Looking back, I should have had the seam vertical and glued the slabs on horizontally.
I did the seam horizontal and the slabs horizontal. It holds together just fine, but I think it would be stronger with a vertical seam.

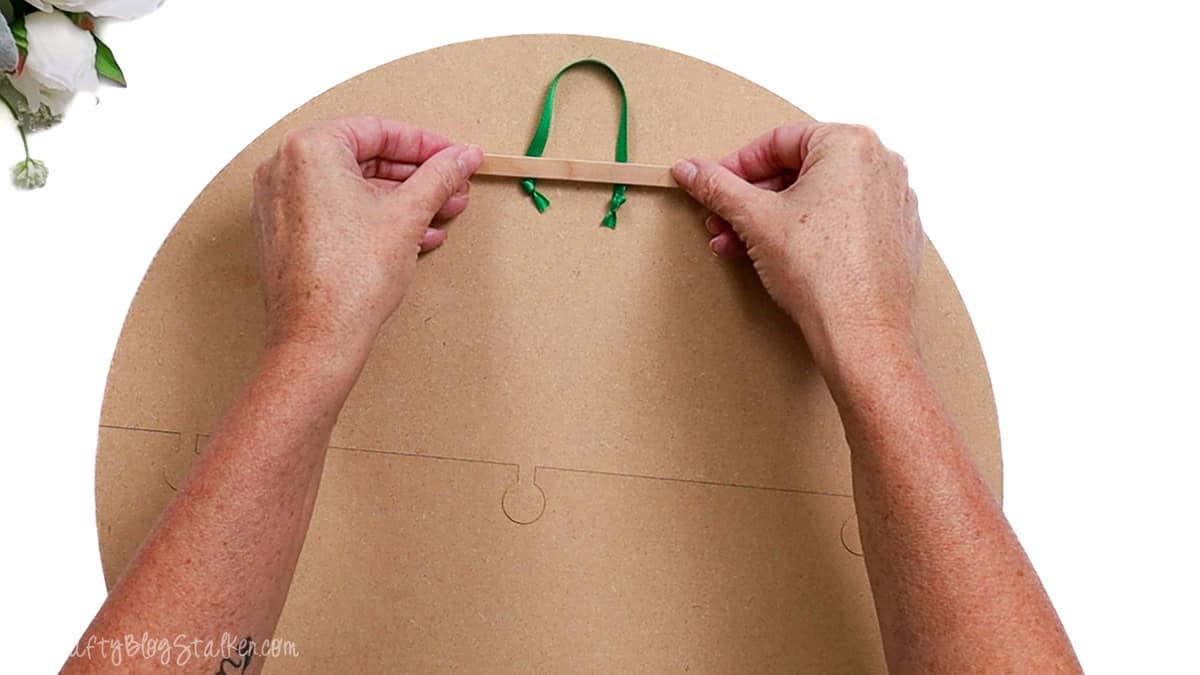
Before you add to the front of the door hanger, turn it face down to add a hanger.
Cut a length of ribbon about 8-10 inches.
Tie a big, thick, triple knot on one end of the ribbon. About 4 inches below the first knot, tie another big knot, then trim the excess with scissors.
Apply a thick line of glue to the popsicle stick and place it over the length of the tied ribbon so the knots and the loop are on opposite sides. Then press into place.
Turn the door hanger back over, and now we can start adding our additional pieces.
I attached the floral swag before adhering the monogram, but you could really do it in any order.
Use a staple gun to attach the floral swag. I tried to staple in places that would be hidden by the leaves and such.

I used 7-8 staples to secure the swag to the top.
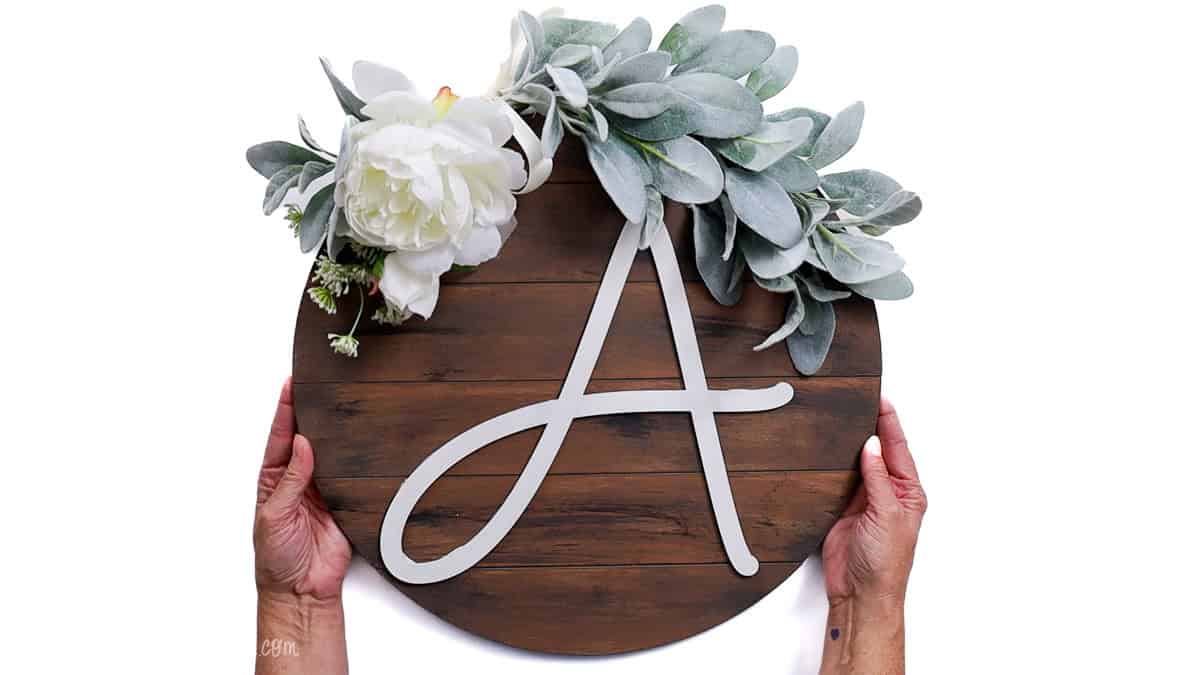
Lastly, I applied wood glue to the back of the monogram letter and centered it on the front.
It looks so good!
I love that this shiplap file lets me make larger 16-inch door hangers, even though my laser only cuts 12x19 inches. Such a great hack!
More Laser Crafts
Don't put your laser-cutting supplies away just yet. There are more fun things to make! Here are a few more fun ideas.

Hi, I'm Katie!
I'm so glad you're here. Want to make something fabulous? I'm here to help!


Leave a Reply