
Use a paper cutter like a pro with these easy tips. Get smooth, accurate cuts for paper crafts, cards, and DIY projects.
Not sure why your cuts aren't coming out straight? You're not alone.
Paper cutters seem simple, but a couple of small things make a big difference.
Once you know what to watch for, this becomes one of the easiest tools in your craft room.
(You might also hear it called a paper trimmer-it's the same thing!)
Jump to:
Skill Level: Beginner
Craft Tutorial Video
If videos are your thing, you're in luck-I've got a full tutorial ready for you!
Subscribe to my YouTube channel and stay inspired with every new project.
The Paper Cutter I Use
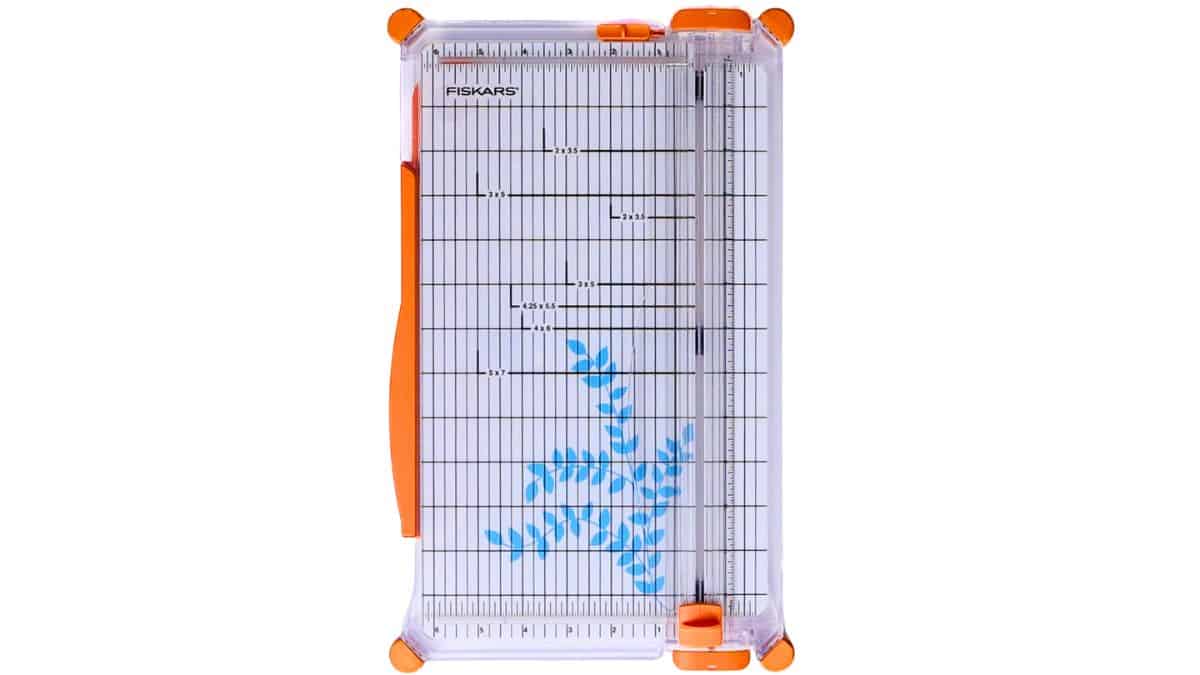
I use the Fiskars SureCut Deluxe Paper Cutter, and it's one I've reached for over and over again.
Here's what makes it so helpful:
- A measurement grid and ruler for lining things up
- A thin wire guide that shows exactly where the blade will cut
- A cutting area large enough for standard paper and cardstock
That wire guide is a small detail, but it makes a big difference. It lets you see exactly where your cut will land before you even touch the blade.
That small wire is hard to see, but if you look carefully, you can find it!

Also, don't stress too much about how you hold it. There's technically a "right" direction based on the ruler, but most people just use paper cutters in whatever way feels natural.
If that means turning it around or using your non-dominant hand to hold the paper, that's totally fine.
Technically, I use the trimmer upside down, but it is what feels most natural to me.
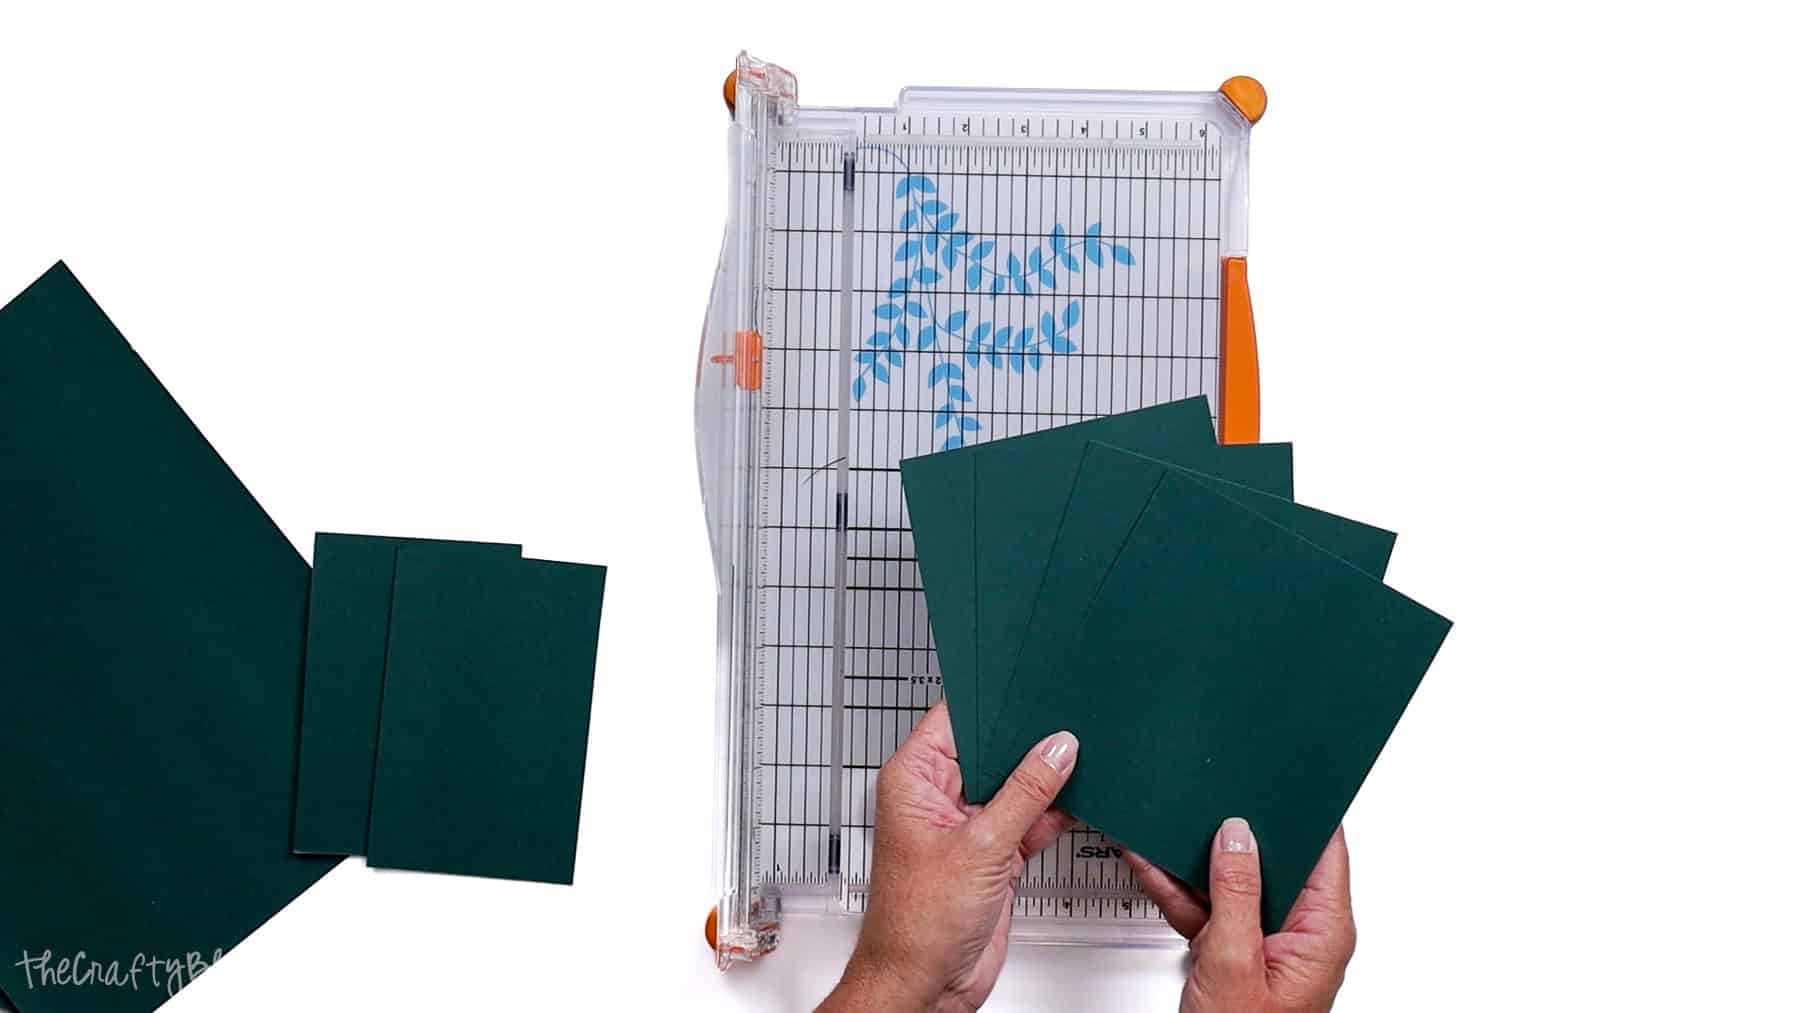
How to Get Straight Cuts Every Time
Let's walk through a simple way to cut paper cleanly and evenly.
Start with a basic sheet, like 8.5" x 11" cardstock.
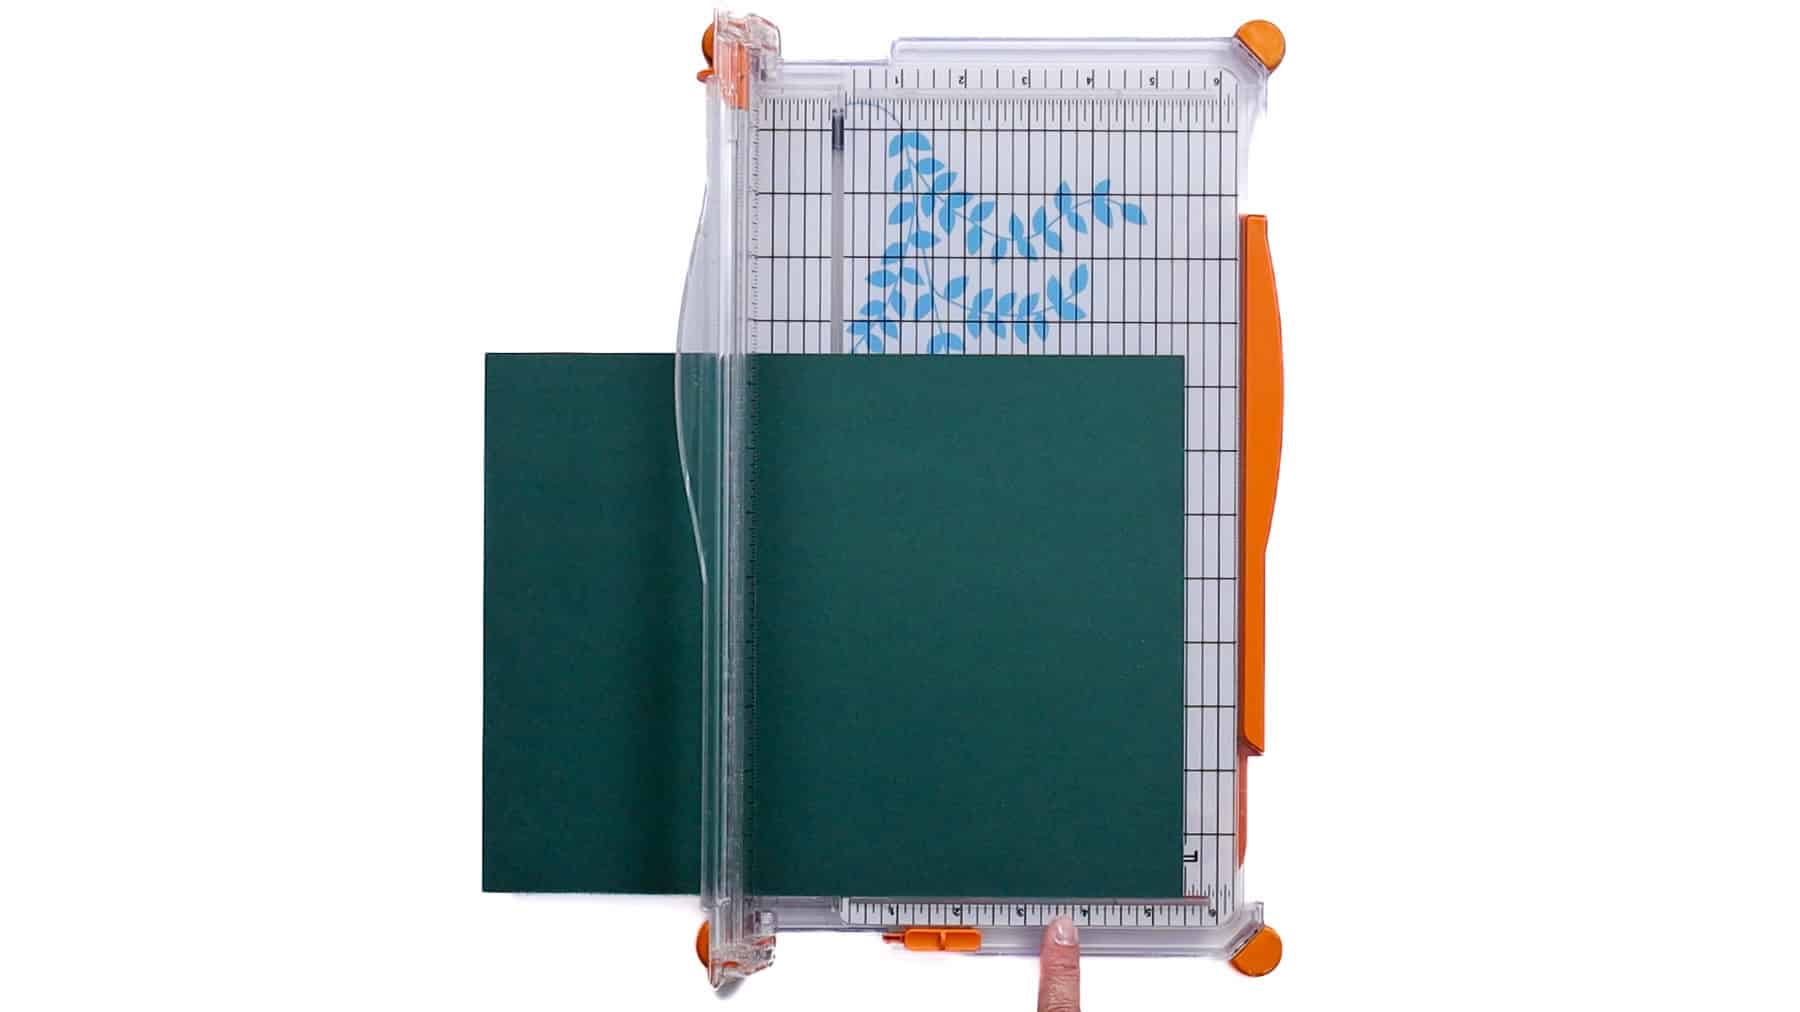
1. Open the cutter
Lift the arm and slide your paper underneath.
2. Line up your measurement
Use the ruler or measurement grid to decide where you want to cut.
For example, cutting a sheet in half lengthwise:
- 11 ÷ 2 = 5.5 inches
Slide your paper until it aligns with the 5.5-inch mark.
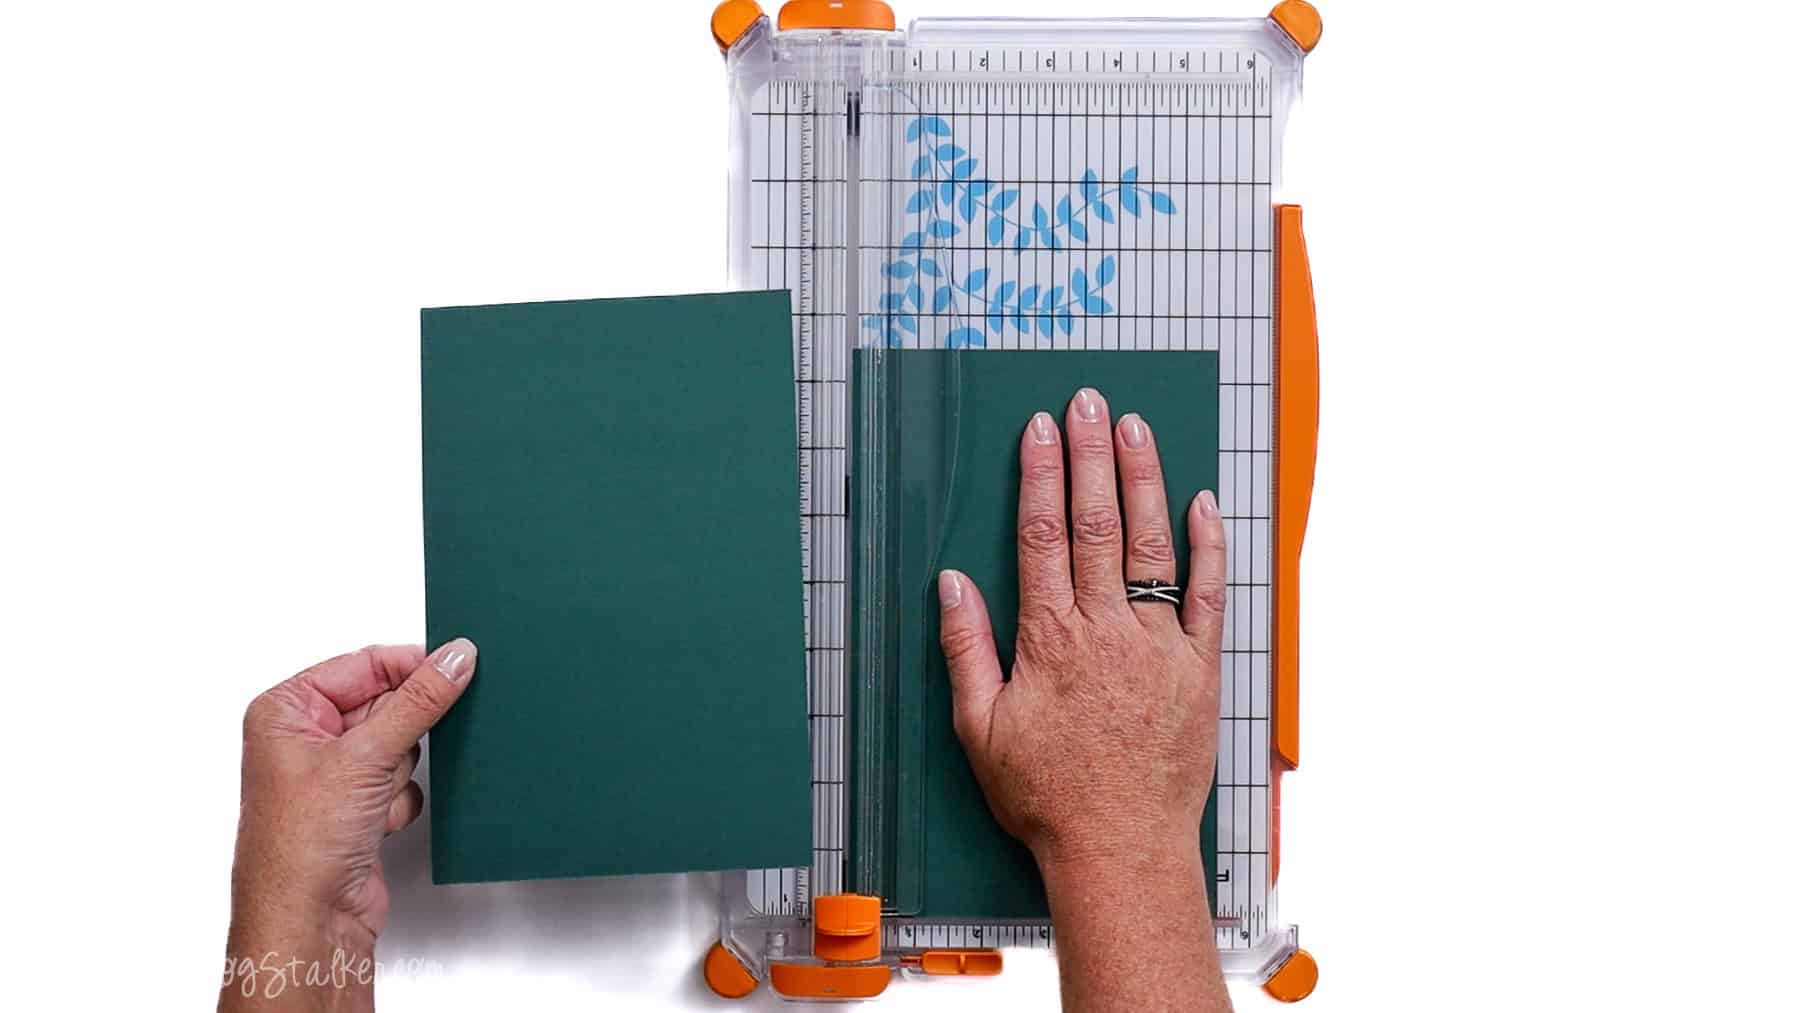
3. Anchor the paper (this is the key step)
Always push your paper firmly against either the top or bottom edge.
This keeps it from shifting while you cut. If it's just sitting in the middle, it can move and throw off your line.
4. Make the cut
Lower the arm to hold everything in place and then:
- Hold the paper steady
- Slide the blade in one smooth motion
You should end up with a clean, straight edge.
A Simple Tip That Makes a Big Difference
When you move the blade, try to cut toward the edge the paper it is pressed against.
- Paper against the bottom → pull the blade down
- Paper against the top → push the blade up
It sounds small, but it helps keep everything from shifting while you cut.
The Most Common Mistake
The biggest issue is not anchoring in the paper.
If your paper isn't pressed against an edge, it can slide just enough to give you a crooked cut.
A quick fix: always line it up, then push it firmly against the top or bottom before cutting.
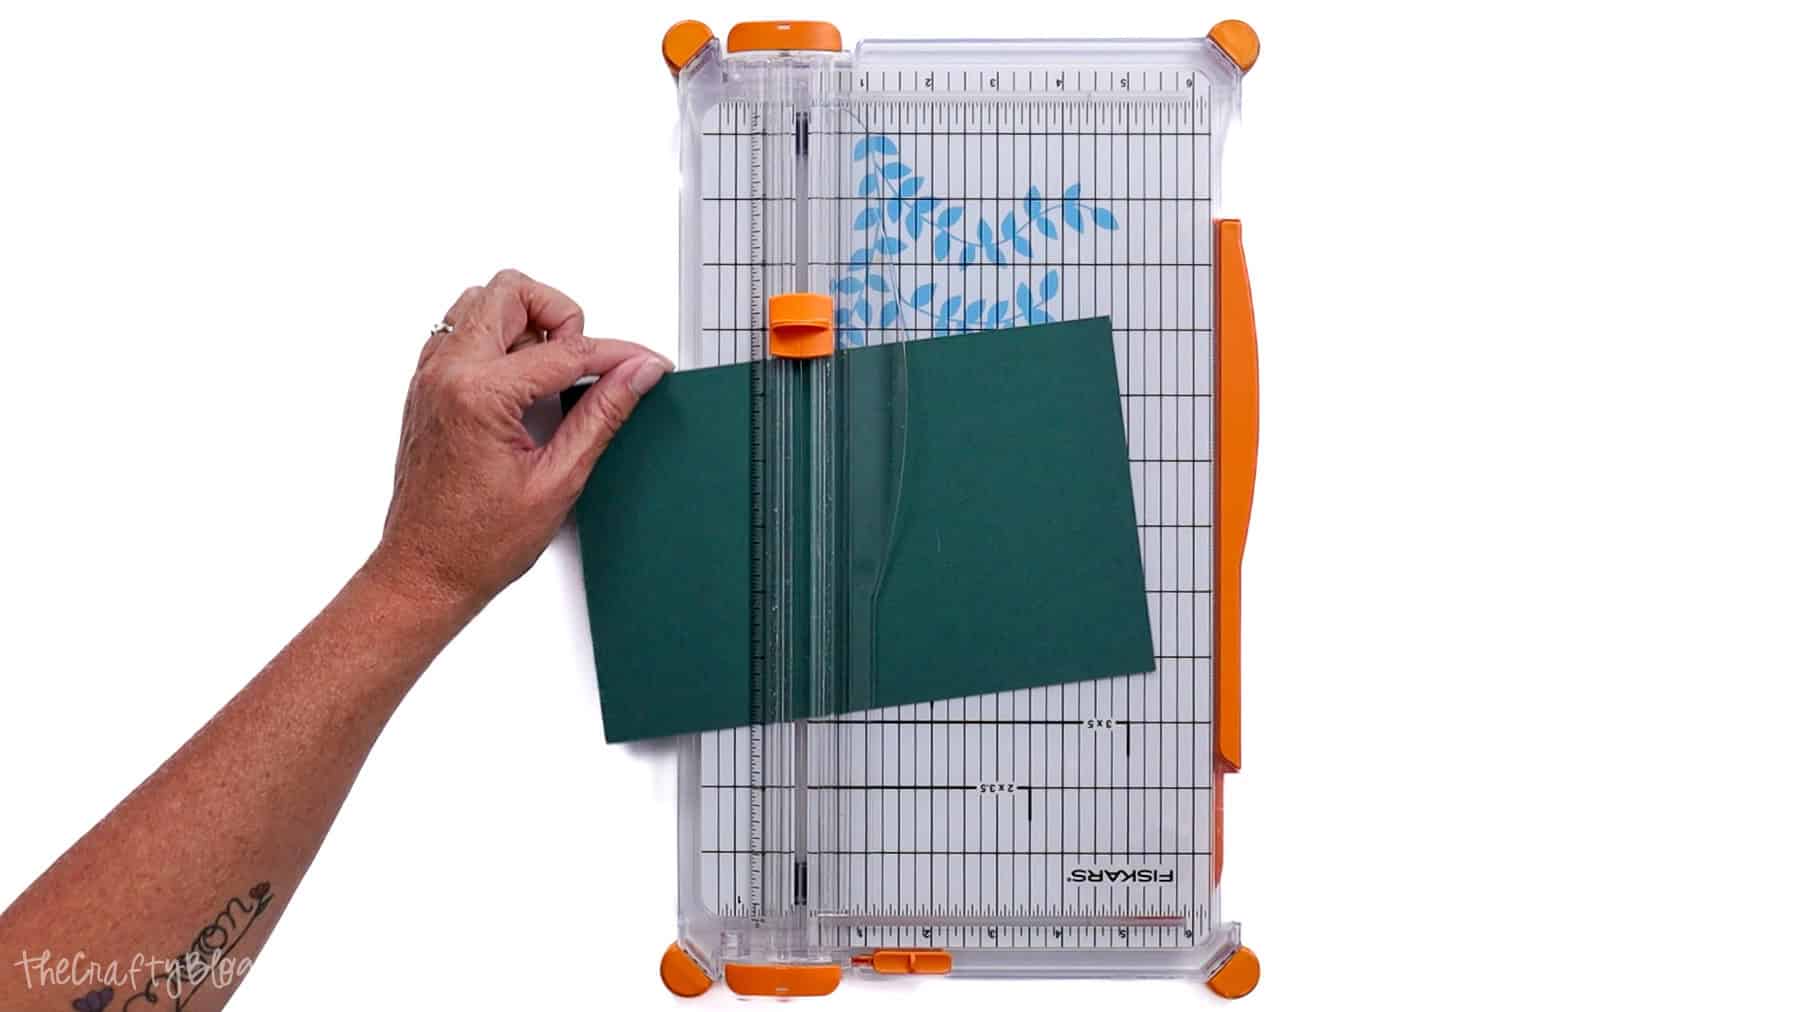
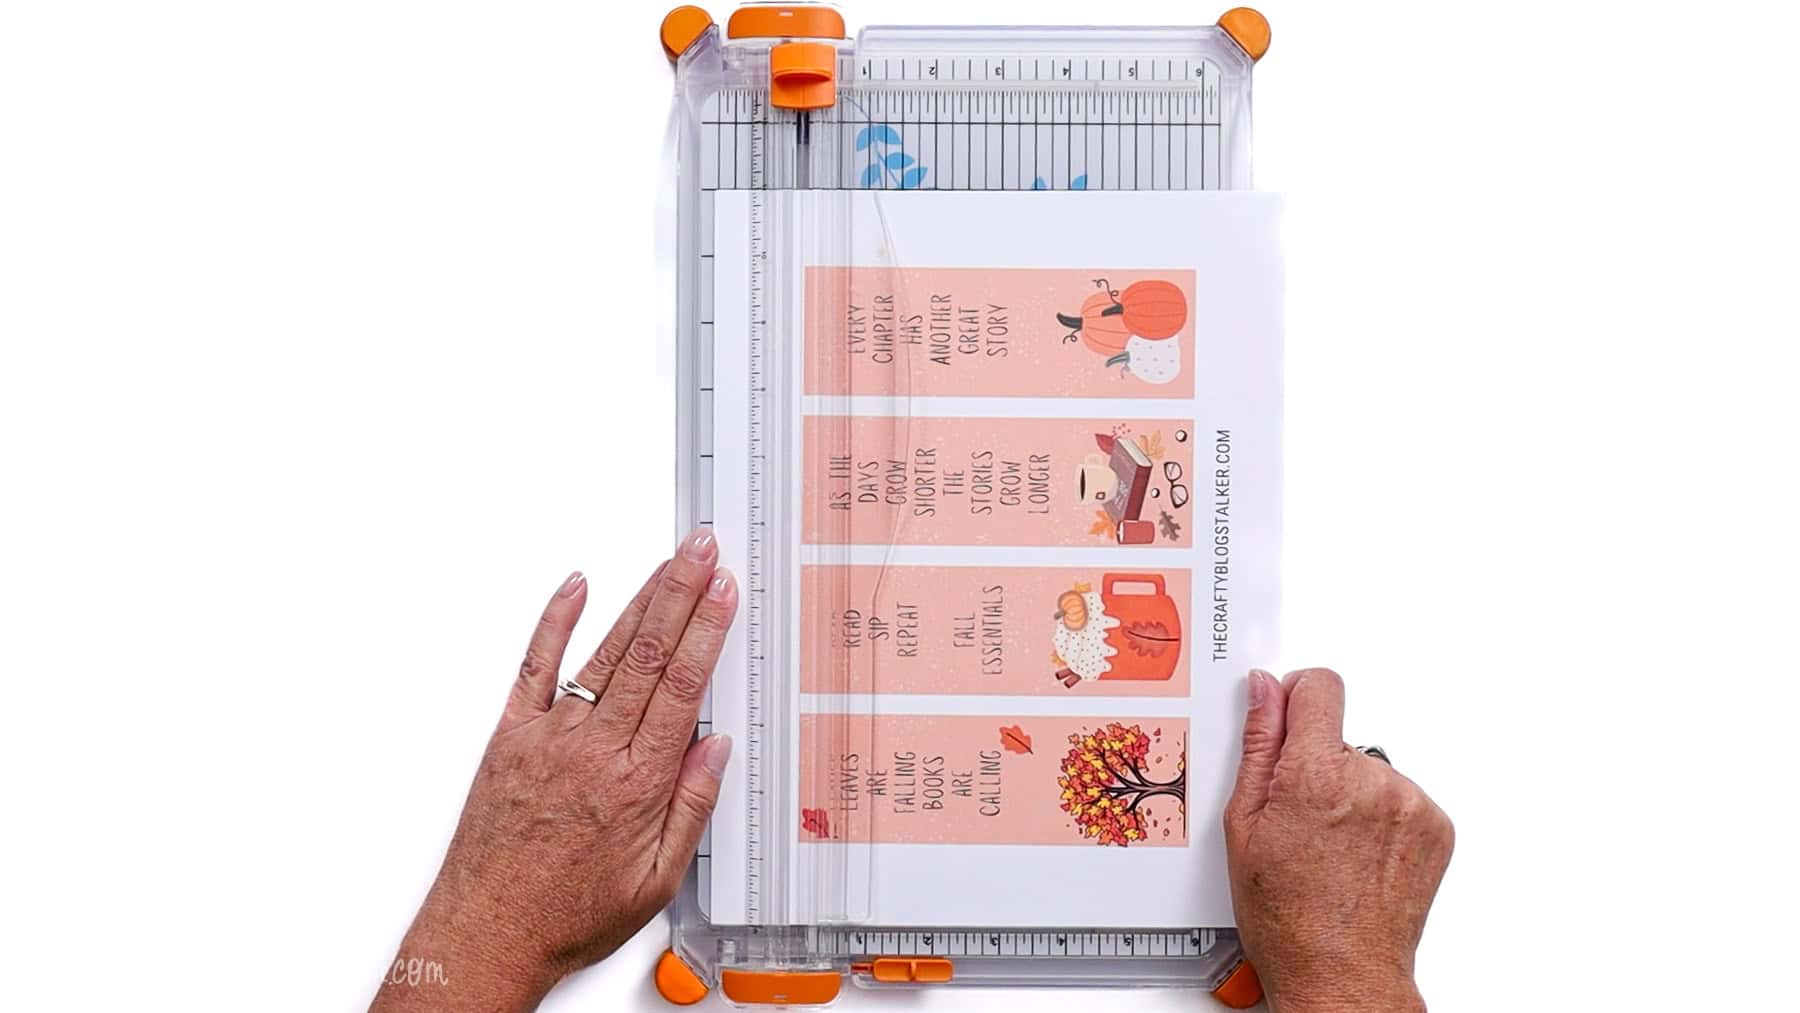
Cutting Printed Designs
If you've ever tried cutting bookmarks, tags, or printables, you know measurements don't always match the design perfectly.
This is where the wire guide really helps.
Here's what to do:
- Move the blade to the top
- Slide your paper into place
- Use the wire guide to line up exactly where you want to cut
- Once it looks right, make your cut
This makes it much easier to trim right along your design, rather than leaving extra white space.
How Many Sheets Can You Cut at Once?
The number of sheets you can cut depends on:
- Your specific paper cutter
- The sharpness of the blades
- The thickness of your paper
For lighter cardstock (like 60 lb), most paper cutters can handle 2 sheets at once.
If you feel too much resistance or the edges look rough, go back to one sheet. It's better to take an extra second than ruin your cut.
Extra Tips That Help
- Use a piece of scrap paper to test your measurement before cutting your final piece
- Replace blades when cuts start looking rough instead of clean
- Keep your paper flat against the measurement grid for the most accurate results
Final Thoughts
Once you get the hang of it, paper cutters are one of those tools you'll use all the time.
The biggest things to remember:
- Line your paper up using the ruler or grid
- Always anchor it against an edge
- Use the wire guide for detailed cuts
- Keep your blades sharp
After that, you'll get clean, straight cuts every time without even thinking about it.
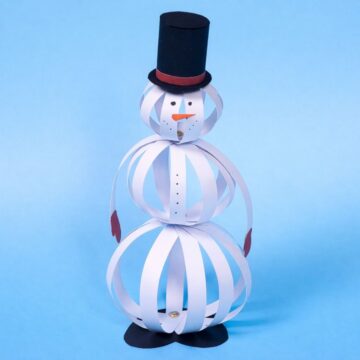
More Paper Craft Tutorials
If you love working with paper and want more easy tutorials, here are a few projects to try next.

Hi, I'm Katie!
I'm so glad you're here. Want to make something fabulous? I'm here to help!