
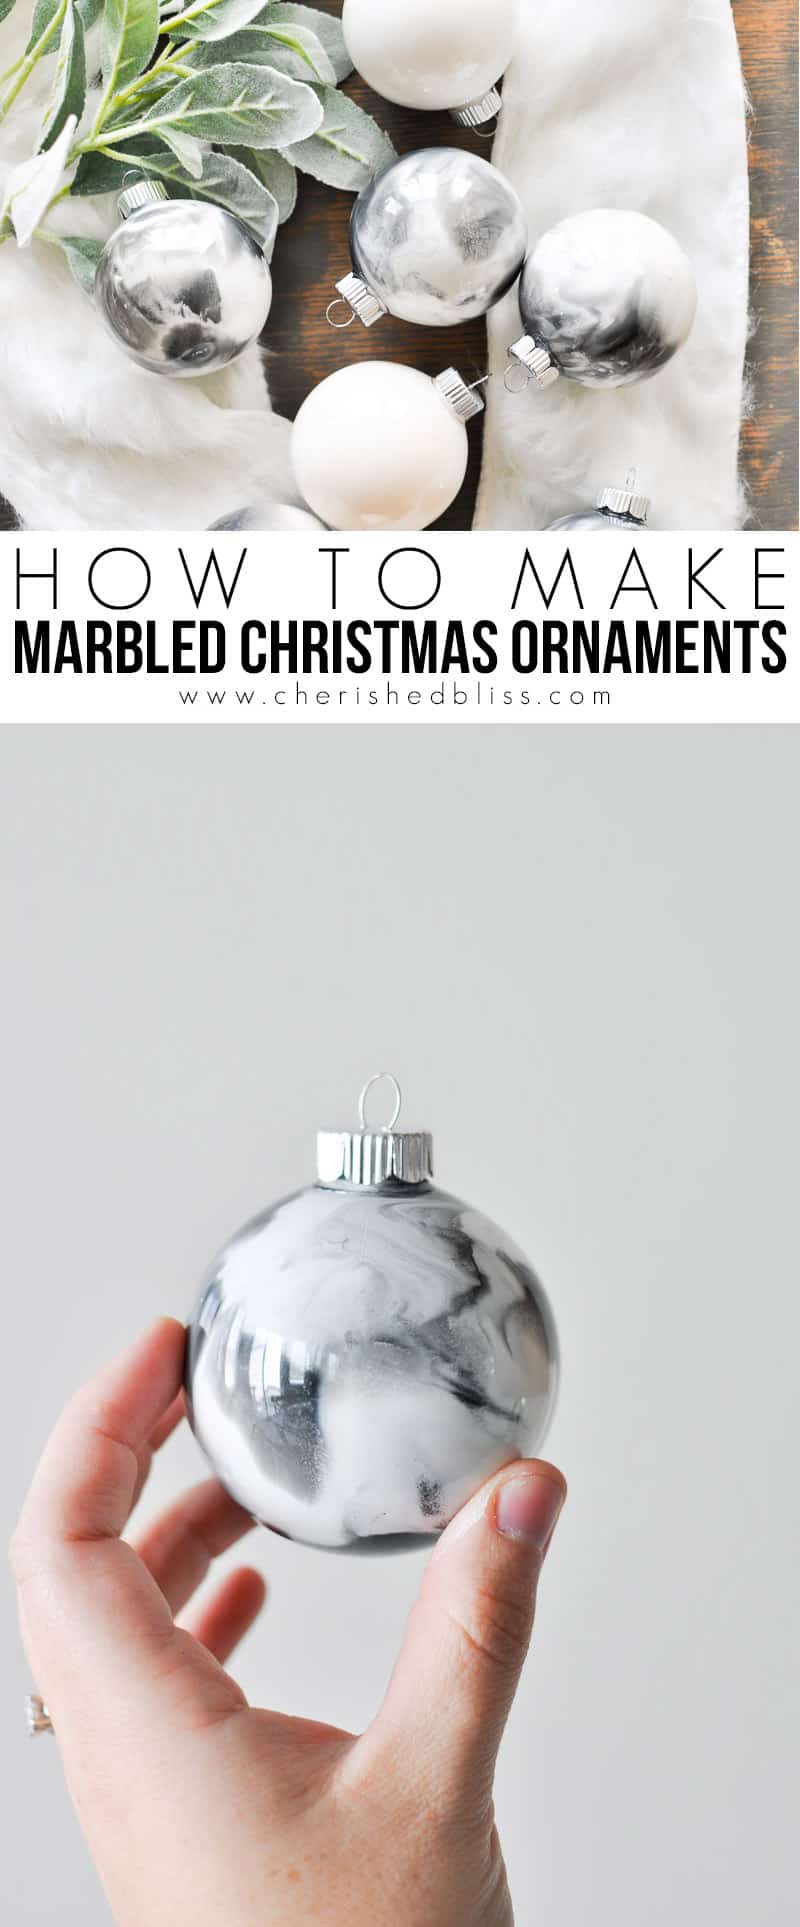
Disclosure: This post is sponsored by Plaid. All opinions are 100% my own! Marbling has never been so easy! With these simple instructions you can create the marbled Christmas ornaments of your dreams in any color you wish!
Halloween is over, so let the Christmas crafting begin! I know it seems a little early, but if you're like me and enjoy making things for Christmas, you really do have to get started early to complete everything in time! I know it's a bit early for Christmas, but think of it as holiday prep, we don't have to actually start decorating yet ; ). I will be sharing the tutorial for these DIY Marbled Christmas Ornaments with all the other Plaid Creators, so buckle up and enjoy all these fun creative ideas!! I also did a Facebook live video for the Marbled Christmas Ornaments.... you can find that video at the bottom of the post! There's also a discount code and more amazing Christmas Tutorials from some of my amazing friends after the tutorial, so don't miss those!

The White Ornaments are actually marbled with different shades of white. It's really hard to capture the detail in a photo, but if you love all things white like I do, you will love the outcome of blending the different white colors for a gorgeous marbled affect! But the black and white ones are my Christmas Tree Inspiration this year!

Let's make some Marbled Christmas Ornaments!
Supplies:
Plaid has put together a wonderful resource for you where you can see all the Plaid products I used (with direct links to each one), as well as all other supplies you will need!
How to Make Marbled Christmas Ornaments
Step 1: Prepare the Paint
We are going to begin by preparing our paint. In order to get the marbling affect we have to add the Martha Stewart Marbling Medium which allows the different colors to be swirled together, creating the marbled affect, without blending the colors. It's really amazing to watch! To mix it you will add Martha Stewart Multi Surface Satin Paint into a plastic cup, and then mix in the Marbling Medium. You want to do about 1 part paint to two parts of the Marbling Medium. I mix the paint and medium together with a popsicle stick. This will not alter the color of your paint, I promise. It's pretty awesome how it mixes together without changing the color! Try not to whip it or stir to rapidly as this will cause air bubbles! If you do get a few air bubbles, just allow the paint to settle for about 10 minutes before beginning.
As you can see below I probably stirred a little too quickly on a few of the paints. I think one of my kids needed me so I was trying to finish it up ;)! Be sure and prepare all the different colors ahead of time because we will be using them one after another and you'll want to have them all ready to go!

Step 2: Pour the Paint
Now it's time to pour the paint into the ornaments. Typically when working with this marbling medium you are going to see the top of the paint, but since it's in the clear plastic bulb we are actually seeing the paint from underneath, so you have to be a little more intentional about where you pour the paint. You don't want to just layer it all one top of each other or the top color won't be seen on the bottom. I like to pour in a small amount of one color, then move on to the next color and so on. While I pour each color I try as best as I can to get it in a different spot that than the previous color. Then keep pouring the different colors until you feel like there is enough paint to cover all the surface of the ornament.
I know this is a little hard to understand, but you will be able to see what I mean in the Facebook live! Basically you are just trying to get the different colors to touch the clear surface. I apologize I don't have the best picture for this step because it's hard to capture while pouring since I only have two hands ; ). This picture below probably shows the best how I tried to pour the colors in different locations.

Step 3: Move that Ornament!
Now you just need to swirl your ornament around until you cover the entire interior surface. Or perhaps you want to leave the top part clear and only move the paint around the bottom portion. This is totally up to you! Once you are satisfied with your swirling, it just needs to dry. I dried mine by placing the ornaments in a cup to rest. First I put the opening down and let any excess paint drip out. But the paint will continue to move since this is a round surface. I suggest changing the position of the ornament every once in a while until it has had some time to dry.


After you allow the paint to dry you can reinsert the top piece aka the little hangy thing... not totally sure what those are called ;).

One of my favorite things about these marbled Christmas ornaments is the possible color combinations! You guys know I'm neutral all the way, but I did try to make some red ones, which that actually turned out super cute and reminded me of candy canes.... they just didn't mesh well with my overall theme. But if you are someone who loves color, this could be a really fun project!
And here are all the other amazingly creative Christmas Projects and Videos, be sure and check them out!!!
Happy Crafting friends! I hope you enjoyed these Marbled Christmas Ornaments!
Ivory
OMG, this turned out fabulous. What a cute idea, I love this.
Kristin | The Grape Soda Club
These look beautiful! What a fun way to mix it up!
Norma Rolader
Absolutely great idea and thank you for sharing
Norma Rolader
Awesome and cute idea Thank you for showing us
Ardith
Your marbled ornaments are beautiful. Thank you for sharing the tutorial. I don't do Facebook, but your instructions here will be just fine. Cheers, Ardith
Susan
This has fired up my imagination!!! To get the paint right where you want it, try using cheap syringes (one for each color), as they can deliver a controllable amount (with practice) within their area of reach.
I have done the dip method of marbling before where the paint is on the outside of the item. (This was the water with oil based paints for the dipping.)
The candlesticks were fun, and the blades of my outdated ceiling fan came out better than I hoped they would. I also dipped the legs of 2 old wooden chairs I had stripped, sanded and base painted white.
I will definitely try your method for inside the item. I'm picturing the inside of an clear glass coffee carafe and using it as a planter when the marbled paint is dry. If that works, maybe upcycle the ginger jar lamp and rewire it.
Helen Gullett
WOW... those are amazing marbled ornaments!
Thank you for the inspirations and tutorial.
Mary Holshouser
This would be a fun project.
Love the different looks you got.
The red is fantastic.
thanks for sharing.
Pamela Smith
The ornaments would look great on my tree! I would love to give it a try!
Ulina
These are beautiful! I think we actually have a lot of the supplies on hand. If I were to win the gift card I would probably spend it on something we haven't tried much if at all like the essential mod podge kit or a glass painting set. Thank you for sharing!☺️
Rust
Your ornaments are so nice. I would like to get the Mod Podge ® Beginner's Kit.
Kathy Ricci
If i win, I would definitely get this marbled ornament kit...they are beautiful! As for others I really enjoy painting and I like their glass and chalk paint ornament and then I would have to really just have to take my time to browse and pick my favs!
Barb Mathers
Darling !! Thanks for sharing! And doing the contest! I'd like the beginners mod podge kit! Thanks! !!
Audrey Stewart
I like the pillow kits. I really like a whole lot of things. I love crafts.
cassandra berholtz
I would buy the mod podge beginners kit and the one stroke beginners kit.
Will G
The Holiday Craft kit.
Tammy Lucier
Love this idea!
kelly
very pretty
Karen Koval
I must try this. Just love them!!!!
Colleen
Great idea!! The ornaments are beautiful!
susan smoaks
i would like to get the holiday craft kit. it looks like it will be a lot of fun.
Rachel
I would buy the Bucilla Baby - Counted Cross Stitch - Crib Ensembles - BFF - Birth Record Kit and the Bucilla Seasonal - Felt - Home Decor - Jingle and Belle 3D Wall Hanging Kit.
Tracy Shafer
The ornaments and geode coasters.
MARTHAIA
Would most likely pick the Marbled Kit,,,,,Make different colors of ornaments,,,Thanks
MARTHAIA
Only meant for one comment ,,,Sorry.....Thanks,,,,
Jill Butler
What a beautiful tree it would be if decorated with all of your colored ornaments. I especially like the red! I would probably get the Mod Podge kit
Dawn Monroe
I like the glitter snowman ornaments and the santa wine bags.
Dawn Monroe
I like thE GLITTER SNOWMAN ORNAMENTS AND SANTA WINE BAGS.
Norma Rolader
Love the ornaments and thank you for sharing how to info Thank you for a chance to win the Plaid crafts
Kim Cowgar
There are some great kits/sets! Some I would love to get are the FolkArt ® Color Shift™ Acrylic Paint Set 8 Color (color shift paint fascinates me!), Mod Podge ® Photo Transfer Kit, and the FolkArt ® Brushed Metal™ Acrylic Paint Set 8 Color
Melanie
Looks like I have another neat Christmas craft to add to my list! The marbled ornaments are a must- have. Great give-away to get the holidays started!
Nancy H
What cute ornaments!
Denise DeCosta
Absolutely gorgeous!
carol clark
Mod Podge ® Beginner’s Kit.
Mary C.
Too many great kits to choose from - I already have the marbling medium, so probably the pillow kit.
Alina
I'd love the marble kit and the Santa Wine kits as well.
Stafford
I'd choose the Modge Podge Beginners kit.
Sean
Love how the ornaments turned out. GORGEOUS!!!! I would get the Mod Podge ® Beginner’s Kit.
Rhonda Grisham
Definitely the one stroke beginners kit! I have always wanted to try that. Your ornaments are beautiful!
amy walker
the mod podge photo transfer kit. how fun!
Sara
Hello from Italy!
Thank you for sharing... 🙂
Next month my boyfriend and I are moving in together and we're going to set up the Christmas tree in our new home, I just can't wait and I'd love to decorate with these kind of ornaments.
Megan
I would love to get the one stroke beginners kit!
Katerina
I absolutely love these ornaments!
I would like to get the Essential Mod Podge decoupage tool kit!
Erica De Sousa
Love these ornaments! What a great idea! I love Plaid products. I can only imagine how much chalk paint I'd stock up on with that gift card 😉 I'd also check out the supplies for these ornaments and the JOY metallic sign. I love their metallic craft paint!
Heidi R
I would get the Mod Podge kit.
Barb K
The ornaments are stunning and I would definitely like to try it on a much smaller scale as my tree is quite tiny. The pillow is amazing as well. Thank you for sharing.
Katherines Corner
Thank you for the giveaway opportunity. I invite you to stop by and enter my giveaways too. Your ornaments turned out great. I enjoyed watching your luminary video on facebook too. Not sure which plaid project I would do first if I was the lucky winner. I think I'm leaning towards the modge podge painted plates ( clear glass plate embellished from both sides.) Oh great now I have to add another bit of craftiness to my list ( wink). Hugs
Stephanie Phelps
What a great project and I would also love to get the Bucilla ® Baby - Stamped Cross Stitch - Crib Ensembles - Sophie - Crib Cover
Item # 43902
UPC # 046109439020
Katherine S
I like the pillow kits. It was hard to choose just 1
Joanna
These are beautiful! I keep getting bare spots on mine as they dry. I am using glass bulbs and acrylic ornaments. They look well coated after drying upside down but then I turn them back right side up and some of the paint slides down, leaving bare spots. Any ideas how to fix/avoid that?
Katie
Hmm... that's weird. I did keep rotating mine every 30 minutes or so for a few hours. I didn't time anything... I just kind of did it whenever I thought about it as I walked by the kitchen where they were drying. Maybe try adding a little more paint too.. it's ok to have quite a bit of excess. Let me know if that helps! : )
ornament
We used to go cut our own tree for Christmas until one year my husband accidentally locked our keys in the truck. It was very cold and took a couple of hours to get in. This is the one activity they look forward to the most when it comes to decorating, and it has been for years. If you can’t afford construction paper, you can use junk mail, freebie newspapers, whatever you have.
Olivia
I had no idea that gilding sheets came in variegated patterns/colors. Sadly the Martha Stewart one you used doesn’t seem to be available anywhere nowadays. These are beautiful indeed! I’m not a huge sparkly gold or silver kind of gal, once in a while maybe just a little, these could probably make me change my mind.