
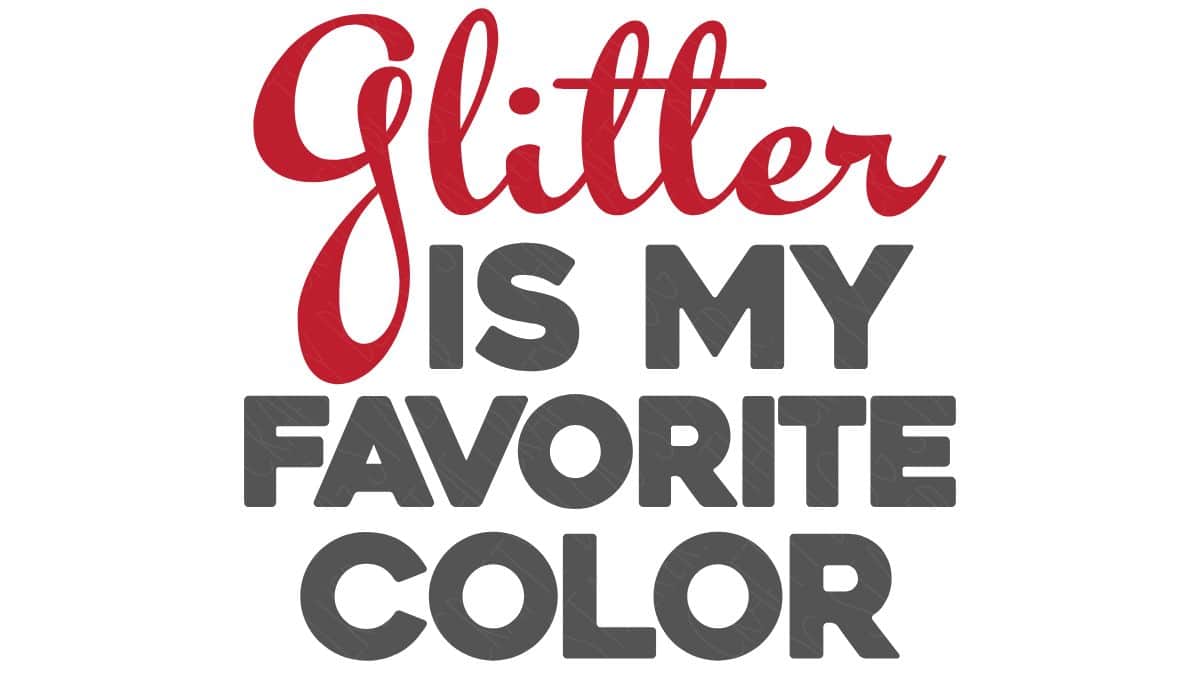
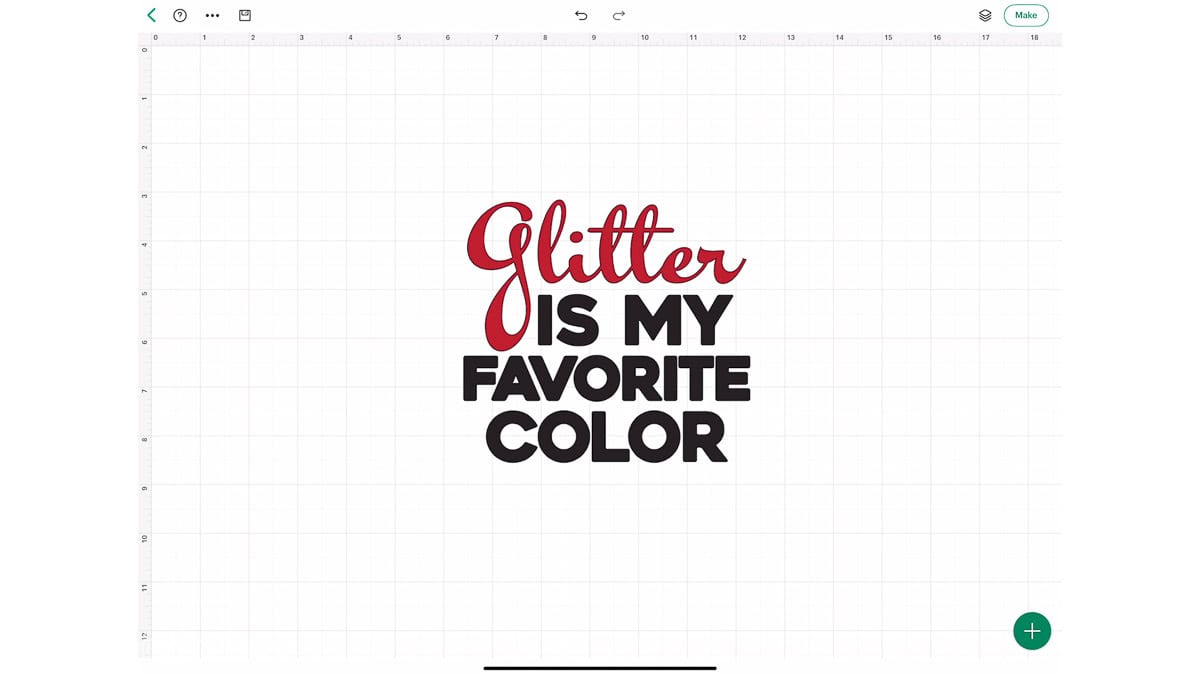
Use this free SVG design with glitter iron-on vinyl to add shine and style to easy DIY projects.
Glitter iron-on is hands down one of my favorite ways to add personality to handmade shirts, and this design feels very me.
If I can add a little sparkle to a project, I'm doing it!
In this tutorial, I'm sharing a free SVG designed specifically for glitter heat-transfer vinyl so you can create a fun, sparkly shirt that feels personal without being complicated.
At the bottom of this post, you'll find even more free SVG files designed for crafters, so you can keep the creative momentum going once you finish this project.
Jump to:
Skill Level: Beginner
Total Time: 30 minutes
Craft Tutorial Video
If videos are your thing, you're in luck-I've got a full tutorial ready for you!
Subscribe to my YouTube channel and stay inspired with every new project.
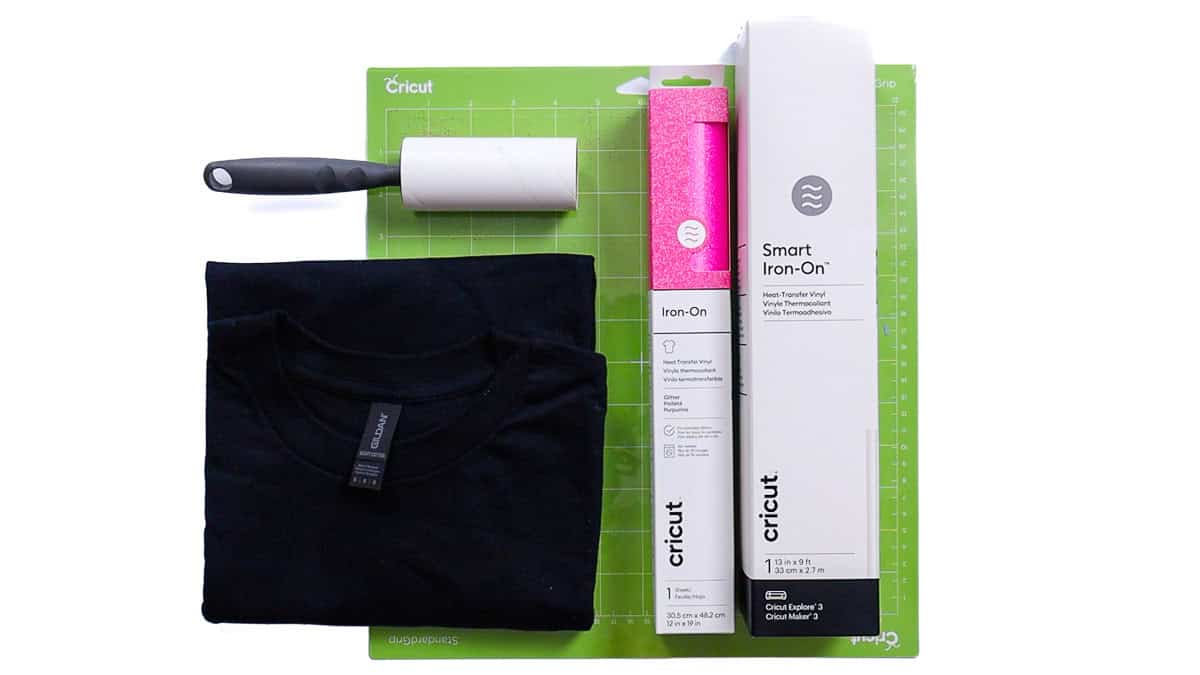
Supply List
- Cricut Cutting Machine
- Glitter Is My Favorite Color SVG
- StandardGrip Mat
- Glitter Iron-On
- White Iron-on
- Weeding Tools
- Comfy T-Shirt
- Lint Roller
- Heat Press
- Tshirt Ruler (optional)
Sadly, the Cricut Autopress has been discontinued, but the Cricut EasyPress is a great option!
Grab the Free SVG
Measure
Start by measuring the front of your shirt to decide what size to cut your design.
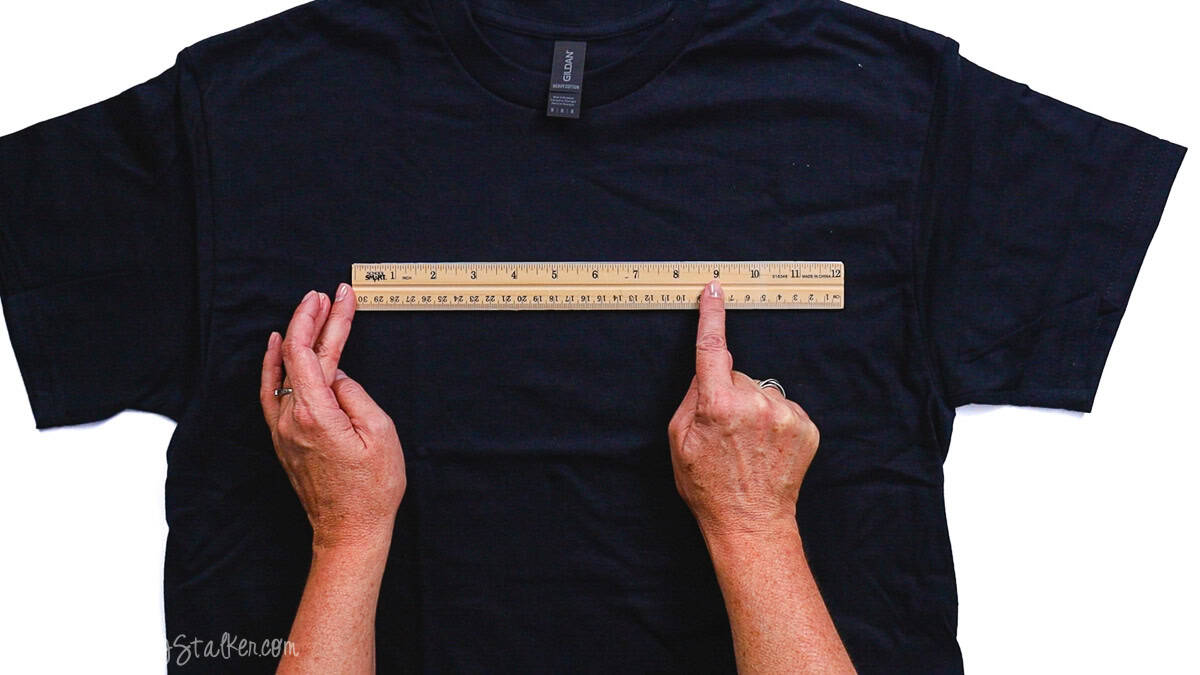
My shirt is a medium, and a 9-inch-wide design fits perfectly.
This size works well for most adult tees, but you can always adjust as needed.
Cricut Design Space
For this project, I'm using Cricut Design Space.
If you're using Silhouette Studio or another design program, your steps may look a little different.
Upload the SVG into Cricut Design Space and add it to your Canvas.
The design is already layered, so there's no need to separate anything.
I resized the design to 9 inches wide and made no further changes.
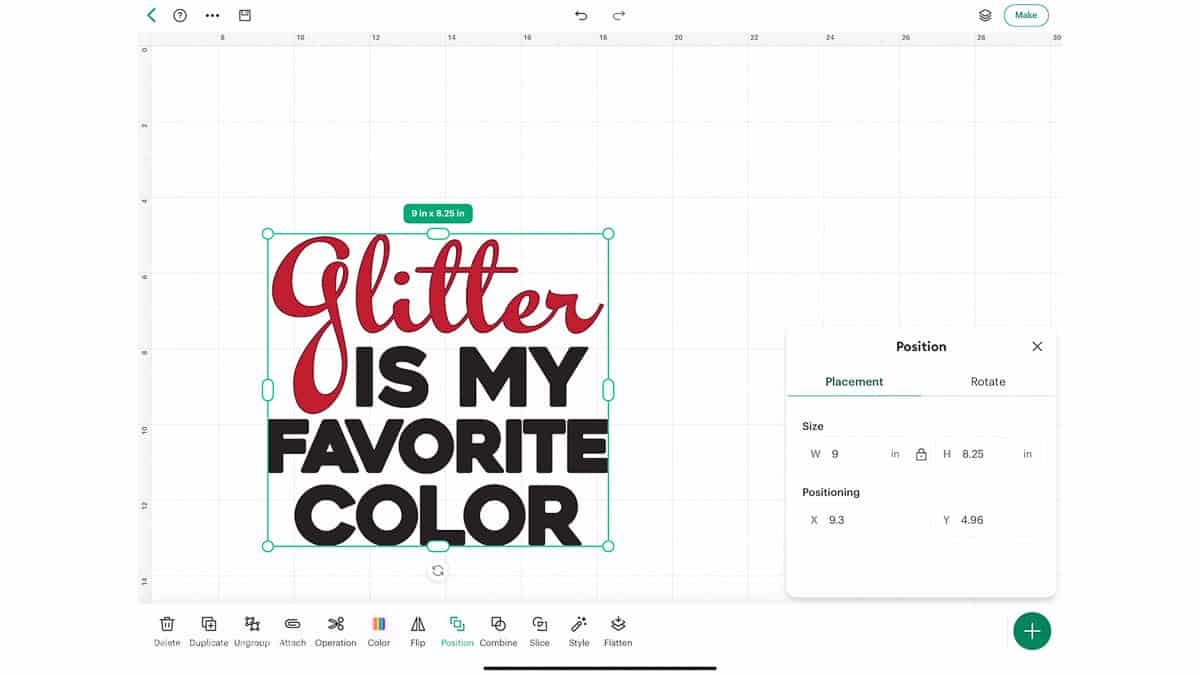
Once everything looked good, I clicked Make.
On the mat preview screen, click Mirror and double-check that both mats are mirrored.
This step matters anytime you're cutting iron-on so your design reads correctly once it's pressed.
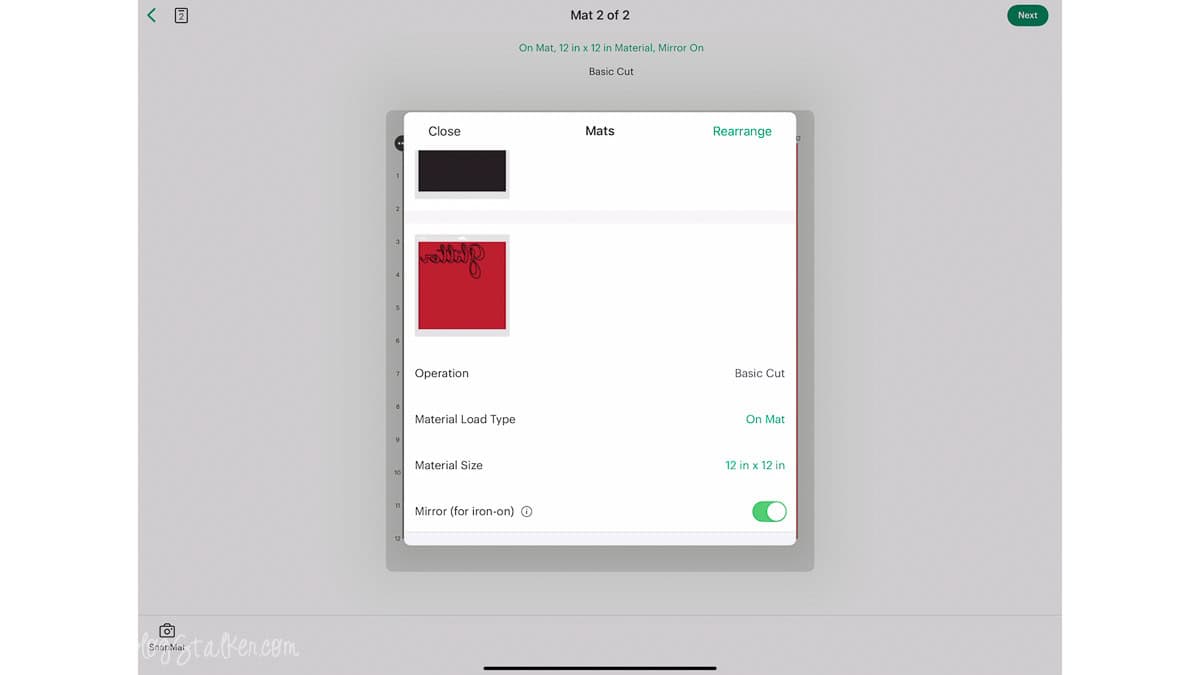
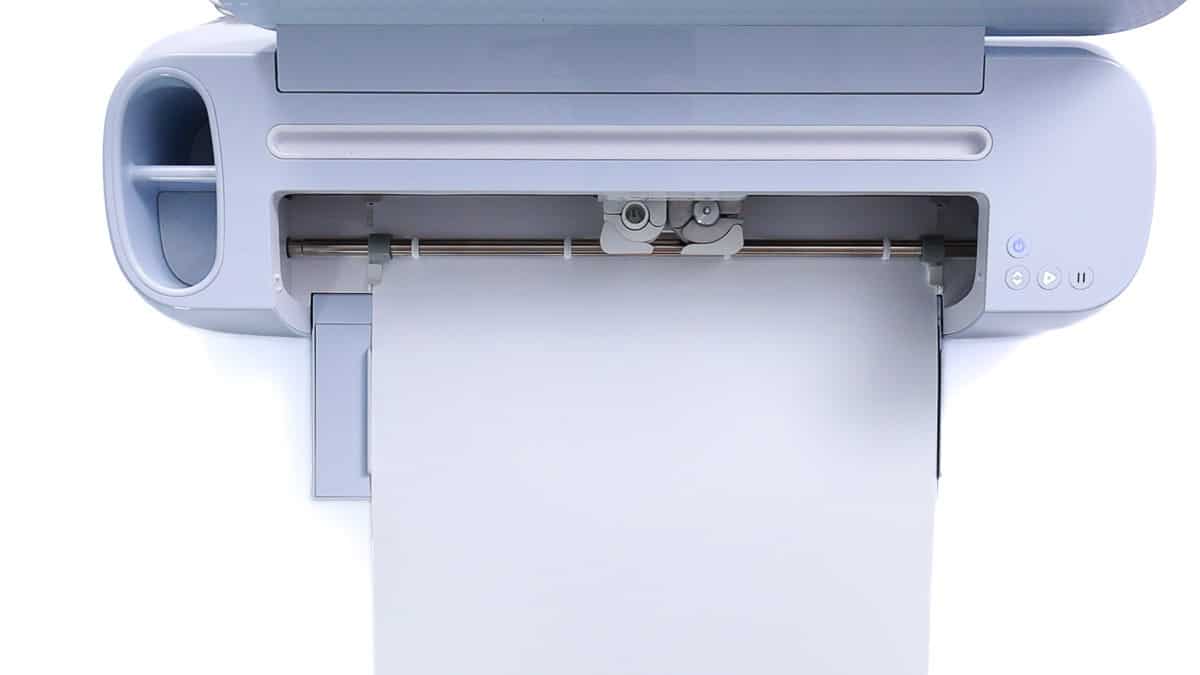
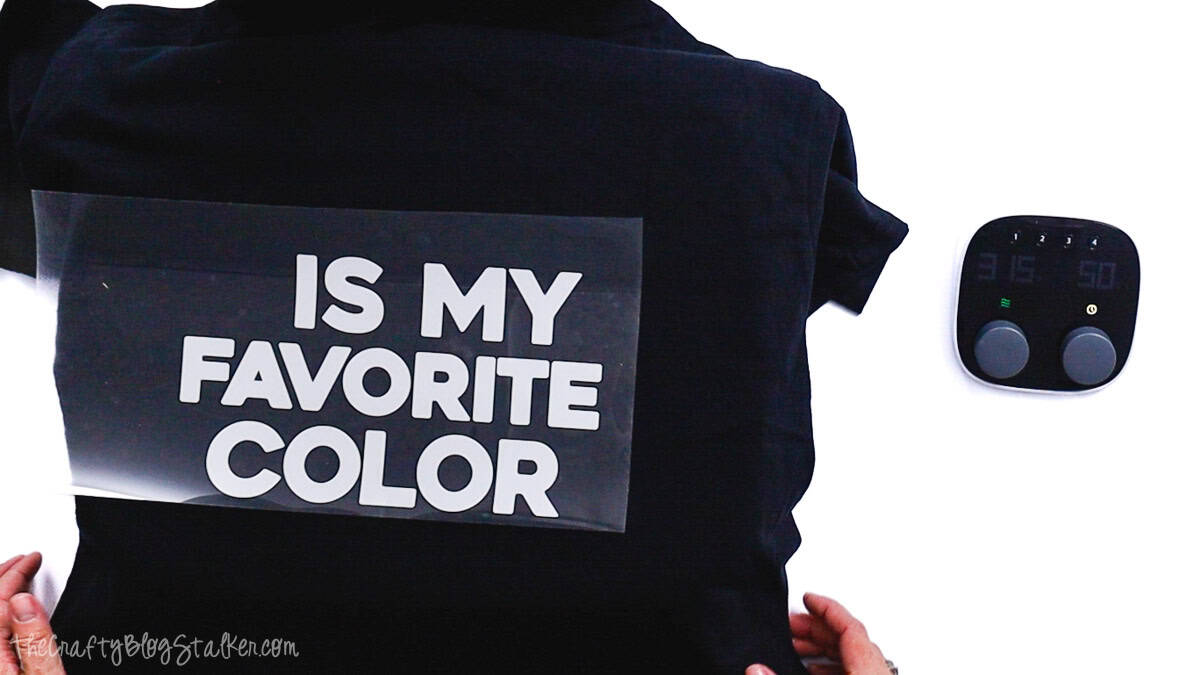
Click Next, then select your material. My first cut was Smart Iron-On, which doesn't require a mat.
I loaded the Smart Iron-On and pressed the blinking button to start the cut.
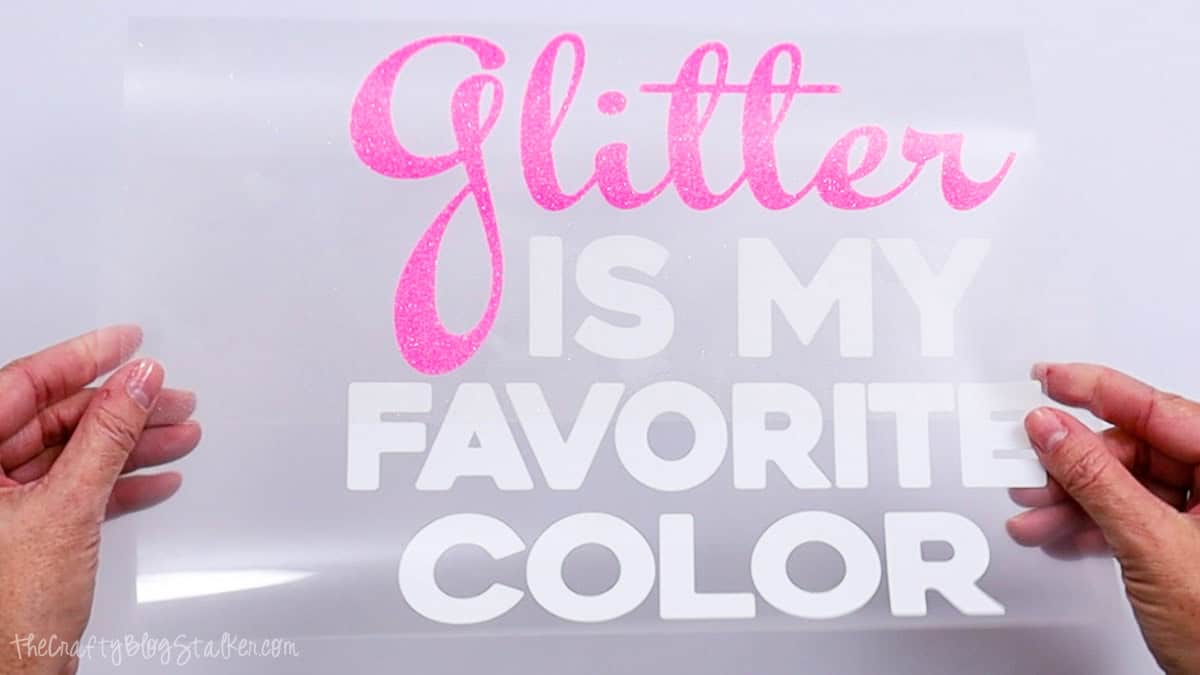
Once the white layer finished, I repeated the process with the glitter iron-on.
Weed the Design
Iron-on is honestly my favorite material to weed. I usually start in a corner and gently pull away the excess.
Don't forget to weed the centers of the letters. That part is easy to miss.
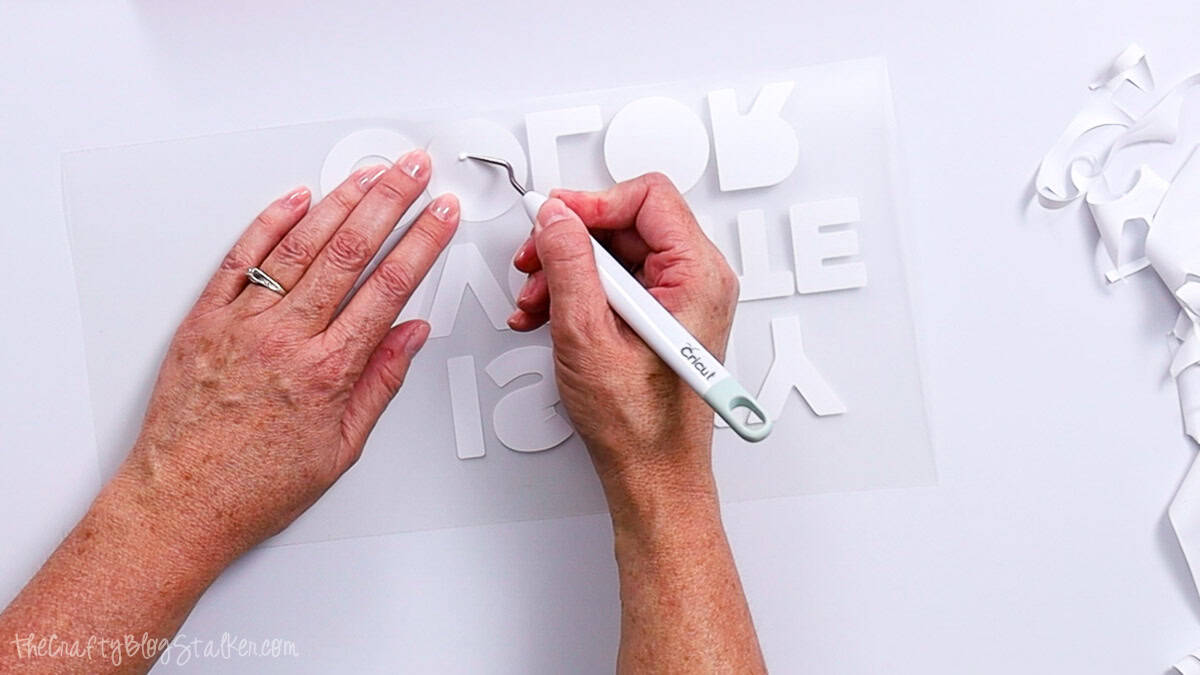
When you're finished, flip the design over to read it normally and double-check that everything is weeded correctly.
Apply the Iron-On
I'm using the Cricut Autopress, but any heat press will work for this project.
Before pressing, I checked the Cricut Heat Guide to confirm the correct temperature and time.
Just select your heat press, transfer material, and base material, and it gives you everything you need.
I preheated my press to 315°F and set the timer for 50 seconds. These settings worked for both the Smart Iron-On and the glitter iron-on.

While the press heated up, I prepped my shirt by running a lint roller over the front to remove any fuzz or hair.
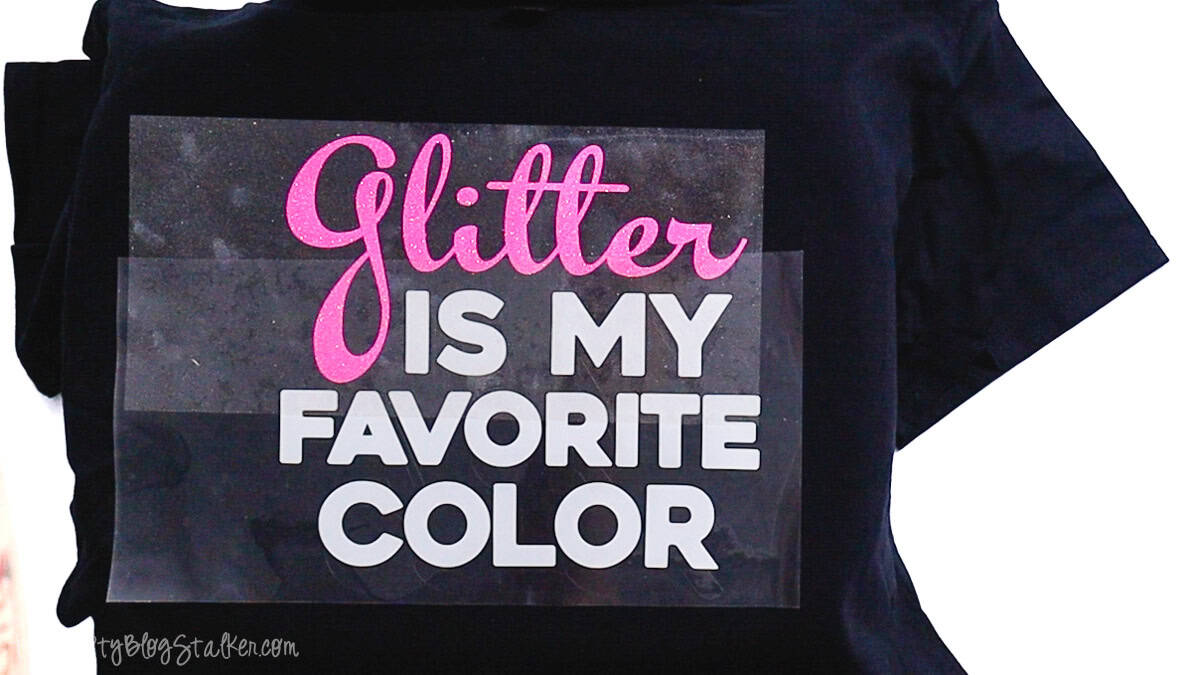
I layered the glitter over the white iron-on with the spacing I wanted.
To find the center, I folded the design in half horizontally, then lightly pinched the edges.
Those pinch marks make lining everything up much easier.
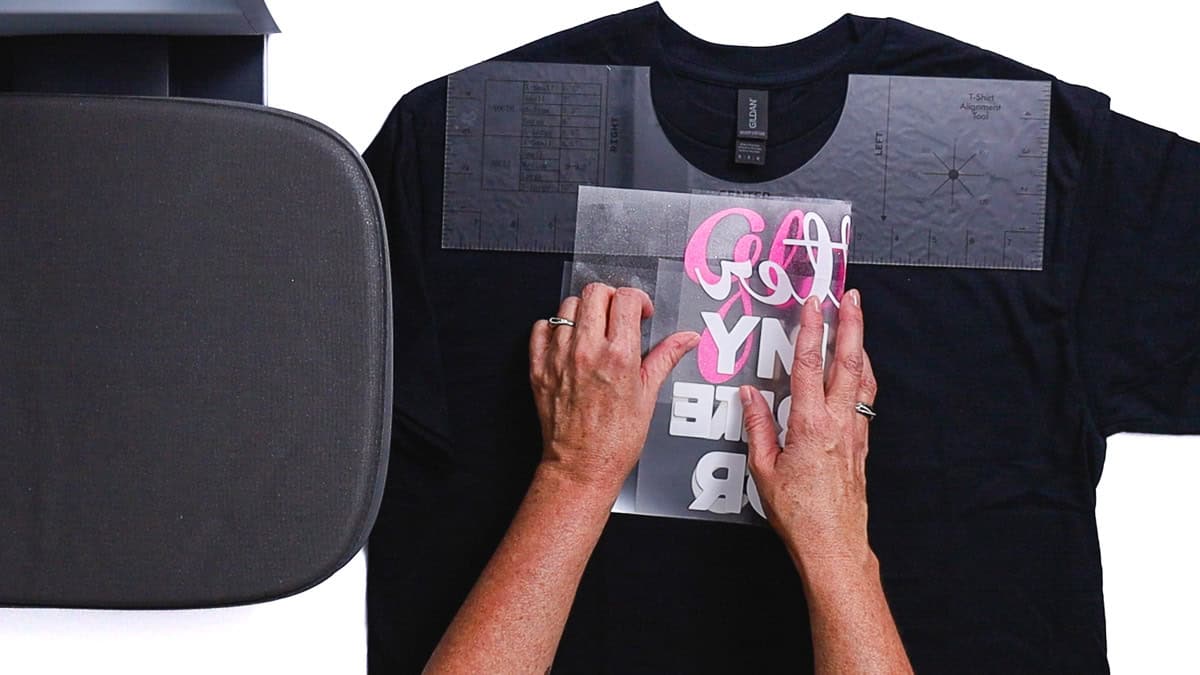
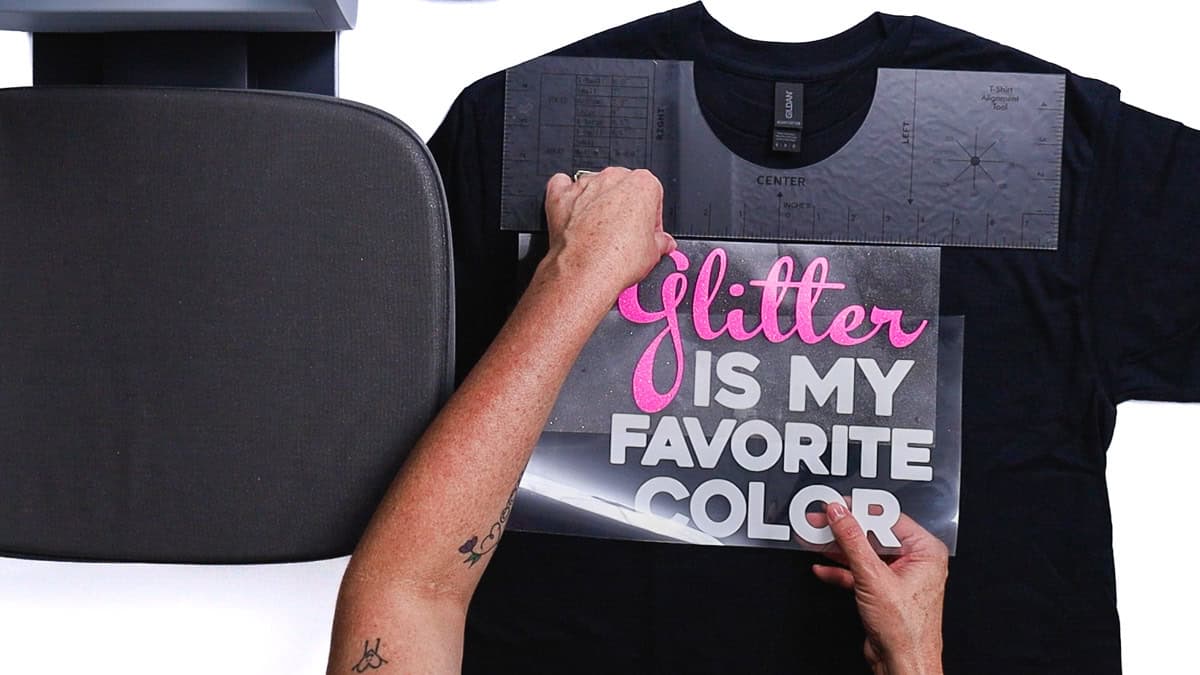
A T-shirt ruler helps with placement, but it's not required.
I placed the design about 3 inches below the collar.
The iron-on liner is slightly sticky, so once the design was in place, I peeled up the glitter layer and moved the shirt to the heat press.
When I closed the Autopress, the timer started automatically and opened when the press finished.
Both layers use a cool peel, so I moved the shirt aside and gave it a quick flap to help it cool faster. Once it was cool to the touch, I peeled away the liner.
Next, I placed the glitter layer, covered the white iron-on with its liner for protection, and pressed again at the same temperature and for the same time.
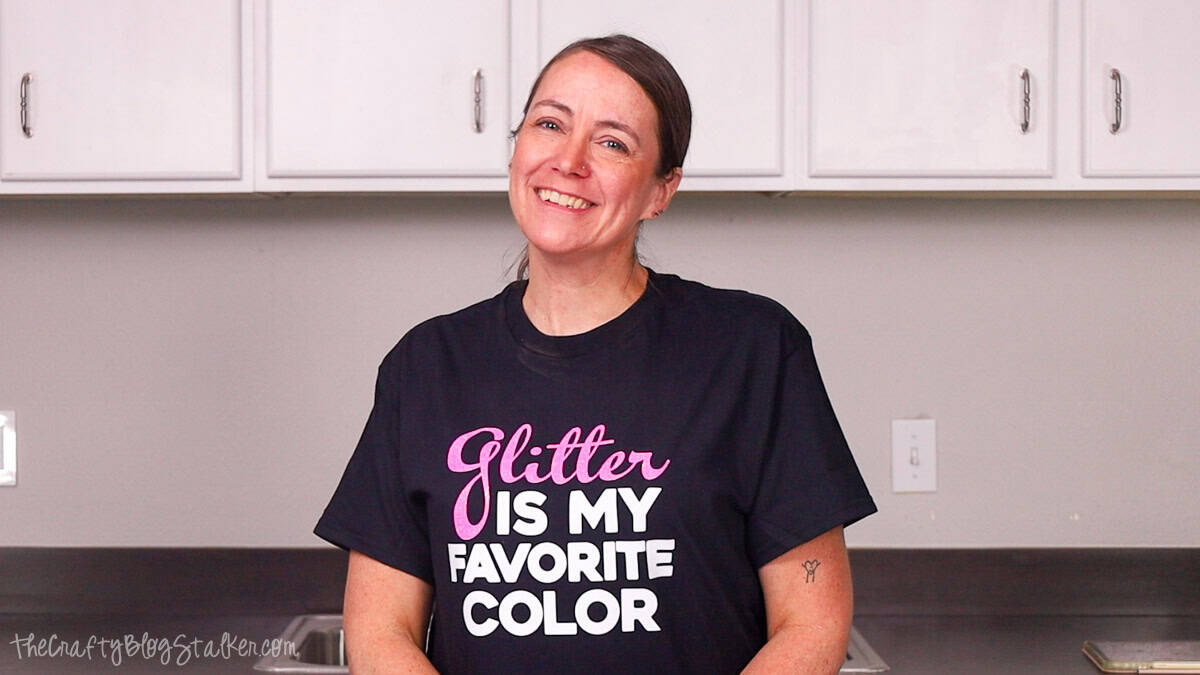
After cooling, I peeled the glitter liner and admired my work.

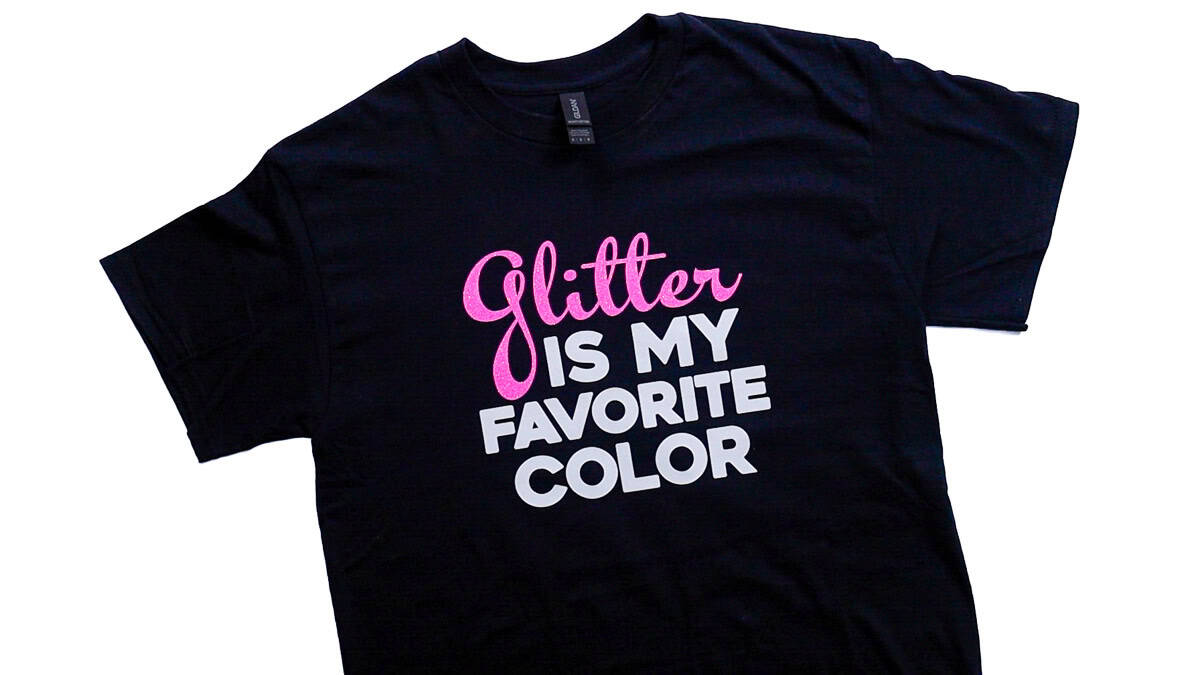
I love how this shirt turned out. The pink glitter is completely me, and it adds just the right amount of sparkle without feeling over-the-top.
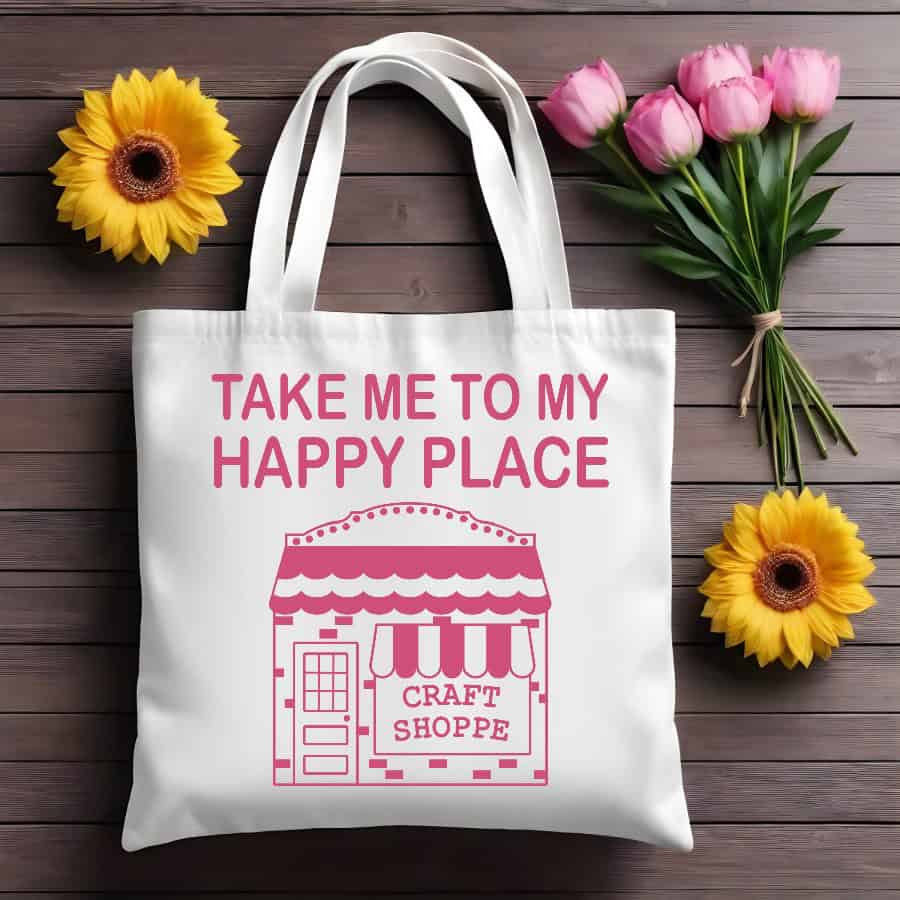
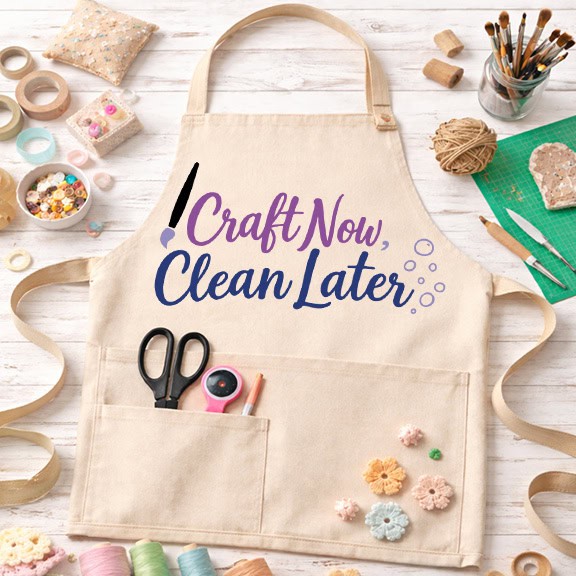
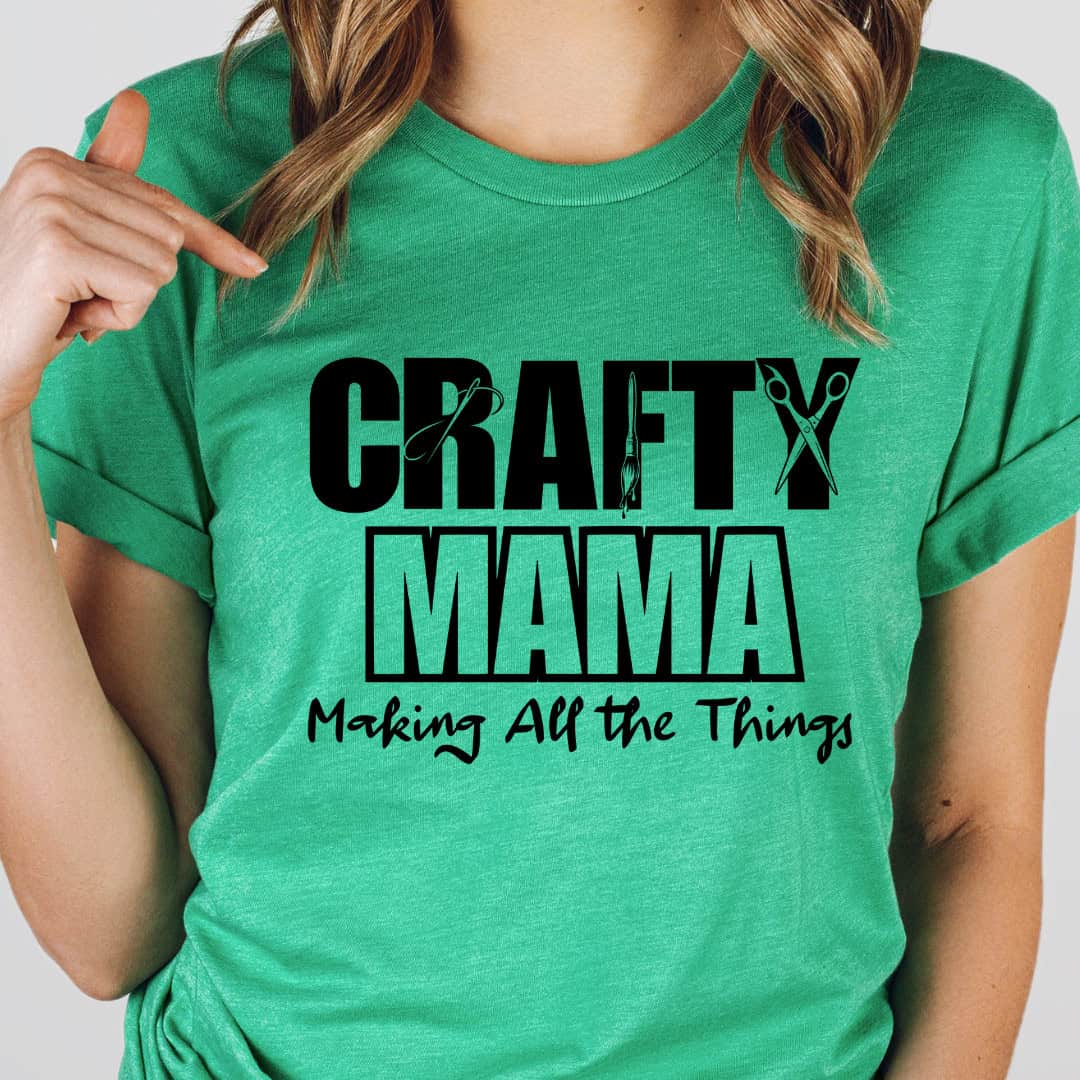
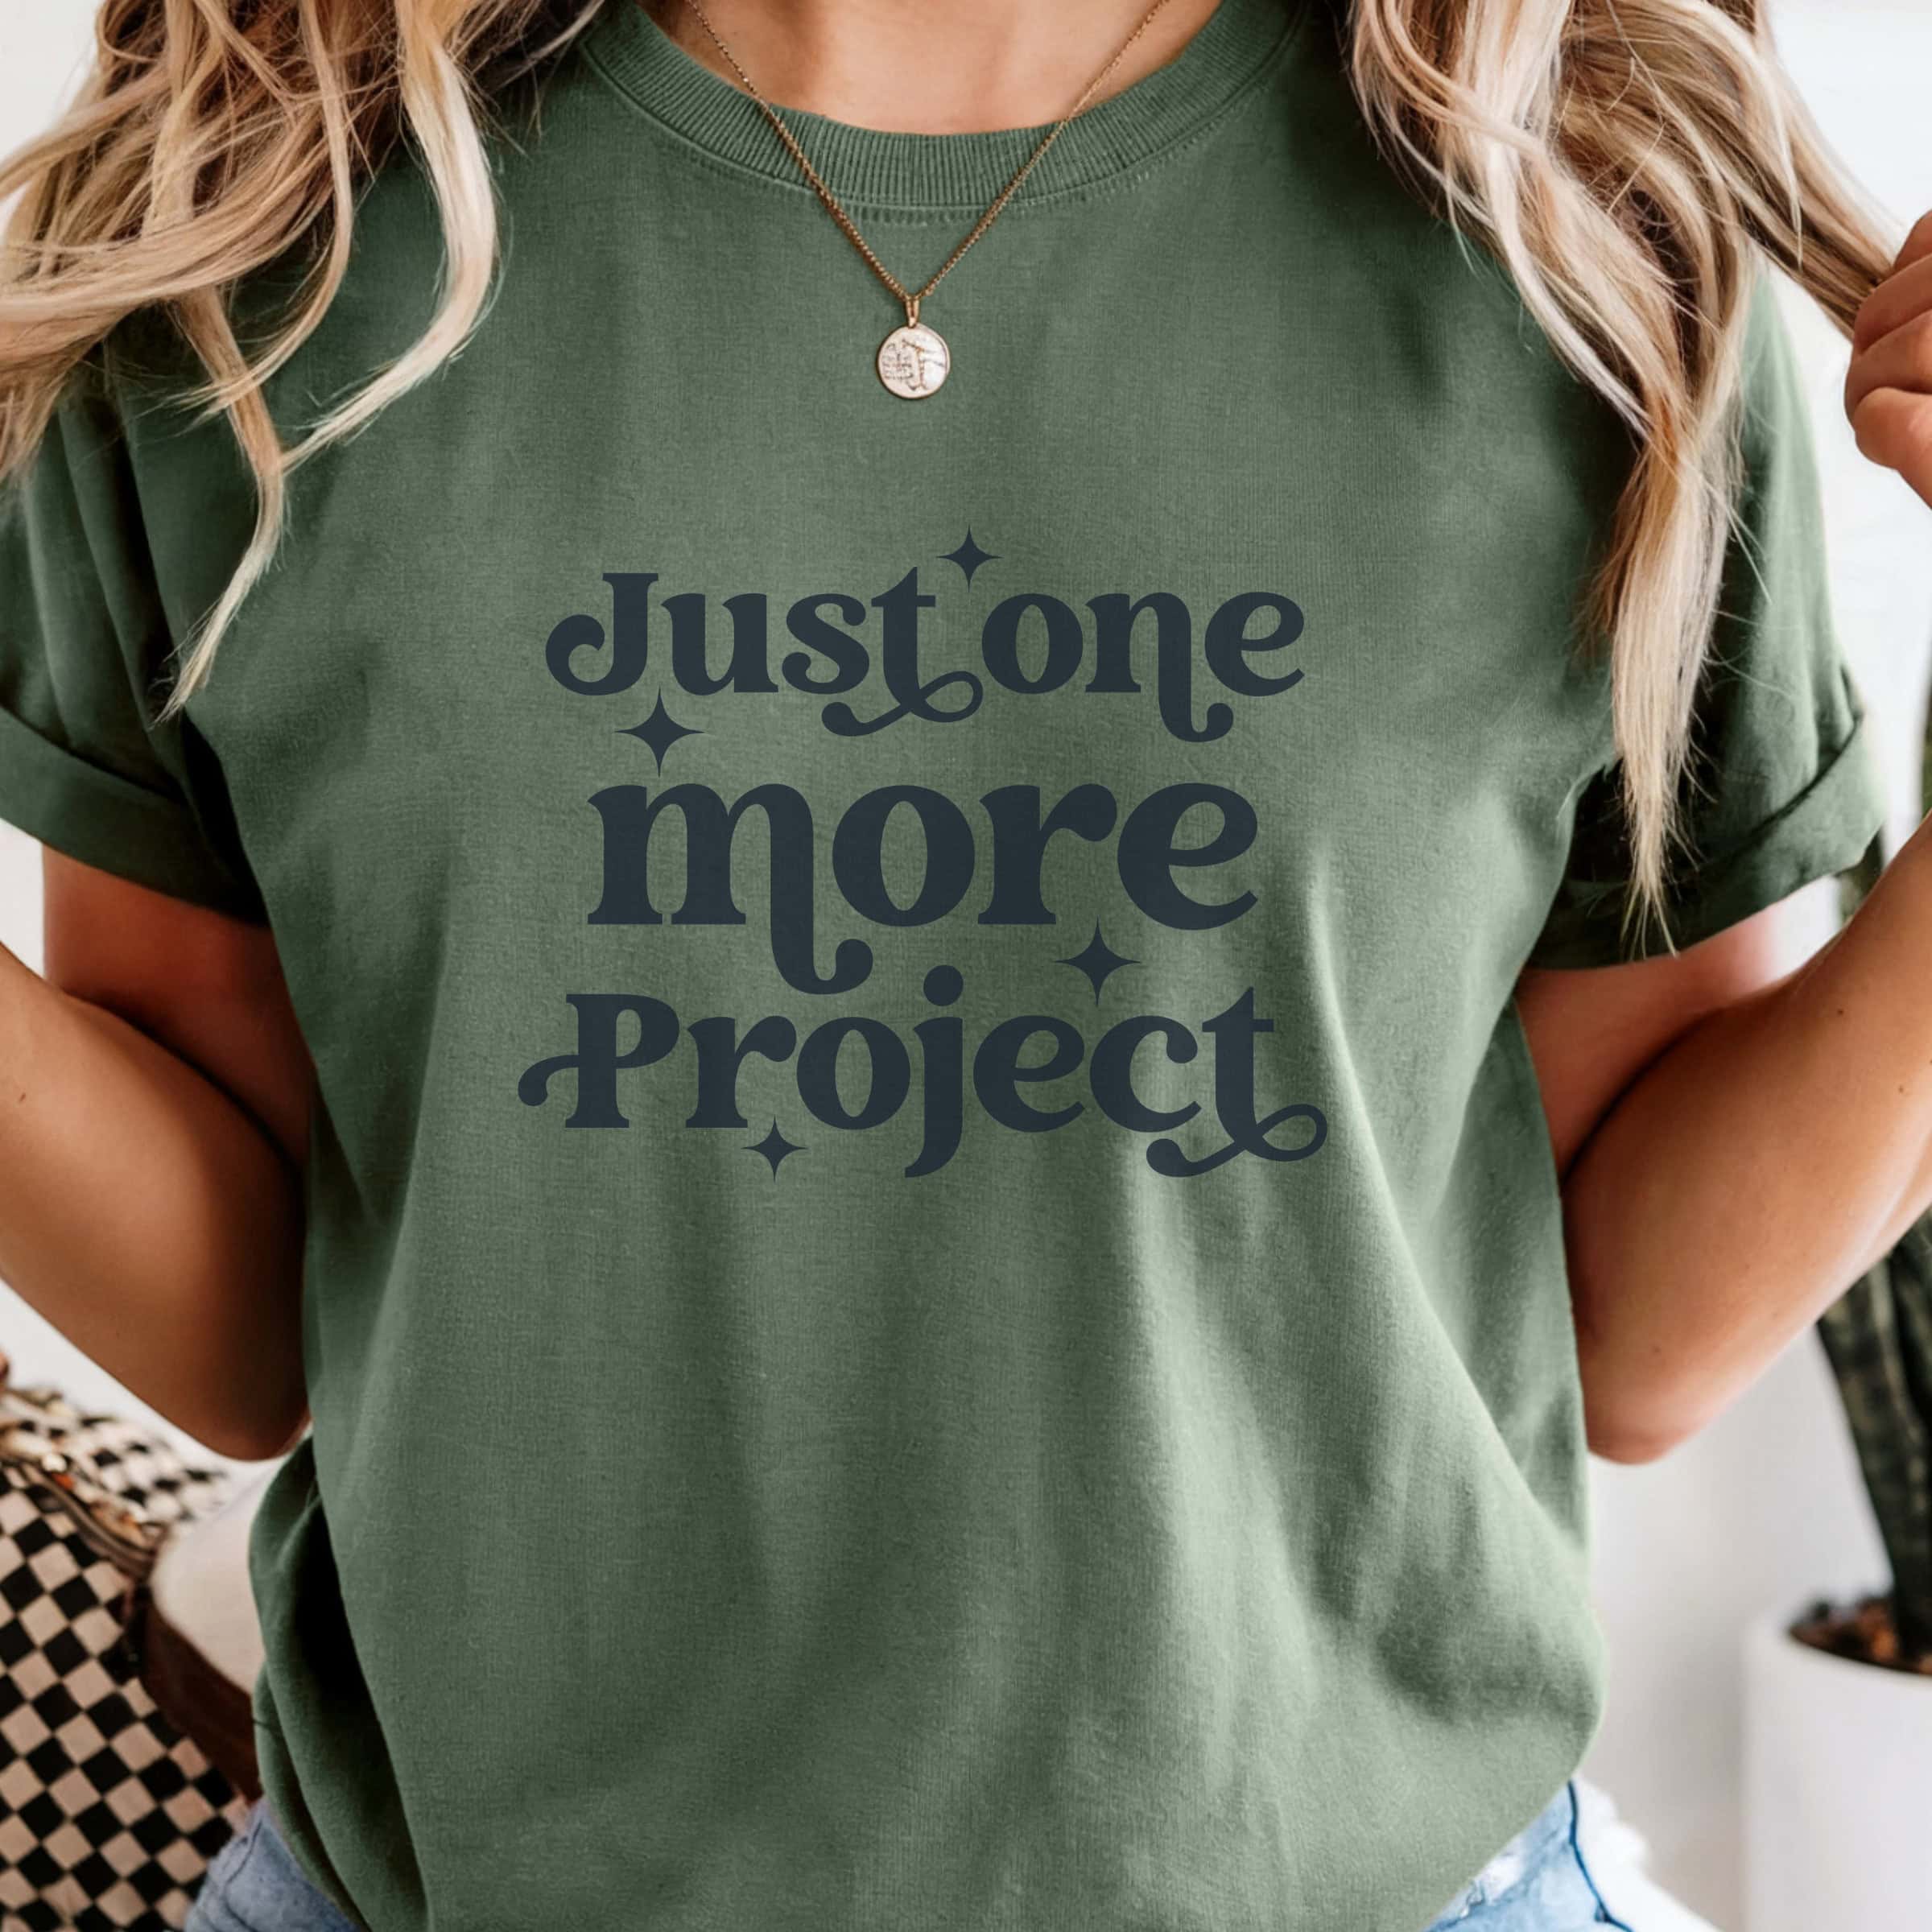
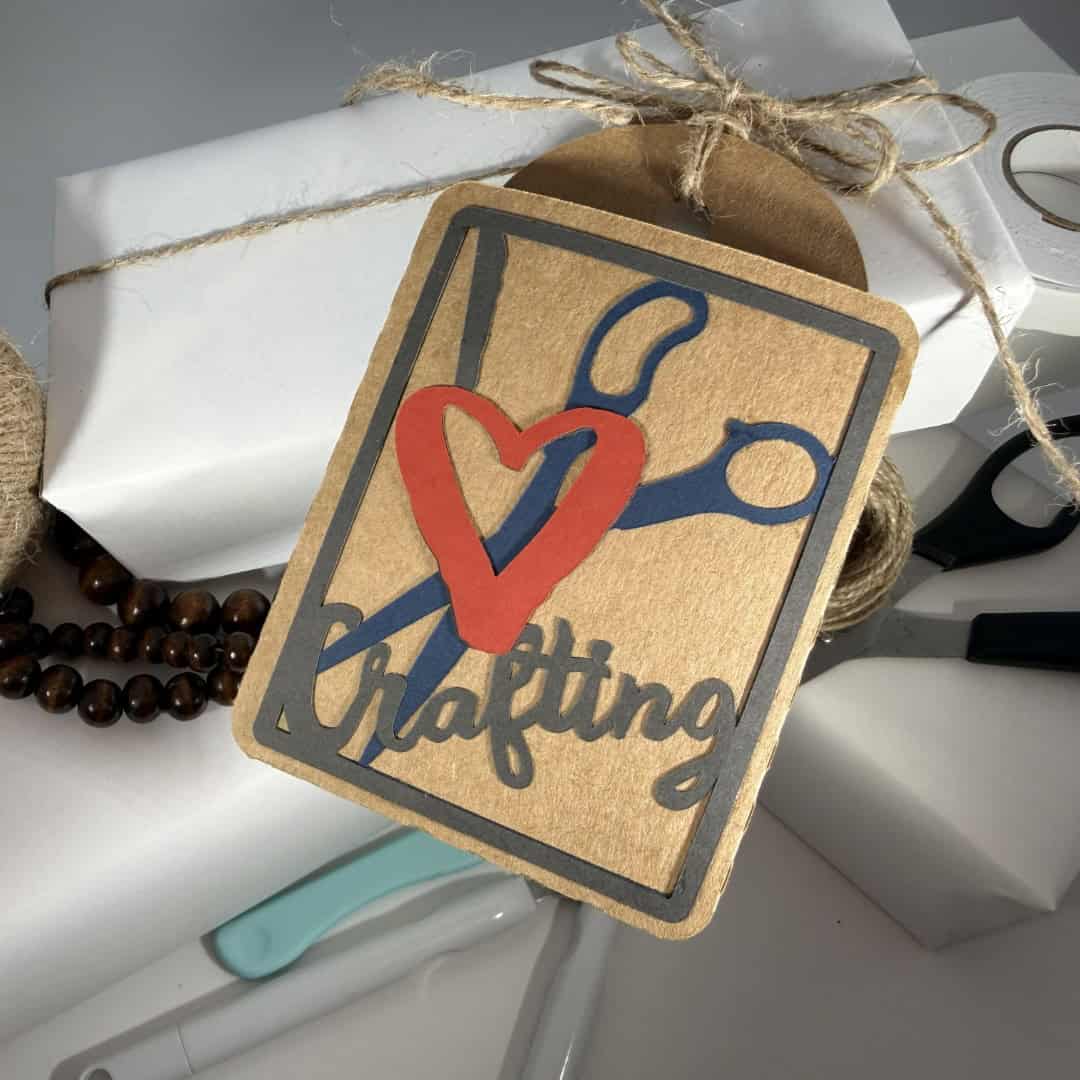
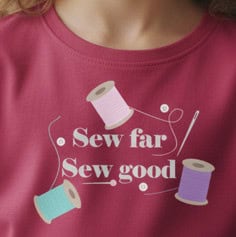
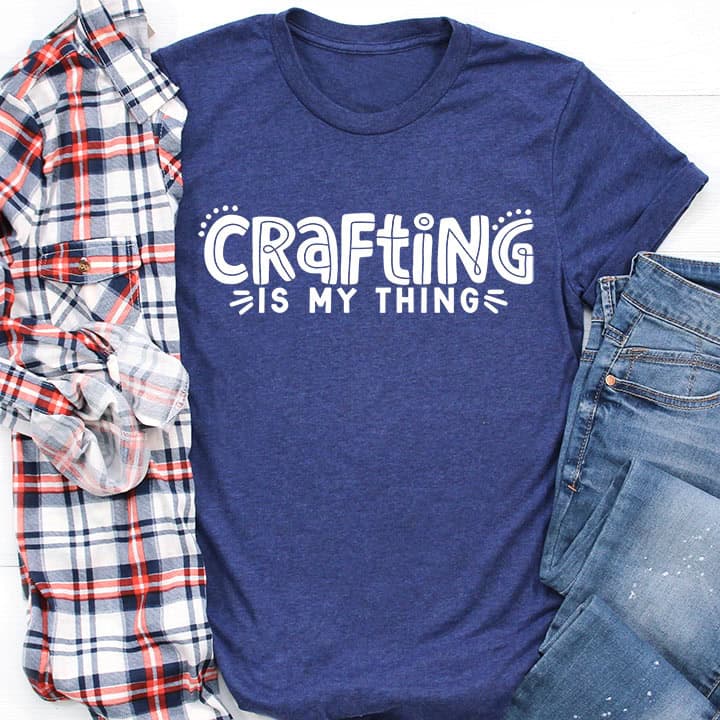
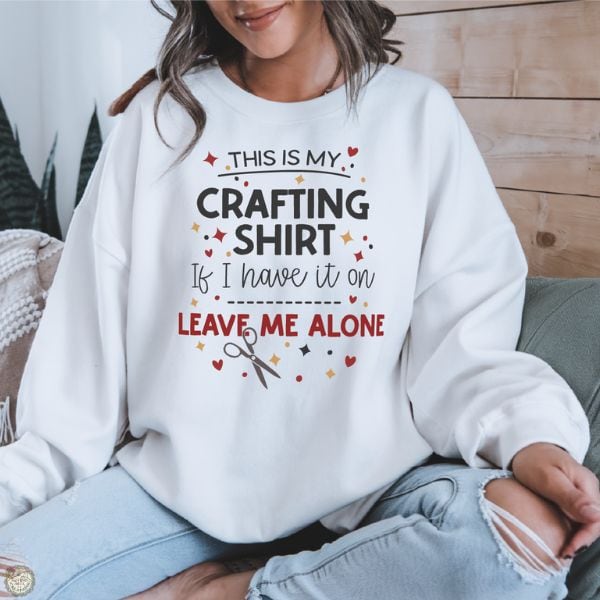
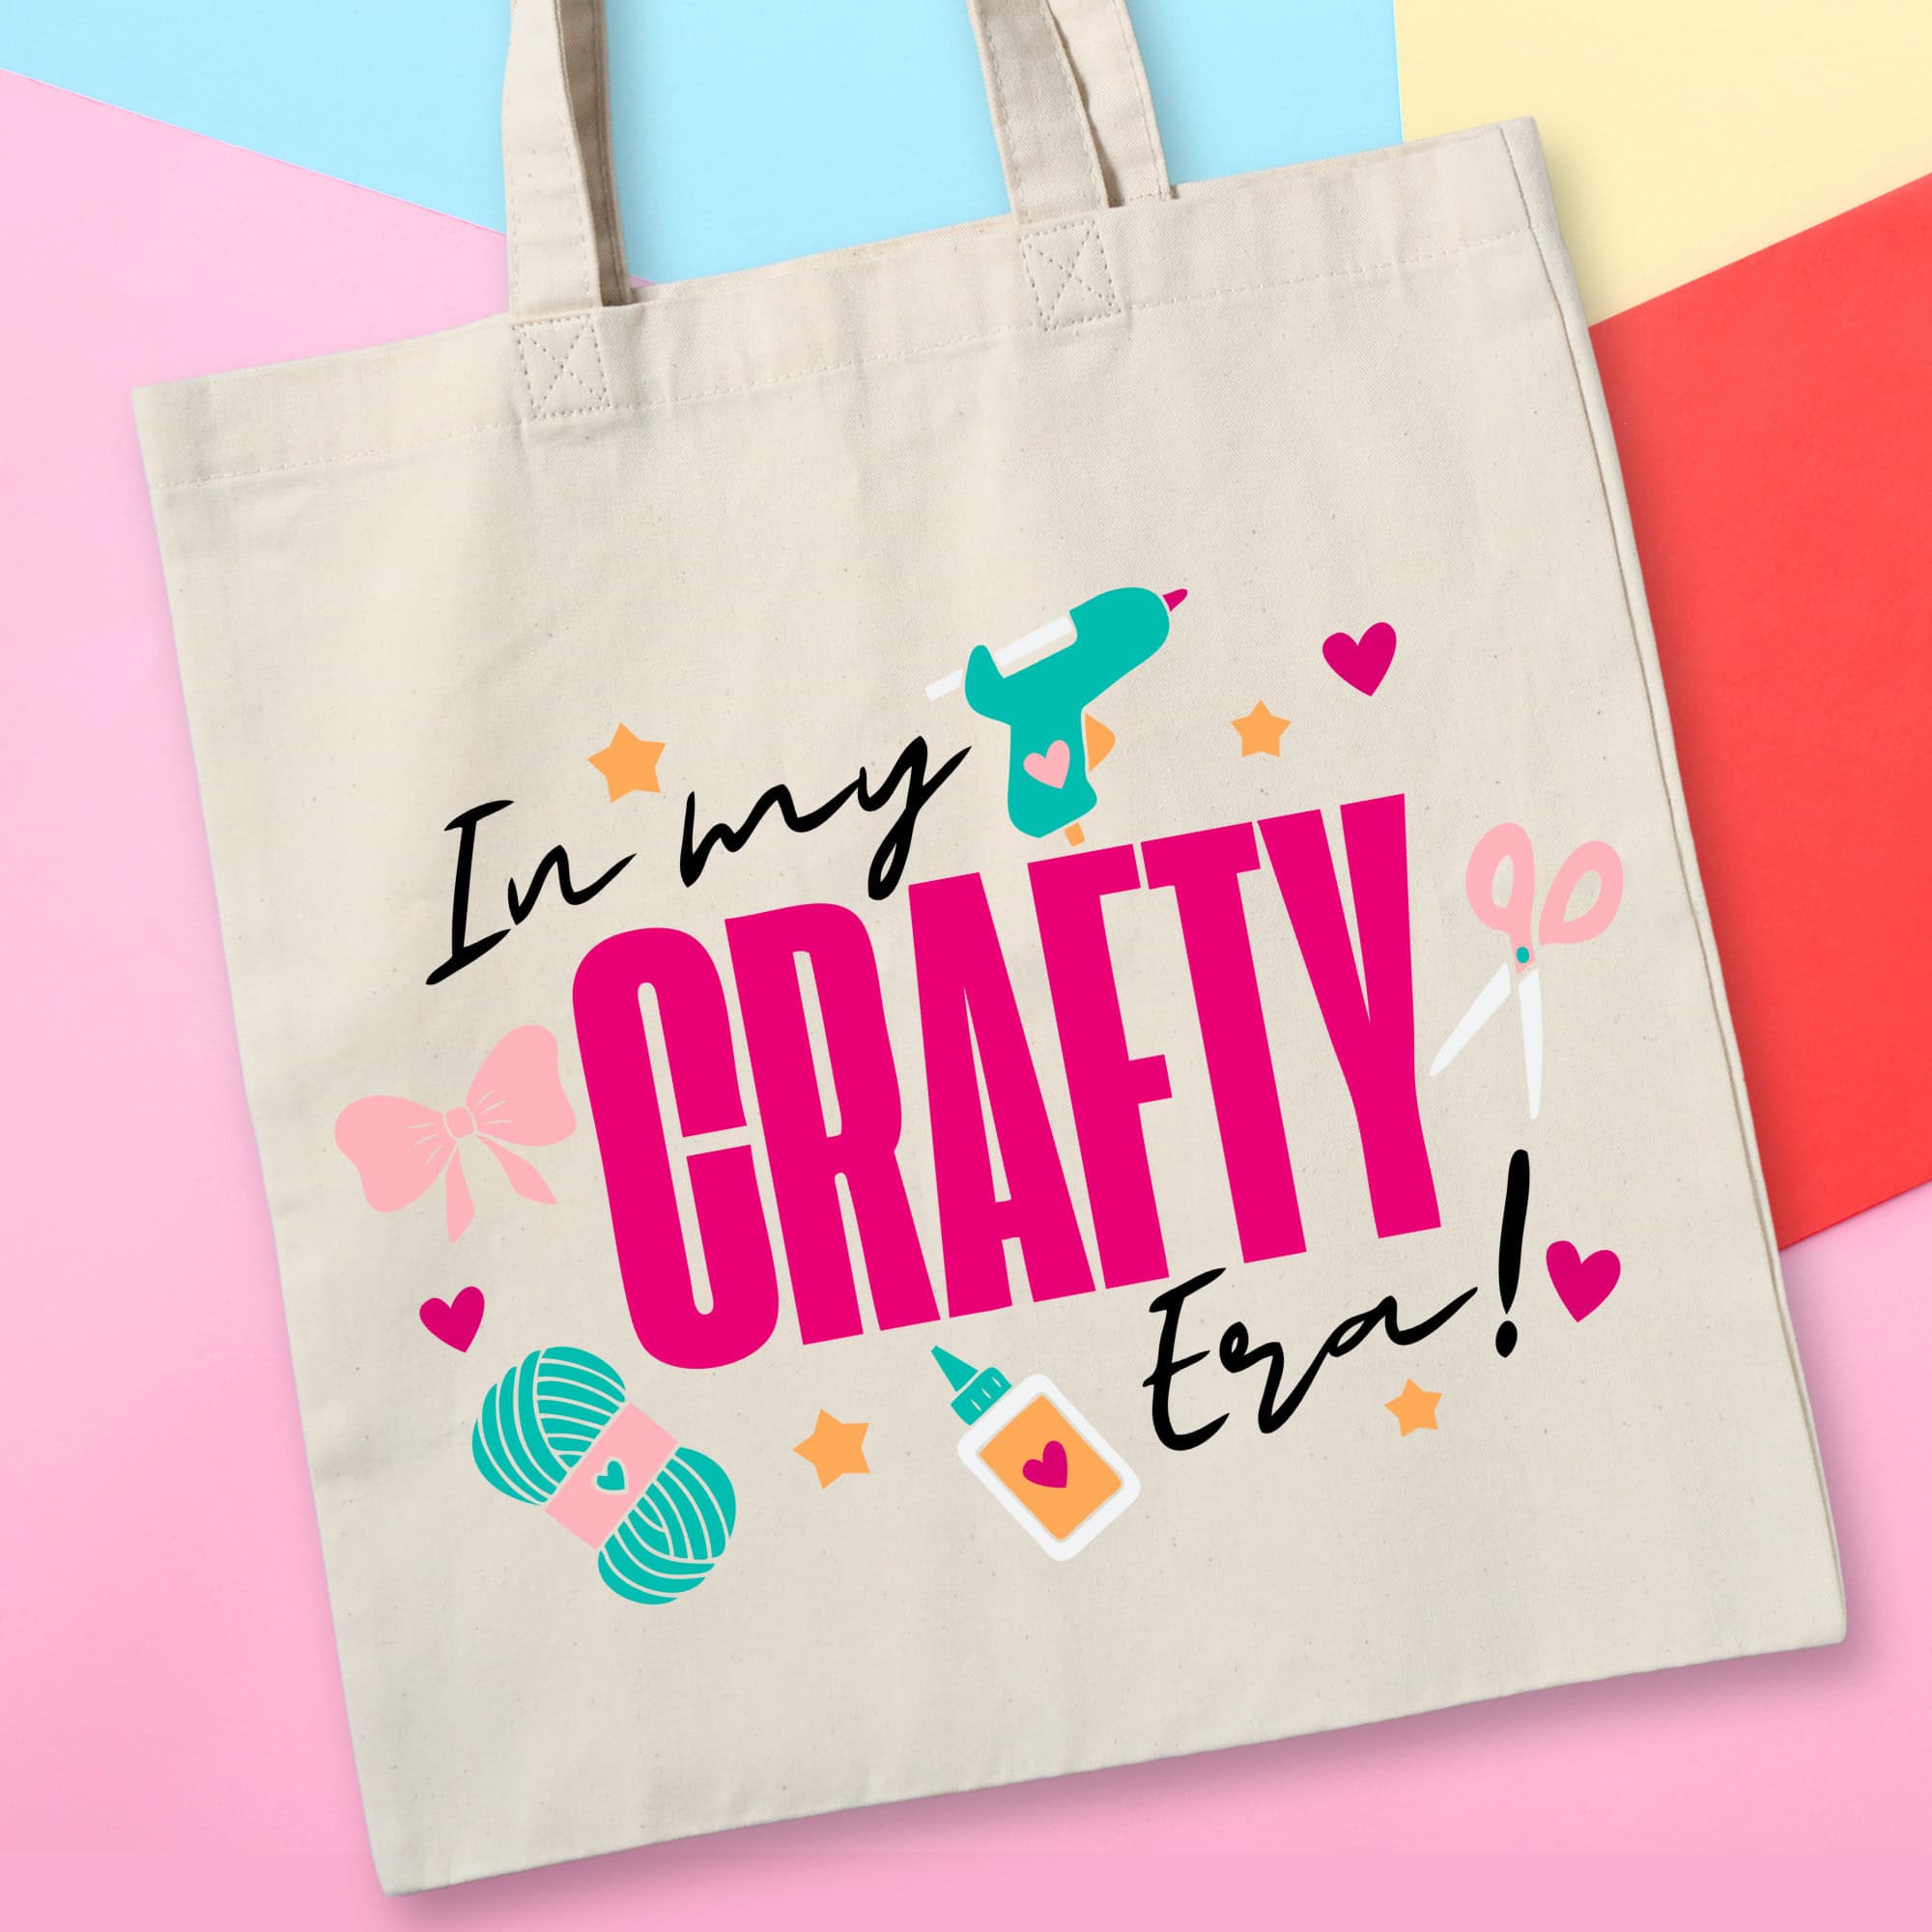
More Free SVGs for Crafters
Want to make more fun things for yourself? Here are a few great ideas that all include a free SVG!


Hi, I'm Katie!
I'm so glad you're here. Want to make something fabulous? I'm here to help!
Monica Armour
Do you also have a version of this using the alternate spelling of colour?
Katie Adams
I am so sorry, Monica but I do not.