
Learn how to make a Bride and Groom Wedding Card with Cricut. This simple DIY card is perfect for weddings, bridal showers, or anniversaries.
Need a quick handmade card for a wedding or bridal shower?
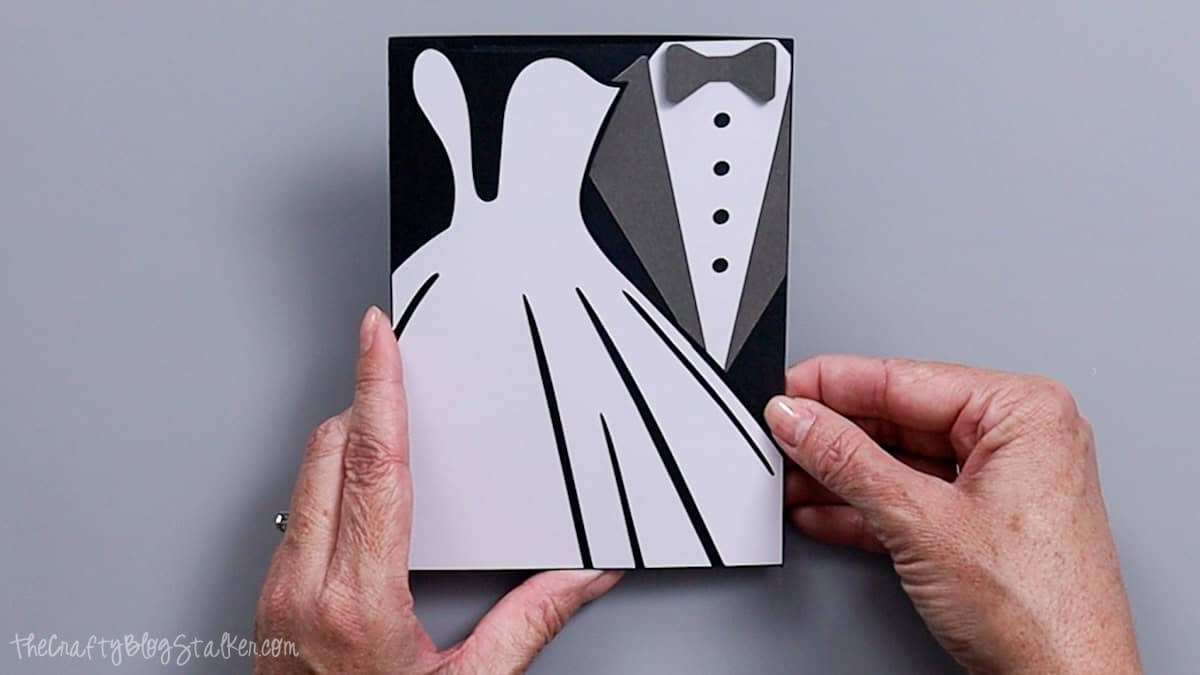
This Bride and Groom Wedding Card is a simple Cricut craft that looks fancy but is surprisingly easy to make.
It's a great project for beginners and a fun way to turn cardstock into something meaningful.
And if you enjoy working with SVG files, keep scrolling. There are more free SVG files waiting for you at the bottom of this post.
Jump to:
Skill Level: Beginner
Total Time: 30 minutes
Craft Tutorial Video
If videos are your thing, you're in luck-I've got a full tutorial ready for you!
Subscribe to my YouTube channel and stay inspired with every new project.
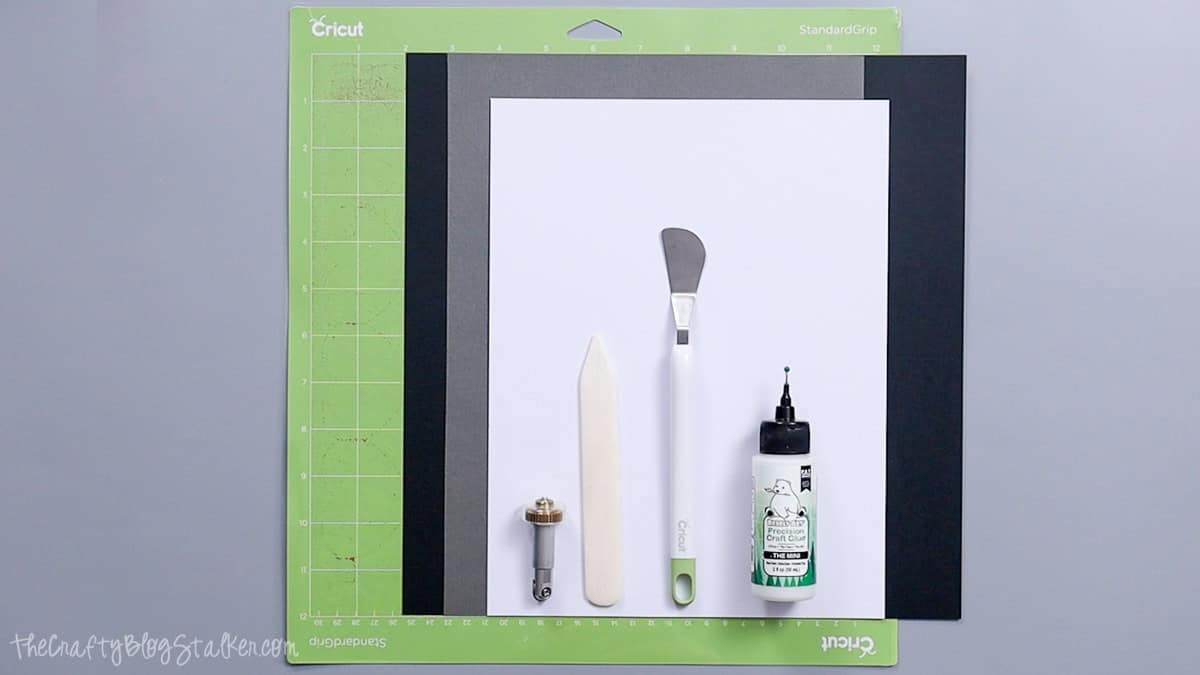
Supply List
- Cricut Cutting Machine
- Trifold Bride and Groom Card SVG
- Scoring Wheel or Scoring Stylus
- StandardGrip Mat
- Cardstock (black, white, gray)
- Spatula Tool
- Bone Folder
- Adhesive
Grab the Free SVG
Use the Trifold Bride and Groom Card SVG to cut all of the pieces for this project.
The template includes the card base, tuxedo layers, and the wedding dress, so everything lines up correctly.
Cricut Design Space
I'm using Cricut Design Space for this project. If you're using another cutting program, your screens may look a little different, but the overall process is the same.
The finished card fits an extra A6 envelope and measures about 4.5 x 6.25 inches when folded.
Start by uploading the SVG file into Cricut Design Space and adding it to your canvas.
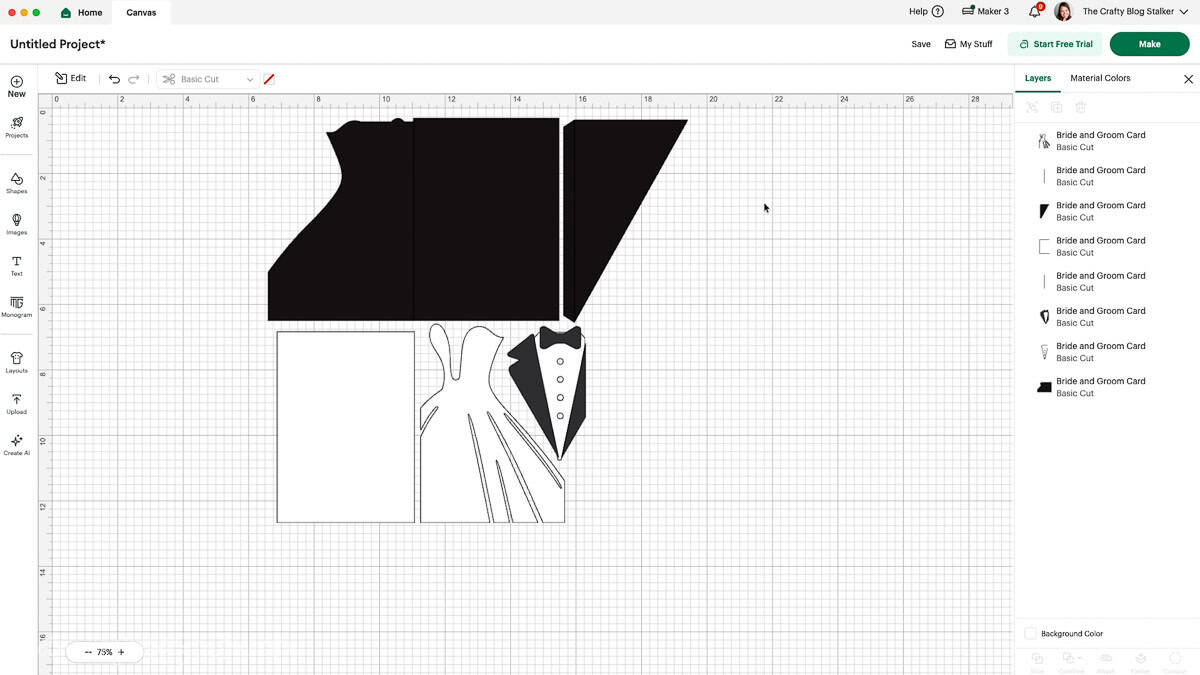
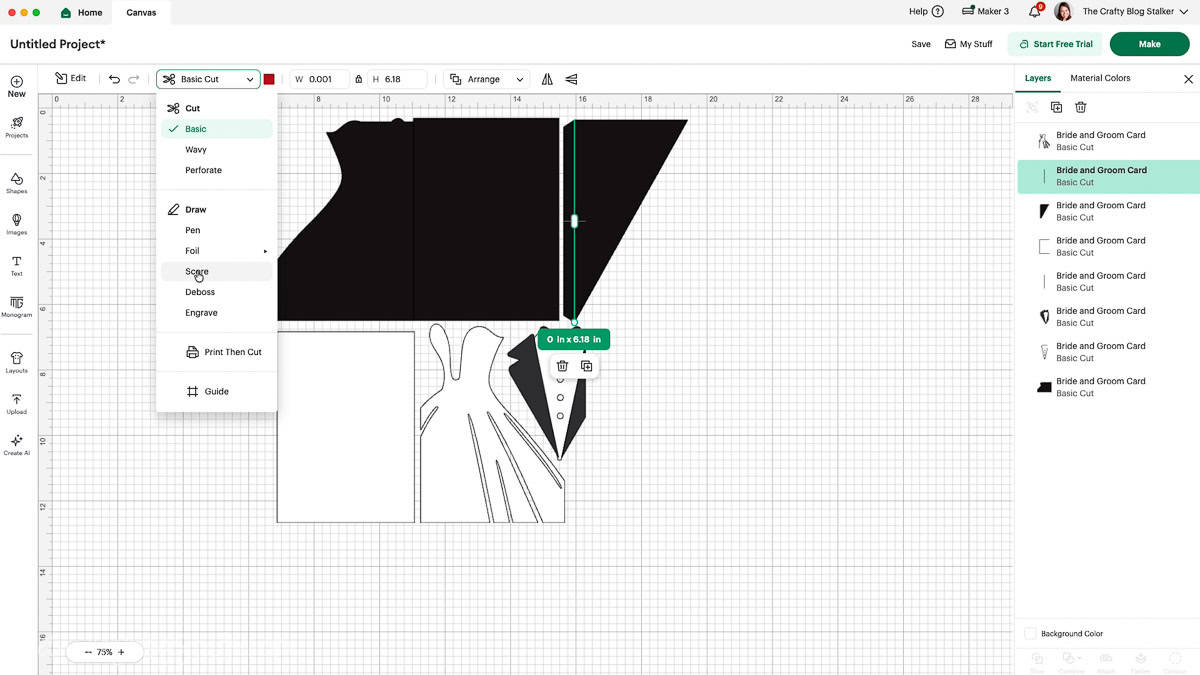
When the design loads, all lines will appear as cut lines.
Two of those lines actually need to be changed to score lines so the card folds properly.
Because the card base is black, those lines can be a little hard to see on the canvas. The easiest way to find them is in the Layers panel.
Look for the two vertical lines, select them, and change them from Cut to Score. Then attach them to the card base so the Cricut machine knows exactly where to score.
Once everything is ready, click Make.
Check the mat preview screen to ensure the pieces look correct, then proceed to the material settings.
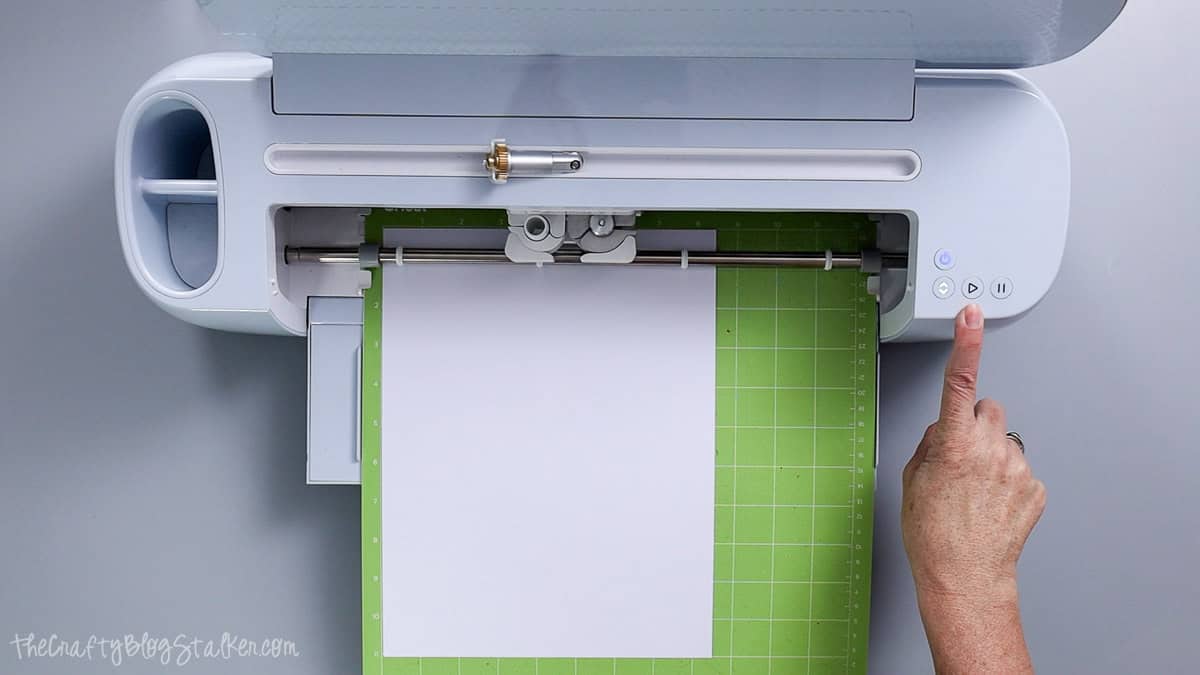
Select Medium Cardstock as your material. Cricut Design Space will prompt you when to load the scoring wheel or scoring stylus before cutting.
Let the Cricut machine cut all of the pieces from your cardstock.
Card Assembly
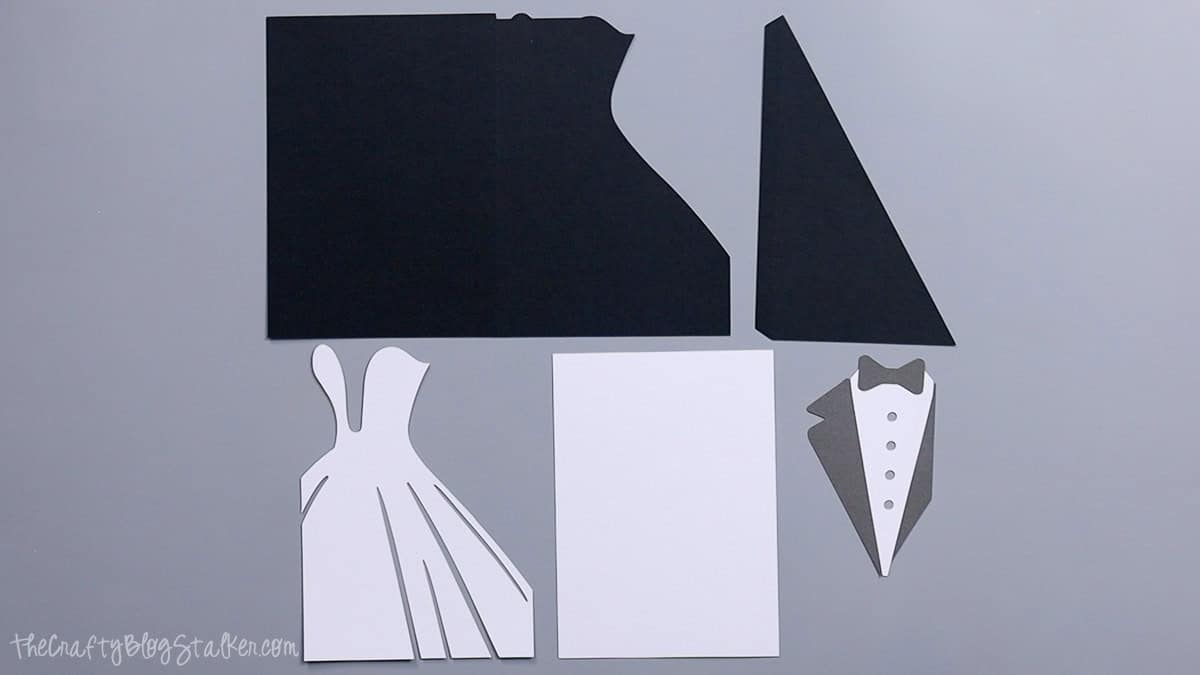
Once everything is cut, you'll have several cardstock pieces ready to assemble.
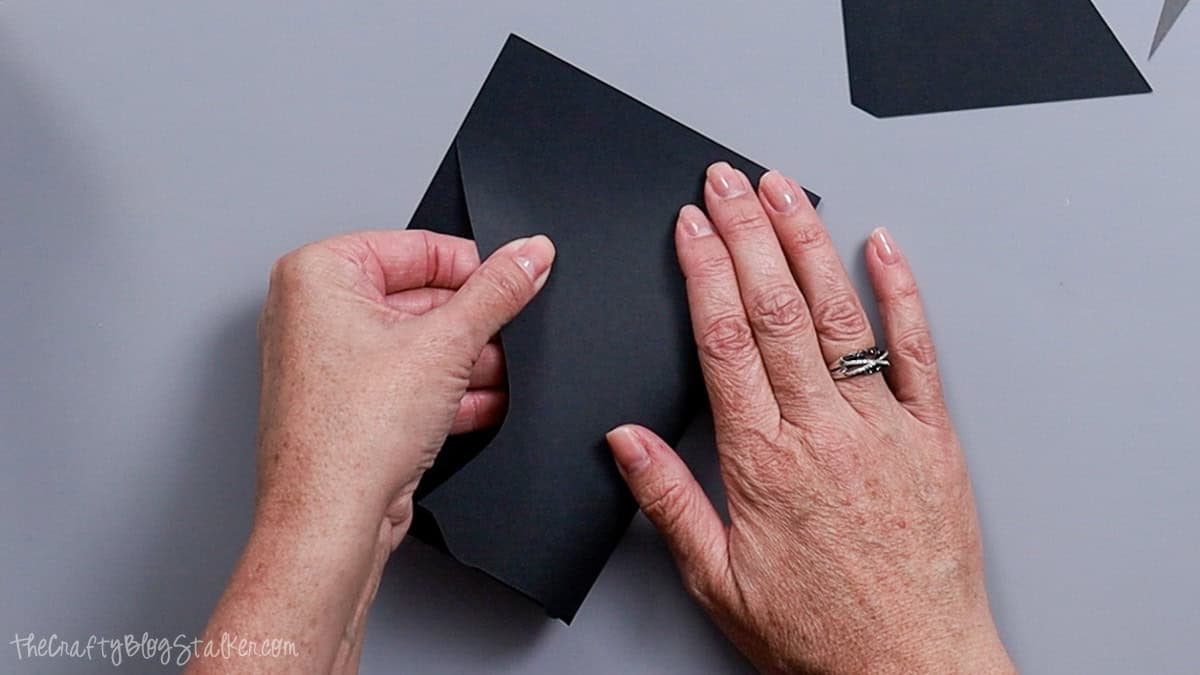
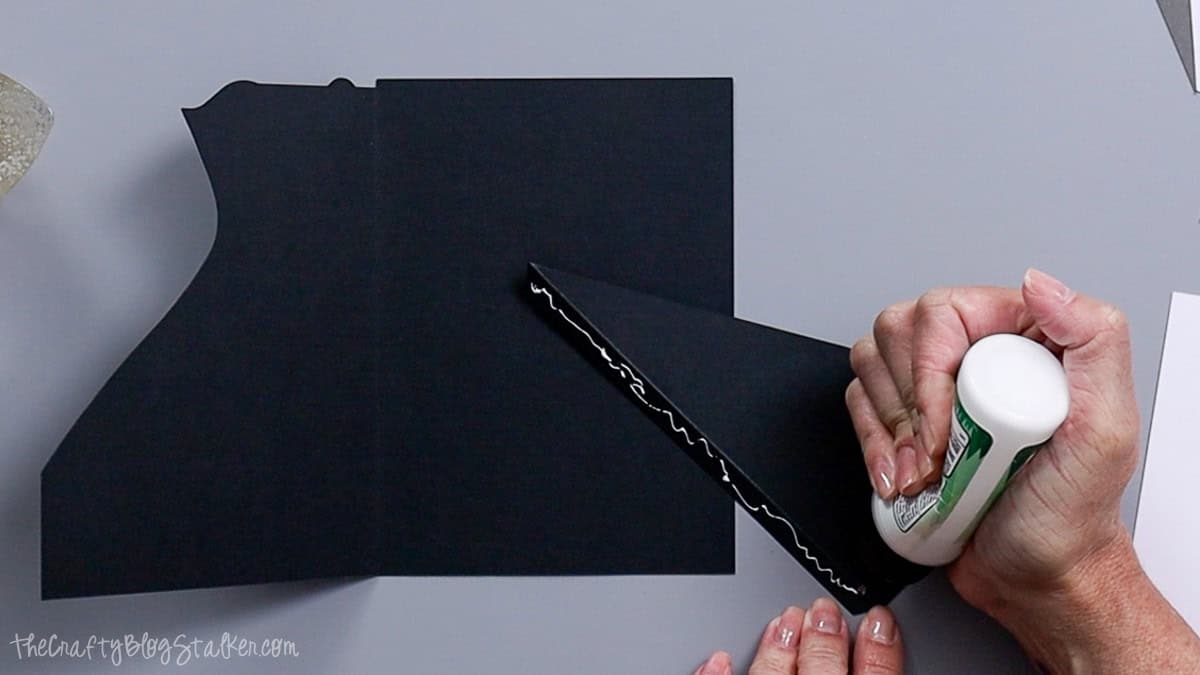
Start by folding the card base along the score lines. A bone folder helps create clean, crisp folds.
The shaped side of the card becomes the front, and the straight edge of the triangle piece forms the top left flap.
Apply glue along the triangle flap and attach it to the inside of the card.
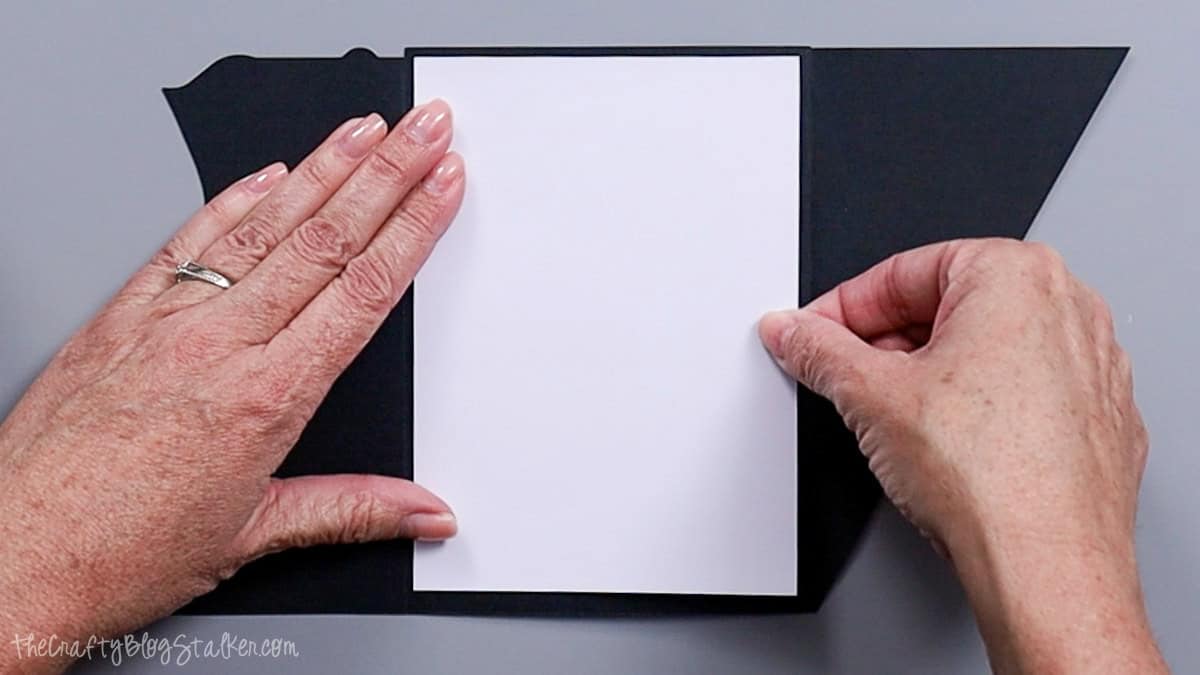
Next, glue the white square panel to the card's inside center. This covers the glued flap and creates a clean space for writing a message.
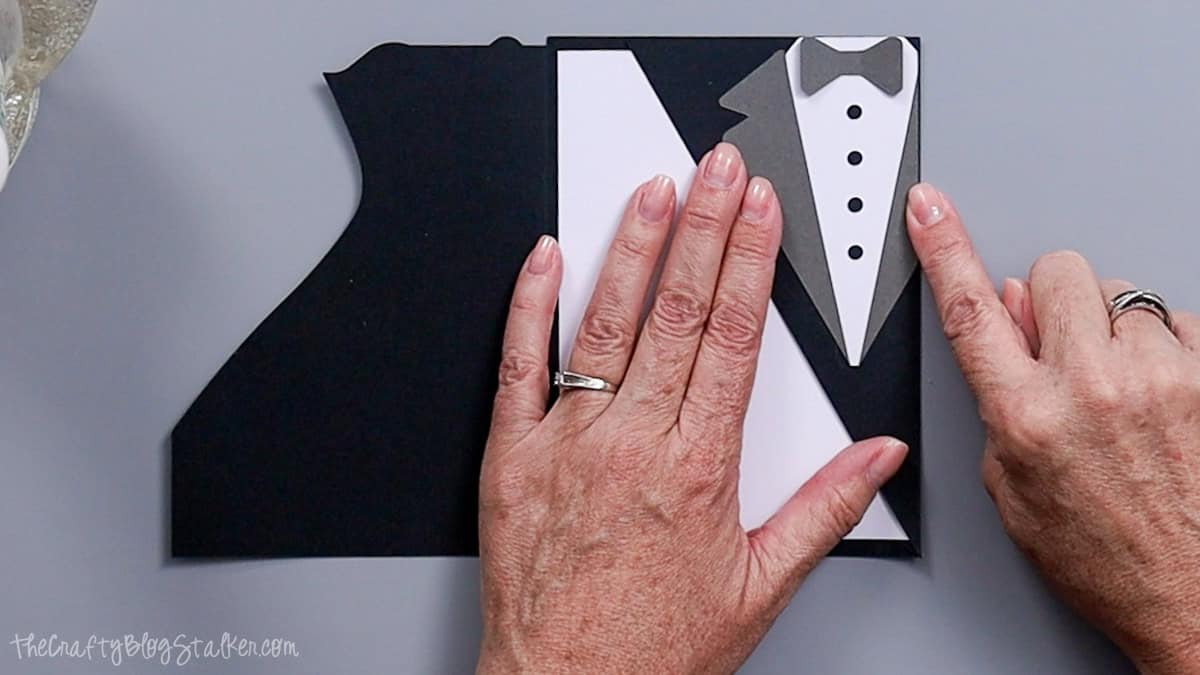
Assemble the Tuxedo
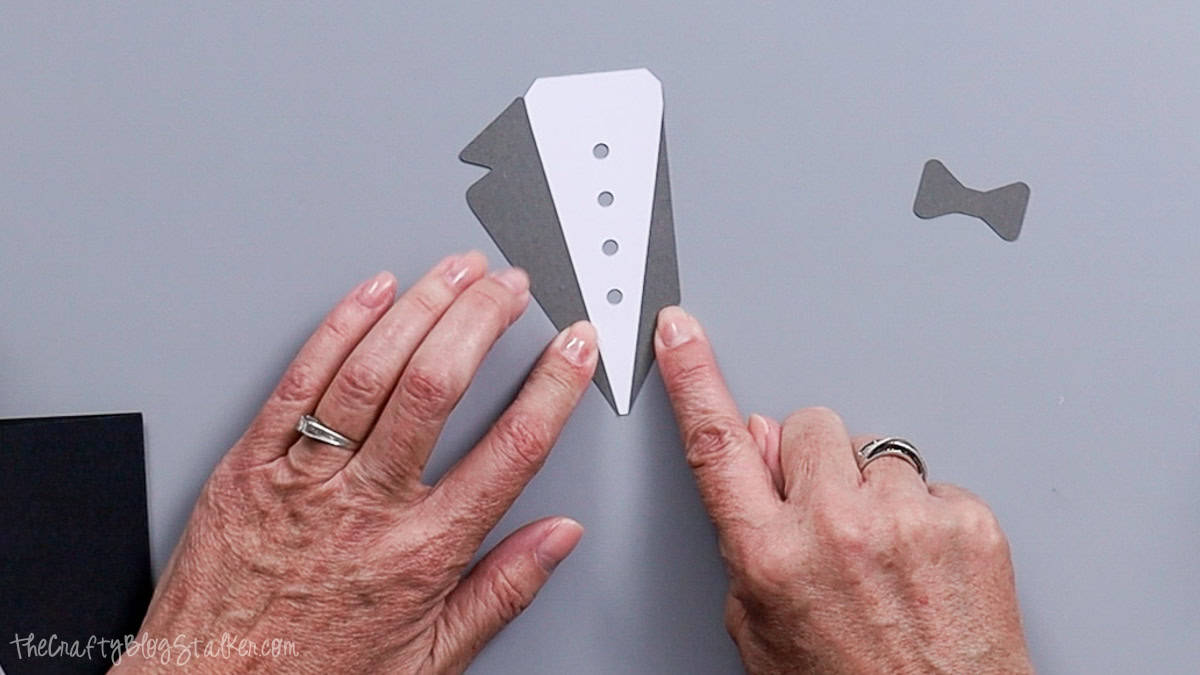
Now move on to the tuxedo pieces.
Before gluing anything down, lay the pieces out on your table to see how they fit together. This helps avoid mistakes.
The bottom of the shirt should line up with the points of the jacket flaps.
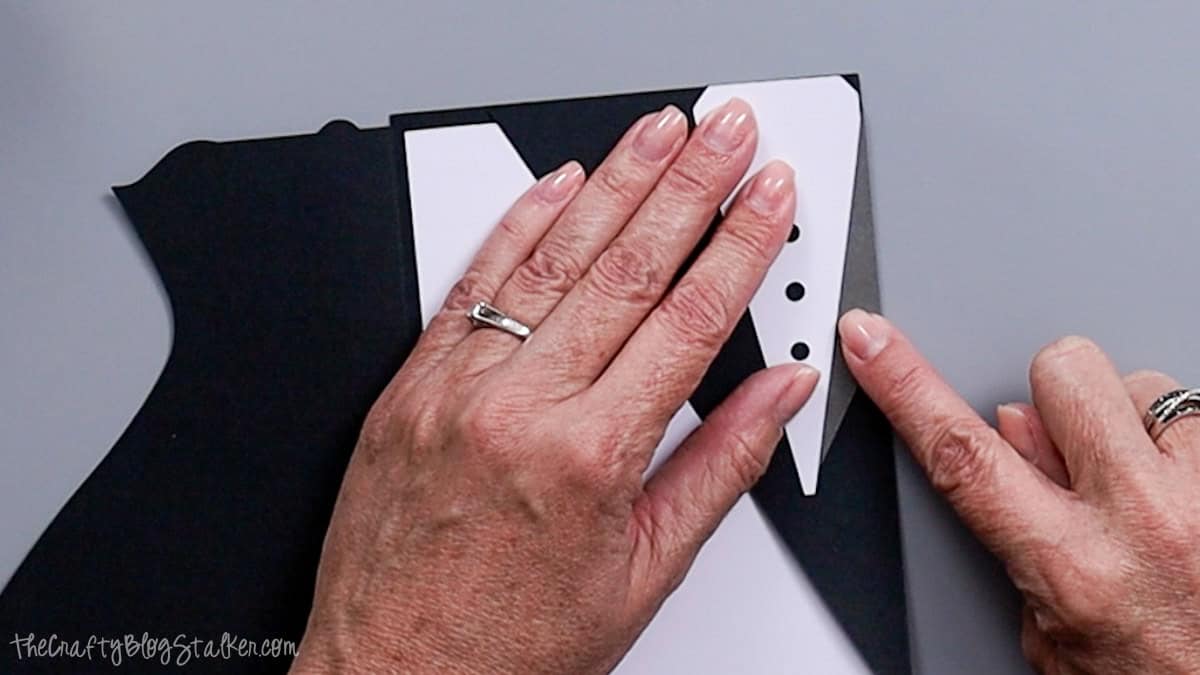
Once everything looks right, glue the pieces onto the front card flap, aligning them with the top and left edges.
For the bow tie, gently fold the sides upward to give it a little dimension. Add a small dot of glue in the center and attach it to the shirt.
The top of the bow tie should sit just below the shirt collar.
Add the Wedding Dress
Open the card flat with the dress flap on the right side.
Apply glue to the back of the white wedding dress, then place it on the card, lining it up with the bottom and right edges.
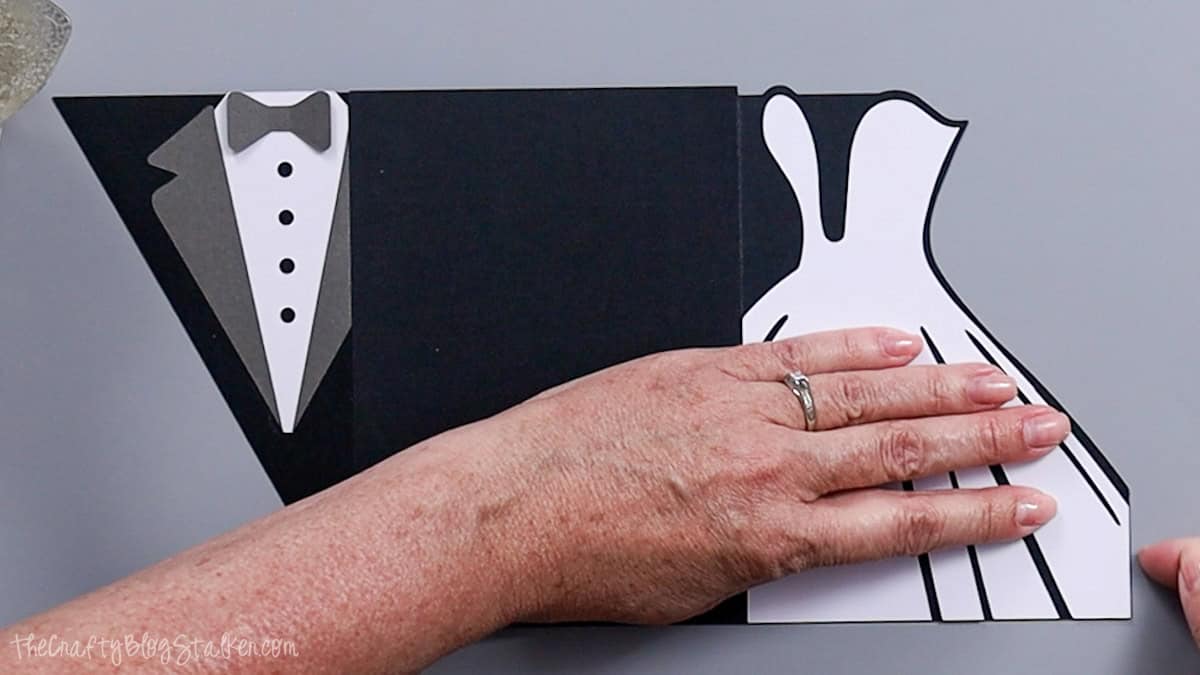
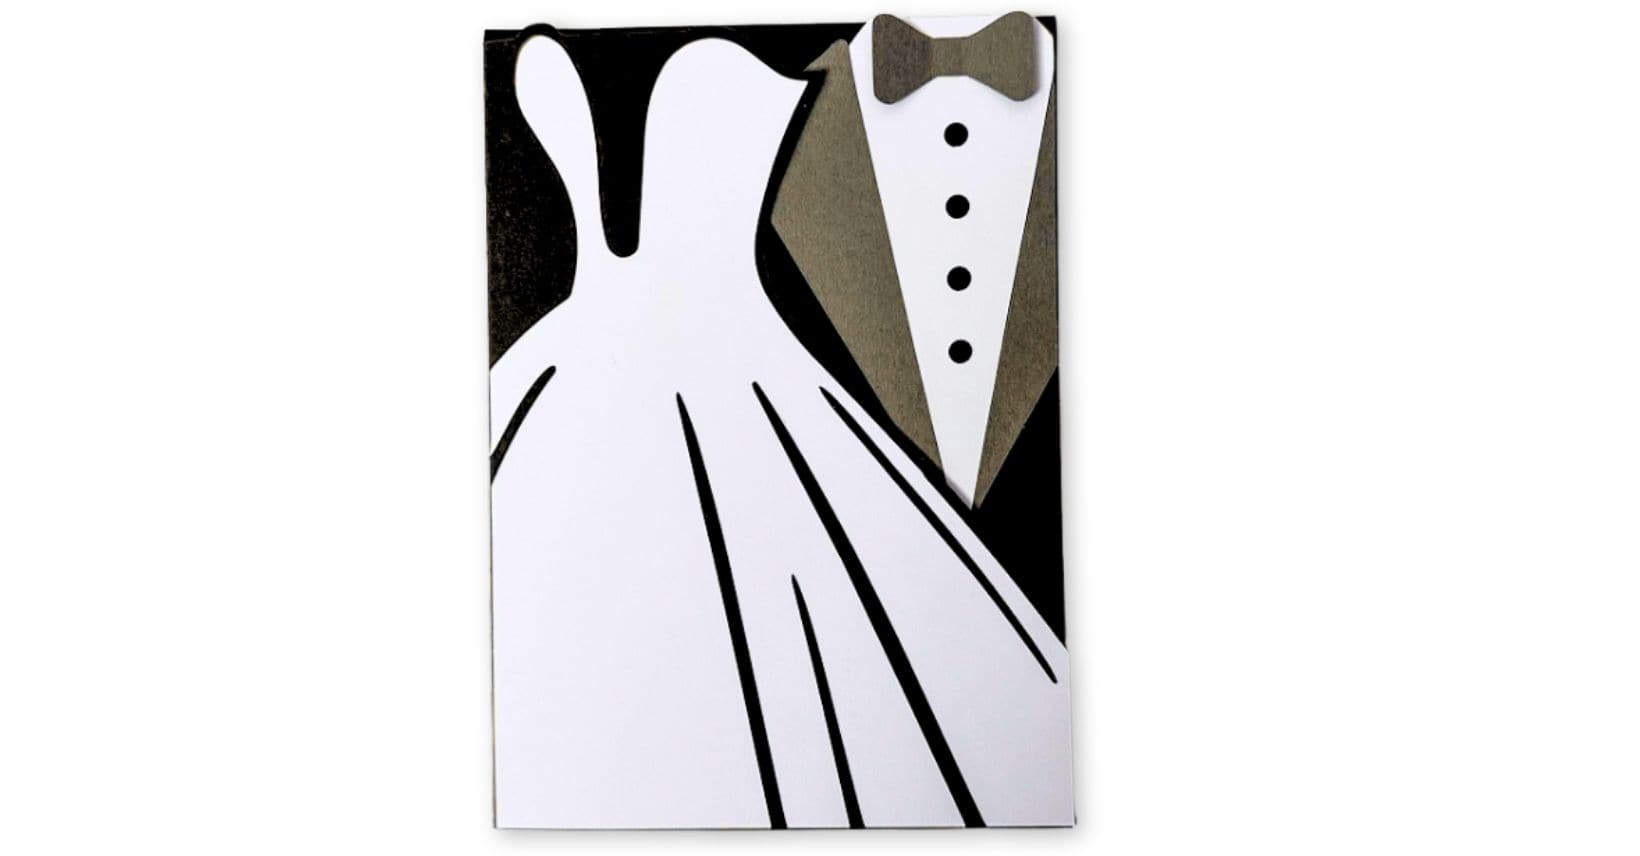
This creates the layered bride-and-groom design when the card closes.
To close the card, fold the tuxedo flap first, then bring the dress side over the top.
Final Thoughts
I love how this card turned out. It's simple, but it still feels really special for a wedding or anniversary.

If you want to add a little extra detail, you could:
- Emboss the dress to give it a lace texture
- Add small paper flowers
- Use patterned cardstock that matches the wedding invitation
If you make one of these cards, I'd love to see it! Share a photo and tag @thecraftyblogstalker so I can check it out.
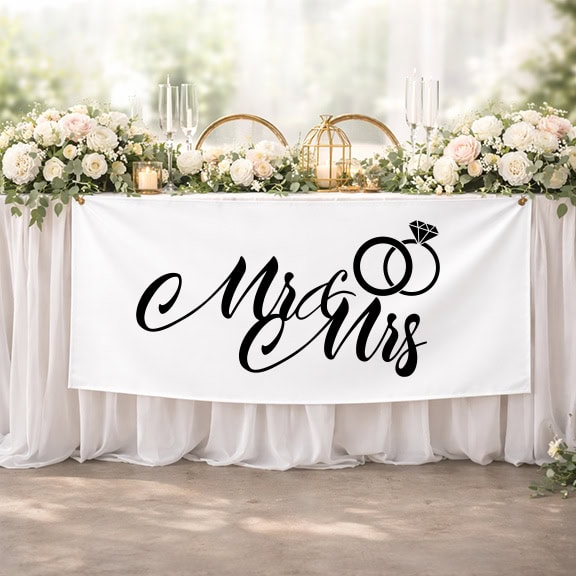
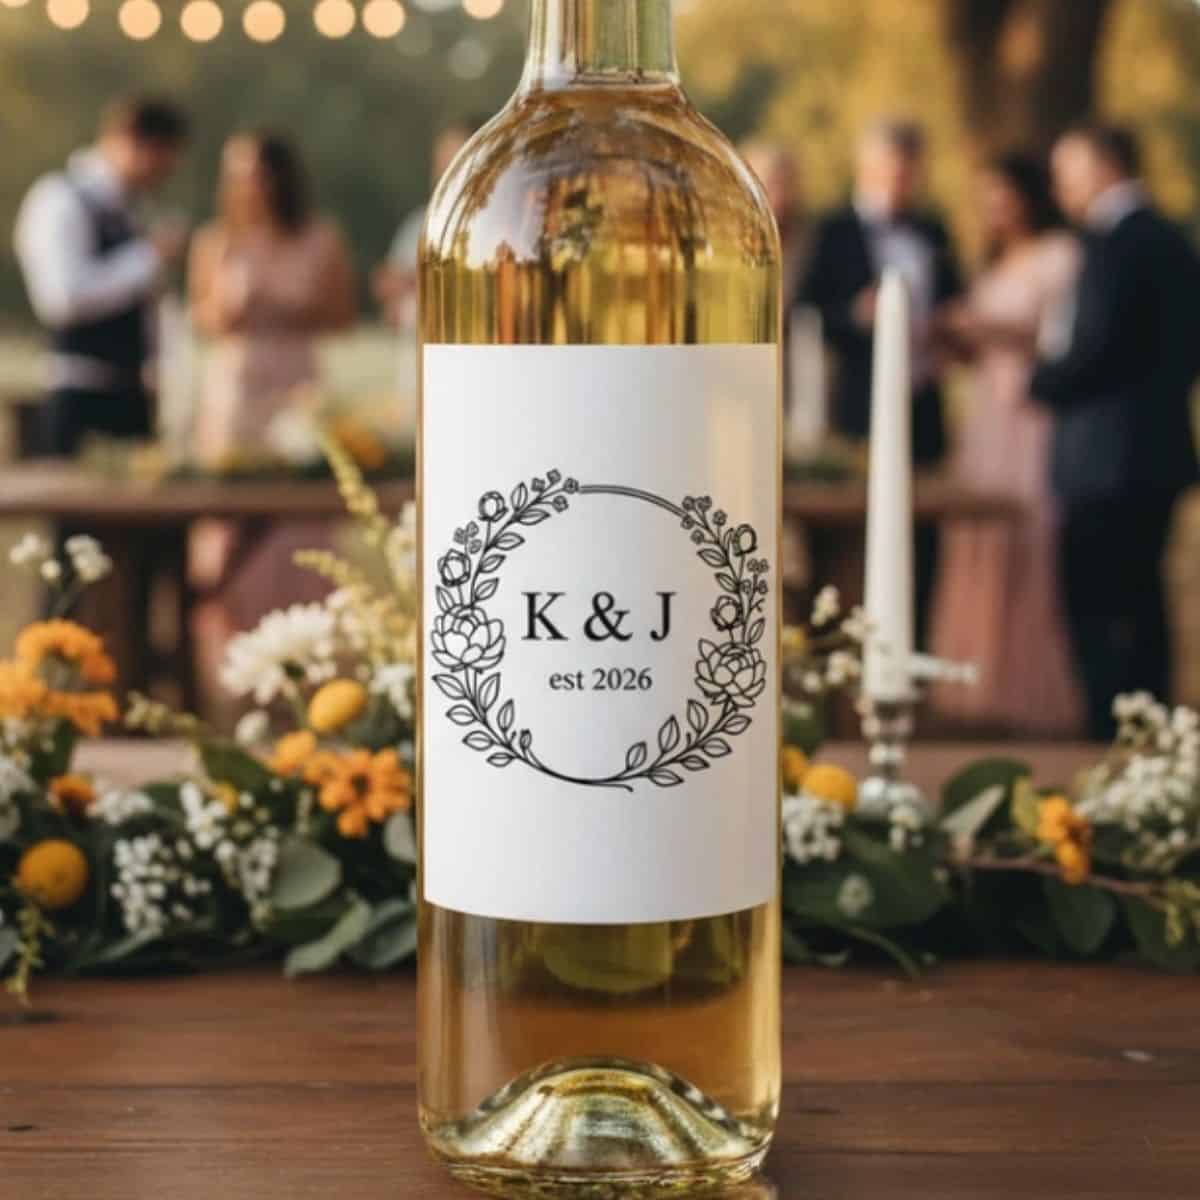
More Cricut Wedding Ideas
If you enjoy making wedding cards and paper crafts like this one, there are lots of fun ways to use your Cricut machine for weddings.


Hi, I'm Katie!
I'm so glad you're here. Want to make something fabulous? I'm here to help!