



Learn how to build a box for citronella candles with this easy woodworking tutorial. It's a simple outdoor project that's both practical and decorative.
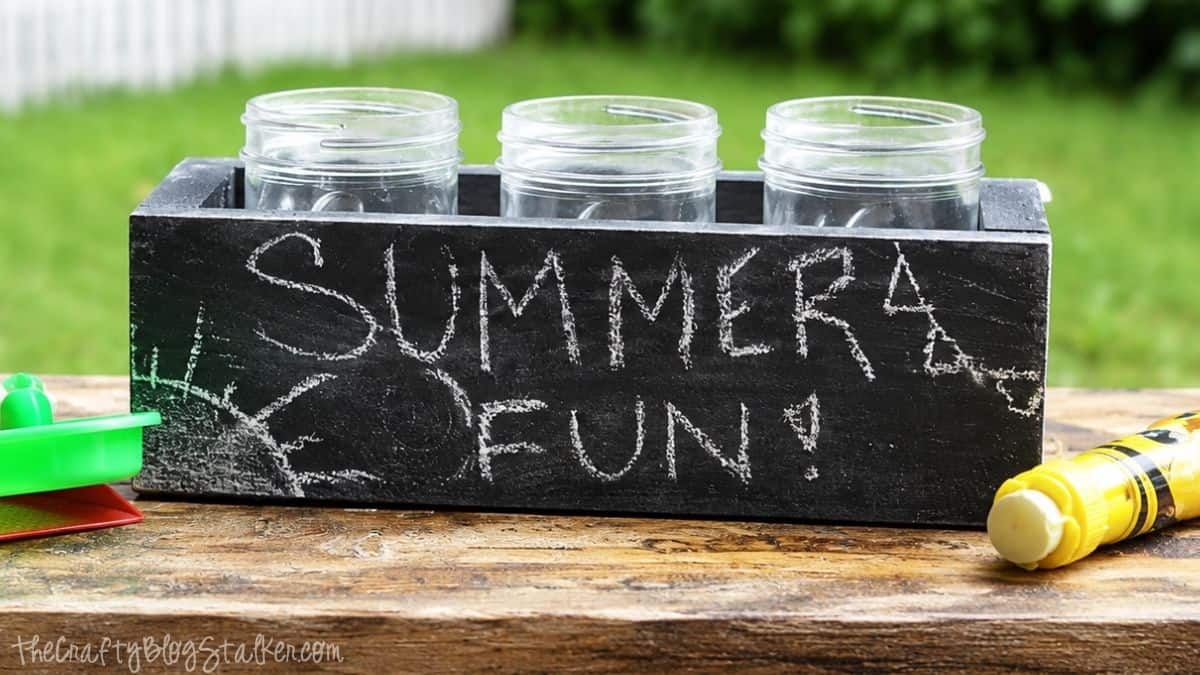
One of my favorite parts of summer is spending evenings outside, whether we're grilling dinner, chatting with friends, or just enjoying the fresh air.
Unfortunately, the mosquitoes always seem to think they're invited too.
I designed this wooden candle box to pair with my DIY Citronella Candles, giving them a sturdy home while adding a little rustic charm to our outdoor space.
It's a beginner-friendly woodworking project that comes together quickly and looks great on a patio table, porch, or deck.
Skill Level: Beginner
Estimated Cost: $10-$15 (not including candles)
Total Time: 1 hour + paint drying time
Supply List
- Ryobi Cordless Brad Nailer
- Miter Saw
- Sand Paper
- Spray Paint Primer
- Spray Chalkboard Paint
- Mason Jar Citronella Candles
- 1x4" Wood Board cut into the following lengths
- 2 @ 3 ½"
- 2 @ 10 ⅞"
- 1 @ 9 ⅜"
Before You Begin
This box was designed specifically to fit my DIY mason jar citronella candles. If you're using different jars or containers, measure them first and adjust the cut list as needed.
If you're using scrap wood instead of a new board, make sure it's straight and in good condition before cutting.
You can also build this project from MDF for indoor decorative use, but I recommend solid wood for outdoor projects since it handles moisture much better.
Cut the Wood
Begin by cutting all of your pieces to length using a miter saw. Taking a few extra minutes to make accurate cuts will help everything fit together neatly during assembly.
After cutting, lightly sand away any rough edges or splinters before assembling the box.
This makes the finished project look much cleaner and helps the paint adhere evenly.
Assemble the Candle Box
Start by attaching the two short end pieces to the bottom board. Position one piece flush with each end, then secure it with a brad nailer.
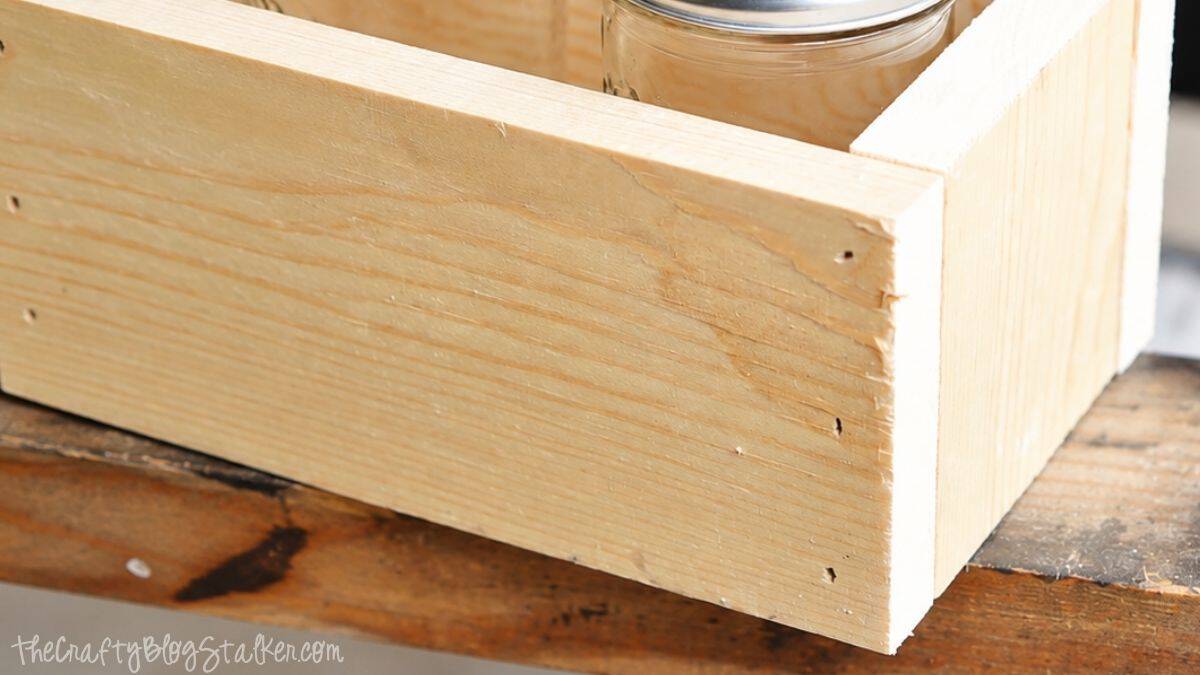
I used three nails at each joint, which created a sturdy connection without needing to pre-drill pilot holes.
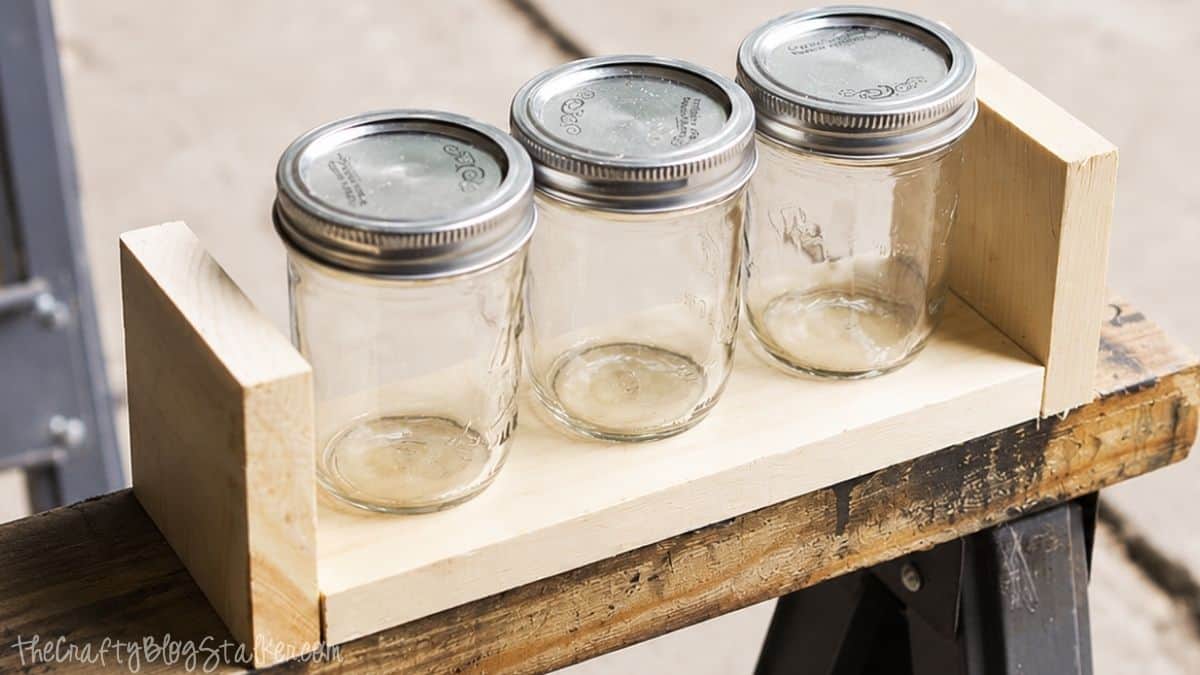
Next, attach the two longer side pieces to complete the box. Again, use three nails at each corner and check that everything stays square as you work.
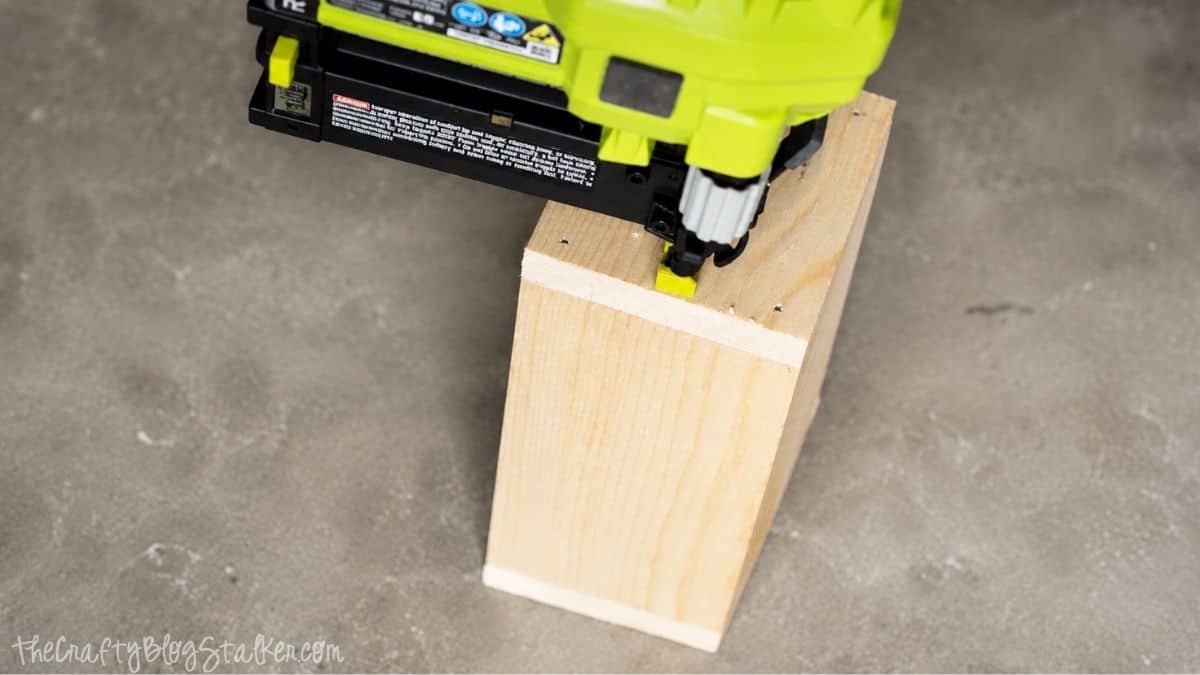
If you don't own a brad nailer, you can substitute wood glue and finish nails or screws. When using screws, drill pilot holes first to help prevent the wood from splitting.
Sand and Paint
Once the box is fully assembled, sand all of the surfaces until they're smooth. Pay extra attention to the corners and edges where small splinters can remain after cutting.
Apply a coat of spray primer followed by several light coats of chalkboard paint, allowing each coat to dry according to the manufacturer's directions. Thin coats create a much smoother finish than trying to cover everything at once.
After the paint has cured for 24 hours, condition the chalkboard surface following the paint manufacturer's instructions. This simple step helps the chalkboard perform better and makes it easier to erase future messages.
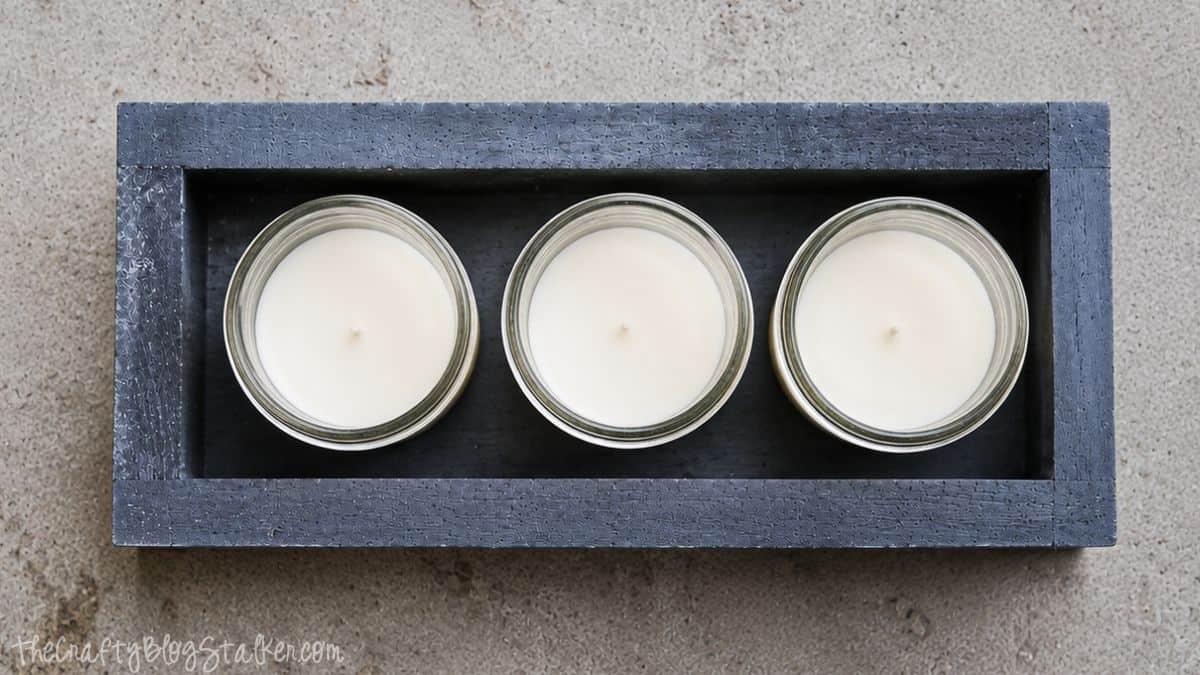
Add Your Candles
Now for the fun part!
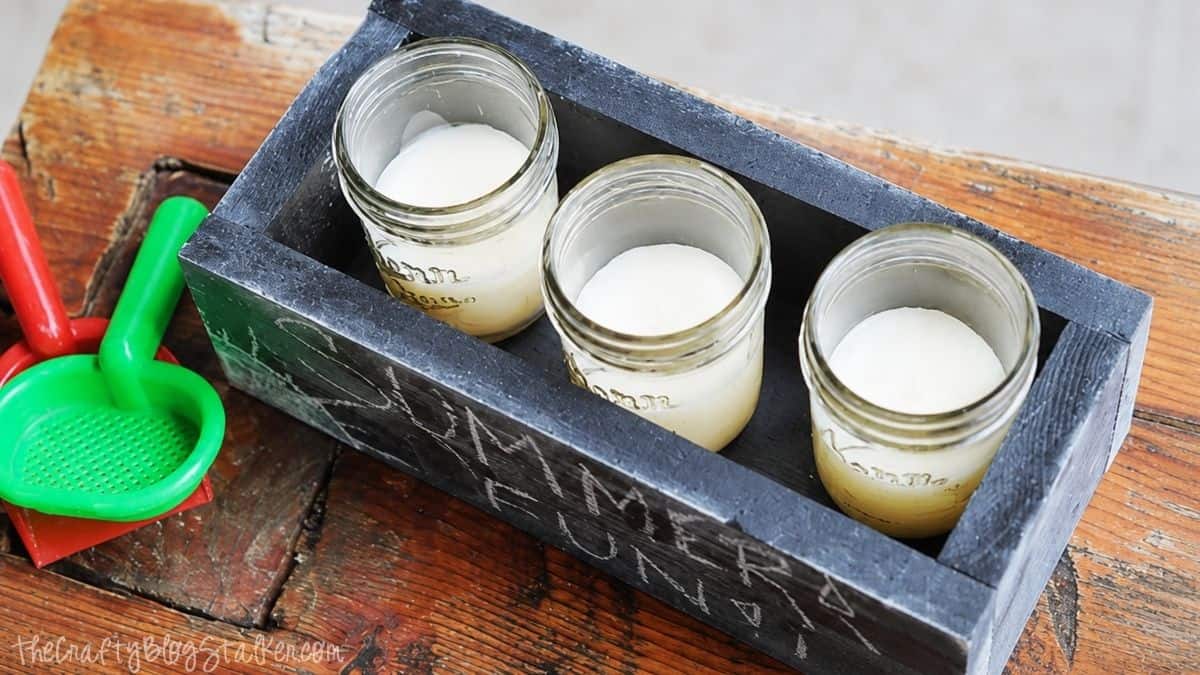
Place your citronella candles inside the finished box and personalize the chalkboard sides with seasonal greetings, family names, or fun messages for guests. Kids also love decorating the box with chalk, making it a fun addition to summer gatherings.
The finished box looks great on a patio table, deck railing, or outdoor dining table and helps keep your candles grouped together in a single attractive display.
Helpful Tips
If your candle jars are slightly taller or wider than mine, simply increase the box dimensions before cutting your lumber.
It's much easier to customize the measurements at the beginning than to modify the finished box later.
You can also stain the wood instead of painting it if you prefer a more natural look, or choose outdoor paint colors that coordinate with your patio furniture.
Frequently Asked Questions
Absolutely. Measure your candles first, then adjust the box's length and width to fit your containers.
Yes. Wood screws work well for this project. Just drill pilot holes before driving the screws to help prevent splitting.
Wood glue adds strength, but I recommend pairing it with brad nails or screws while the glue dries.
You can use MDF if the box will stay indoors, but solid wood is the better choice for outdoor use because it holds up much better to humidity and changing weather.
Not at all. Chalkboard paint gives the box a fun interactive feature, but you can use exterior paint or stain if you prefer a different finish.
Need help with this project?
Click a button below to ask the AI to summarize this post and request assistance.
More Build Plans
Find even more beginner-friendly build plans below, perfect for adding handmade touches to your home, patio, and backyard.

Hi, I'm Katie!
I'm so glad you're here. Want to make something fabulous? I'm here to help!