


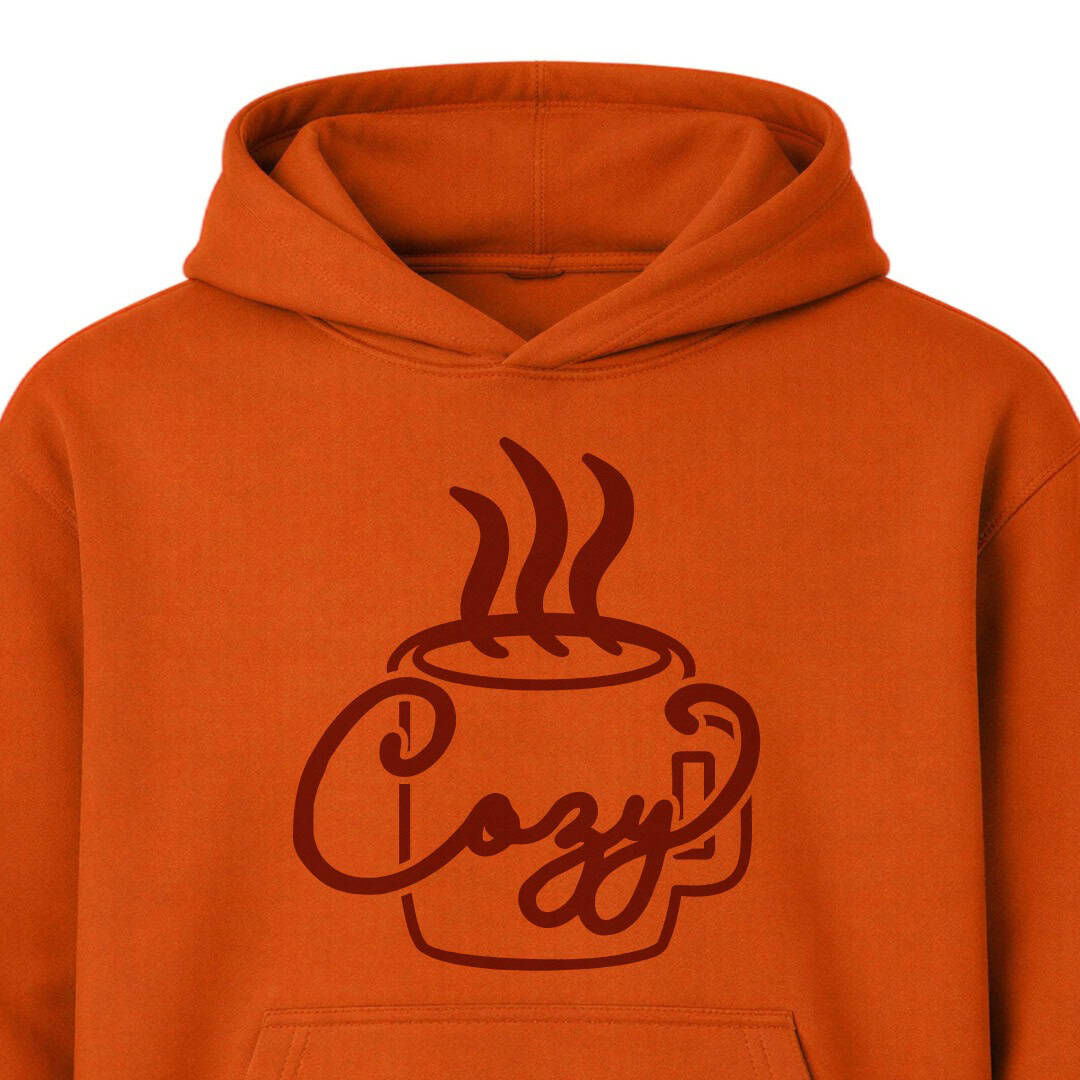
Make your own comfy cozy sweatshirt with a free SVG and puff heat transfer vinyl! This easy Cricut project is perfect for chilly days or as a handmade gift.
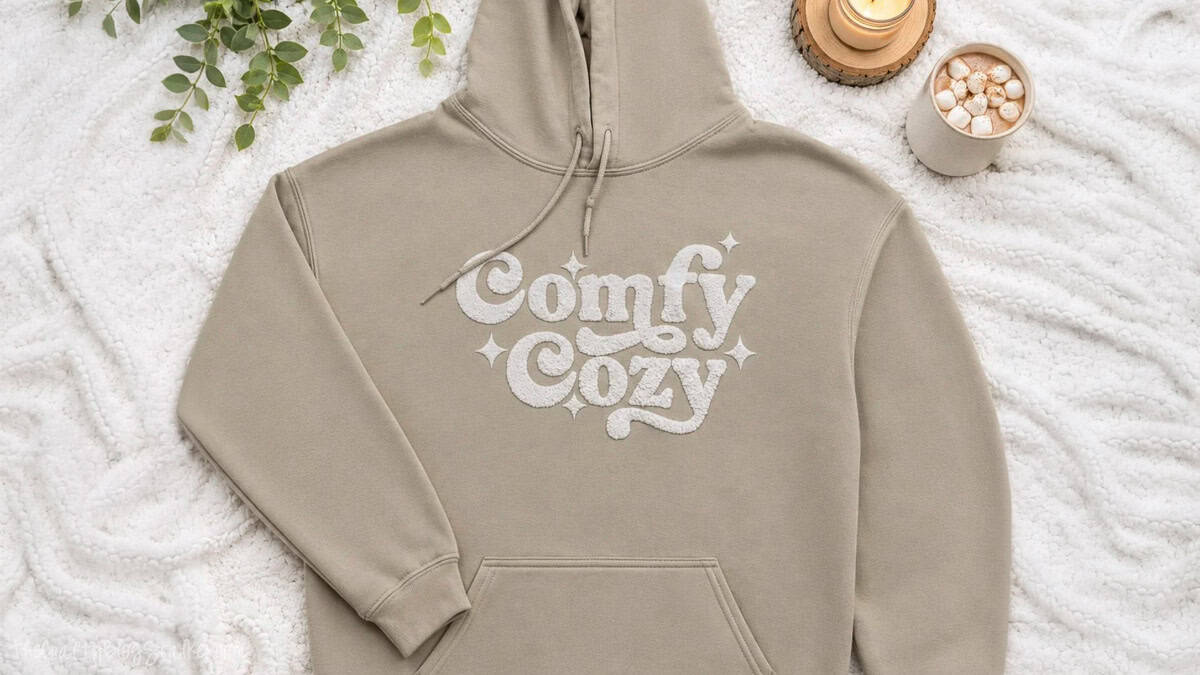
There's nothing better than pulling on a cozy sweatshirt when it's cold outside, especially one you made yourself!
I love how puff heat transfer vinyl gives the design a fun, raised look that almost looks like embroidery.
Grab my free Comfy Cozy SVG, and I'll show you how to turn a plain hoodie into something cute and cozy!
Plus, scroll to the bottom of this post for 9 more free cozy SVG files from some of my crafty friends!
Jump to:
Skill Level: Beginner
Estimated Cost: $30
Total Time: 45 minutes
Craft Tutorial Video
If videos are your thing, you're in luck-I've got a full tutorial ready for you!
Subscribe to my YouTube channel and stay inspired with every new project.
Supply List
- Cricut Cutting Machine
- StandardGrip Mat
- Comfy Cozy SVG
- Ruler
- Puff Heat Transfer Vinyl
- Weeding Tools
- Sweatshirt
- Heat Press
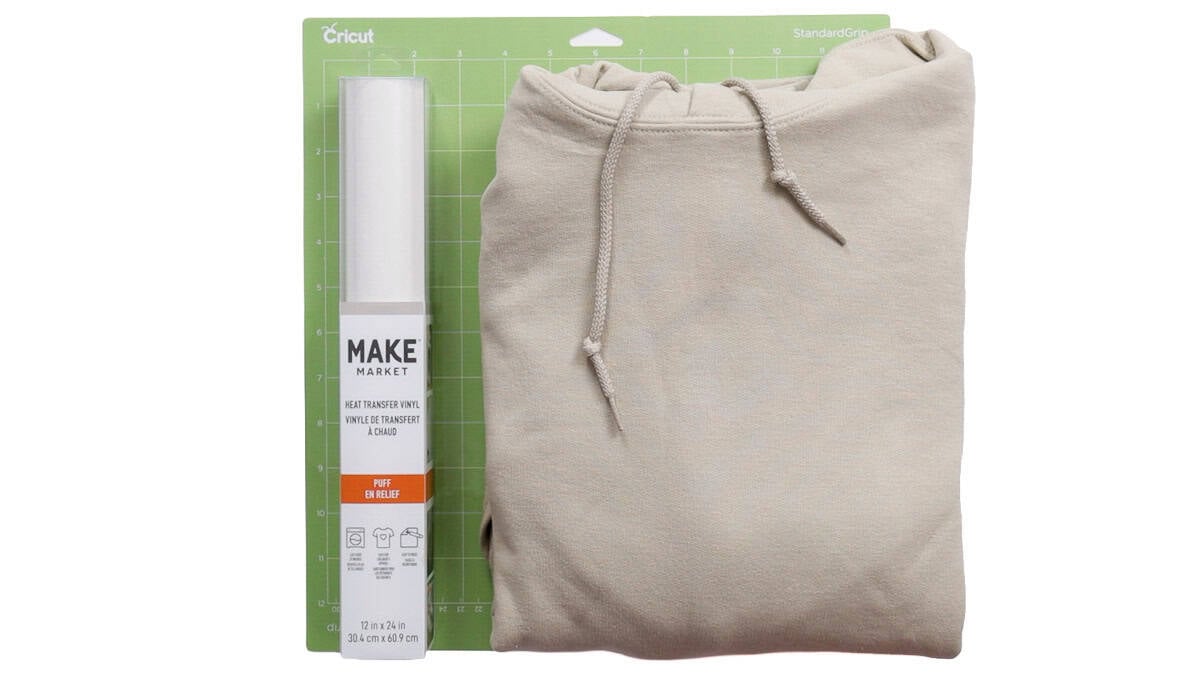
I used a beige hoodie and white puff heat transfer vinyl for my sweatshirt. I really like how the white letters stand out on the soft beige fabric.
You can use a hoodie or a crewneck sweatshirt in any color you like. Pick something you love. Just check the fabric label before you start.
Most cozy sweatshirts are made with cotton, polyester, or a mix of both. Just make sure your fabric can handle the heat for your vinyl.
Grab the SVG
I made this Comfy Cozy SVG just for this project, and I'm excited to share it with you so you can make your own sweatshirt.
The design has bold letters and little stars for a cute retro look. It's a fun way to dress up a plain sweatshirt without needing lots of different vinyl colors.

How to Make a Comfy Cozy Sweatshirt
Measure Your Hoodie
Before opening Cricut Design Space, measure the front of your sweatshirt to see how much room you have for the design.
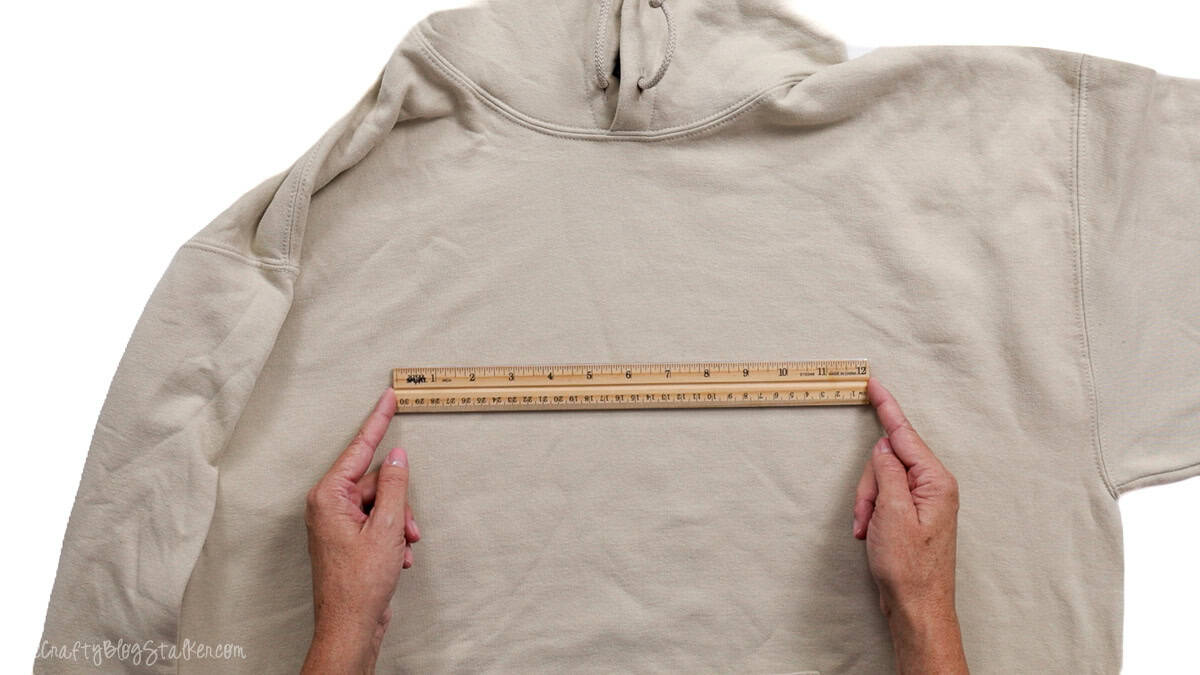
I'm using a size large hoodie, and I want the design to be nice and big across the front.
The size of your sweatshirt will help you decide how wide to make your design. If your sweatshirt is smaller, you might want a smaller design. If it's bigger, you can go bigger with your design.
Leave a little space around the letters so your design doesn't look crowded. This helps your design stand out and look nice.
Upload and Resize the SVG in Cricut Design Space
Open Cricut Design Space and start a new project with a blank canvas.
I'm using Cricut Design Space on my iPad, but you can also use a desktop or laptop. The buttons may be in different spots, but the tools work the same way.
Select Upload, find the Comfy Cozy SVG on your device, and add it to your canvas.
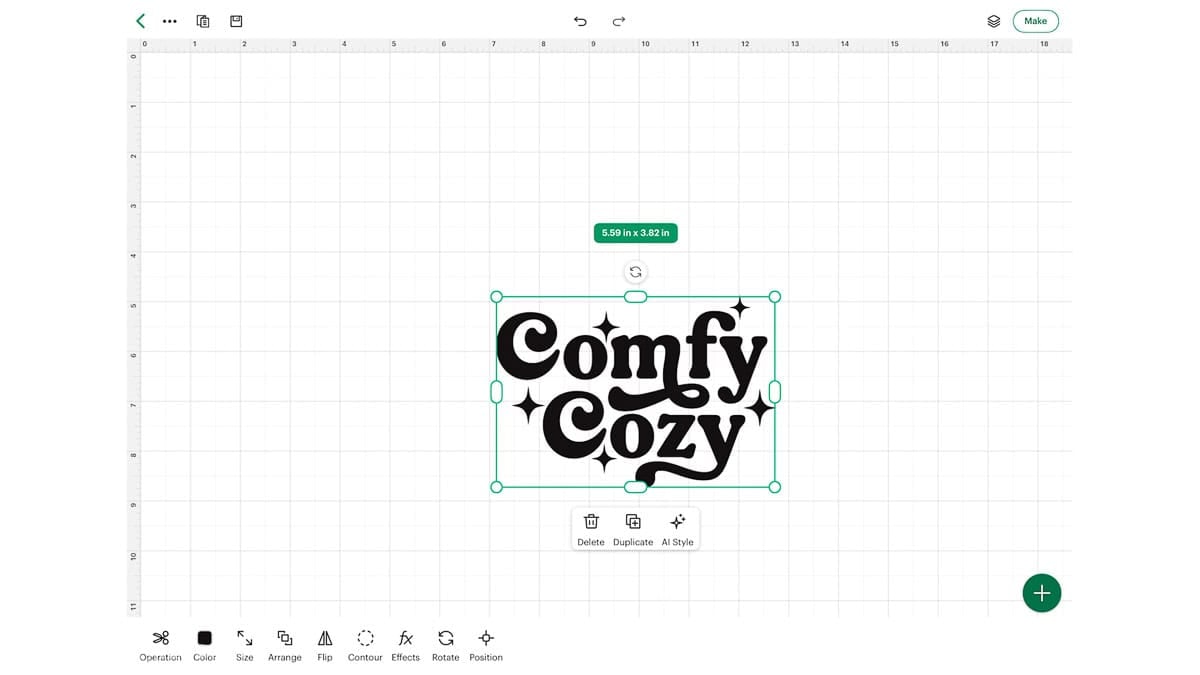
Once the design is on the canvas, select it and open the Size settings.
I first tried making my design 12 inches wide, but then I made it a little smaller to save some vinyl. I like to save supplies for another project when I can.
My final design measures 11.5 inches wide by 7.86 inches tall.
This size works well for my large hoodie, but you can change it to fit your sweatshirt. Make sure the size lock is on so your design keeps its shape when you resize it.
When you're happy with the size, select Make to open the mat preview.
Prepare and Cut the Puff Heat Transfer Vinyl
I'm using Make Market Puff Heat Transfer Vinyl for this project.
Before I put the vinyl on my cutting mat, I like to trim it to the size I need. This way, I can save the rest for another project.
Cricut Design Space shows my design needs about 8.5 inches of vinyl, so I use my paper trimmer to cut a piece that size. You can use scissors if you don't have a trimmer at home.
Next, go back to the mat preview in Cricut Design Space.
Don't forget to turn on Mirror for Iron-On before cutting. Heat transfer vinyl needs to be cut in reverse, so your design faces the right way when you press it onto your sweatshirt.
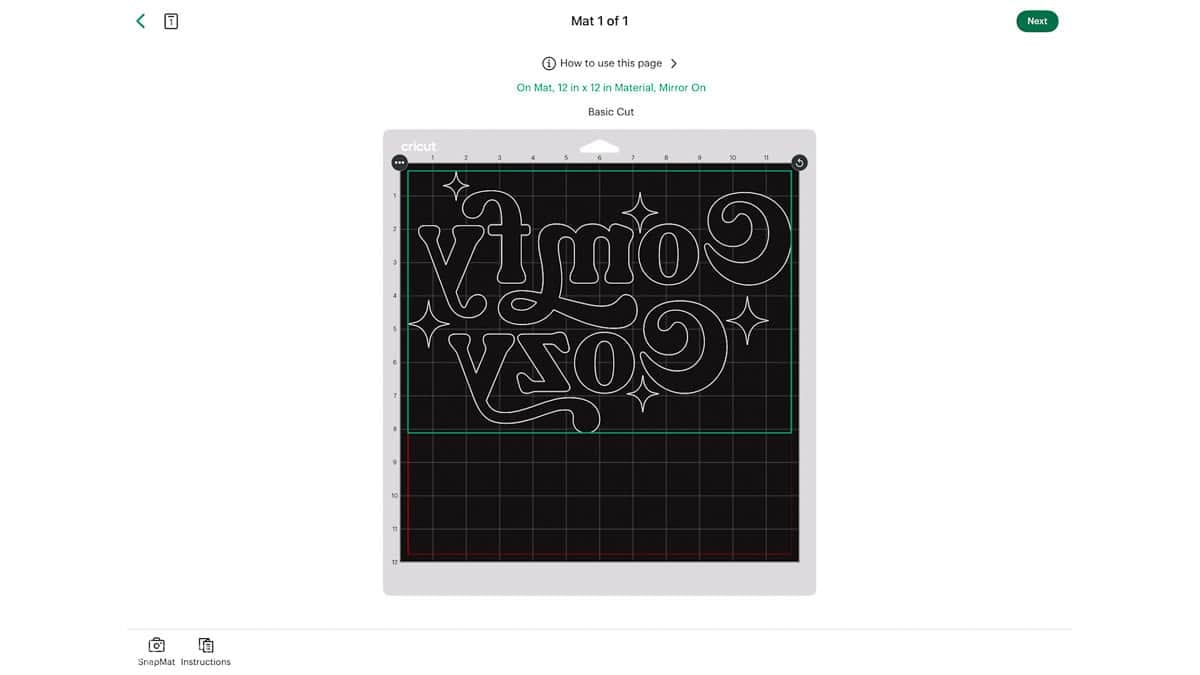
Remove the clear cover from your StandardGrip mat and place the puff vinyl on the mat with the shiny carrier sheet facing down.
Smooth the vinyl onto the mat so it stays in place while you cut.
Connect your Cricut machine and select Puff Iron-On from the material settings, if it's the right setting for your vinyl.
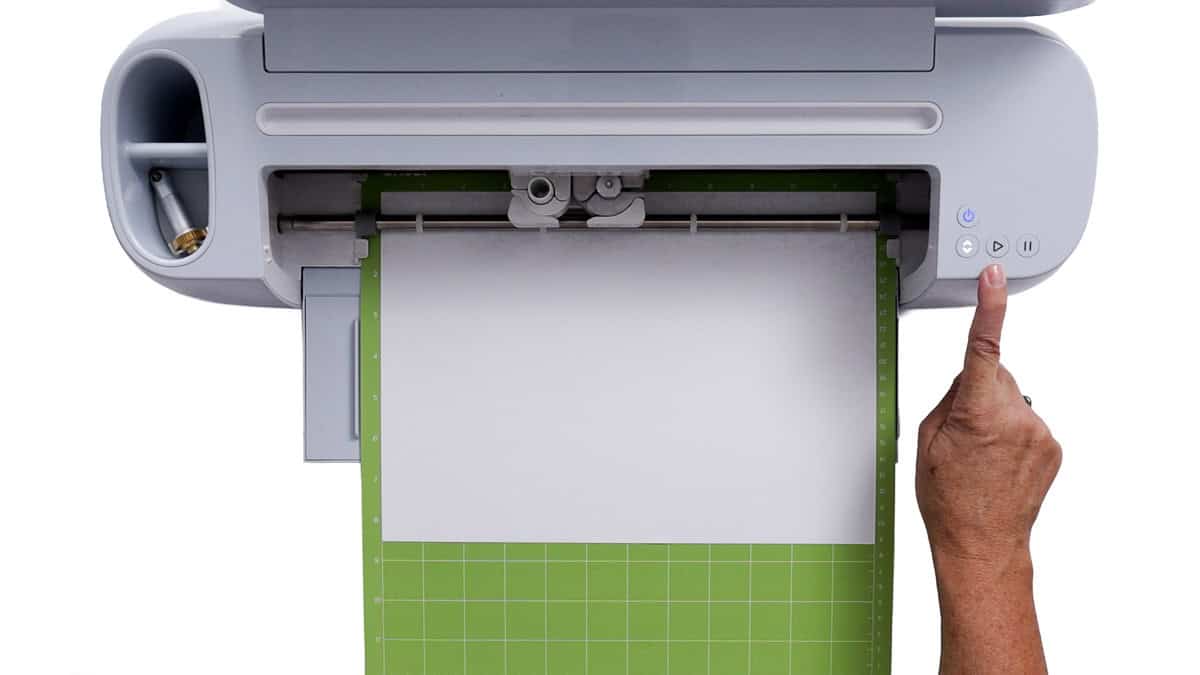
Double-check that Mirror is turned on, then load the mat into your Cricut machine.
Once the machine is ready, press the flashing Go button to begin cutting.
Weed the Vinyl Design
When the Cricut finishes cutting, unload the mat.
I like to leave the vinyl on my mat while I weed because the mat helps hold everything in place. It makes weeding so much easier.
Start at one corner and slowly peel away the extra vinyl from around the letters.
I love weeding heat transfer vinyl. It's easier to work with than regular adhesive vinyl, and it's kind of relaxing.
Use your weeding tool to remove the small pieces from inside the letters, too.
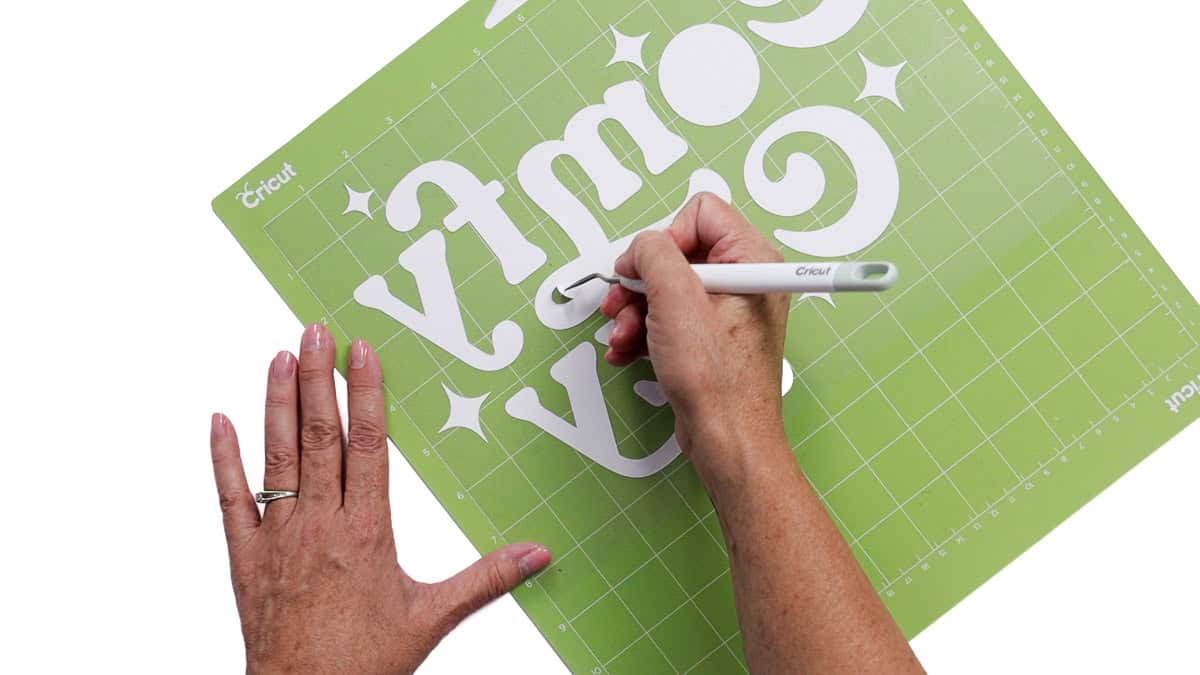
When you're done, take the design off the mat and flip it over to see how it will look on your sweatshirt. This is my favorite part.
Take one more look to make sure you didn't miss any small pieces, especially inside the letters. It's easy to miss a tiny bit, so double-check before you press.
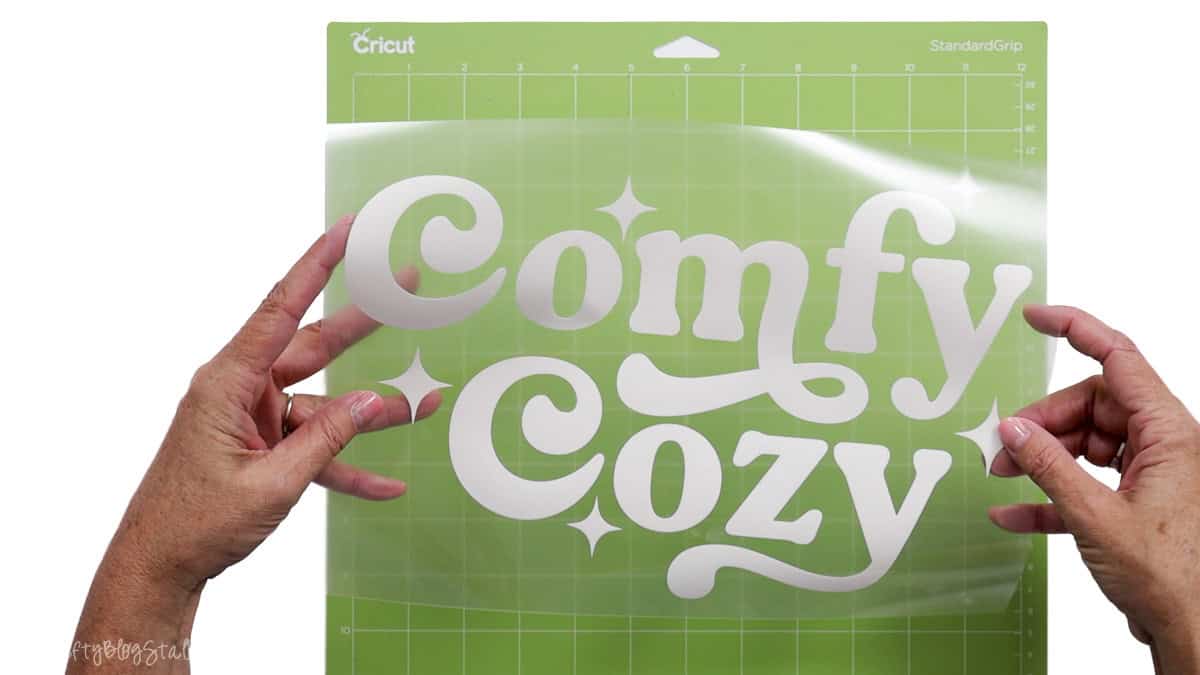
Set Up Your Heat Press
Now it's time to add the design to your hoodie. This is when it all comes together.
I'm using my HTVRONT Auto Heat Press 2, but you can use another heat press that works with your vinyl.
Before pressing, always check the instructions for the brand of puff heat transfer vinyl you're using. Every brand is a little different.
Puff vinyl needs the right heat, time, and pressure to get that raised look. Don't worry, you'll get the hang of it!
For my Make Market Puff Vinyl, the instructions say 290°F with medium pressure.
I set my HTVRONT Auto Heat Press 2 to 290°F and used about 130 pressure on my machine.
The vinyl instructions say to press for 10 seconds first, then press for another 5 seconds after you take off the carrier sheet.
Your settings might be different if you're using another brand of vinyl or a different heat press.
Position the Design on Your Hoodie
Lay your hoodie flat and smooth out any wrinkles.
I want my design to sit about 3 to 3.5 inches down from the top of the hoodie.
Before adding the vinyl, preheat the fabric for 5 seconds to help remove wrinkles and moisture. This helps your vinyl stick better.
Next, find the center of your design.
I fold the carrier sheet in half and make a small crease at the top and bottom. These little marks help me line up the design without folding the vinyl.
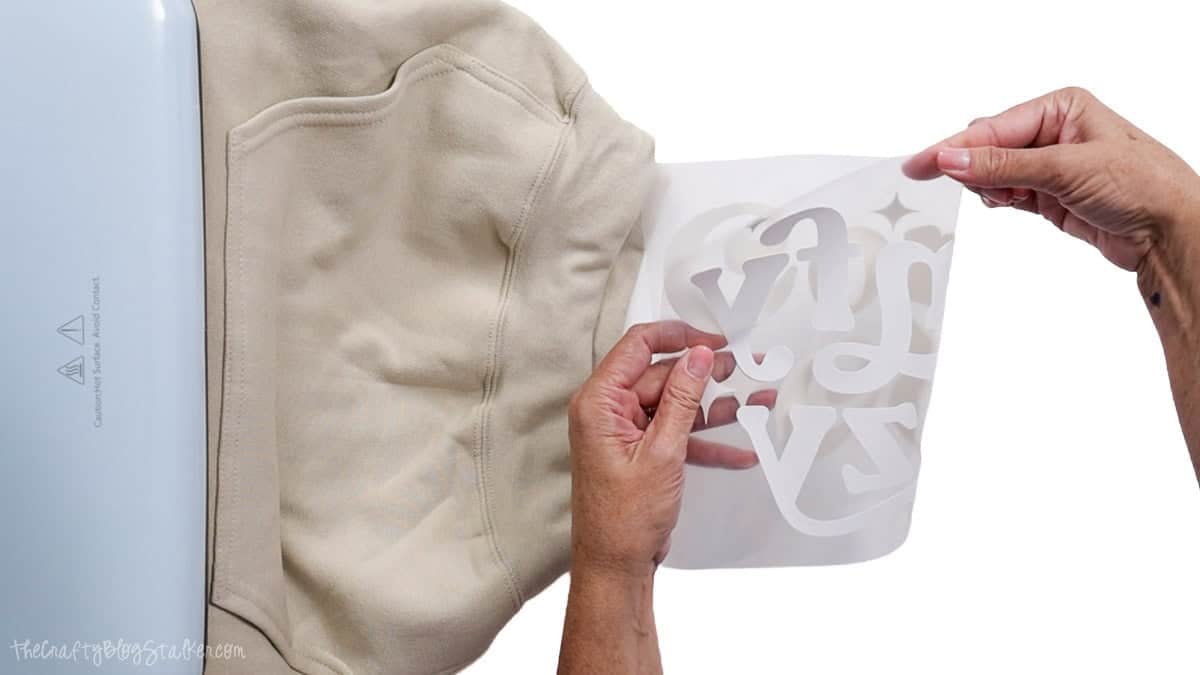
Use the center of the hoodie and the front pocket to help keep everything straight.
Place the design on the hoodie with the clear carrier sheet facing up.
Take a moment to check that it's centered and straight before you press it.
Helpful tip: Make sure the hood, seams, and pocket are out of the way of the heat press. Extra fabric under the press can keep it from sitting flat and might cause uneven pressure.
Press the Puff Vinyl
Once the design is in place, cover it with parchment paper.
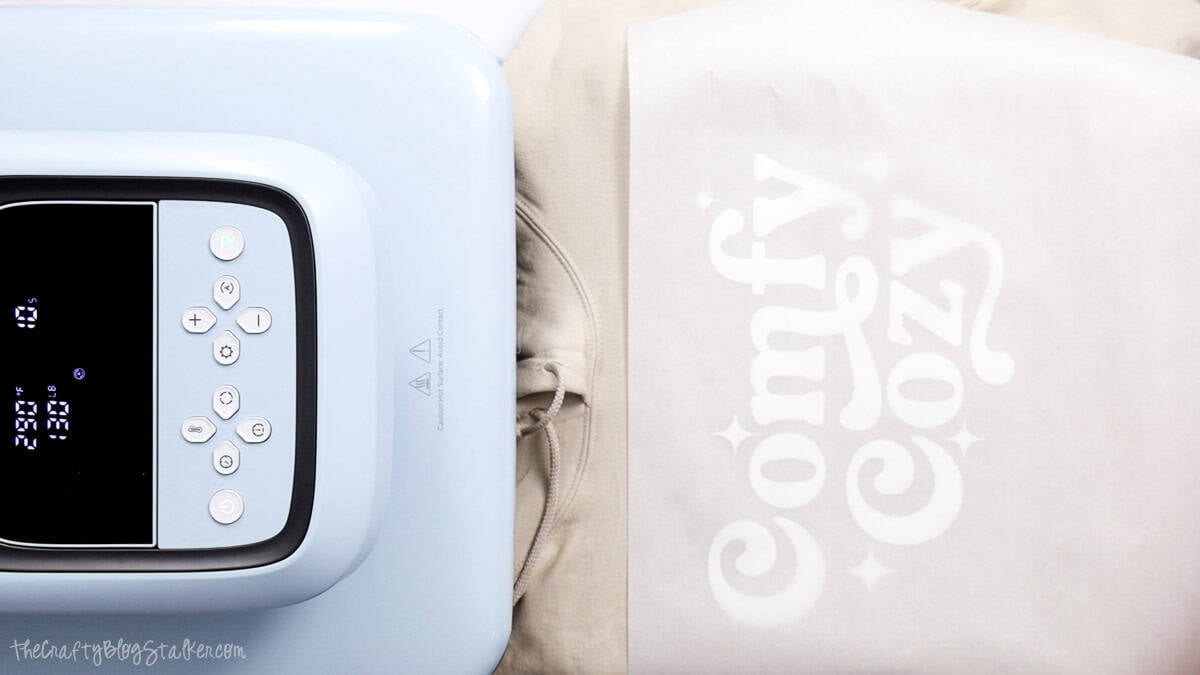
Slide the hoodie into the heat press, making sure the fabric stays smooth and the design doesn't move.
Press at 290°F for 10 seconds using medium pressure, following the directions for the Make Market Puff Vinyl I'm using.
When the press is done, carefully remove the hoodie.
While the vinyl is still hot, peel away the clear carrier sheet.
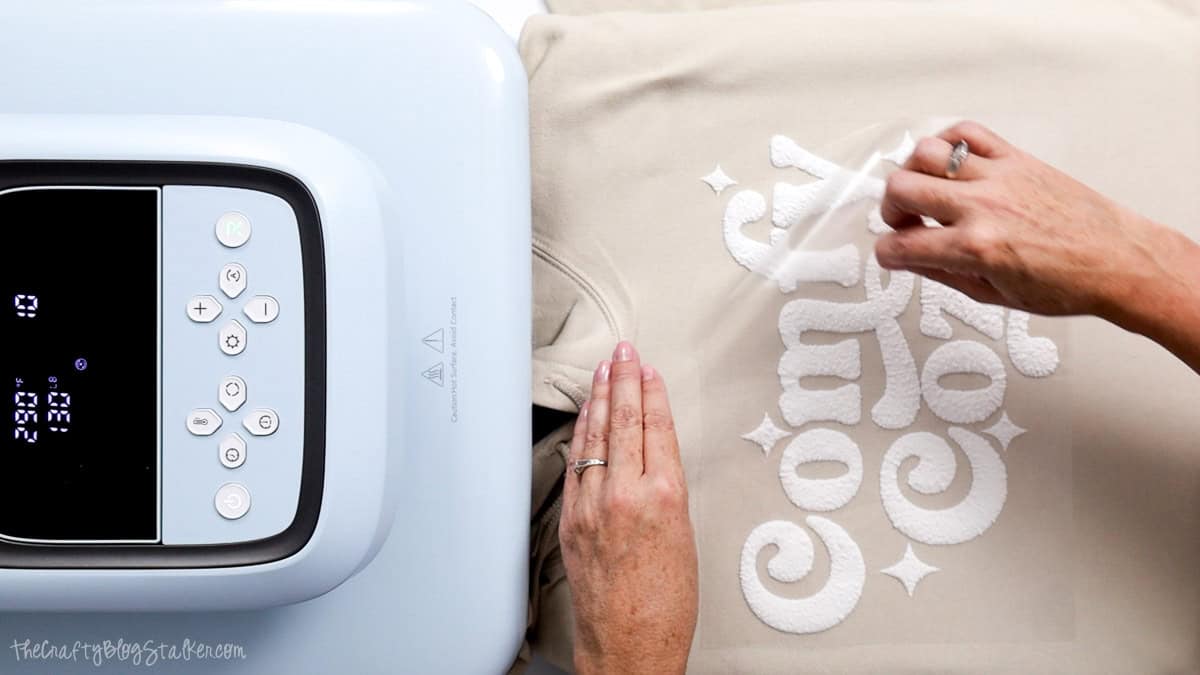
You should start to see that fun, raised texture!
Place the parchment paper back over the design and press for another 5 seconds.
I also turned my hoodie over and gave the back of the design a quick 5-second press, just to help it stick.
Only add this extra press if it's safe for the vinyl and fabric you're using.
Enjoy Your New Comfy Cozy Hoodie!
And that's it. Your custom Comfy Cozy Hoodie is finished.

I love how the puff vinyl gives the letters a raised look, kind of like embroidery.
I did get a small wrinkle in one of my letters because the hood got in the way while pressing. It happens!
It's a good reminder to keep all that extra fabric out of the press before adding heat.
Even with that little wrinkle, I love how my hoodie turned out!
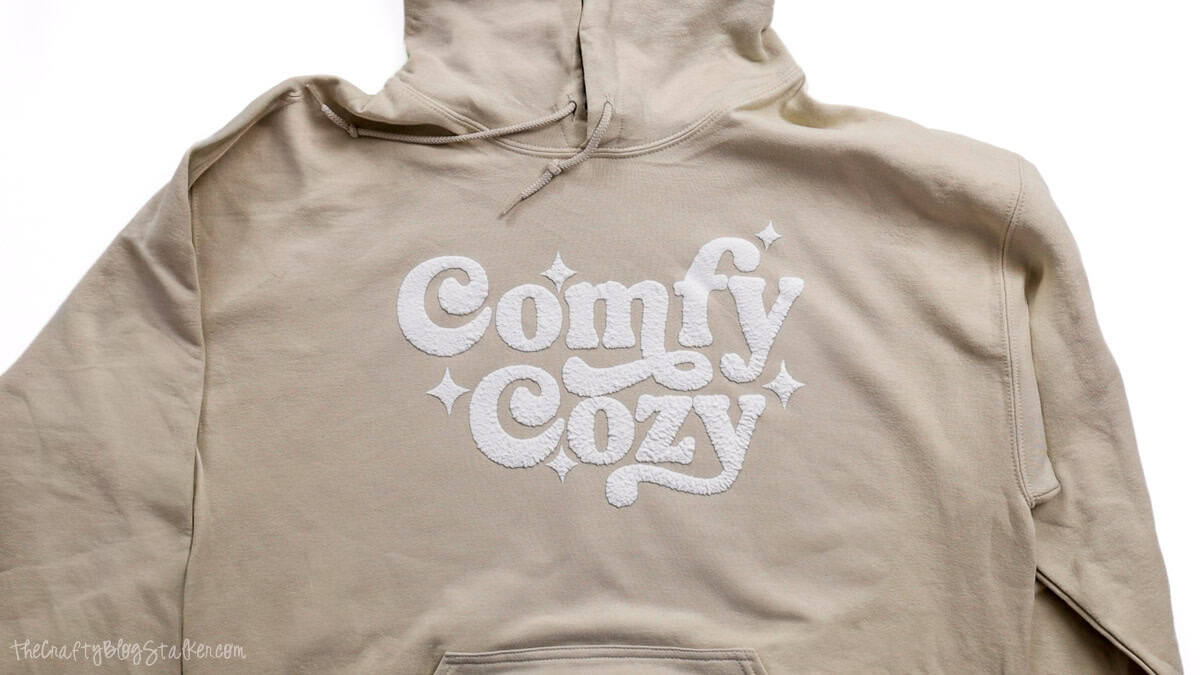
The puff vinyl adds so much texture, and it's such a fun way to make a plain sweatshirt feel a little more special.
It's also easy to wear with your favorite jeans for running errands, casual outings, or just staying warm at home. I can see this becoming one of those cozy sweatshirts I reach for all the time!
Tips for Working with Puff Heat Transfer Vinyl
Puff vinyl is a little different from regular heat transfer vinyl, so keep a few things in mind.
Always follow the vinyl instructions. Not all puff vinyl brands use the same heat settings. Too much or too little heat can change how the vinyl puffs up, so check your instructions first.
Use even pressure. The heat press needs to sit flat on the design. Thick seams, pockets, and hoodie fabric can get in the way and make the results uneven.
Don't forget to mirror. Since puff vinyl is a type of heat transfer vinyl, mirror your design before cutting.
Check your weeding. Make sure all the extra vinyl is removed, including the small centers of letters, before pressing.
Lay your hoodie flat and move the hood out of the way before you start. This helps keep your design smooth and wrinkle-free.
Try not to press your puff vinyl more than once. Too much heat can change the shape. Always check your vinyl's directions before you start.
Cotton or cotton blend sweatshirts work great with heat transfer vinyl. Just make sure to check the care labels on your fabric and vinyl before you begin.
Frequently Asked Questions
Puff heat transfer vinyl is a special type of iron-on vinyl that rises when heated. It gives your design a raised, textured look instead of the flat finish you get with regular heat transfer vinyl.
Yes! You can cut puff heat transfer vinyl with a Cricut cutting machine. Choose the Puff Iron-On setting if it's available for your machine and material, and always remember to mirror your design.
A heat press works really well for puff vinyl because it gives steady heat and even pressure. Check your vinyl's directions to see what tools are best.
If your puff vinyl didn't rise evenly, check that your hoodie was flat and that nothing like seams or the hood got in the way. Even heat and pressure help your design look its best.
Yes, you can! Just follow the care instructions for your vinyl and hoodie. Look at the vinyl package to see how long to wait before washing and the best way to care for your finished project.
Need help with this project?
Click a button below to ask AI why the puff heat transfer vinyl isn't puffing up.
More Free Cozy SVG Files
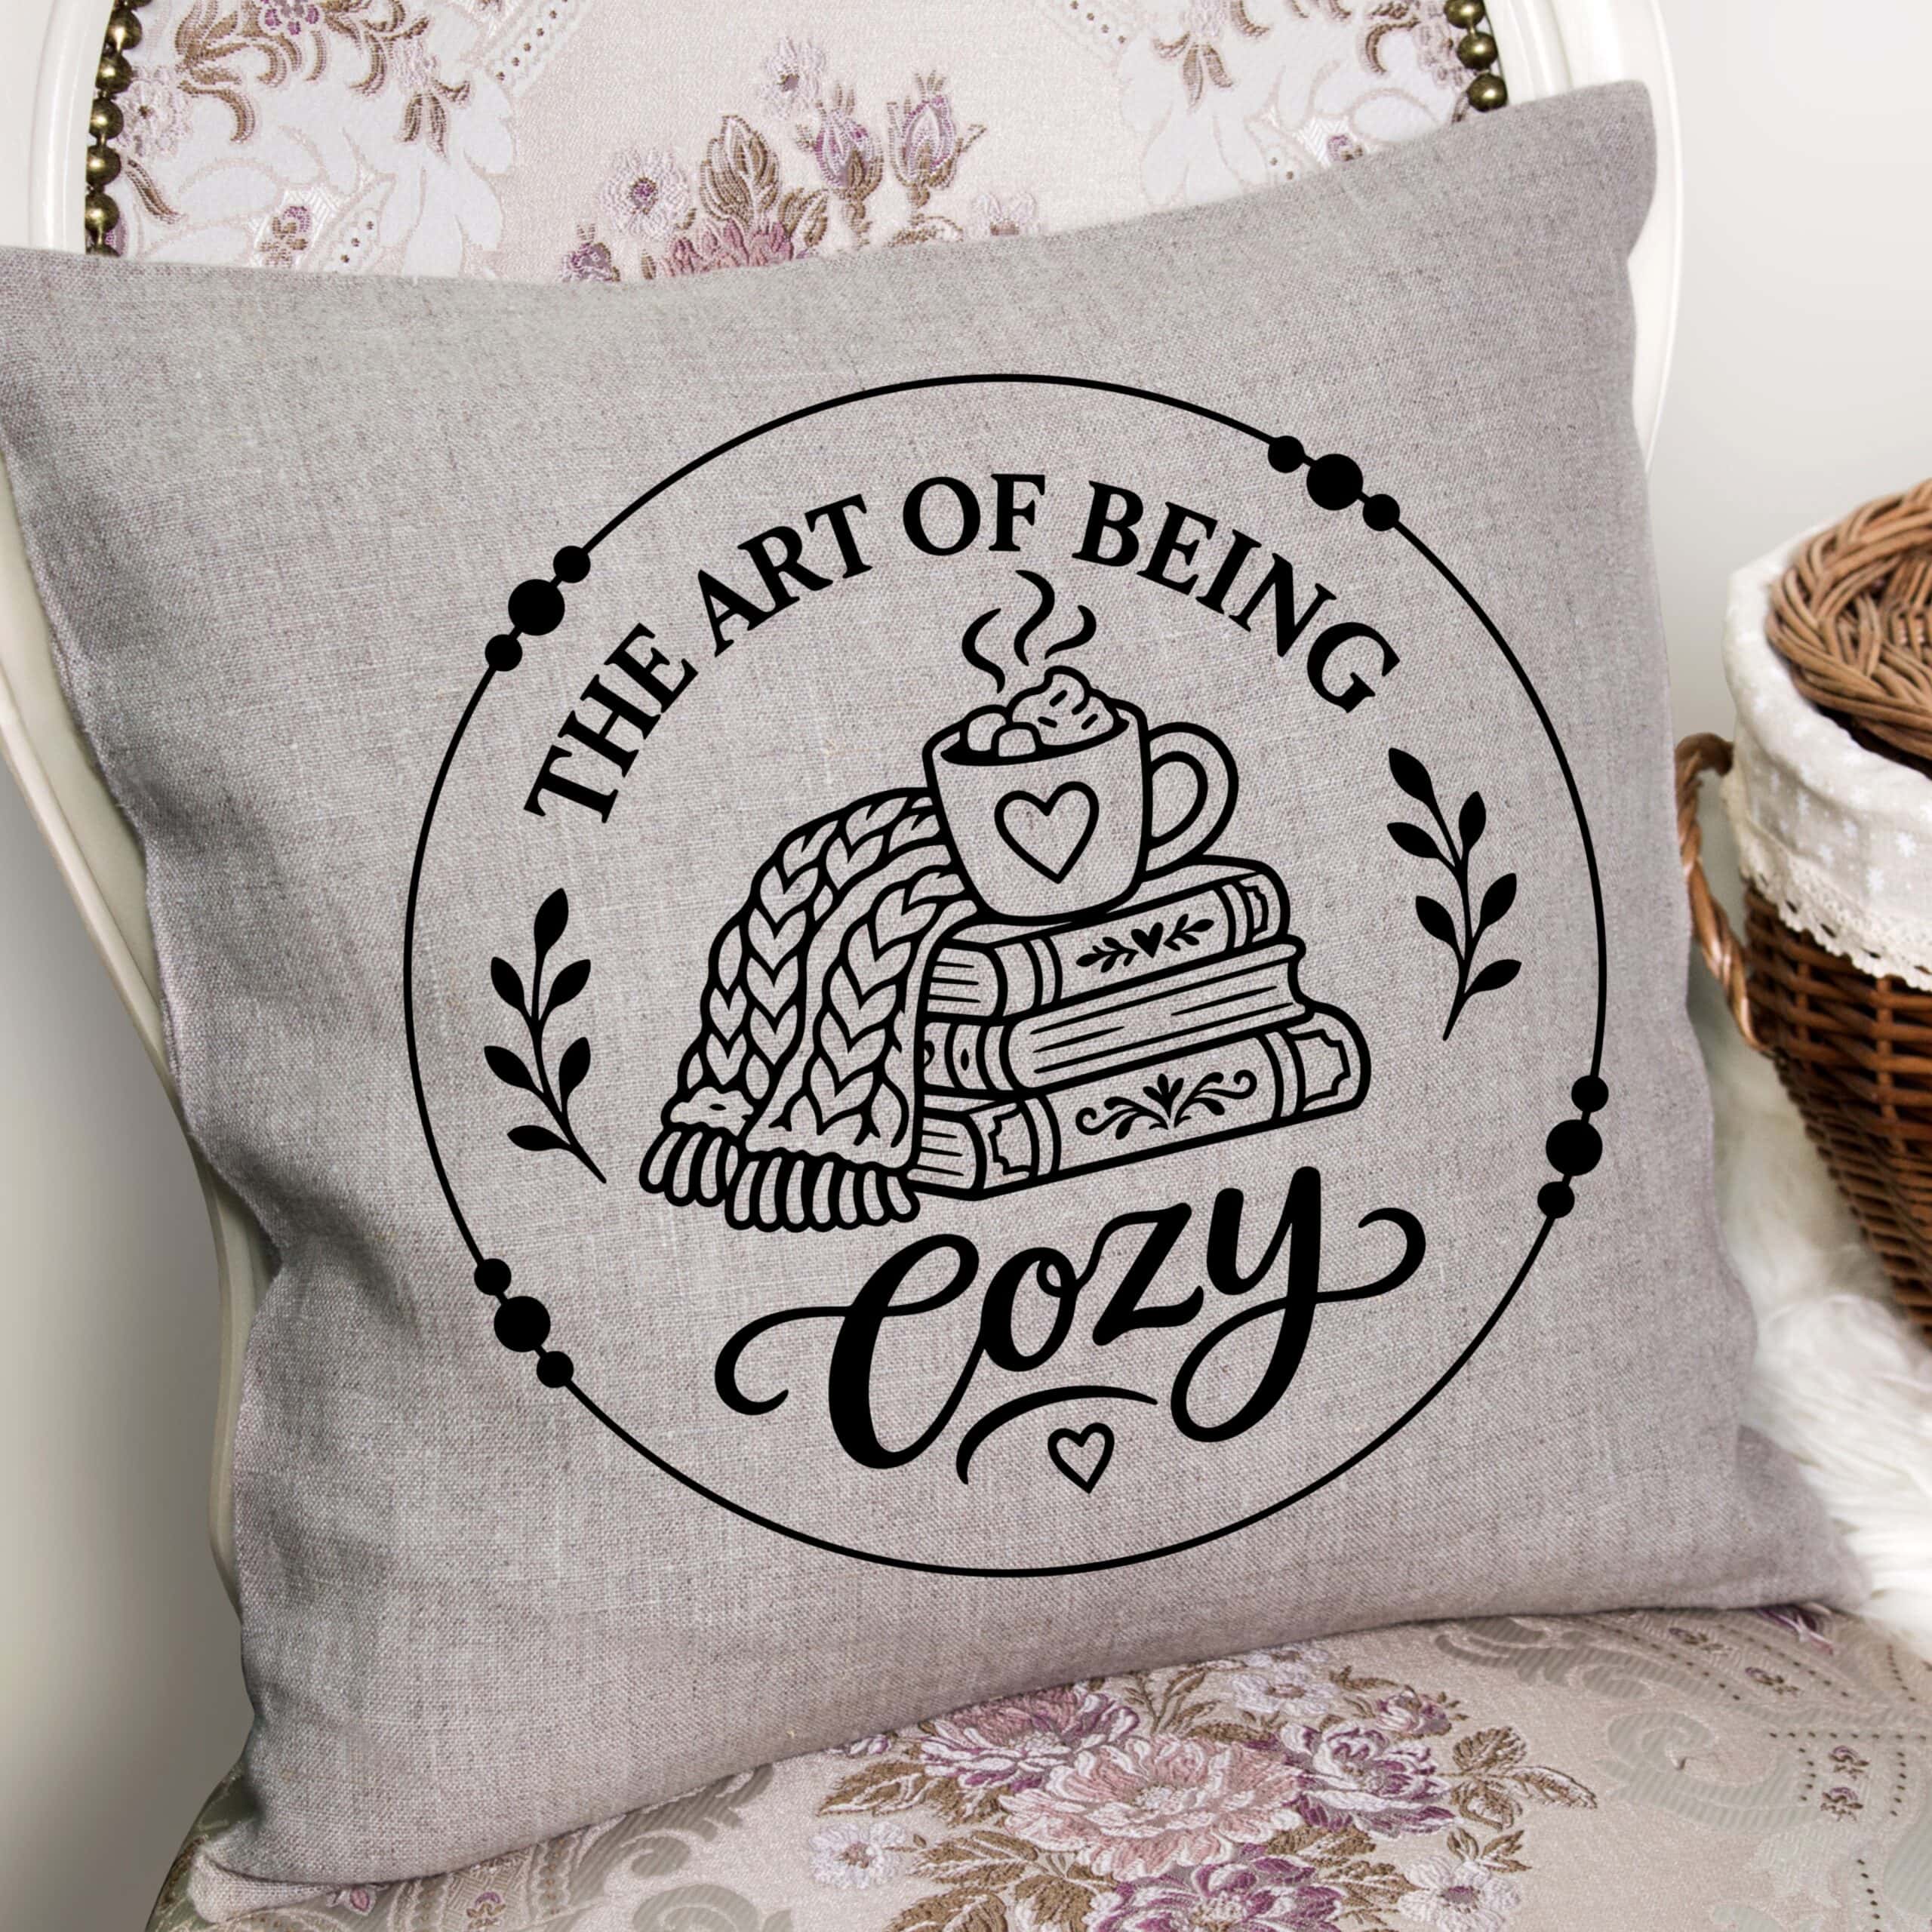
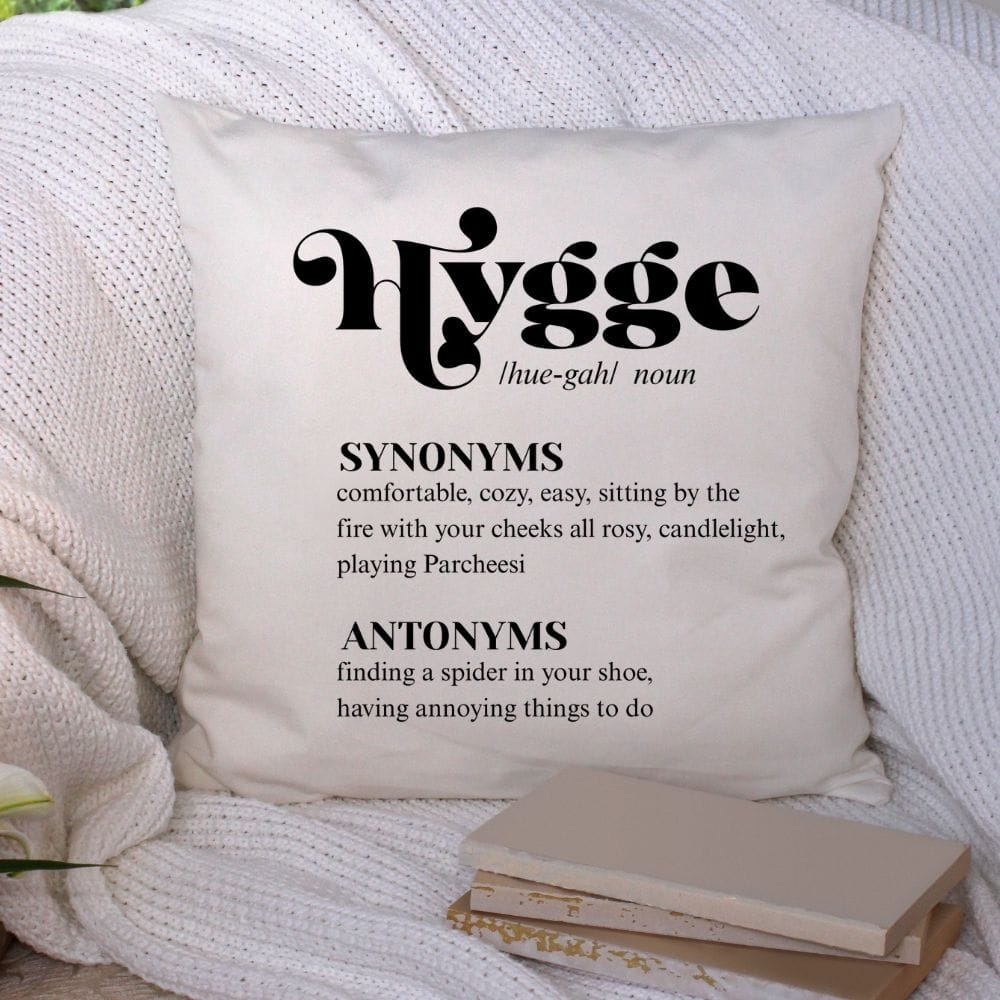
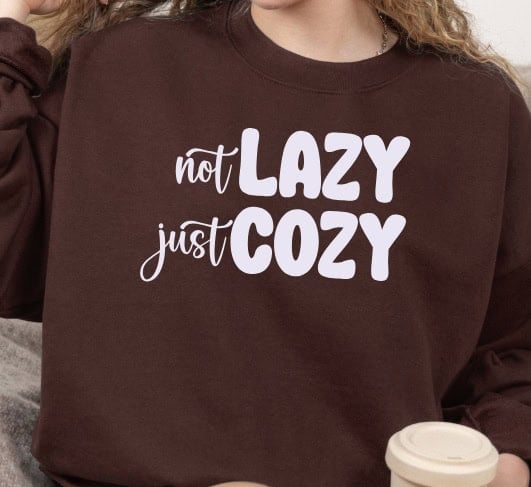
If you love making cozy clothes and home decor, you're going to love these free SVG designs from some of my crafty friends!






Hi, I'm Katie!
I'm so glad you're here. Want to make something fabulous? I'm here to help!