
These Valentine Treat Bag ideas include cute You Are Rawrsome bags that kids will love sharing at school parties.

Valentine treat bags are one of my favorite ways to make the holiday extra fun without going overboard.
These "You Are Rawrsome" treat bags are a perfect gift for kids, classroom parties, or even little surprise gifts.
I love how simple these candy bags are to put together, especially when you're short on time! (Aren't we all?)
This tutorial walks you through each step so you can make fun Valentine treat bags without the stress.
Jump to:
Skill Level: Beginner
Total Time: 1 hour
Craft Tutorial Video
If videos are your thing, you're in luck-I've got a full tutorial ready for you!
Subscribe to my YouTube channel and stay inspired with every new project.
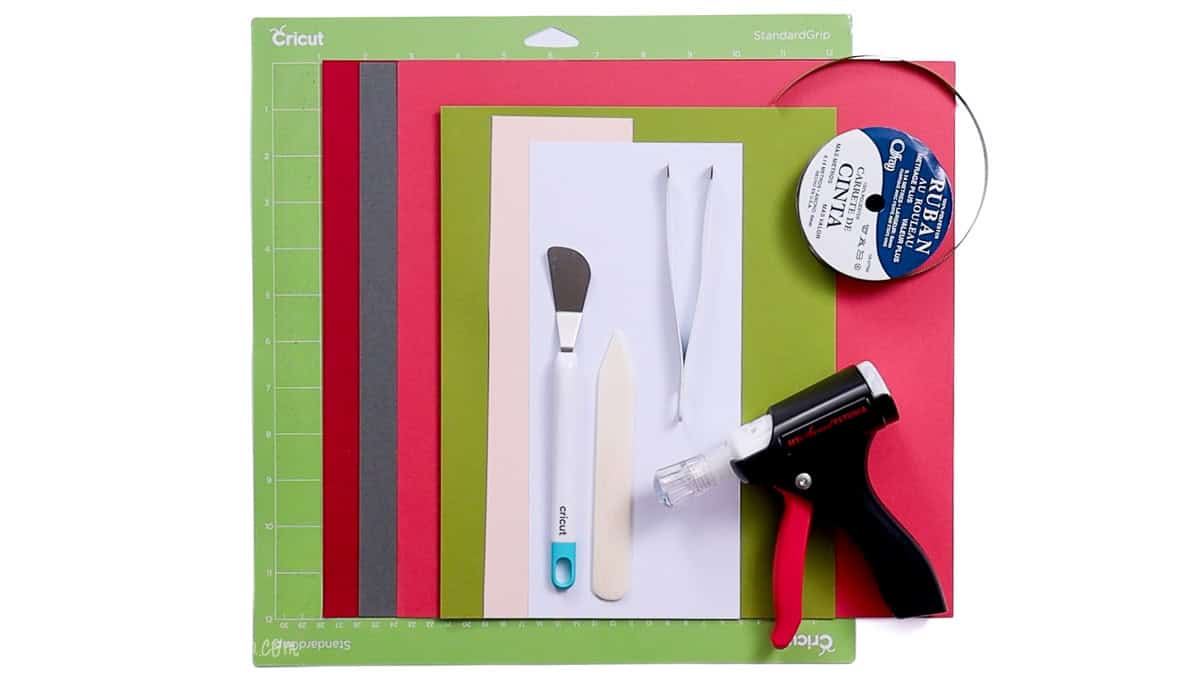
Supply List
- Dinosaur Treat Bag SVG
- Cricut
- StandardGrip Mat
- Cardstock (6 colors)
- Scoring Wheel or Stylus
- Bone Folder
- Precision Glue
- ⅜" Coordinating Ribbon
- Tweezers (optional)
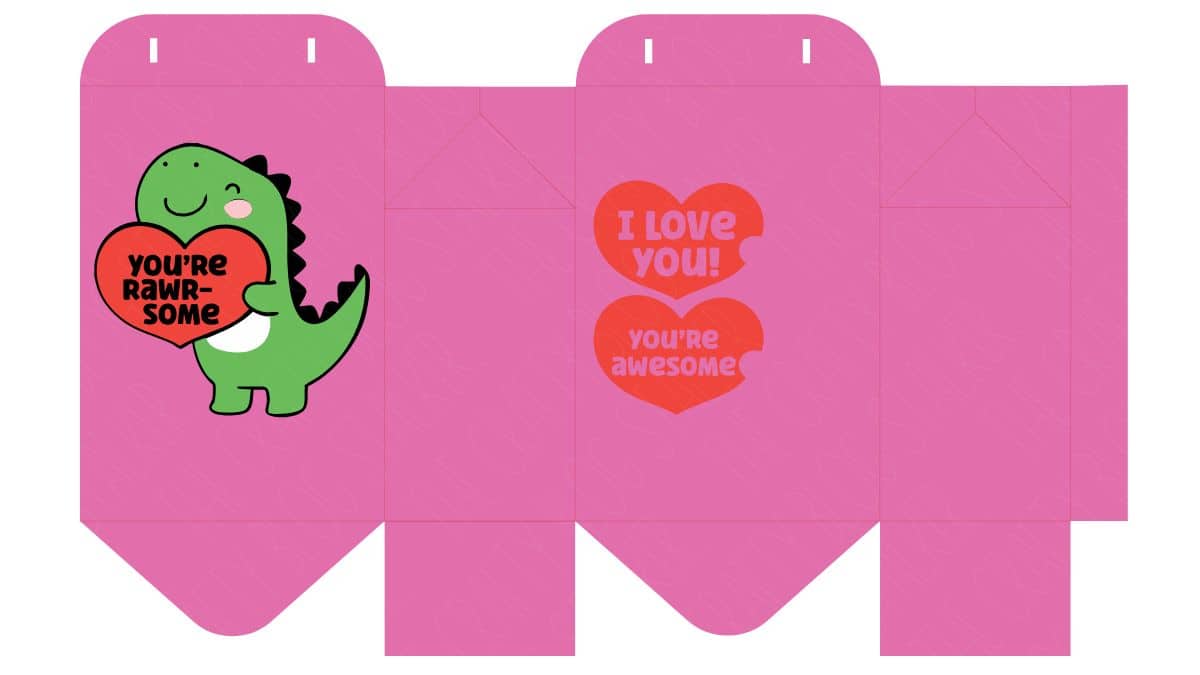
Grab the Treat Bag SVG
Cricut Design Space
For the following steps, I'll be using Cricut Design Space.
If you use Silhouette Studio or another design software, your steps may differ from mine.
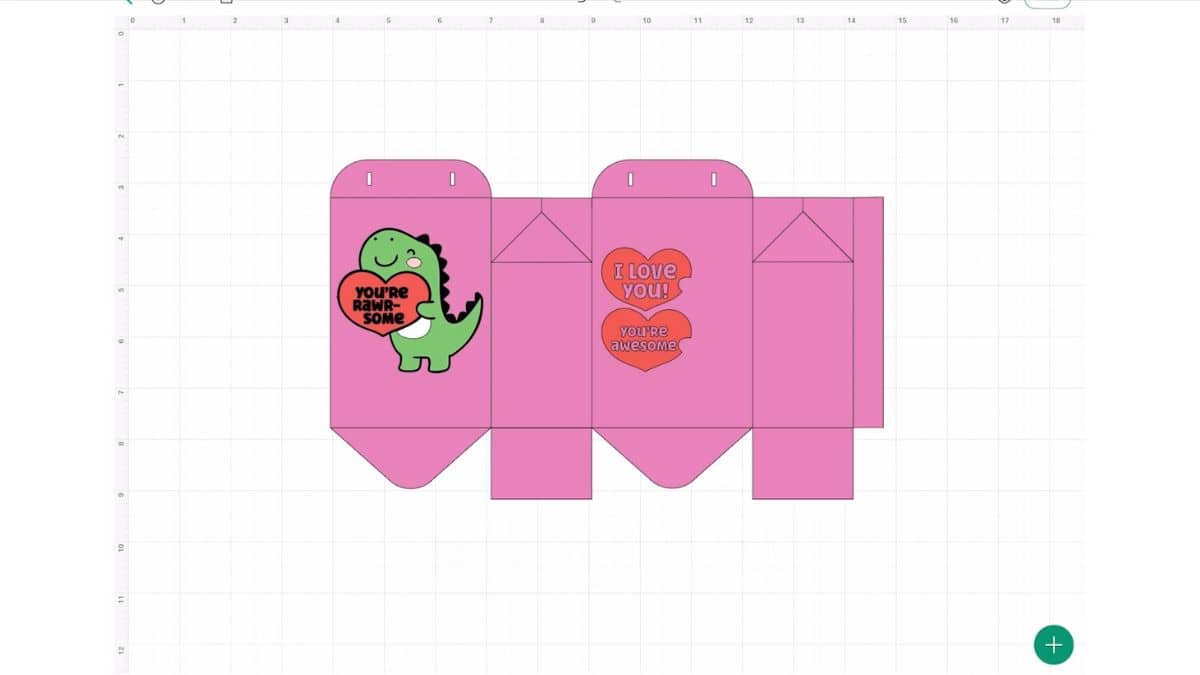
To start, upload the SVG into Cricut Design Space and add it to your Canvas.
The finished size of the project is approximately 3.25 x 2 x 5.25 inches.
The design can be resized, but I don't recommend going any smaller, as some pieces are already very small.
When designing outside of Cricut Design Space, we cannot assign line functions for scoring, so we must make this adjustment when importing the file.
Highlight the entire design and Ungroup.
Highlight only the bag lines, go to Operations, and change them to Score.
This will change the solid lines to dashed lines, indicating they are scored lines, not cut.
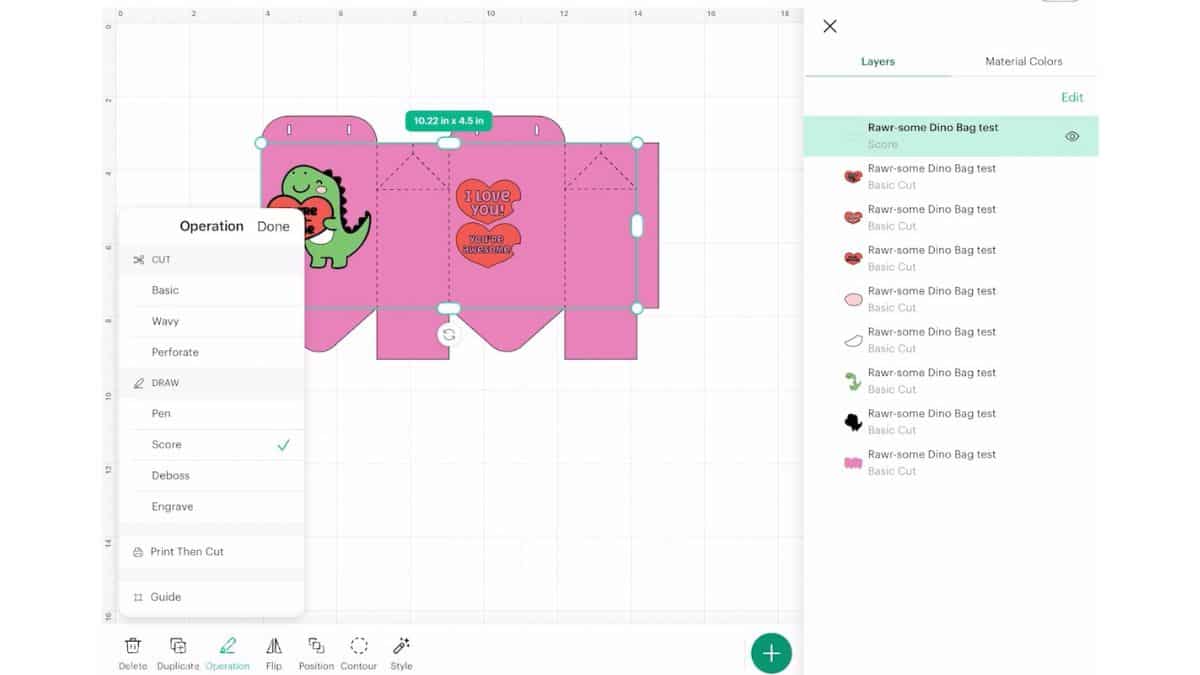
Then highlight the bag lines and the bag itself, and Attach.
These are the only changes that need to be made. I am ready to cut, so I'll click on Make.
The next screen is Mat Preview, where I can swipe through the different mats. I don't need to do anything here, so I'll click on Next.
All of the materials I am cutting are the same. I'll select Medium Cardstock - 80lb and tap Remember Material Setting so I don't have to return to this screen for every mat.
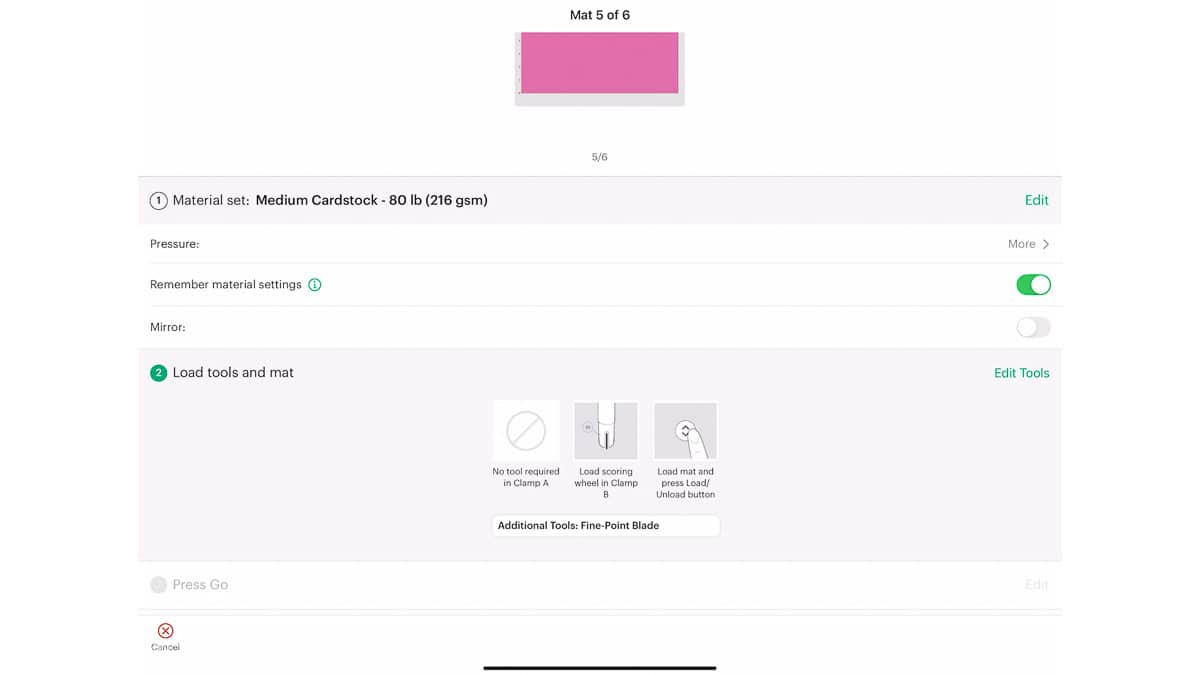
The mat at the top of the screen indicates the cardstock color to load, and section 2 shows when to insert the Scoring Wheel.
Follow the prompts in Cricut Design Space to cut all pieces for the design.

Here are all the pieces to create one box that I cut with my Cricut.

Paper Piece Dinosaur
To start, I'll assemble the cute little dinosaur.
The larger dark gray piece is the base for my layering.
Before you glue, lay the pieces out to ensure your dinosaur is oriented correctly and the text is legible.
If the dino is assembled backwards, you won't be able to read the heart he is holding.
Apply glue to the back of the dinosaur's body, then layer it onto the dark gray base.
There should be even spacing along the body's edges.
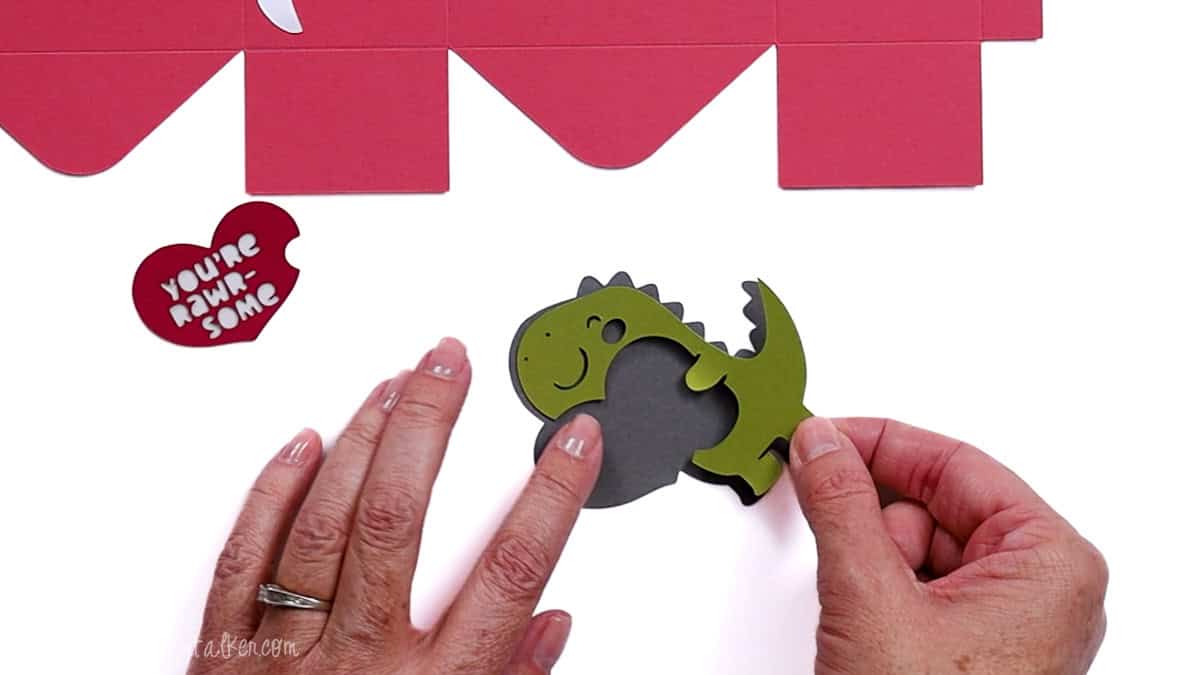
Next, adhere the white tummy aligning the top edge of the stomach, then the cheek, and last the heart.
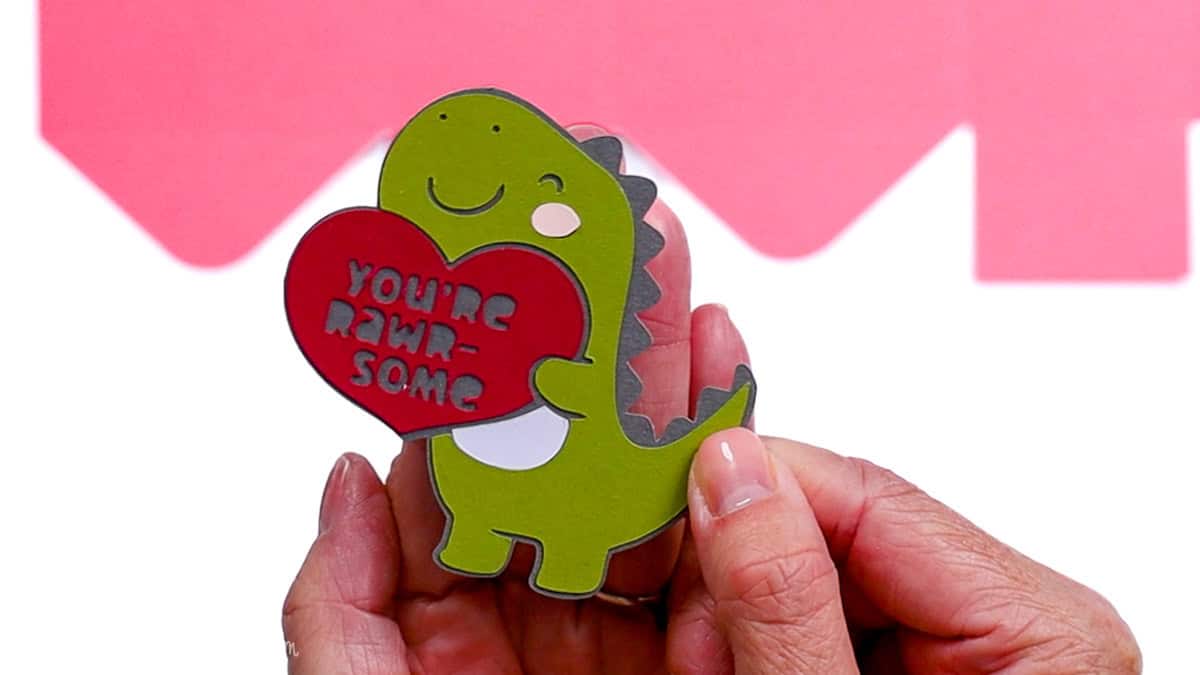
He is so cute!
Bag Assembly
Fold the bag along the score lines.
Use a bone folder and fold along those score lines.
I like to fold along score lines, and you can learn more about my technique in How to Score and Fold Cardstock.
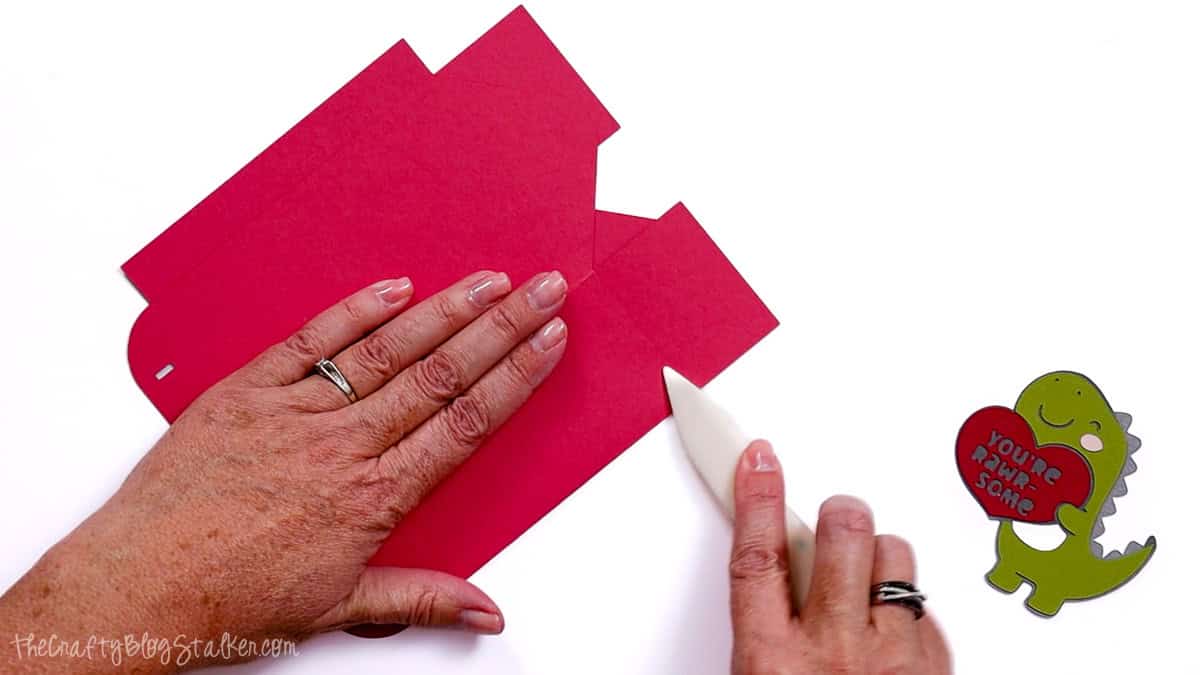
The top of the bag has two pinch folds. These are too hard to get in with the bone folder, so fold along those score lines by pinching them.
Fold the side flap in, apply glue, and then fold the bag in half. Pressing the raw edge of the bag into the glued flap.
Apply glue to the back of the dinosaur, then adhere it to the front of the bag.
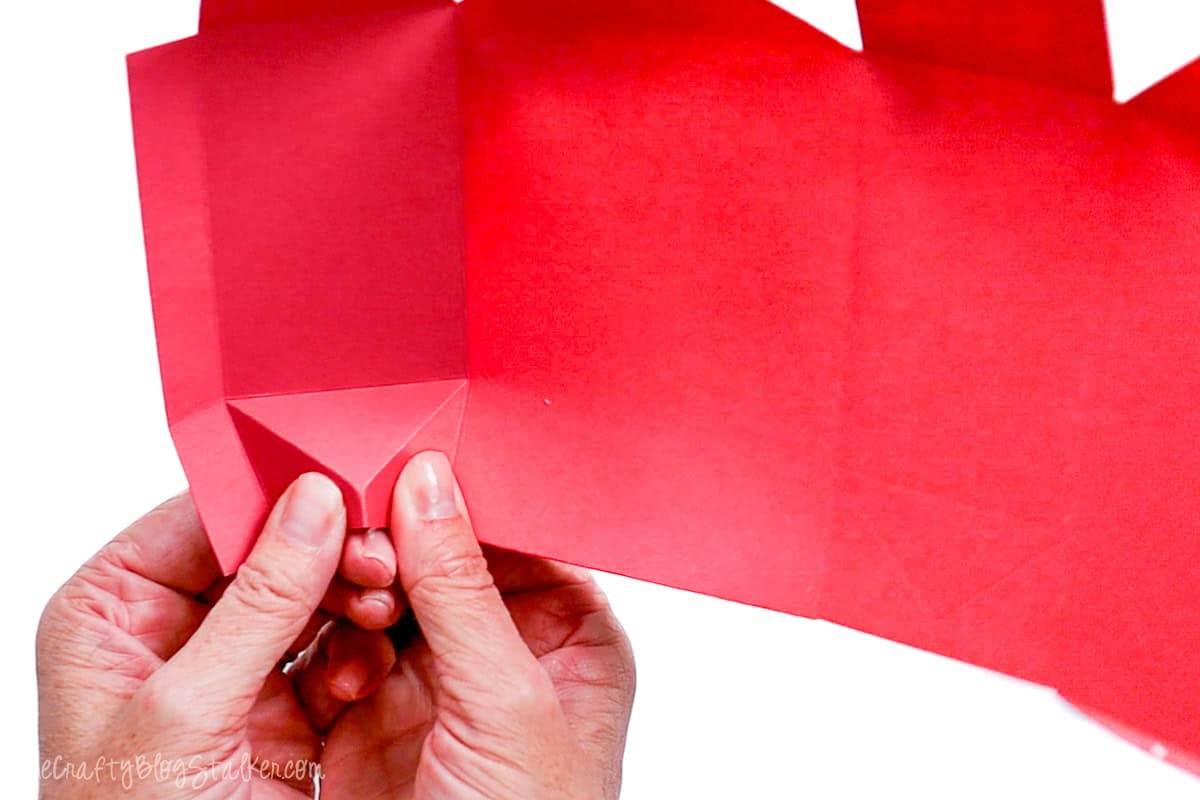
For the bottom, fold both square side flaps down, apply glue to one triangle flap, fold it down, then apply glue to the remaining triangle flap and fold it down.
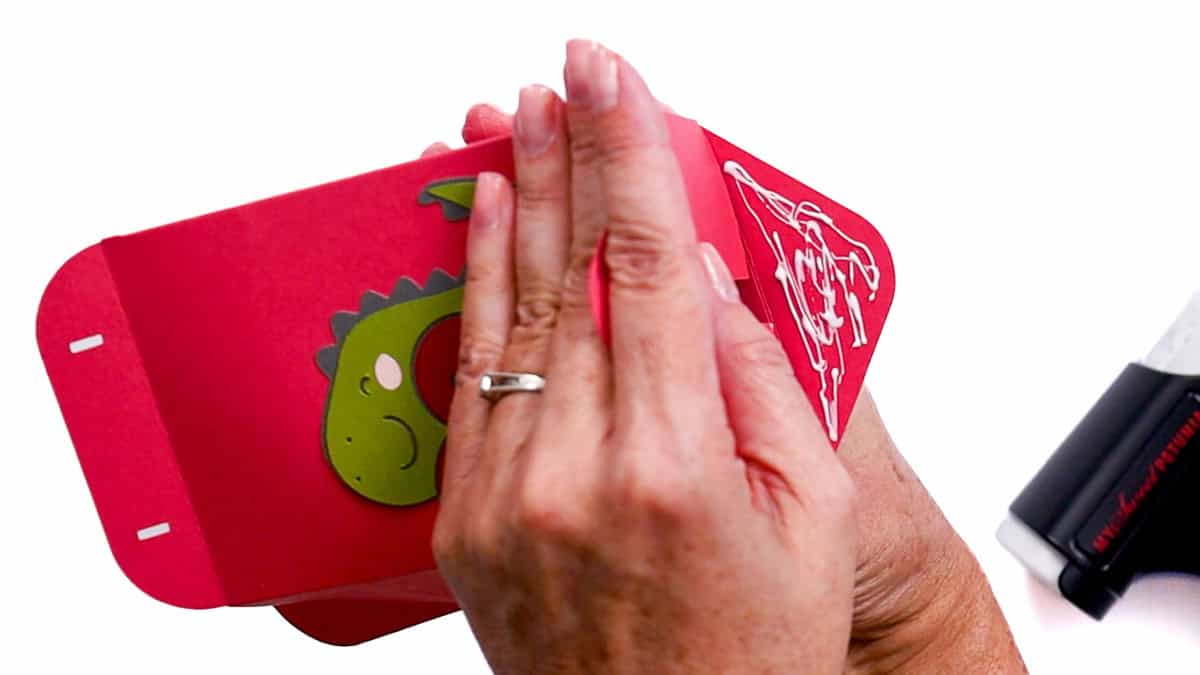
Place the bag on the table and press down from the inside to ensure all flaps adhere.
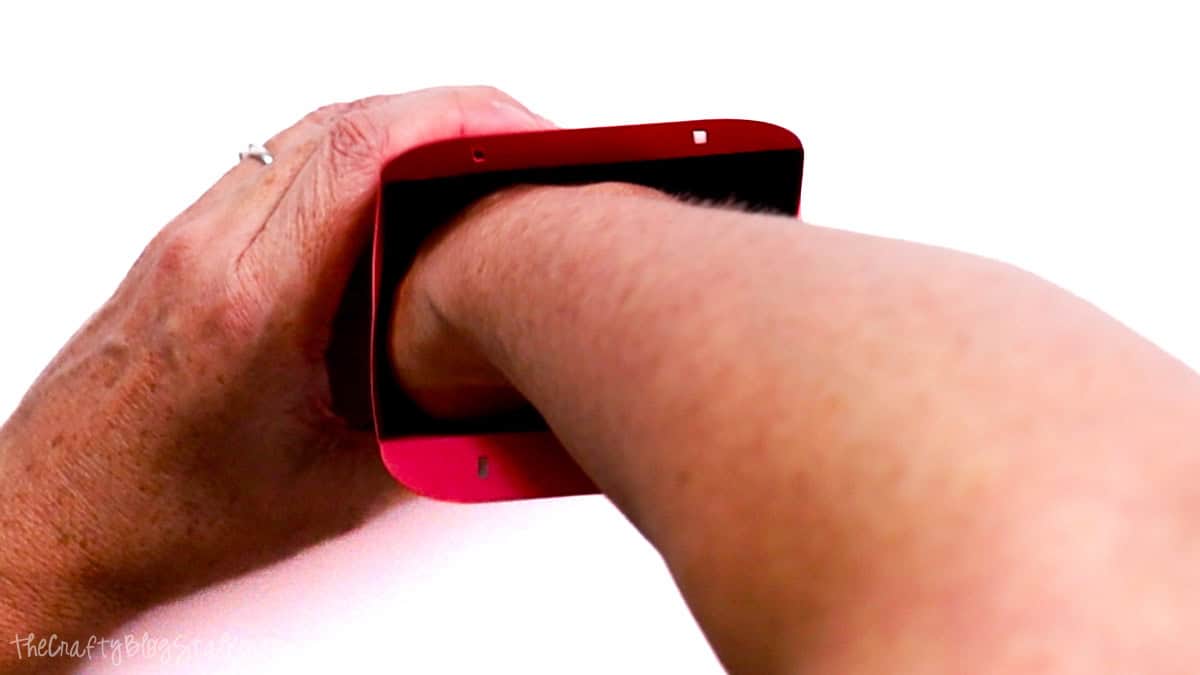
Don't put anything in the bag until you know the bottom is dry and secure.
You can fill the bag with anything you'd like. I love Truffles, but you could put small gifts inside, or anything you wanted.
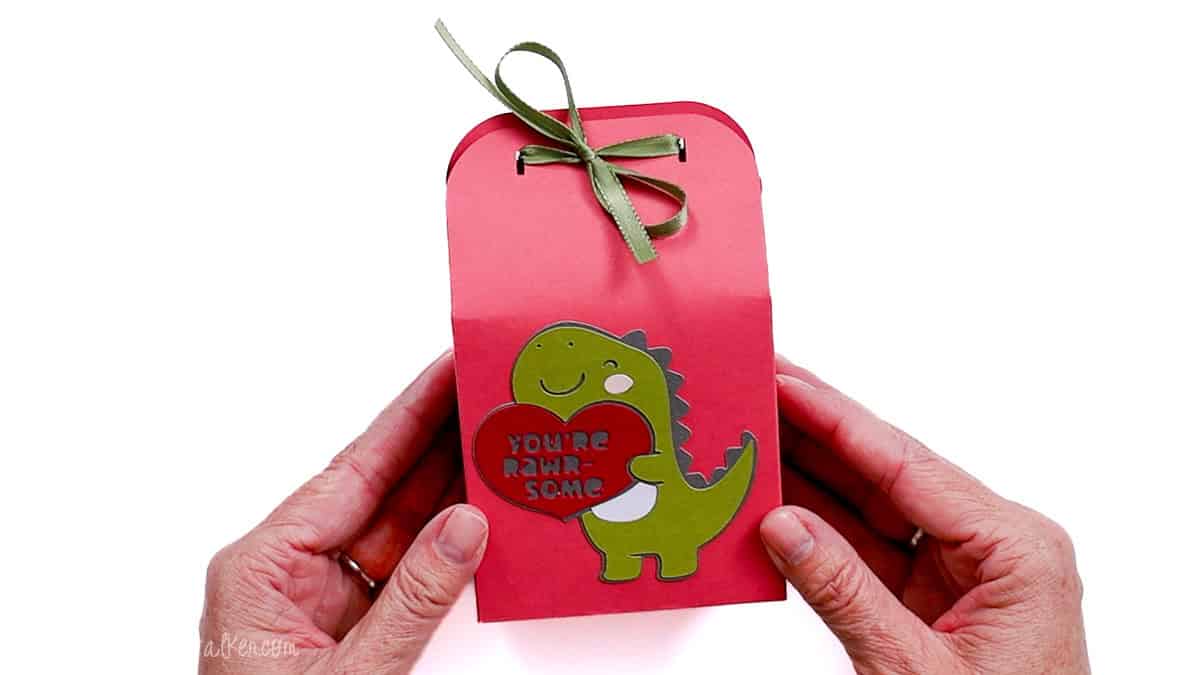
Cut a length of ribbon about 12-14 inches long, string it through the holes in the top of the bag, and tie a cute bow.
The Valentine's Day treat bags are now ready to gift! Aren't they cute?
More Valentine Ideas
Do you want to make more cute Valentine's Day crafts with Cricut? Here are a few more fun ideas.


Hi, I'm Katie!
I'm so glad you're here. Want to make something fabulous? I'm here to help!
Sarah Vanderkooy
Very cute, love how easy this is! Thanks for sharing.
Britni Vigil
What a cute treat bag. Love that you used a white one and spruced it up with twine and washi tape.
Lindsay @Artsy-Fartsy Mama
So cute!!!
Carmia
It looks lovely! And so easy to make too 🙂
Audrey
How cute and simple.
Elizabeth
Such a cute and simple idea! Love it. Perfect for Valentine's Day. I need some cute Valentine's washi tape.
Andrea@TablerPartyOfTwo
This is such a cute idea! Thanks for linking up at Sunday Features. Your post is one of our favorite picks of the week! We'll be featuring this in next Sunday Features. xoxo
Felicia
This is such a adorable Valentines gift. Simple and can hold so many different things. Thanks for sharing over at the Snickerdoodle Sunday.
Katherines Corner
Adorable!! Thank you for sharing at the Thursday hop. xo
Cydnee Knoth
What a great tutorial! Love your Valentine Treat Bag! Great pictures! Thank you for joining us at #purebloglove. We enjoy having you every Thursday at 8PM, EST through Sunday night. ~Cydnee
Denise
Thank you so much for linking up wtih us at Sunday Features. We featured you at this weeks party. Thanks again.
Jennifer Dawn
What a fun idea! Don't you just love Washi tape?!
Marti @ SewliciousHomeDecor
Those are so cute!! Found you through All Things with Purpose! 🙂 xo, Marti
Jessica
So cute and super easy for this busy mom! Thanks for the idea!