
Learn how to sew an easy baby blanket with simple steps perfect for beginners, and make a sweet handmade gift for a new little one.
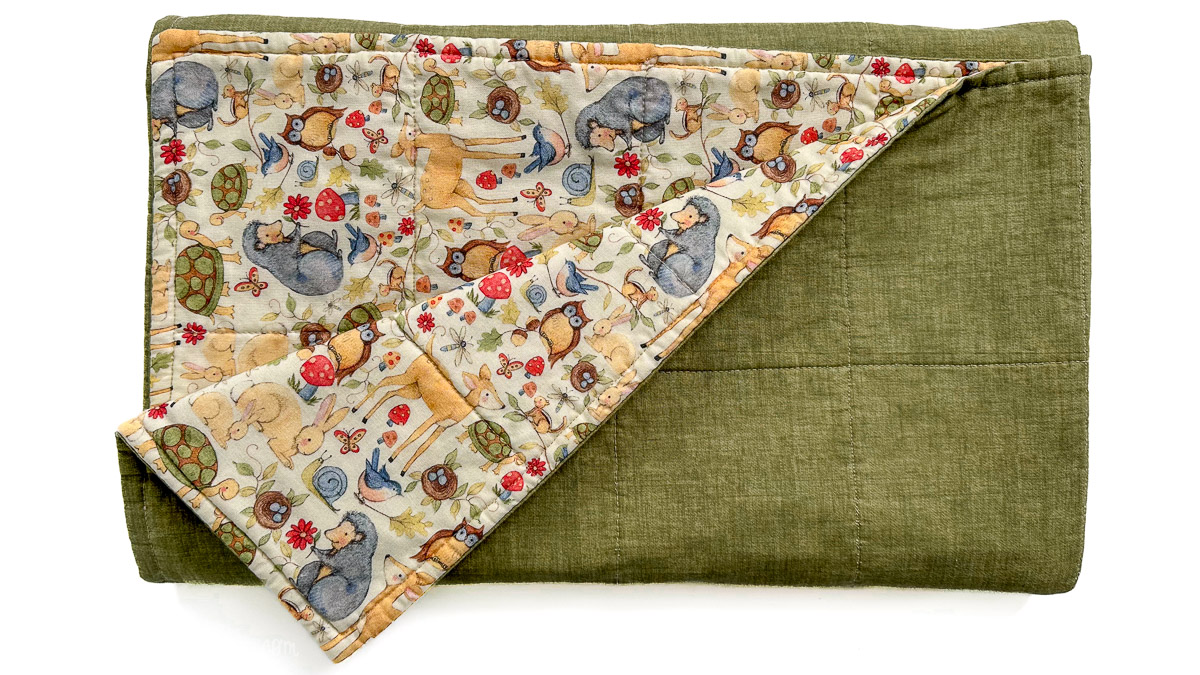
My daughter is having a baby, which means this grandma has one very important job, to sew a cute baby blanket just for him.
Sewing isn't usually my first choice of craft, but this project surprised me. It was simple, calming, and came together in about two hours from start to finish.
If you are a beginner, a new grandma, or just someone who wants to give a meaningful handmade gift without feeling overwhelmed, this is the perfect project.
There is something extra special about wrapping a baby in a quilted blanket you made yourself. I cannot wait to see this one become his favorite.
Jump to:
Skill Level: Beginner
Total Time: 2 hours
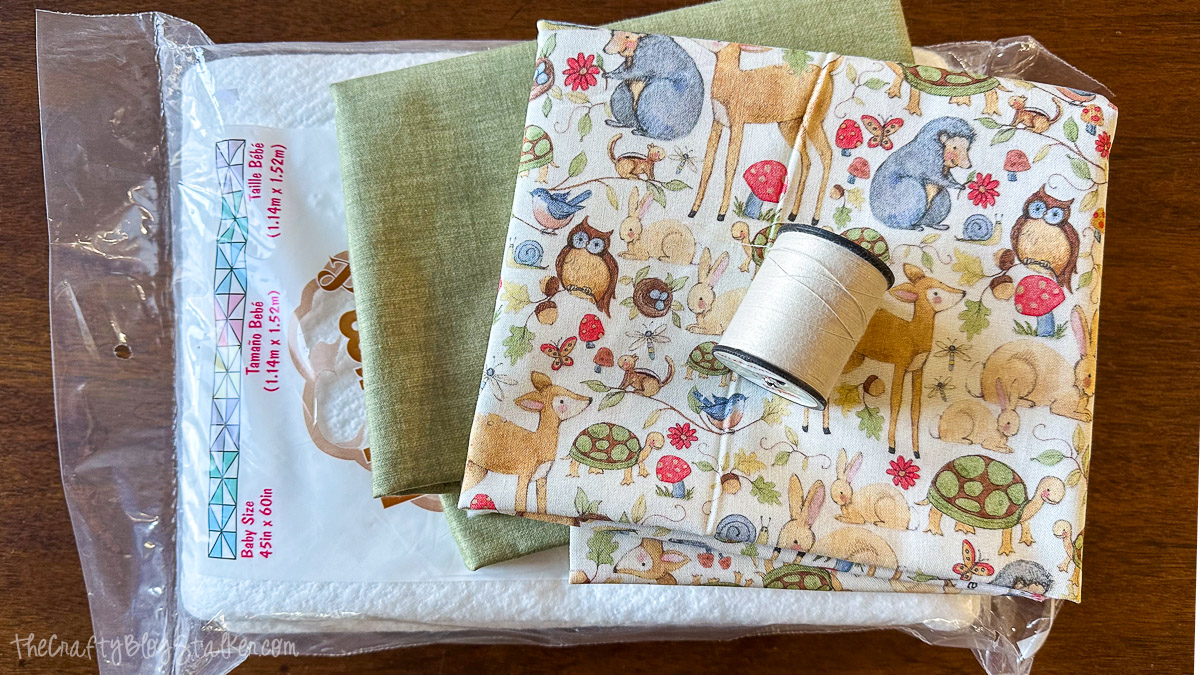
Prep the Fabric
It is always a good idea to prewash your fabric so it does not shrink or bleed after all your careful sewing.
Did I prewash? No. I live dangerously. 😂 But I recommend it.
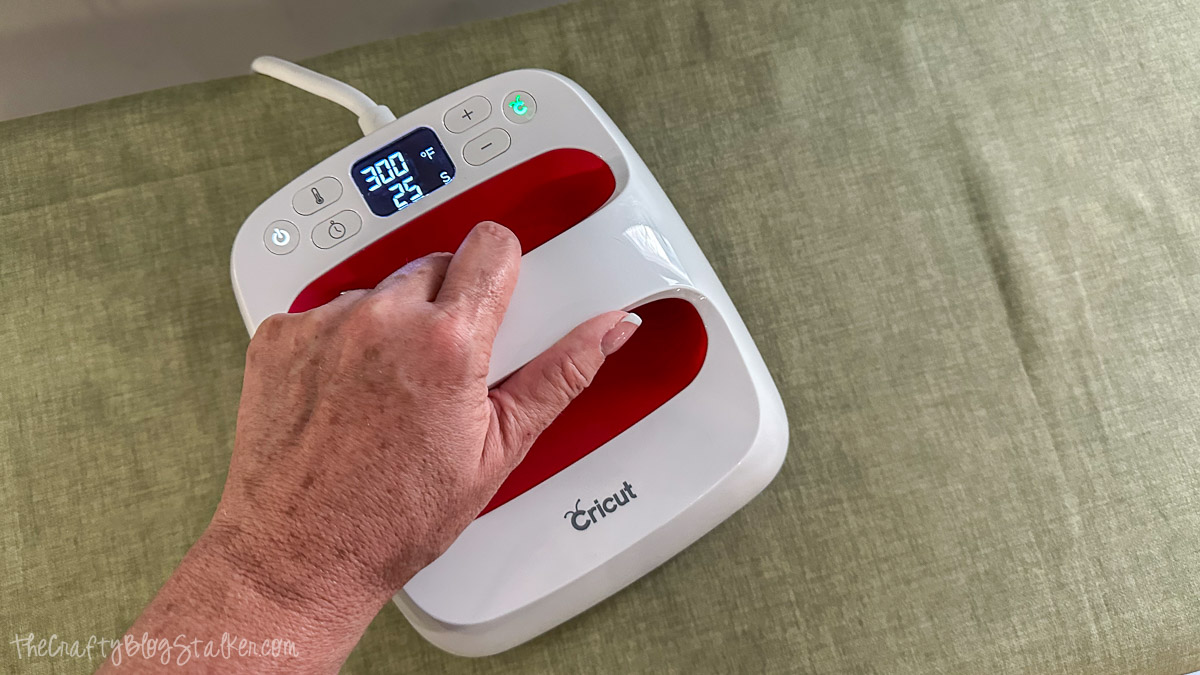
Lay both pieces of fabric flat and press them well. You want the fabric to be smooth before building your quilt sandwich.
I could not find my iron, so I used my Cricut EasyPress. Not traditional, but it worked beautifully.
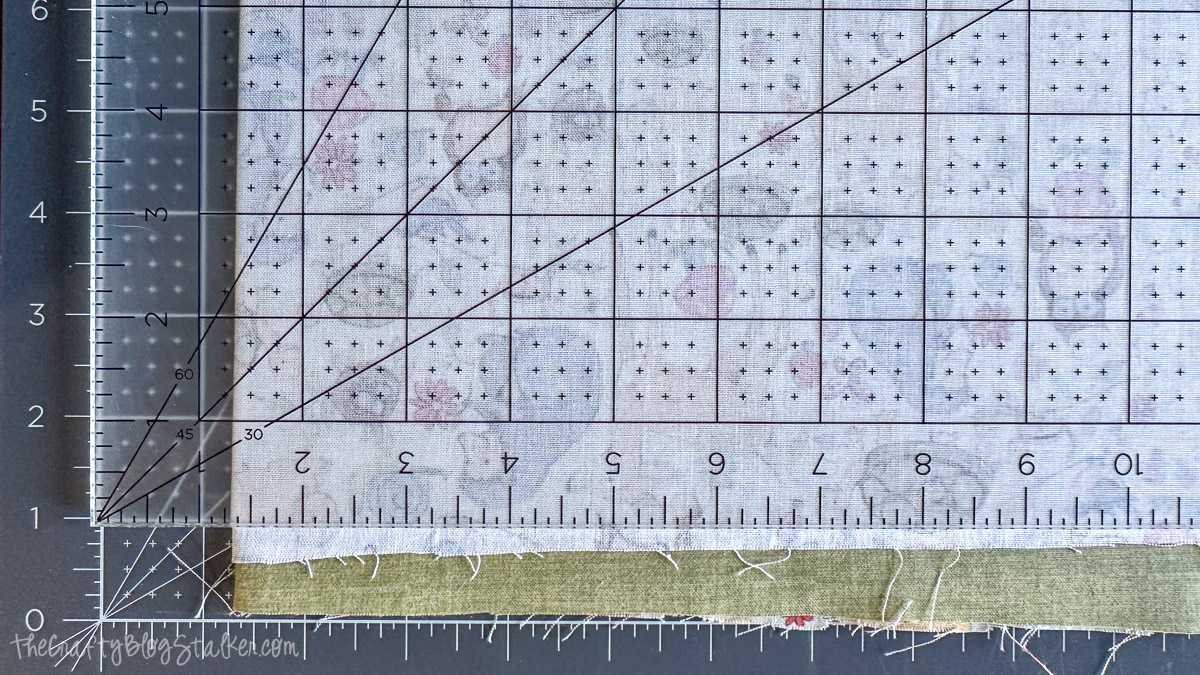
Square Up the Fabric
- Place the right sides of the two fabric pieces together.
- Line up the top and one side as evenly as possible.
- Grab the aligned corner and fold both layers in half.
- Fold in half again so you have folds along the top and left sides, with uneven edges exposed on the bottom and right.
Place the folded fabric on your self-healing mat. Using a quilting ruler and rotary cutter, trim the uneven edges from the bottom and right sides.
This step ensures both fabric panels are exactly the same size. Straight edges now make your stitching much easier later.
Add the Batting
Now it is time to build your quilt sandwich.
Lay the quilt batting flat on your work surface. If it is wrinkled from packaging, gently press it flat.
Place one piece of fabric on top of the batting, right side facing up. Smooth it carefully so there are no bubbles or folds.
Trim the batting to match the exact size of the fabric.
Tip: You can trim the batting at the same time as the fabric layers. I forgot and had to do it separately. It still works just fine.
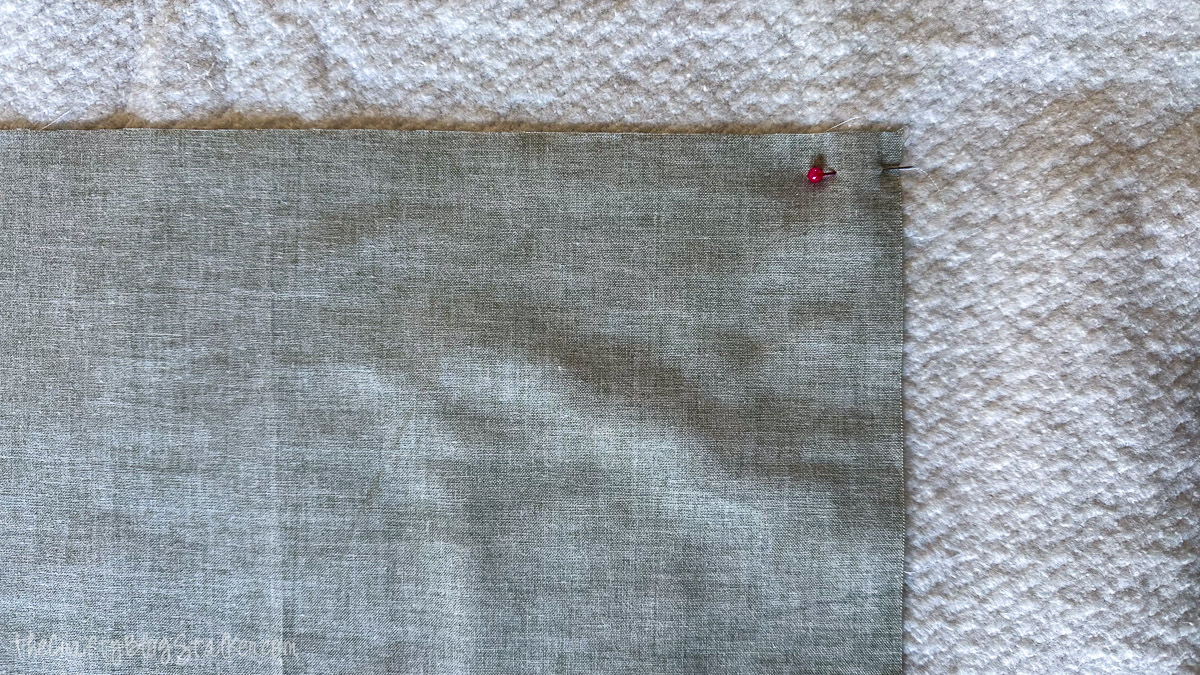
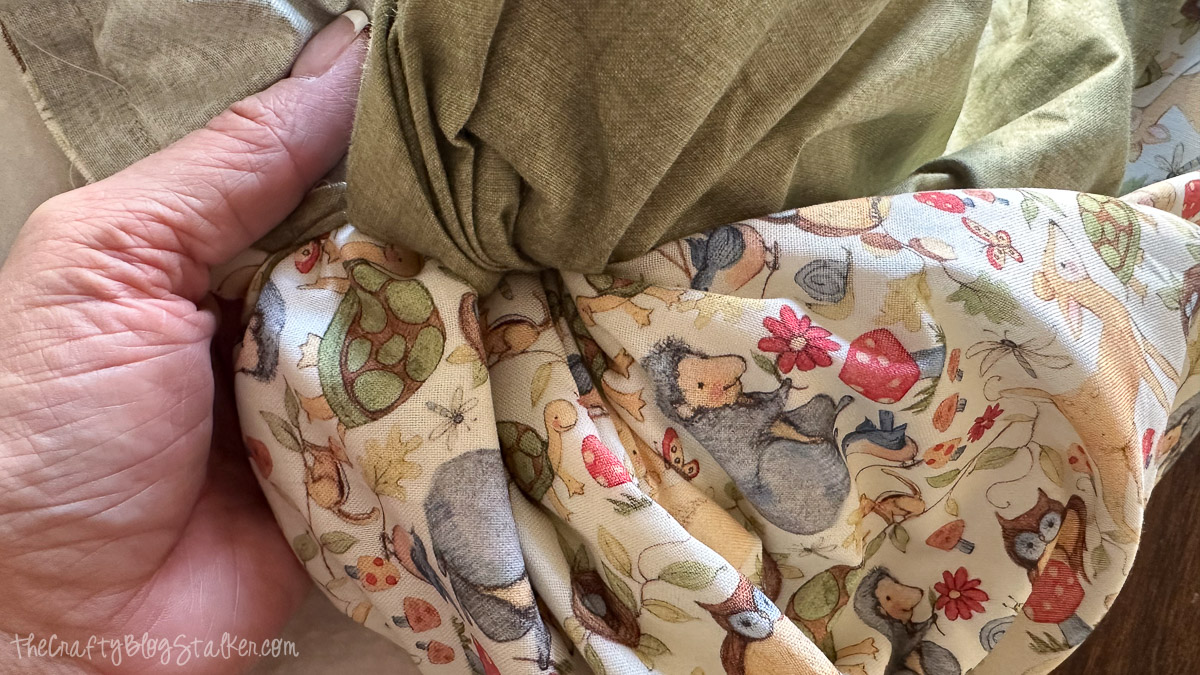
Sew the Quilt Sandwich
Now we assemble everything.
- Bottom: Batting
- Middle: Fabric right side up
- Top: Fabric right side down
You now have a classic quilt sandwich.
Pin around the edges to keep everything from shifting.
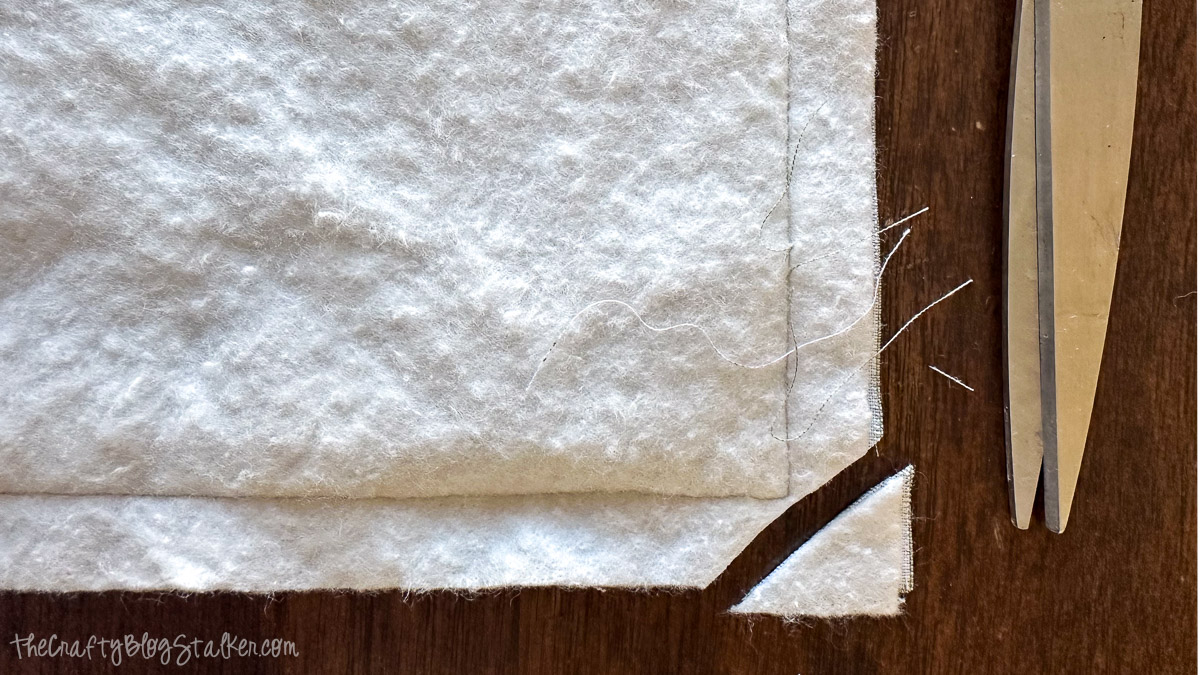
Using a ½-inch seam allowance, sew around the entire perimeter. Leave about a 6-inch opening along one side so you can turn the blanket right side out.
After sewing, trim the corners diagonally. This reduces bulk and helps create crisp corners once turned.
Turn and Press
Reach into the opening and gently pull the right side of the blanket out.
There will be a moment when you think the opening is not big enough. Keep going. It will turn.
Use your fingers or a blunt dowel to push out the corners so they are nice and square.
The blanket will likely be wrinkled after turning. Press it flat again.
Fold the raw edges of the opening inward so they align with the sewn edge. Pin in place.
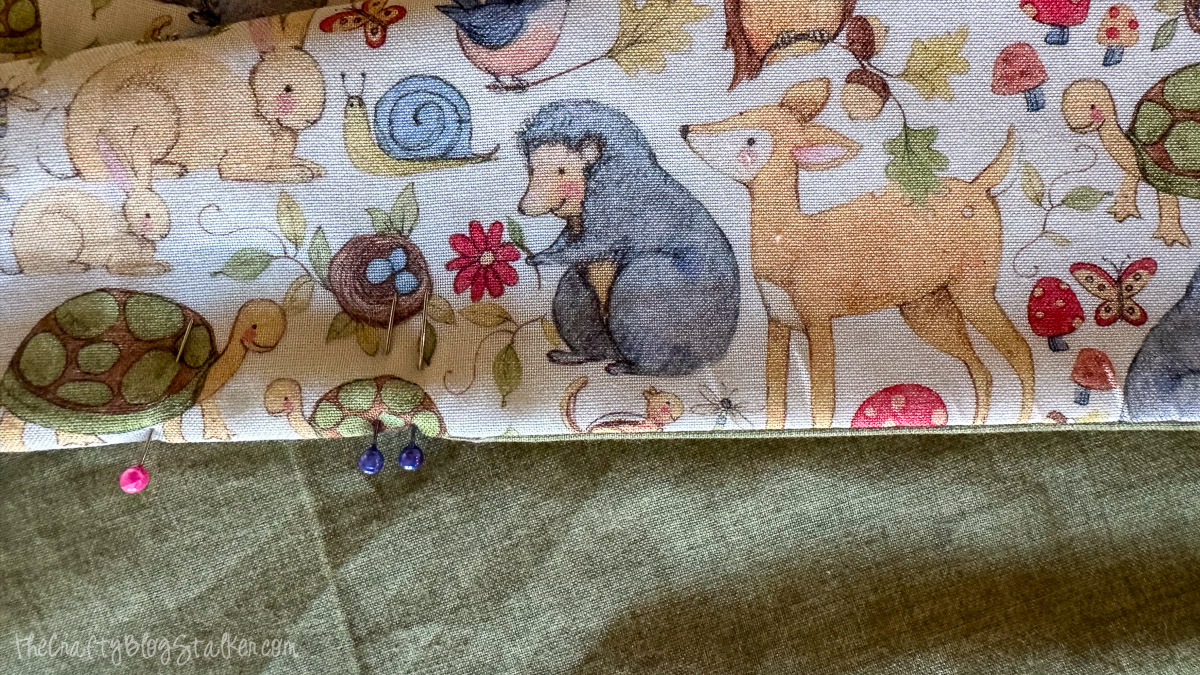
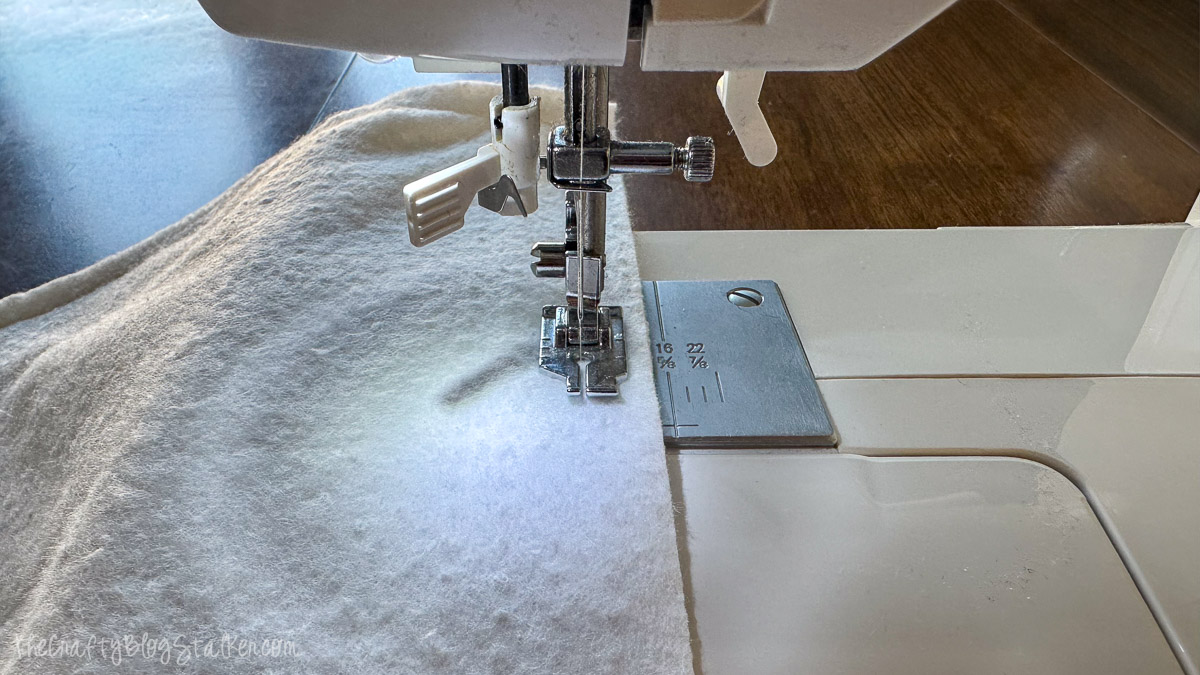
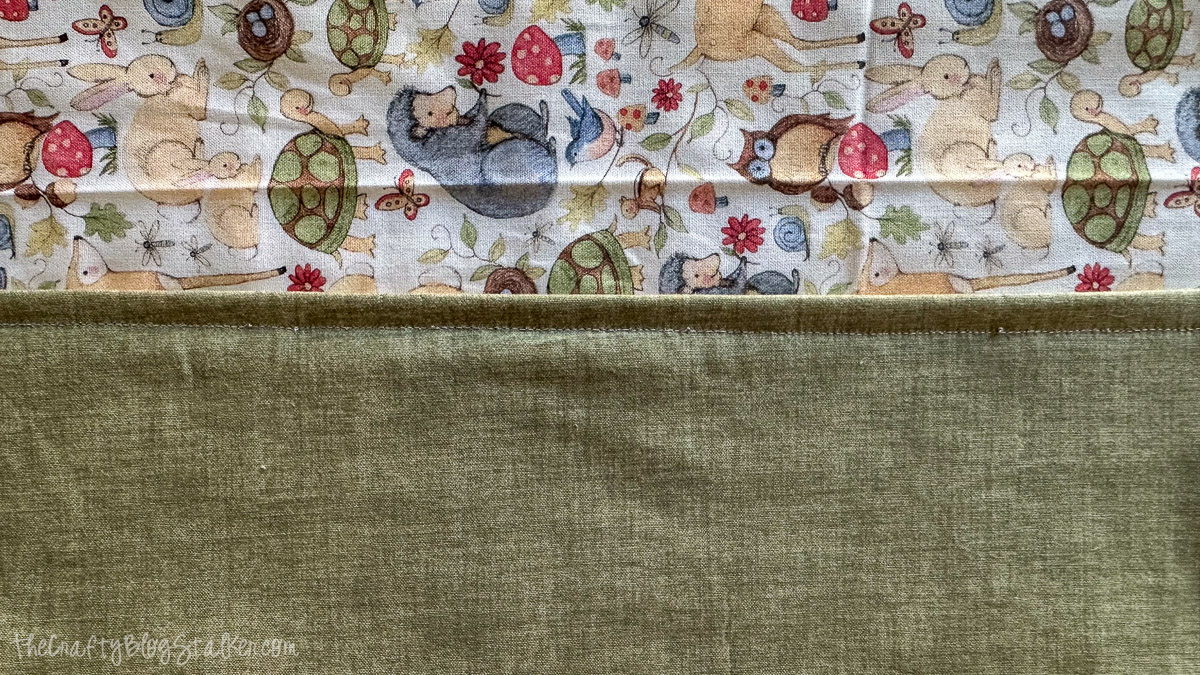
Topstitch the Edges
Sew around the entire perimeter using a ¼-inch seam allowance.
This topstitching closes the gap and gives the baby blanket a clean, finished edge.
Pivot carefully at each corner to keep everything crisp and even.
At this point, you technically have a finished blanket. But we are going to take it one step further.
Add Quilting Stitches
These final stitches are not just decorative. Quilting holds the batting in place so it does not shift, bunch, or become lumpy over time.
Measure your blanket to decide on spacing. Mine measured about 40 inches square, so I chose quilting lines every 5 inches.
Mark Your Lines
- Lay the blanket flat.
- Use a quilting ruler to draw straight lines with a water-soluble fabric marker.
- Pin across the blanket to prevent shifting.
Sew Straight Rows
Sew straight stitches directly over the marked lines. Take your time and go slow.
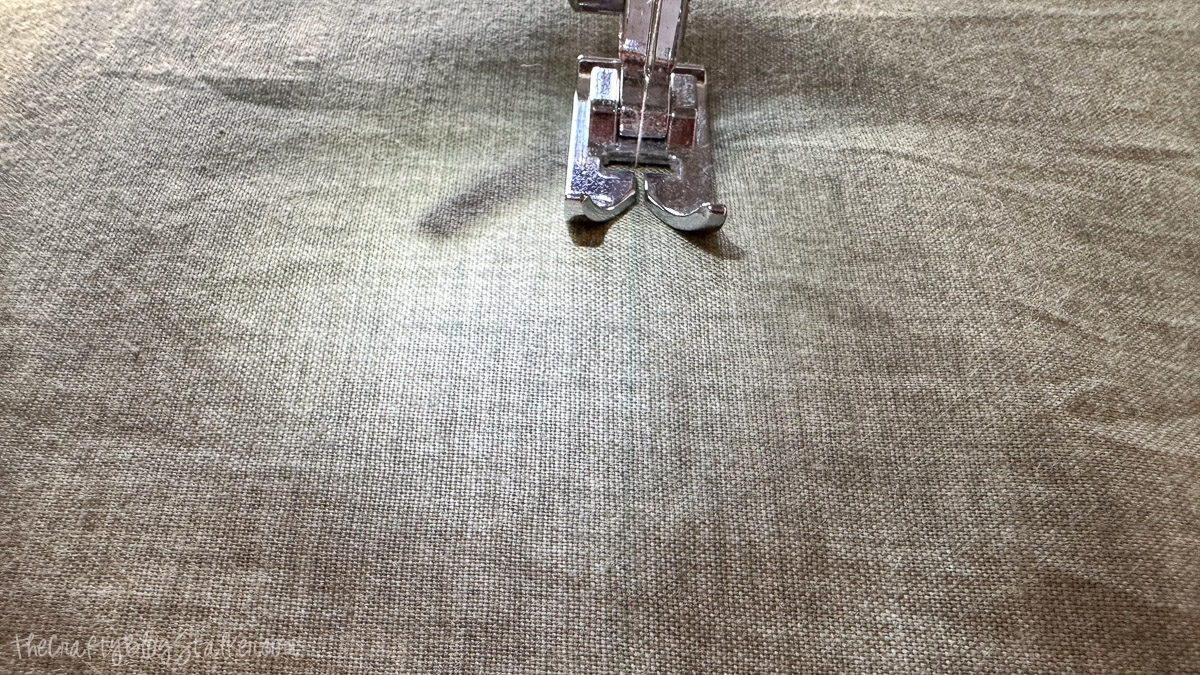
Once all rows are sewn in one direction, rotate the blanket 90 degrees and repeat the process. This creates a grid pattern and evenly quilted squares.
The intersecting stitches create the classic quilted look while securing the quilt sandwich.
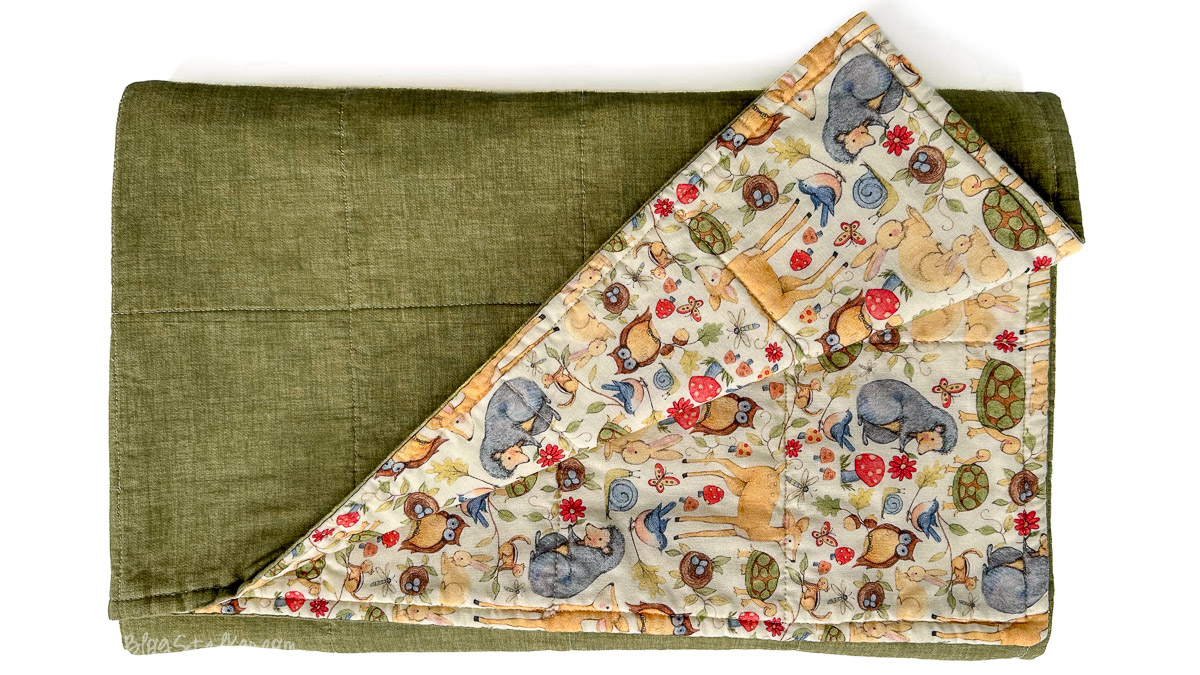
When finished, your blanket is fully quilted and complete.
If you can sew straight-ish lines, you can do this.
This is one of those projects that looks impressive but is completely doable. And when that sweet baby is wrapped up in something you made with your own two hands, every stitch feels worth it.
If you make one, you might just find yourself planning the next baby blanket before the first one is even gifted.
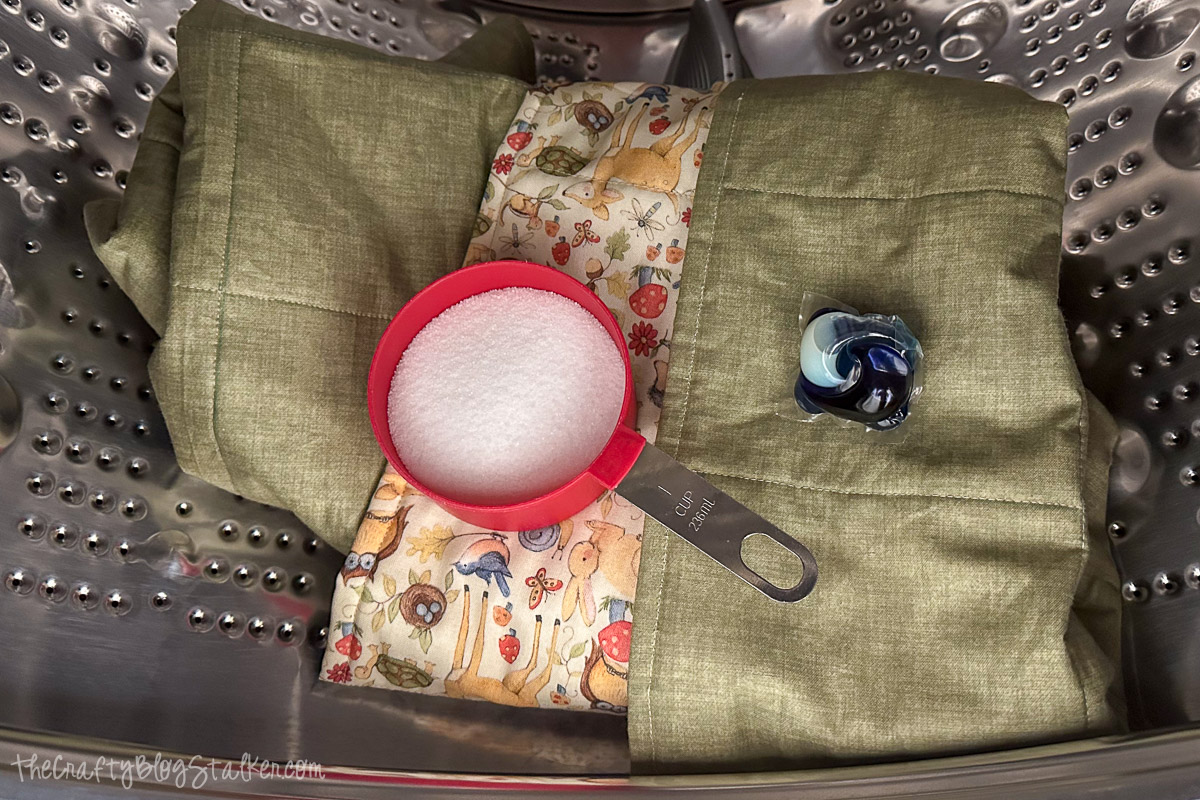
First Wash Instructions
For the first wash:
- Wash alone in cold water on a delicate cycle.
- Add ⅓ cup of table salt directly to the washer to help lock in colors.
- Use mild detergent.
- Add color-catcher sheets if desired.
After washing, your baby blanket will soften beautifully and be ready for cuddles.
More Blanket Tutorials
Can you ever have too many cozy blankets? I don't think so! Here are a few more sweet and simple blanket ideas to sew and gift.

Hi, I'm Katie!
I'm so glad you're here. Want to make something fabulous? I'm here to help!