
This scarecrow craft is a fun DIY fall project made with Cricut. Follow the steps to create a 35-inch scarecrow that's perfect for autumn decor.
Sometimes the fall season feels like pumpkins take over, so this scarecrow craft is a fun way to change things up.
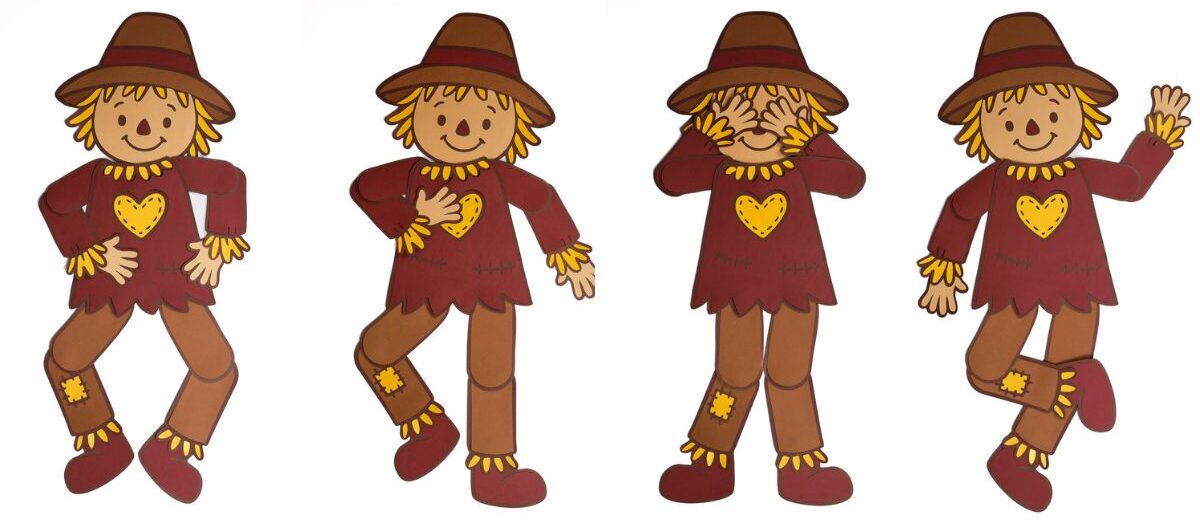
At 35 inches tall, it's big enough to make a statement but simple enough to work with your Cricut.
You can customize the color of the hat, clothes, and details to fit your style, making it perfect for the classroom, an entryway, or party decor.
It's an easy, budget-friendly project that adds a little personality to your fall decor.
Jump to:
Skill Level: Beginner
Total Time: 2 hours
Craft Tutorial Video
If videos are your thing, you're in luck-I've got a full tutorial ready for you!
Subscribe to my YouTube channel and stay inspired with every new project.
Supply List
- Scarecrow SVG
- Cutting Machine
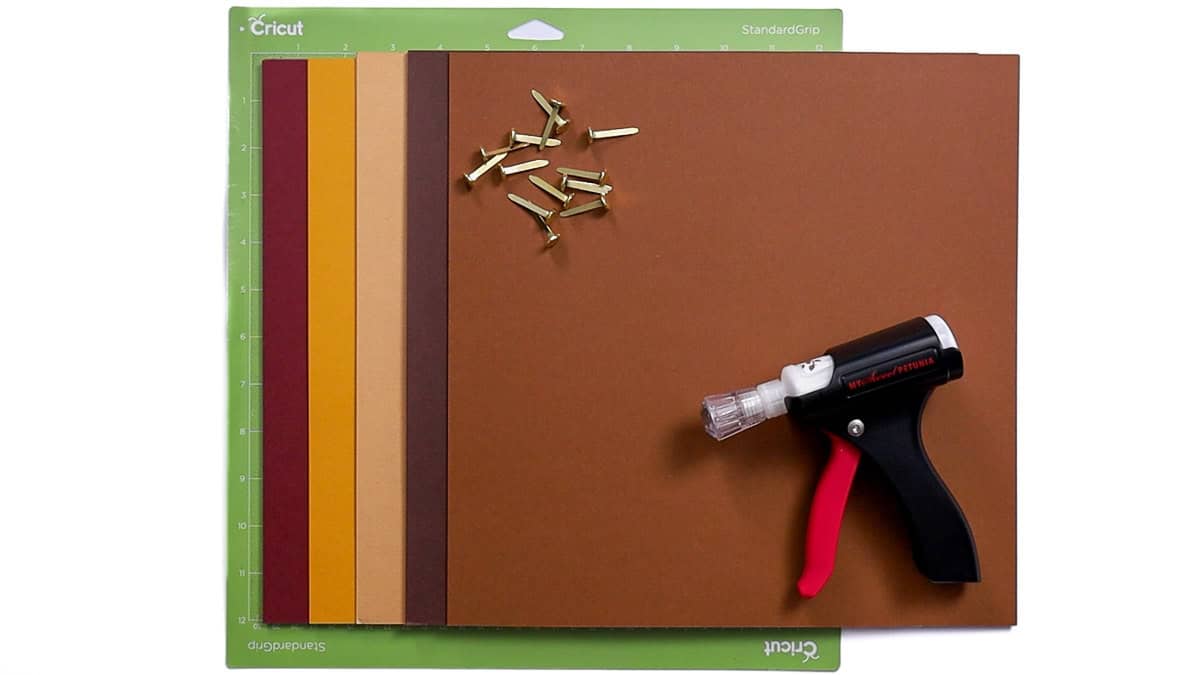
- 12x12 Cardstock - Dark Brown, Brown, Burgundy, Yellow, Any Flesh Tone
- Glue
- Paper Fasteners
- Glue Eraser - optional
Grab the SVG
Cricut Design Space
For the following steps, I'll be using Cricut Design Space.
If you use Silhouette Studio or another design software, your steps may differ from mine.
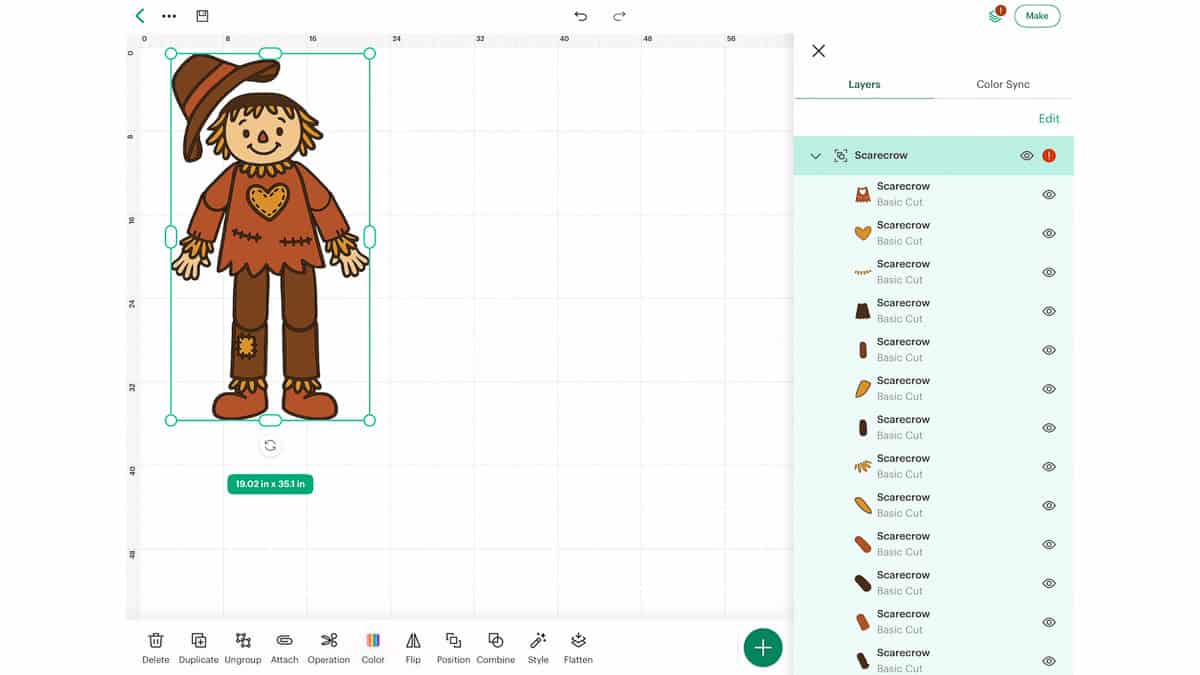
To start, upload the SVG into Cricut Design Space and add it to your Canvas.
Right away, there is an error icon. To get rid of that, highlight the design and then Ungroup it.
There is no need to resize because the design is already sized to cut the largest possible and still fit on the 12x12 mats.
If you'd like to resize, make sure to resize the design as a group so all of the pieces still fit together correctly.
No changes need to be made to the file, so click Make to be taken to the Mat Preview.
Select Medium Cardstock as the material and enable Remember Material Settings, as all mats will be the same material.
I also like to select More Pressure when cutting paper, but this is just a personal preference and not a necessity.
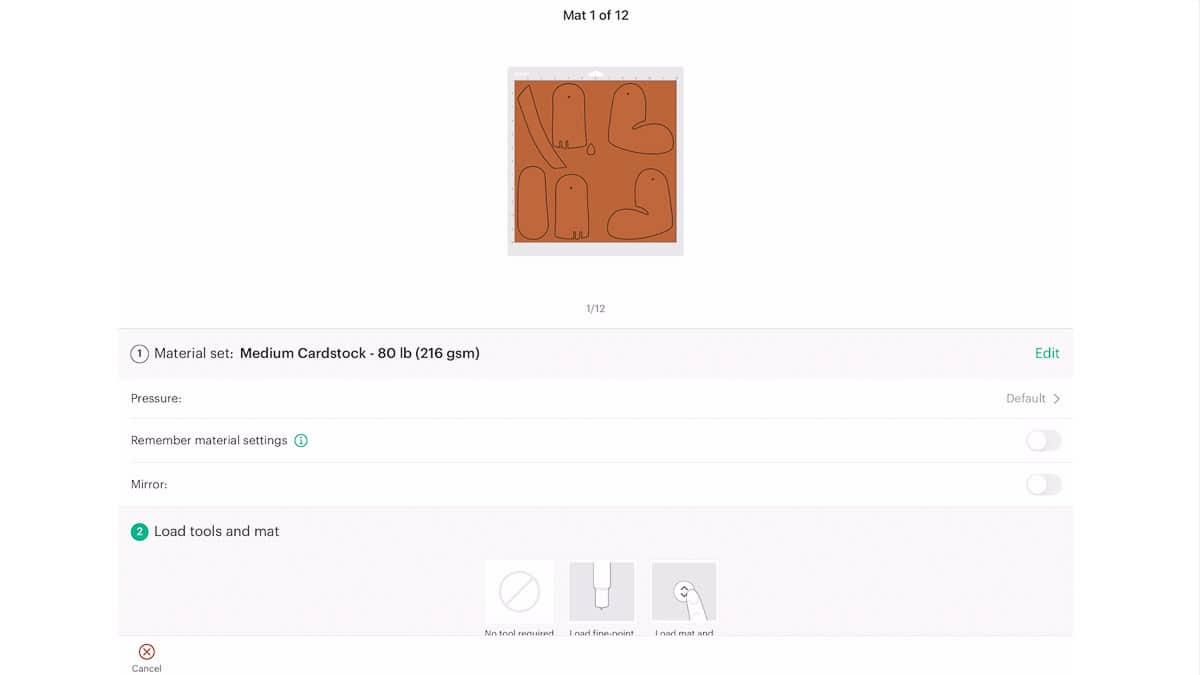
Follow the prompts inside Cricut Design Space. It will tell you what color of cardstock to load, and when.
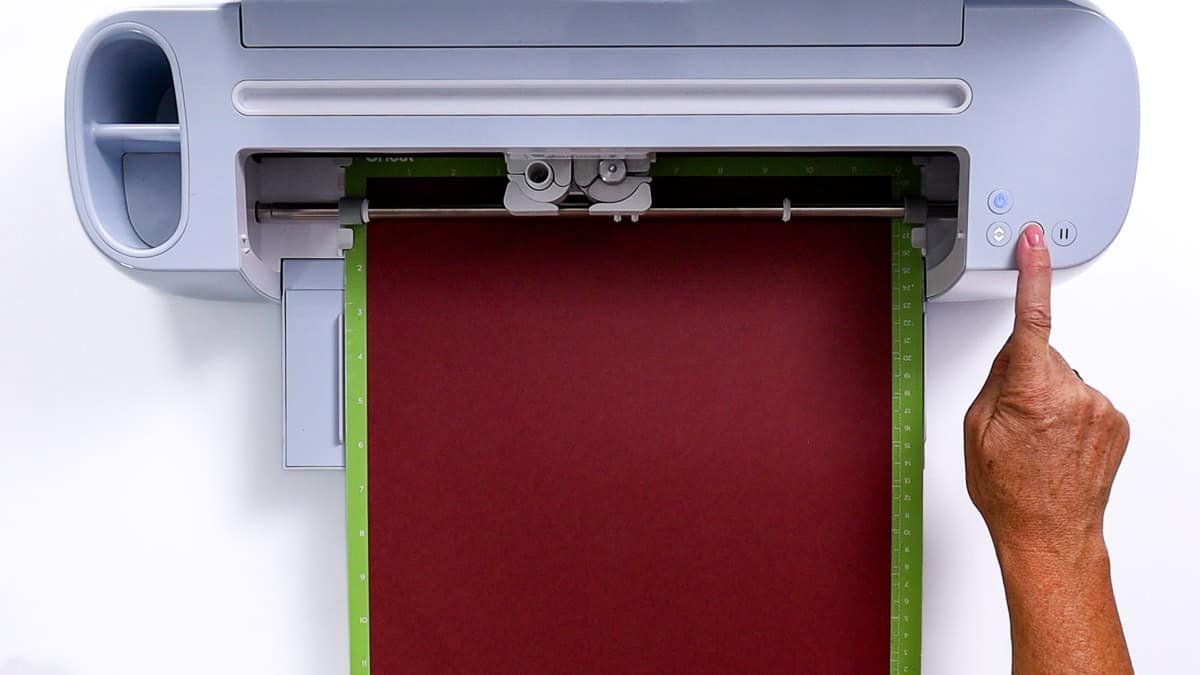
Cutting the cardstock is probably the longest part of this process. There are a lot of mats to cut. 😆
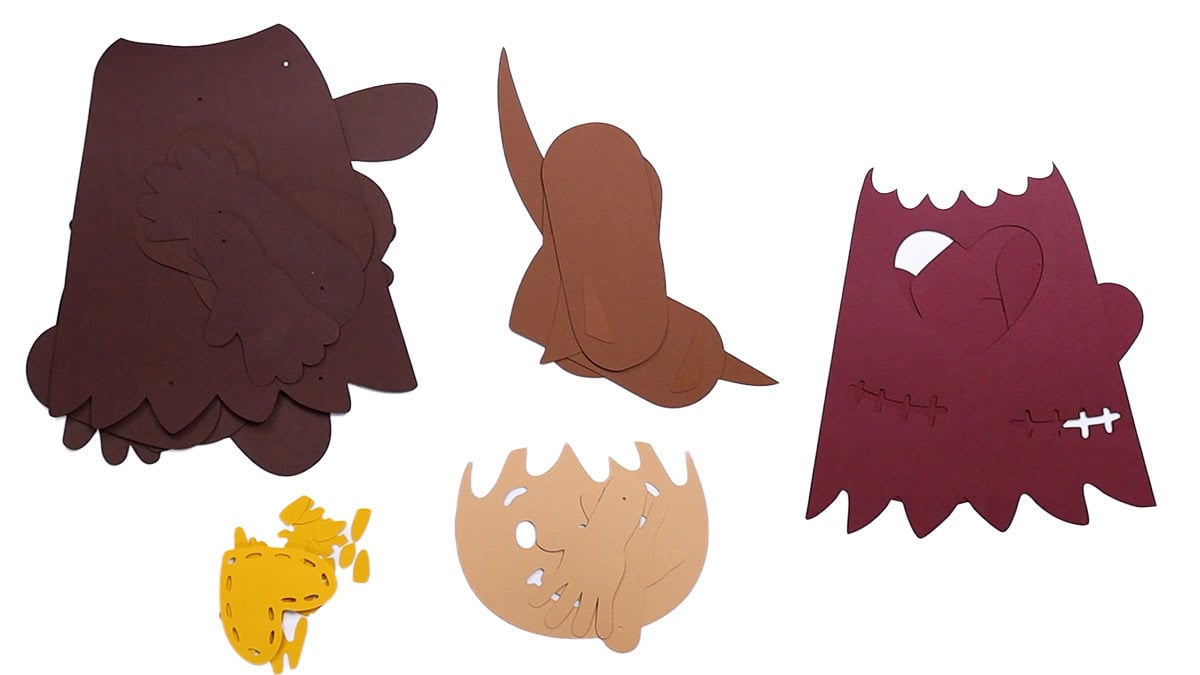
Preperation
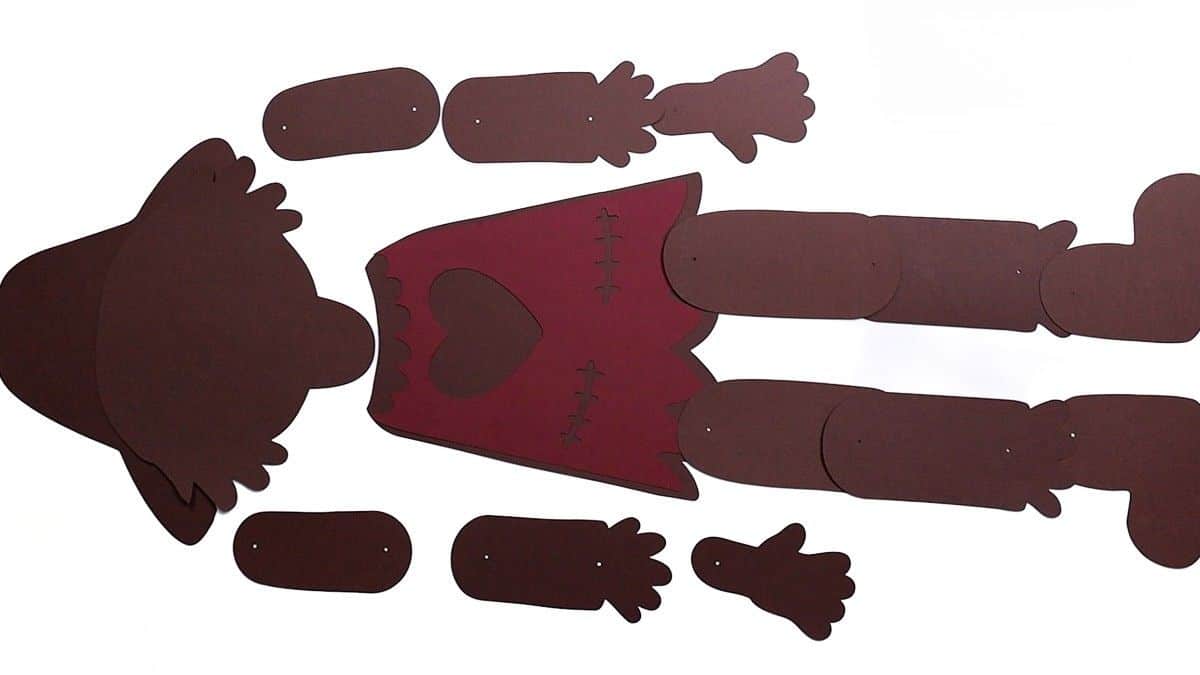
Here are all of the cut cardstock pieces. Don't let this scare you. There are a lot of pieces, but I have tried to make it as easy as possible.
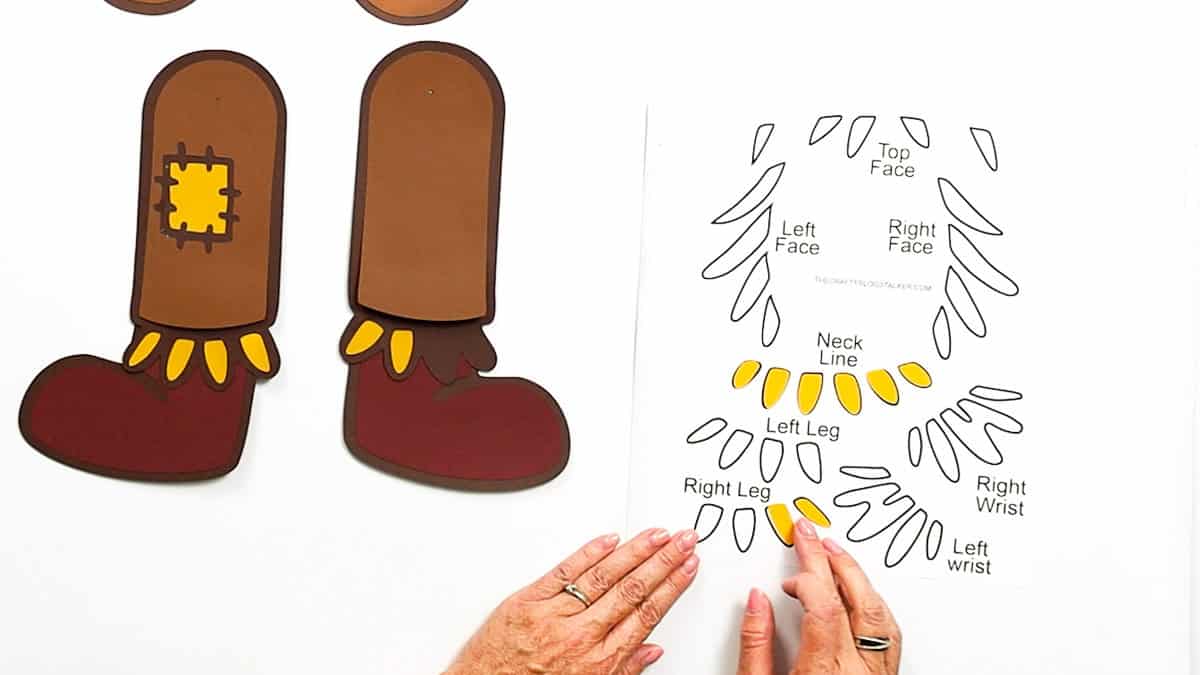
To begin, print the PDF that comes with the SVG. This printable makes adding the hay fringe so much easier.
Then lay the pieces out, matching the outline. This printable works best if the file is not resized. Otherwise, the pieces won't match perfectly.
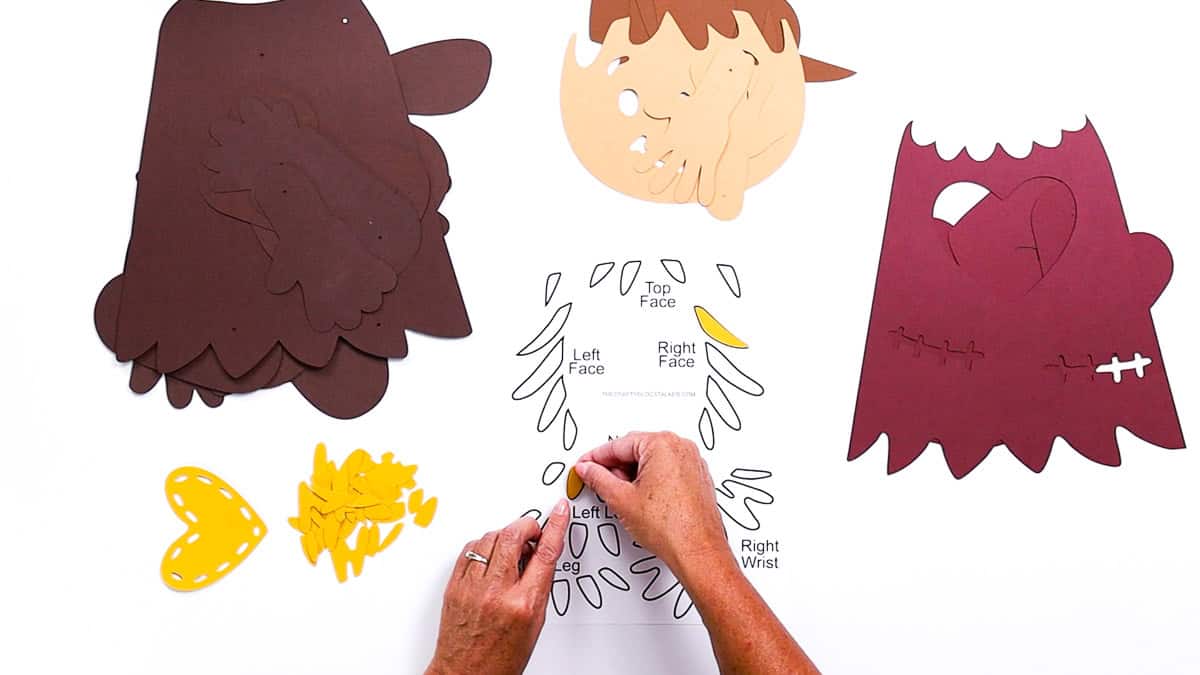
Carefully set the organized fringe pieces aside.
Next, lay out the dark brown pieces to organize them. These are the base pieces of the scarecrow.
Head Assembly
The head comes in two pieces and needs to be glued together. Align the edges and glue the face piece on top of the hat piece.
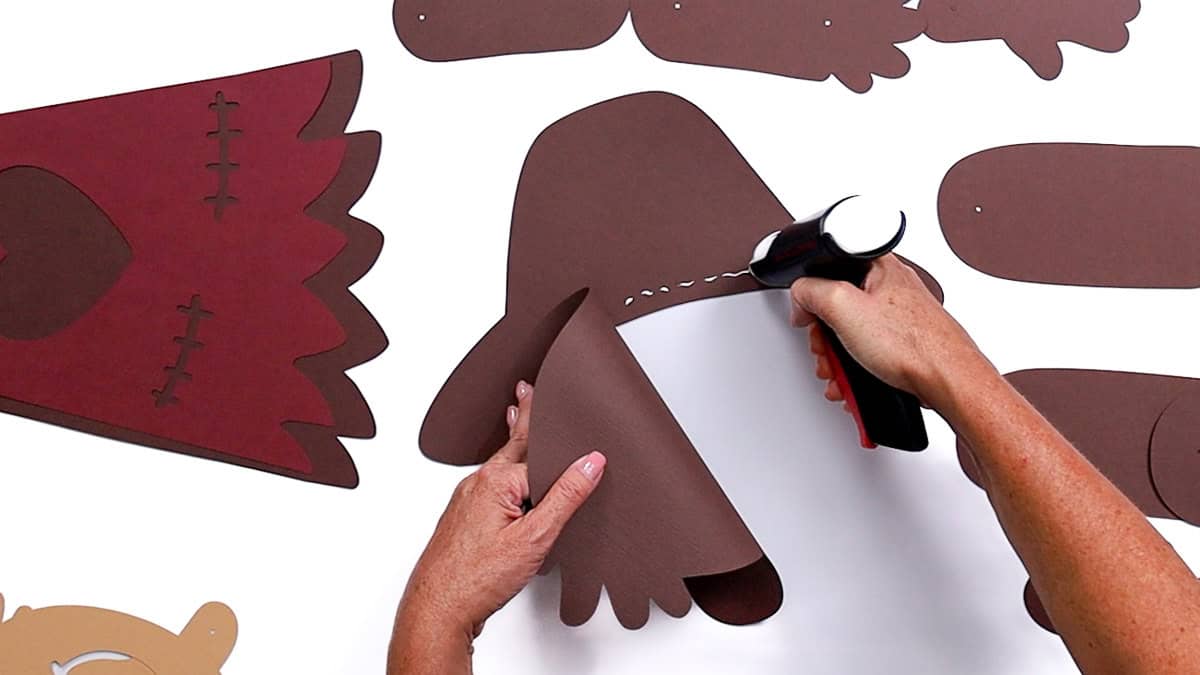
Place most of the headpieces (except the fringe) before gluing them down to make sure they are centered correctly.
The top hair fringe only fits the face in one direction, so make sure the correct side of the face is facing up before gluing.
All of the pieces should have the same spacing.
Once placed correctly, begin gluing them into place, and finish with the hair fringe.
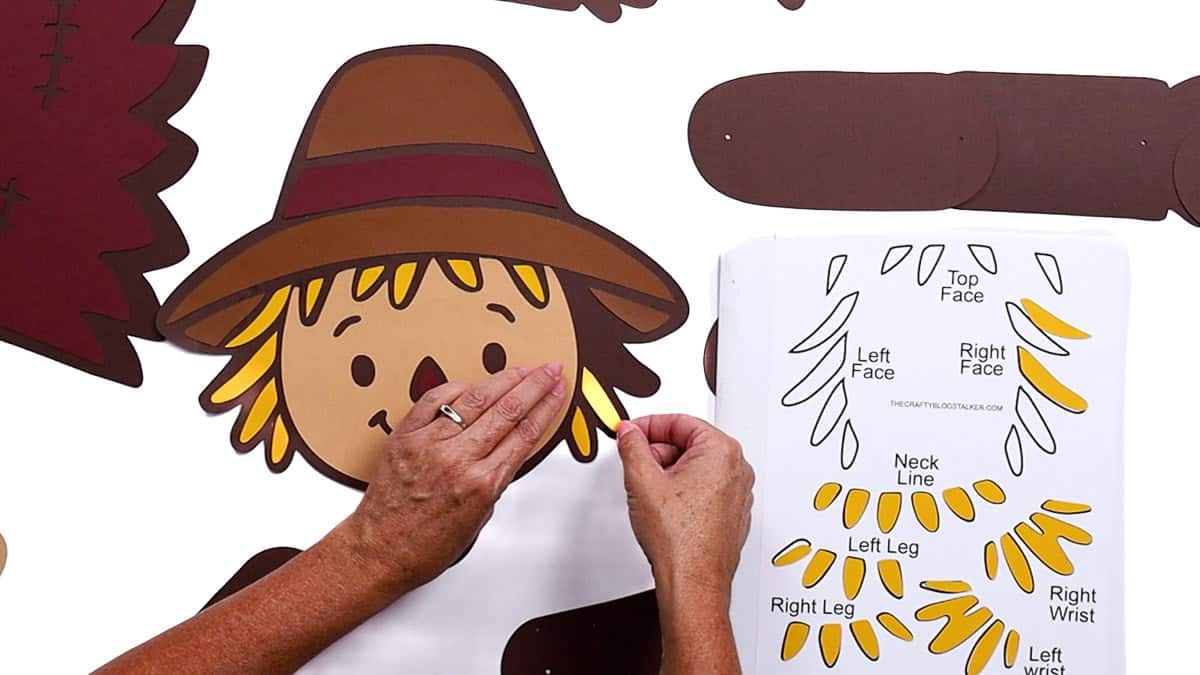
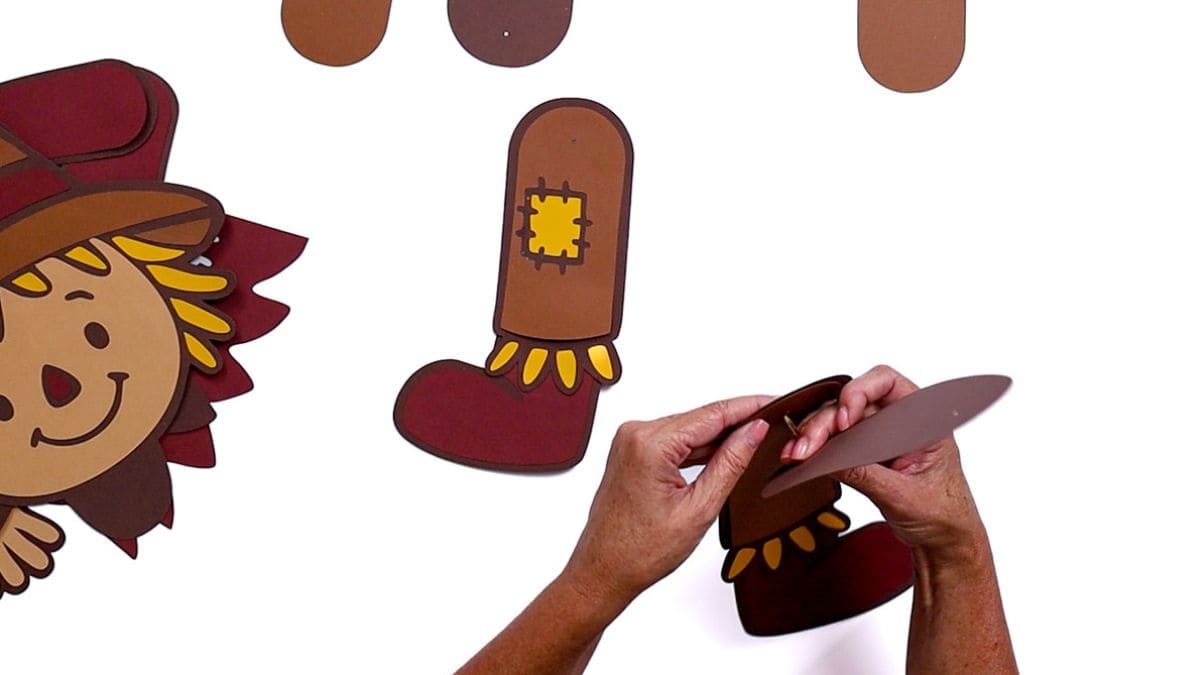
Here is the finished head. We will not attach it to the body just yet, so set it aside.

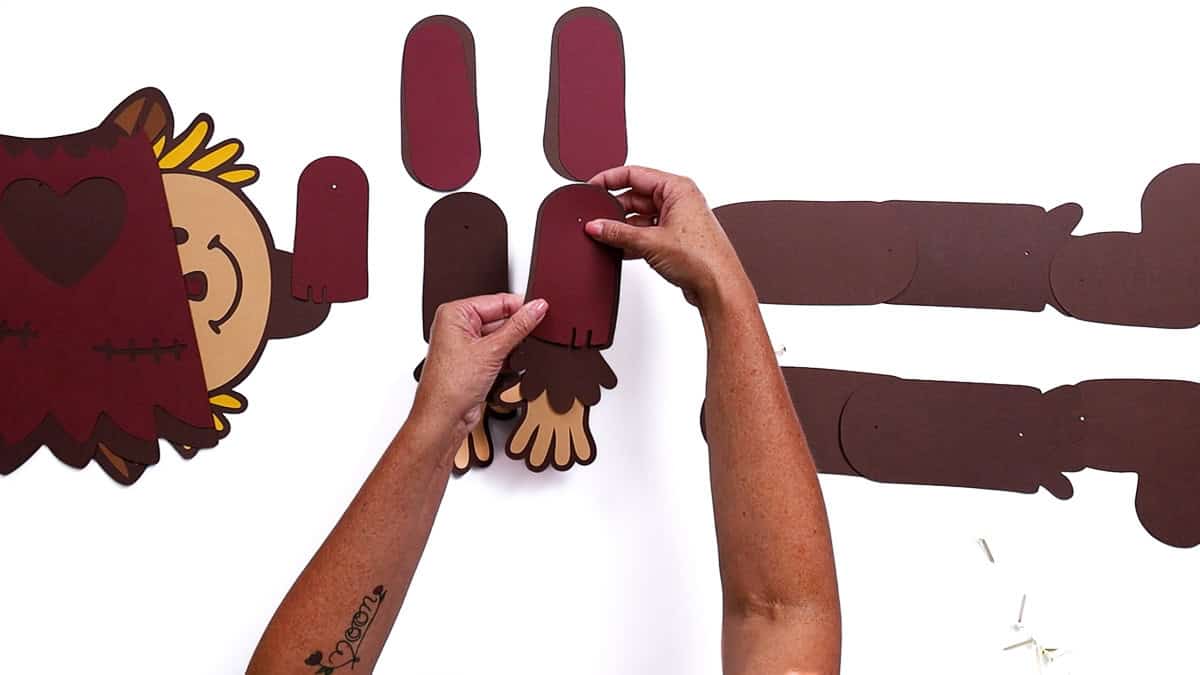
Arm Assembly
Both arms will be assembled the same, but the thumbs should be on the side of the body.
Glue the flesh colored hands on top of the base pieces, lining up the hole.
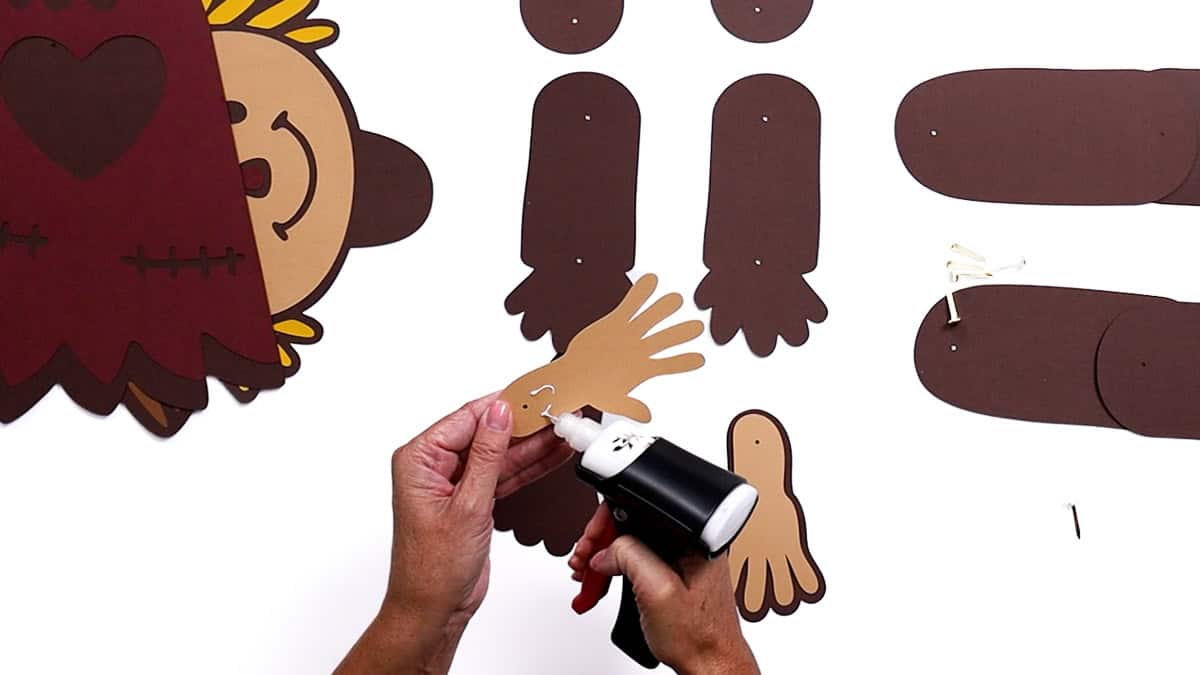
To attach the forearm to the hand, place the forearm on top of the hand and secure it with a fastener by opening the prongs on the backside.

Glue the lower sleeve on top of the forearm, aligning the holes. Don't apply glue directly to the fastener. Keep the wrist free of glue so it remains jointed.
The top piece of the arm has holes on the top and bottom. The top is slightly smaller and should bend towards the body.
Layer the upper arm on top of the forearm and secure a fastener.
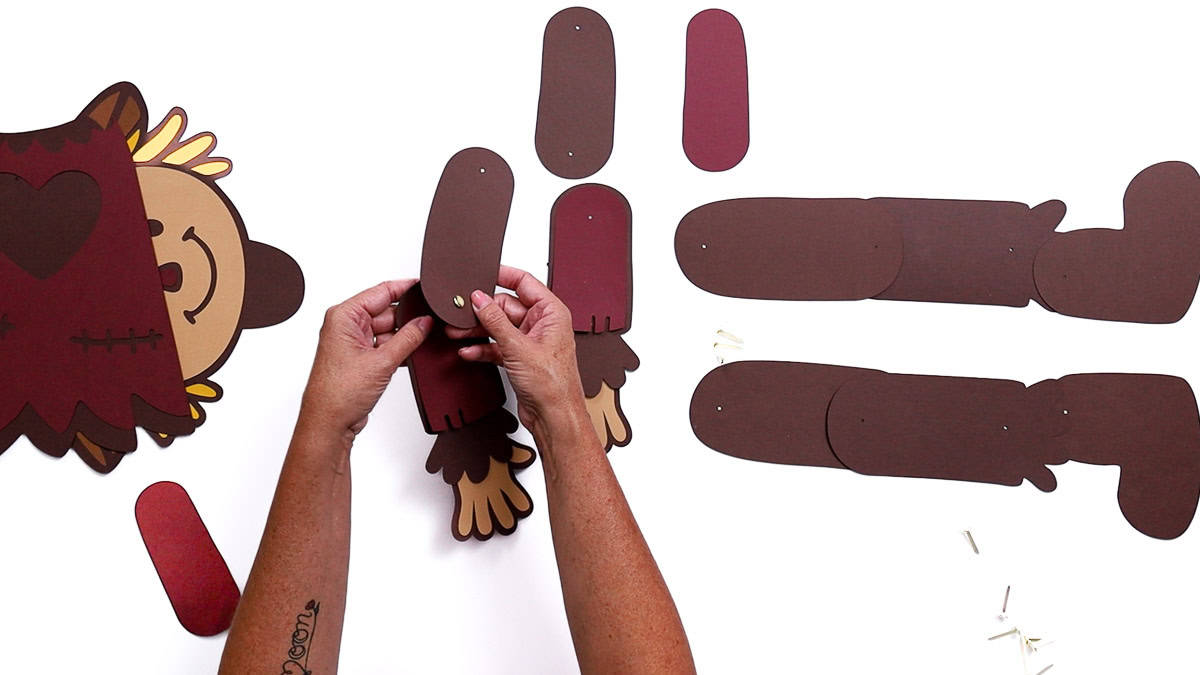
Apply glue to the back and center of the upper sleeve, and attach it to the upper arm. Again, keep the glue away from those fasteners so the joints move freely.
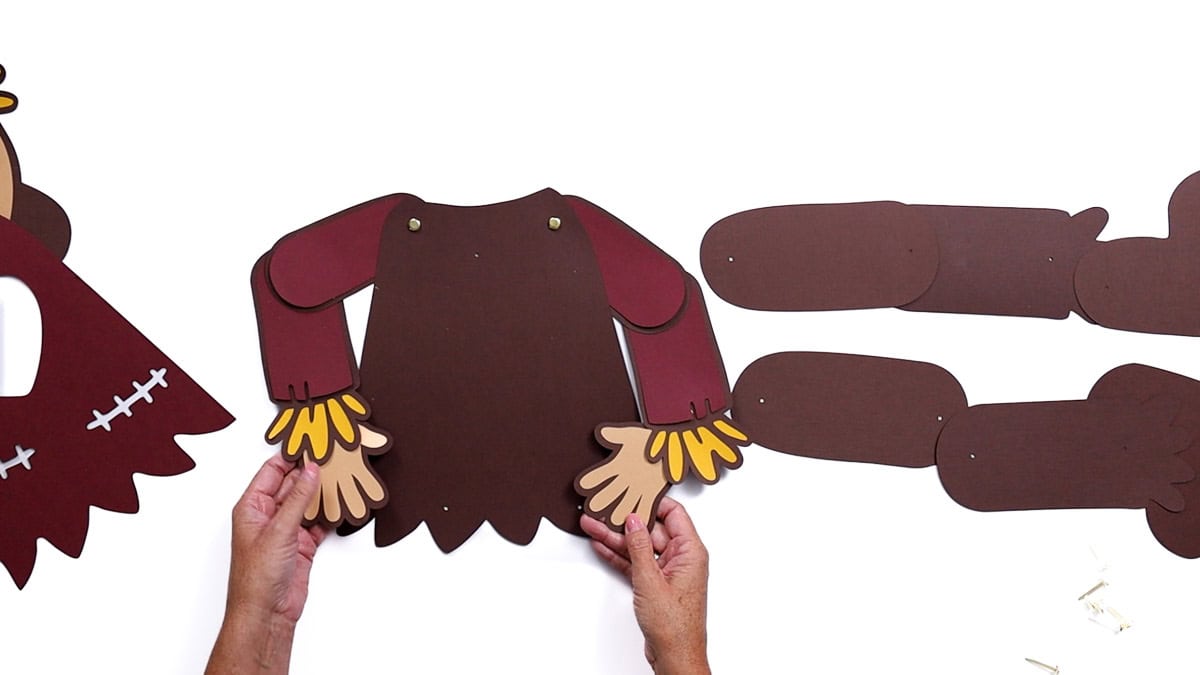
Glue the hay fringe around the wrist in the same order as the PDF. The two wrists should be opposite each other.
Attach the arms to the main body, aligning the holes with the body on top of the arms.
Leg Assembly
The legs are similar to the arms, and should be opposite each other with the toes pointed out.
Glue the boot to the foot, aligning the hole at the top.
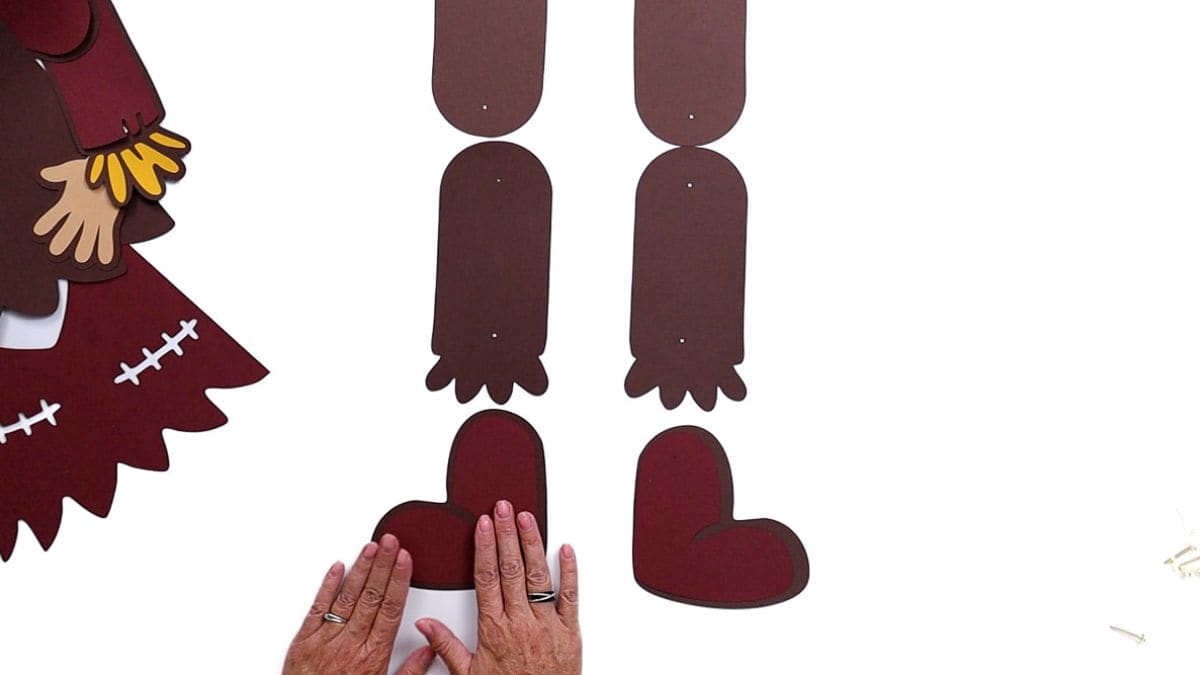
Layer the lower leg piece over the boot, and attach with a fastener.
Glue the lower pant on top of the lower leg piece, aligning the holes. Keeping the bottom edge where the fastener is, free of glue.

Attach the patch to the lower pant leg, and the ankle hay fringe.
Layer the upper leg on top of the lower leg and attach with a fastener.
Glue the top of the pant leg in place, keeping the bottom portion free of glue.
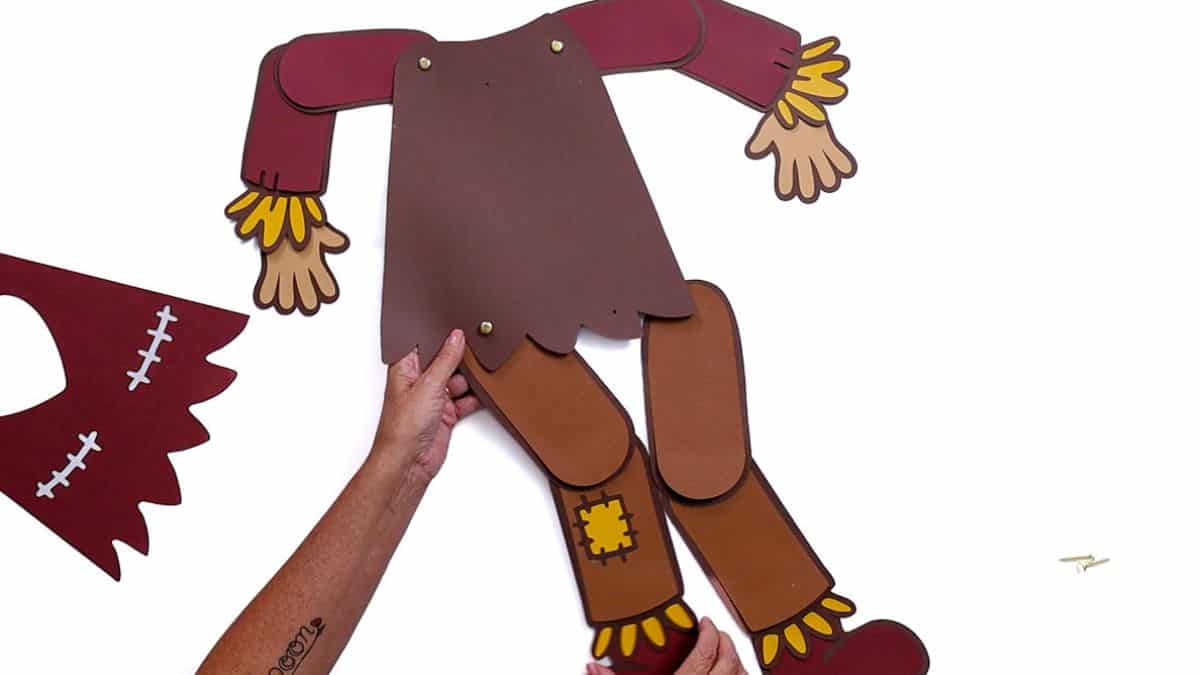
Attach the legs to the main body, aligning the holes with the body on top of the legs.
Final Assembly
Now we can attach the scarecrow's head to the body. I guess we could have done that earlier, but I was trying to keep the bulk of the body to a minimum.
The body should be layered on top of the neck and attached with a fastener.
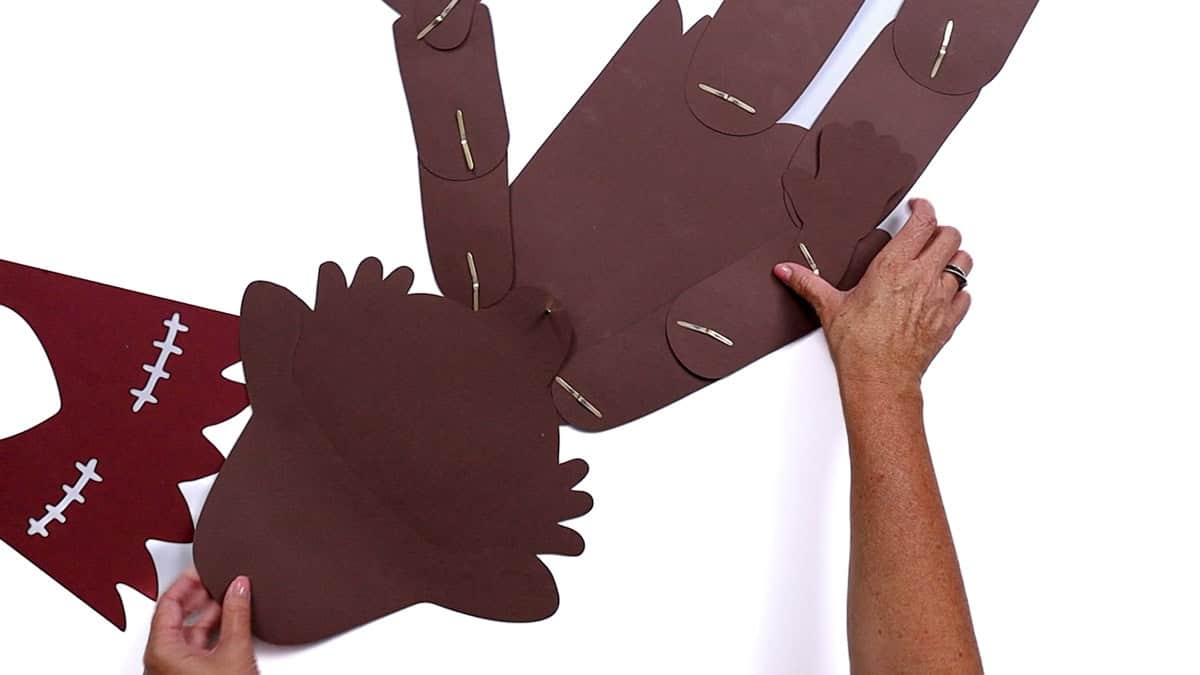
Glue the shirt to the body, ensuring no glue is applied to the joints, and then attach the heart and final fringe pieces to the neckline.
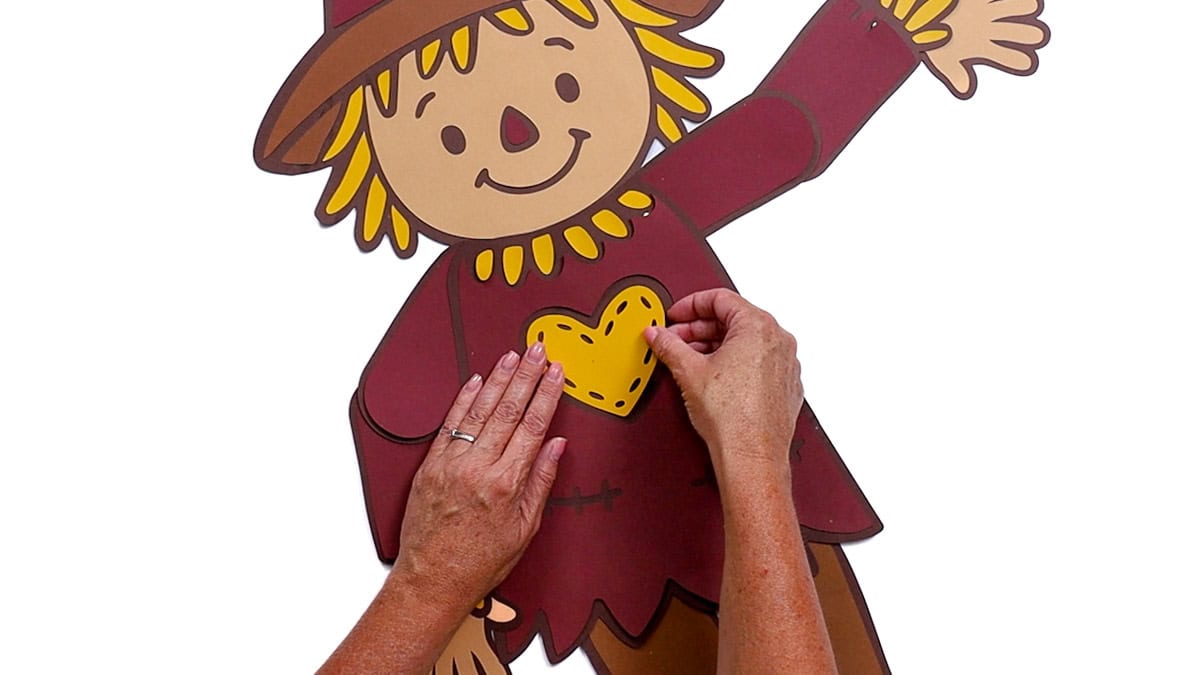
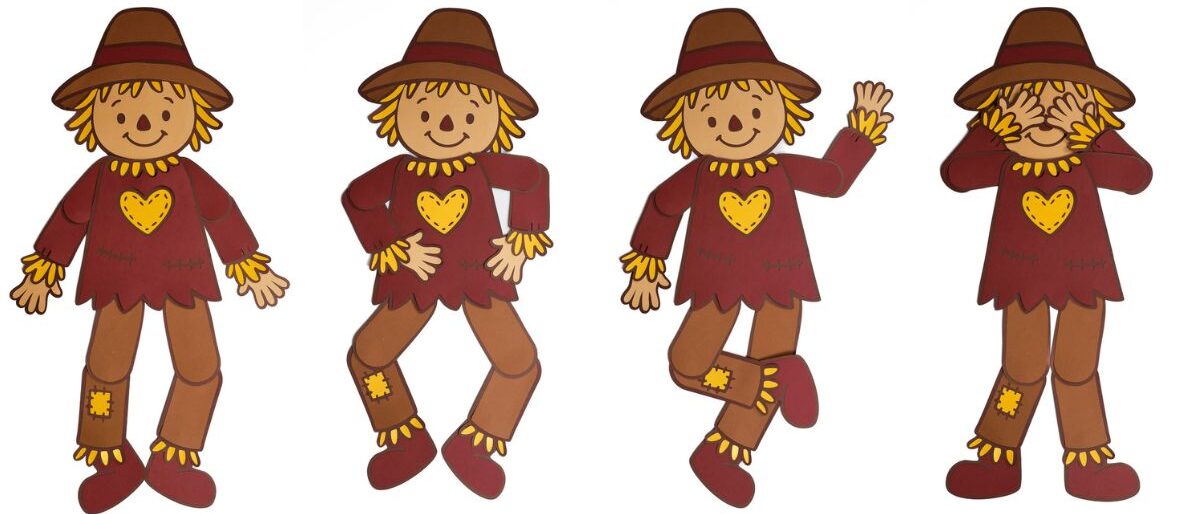
The finished scarecrow is so cute, and I can't believe how tall he is!
If you have a Cricut Venture, you could make him even taller!
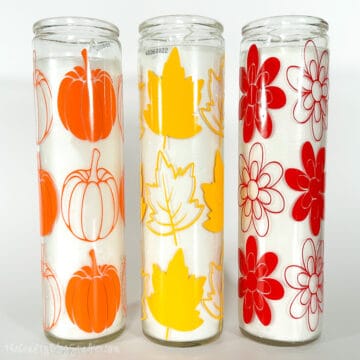
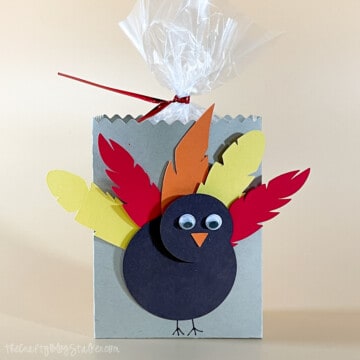
More Fall Cricut Crafts
Don't put that Cricut away yet; there are more fun things to make! Here are a few more fun ideas.


Hi, I'm Katie!
I'm so glad you're here. Want to make something fabulous? I'm here to help!