

Get the tutorial to make these Easy DIY Stone Christmas Ornaments using old ornaments for a refreshed modern neutral look!
We've been working hard to finish our house. Which basically means I've been trying to get everything organized after living in a construction zone for the last two years. And this year I decided I wouldn't buy any ornaments, because I have several tubs full and there's just no need to add more. So I took some of my old Christmas ball ornaments and a little spray paint and made these new DIY Stone Christmas Ornaments. I've also teamed up with some amazing bloggers, hosted by my sweet friend Krista from The Happy Housie, to bring you over 20 different DIY Ornaments, so make sure and get to the bottom of this post to check them all out!

I got the idea for these after seeing my friend Taryn make some DIY Stone Vases. This is a super easy project that just requires some spray paint and old ornaments!
Supplies: (This post contains affiliate links)
- Christmas Ball Ornaments (either old or new)
- Spray Primer
- Black Spray Paint
- Rustoleum Imagine Textured Stone Spray Paint
How to Make DIY Stone Christmas Ornaments
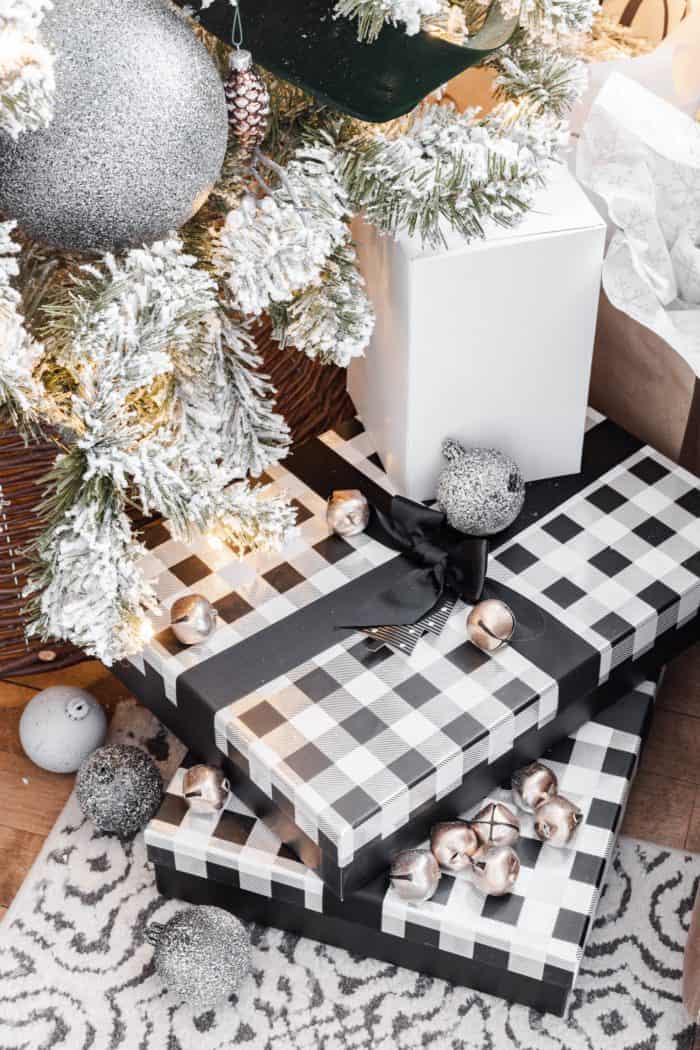
I started off with some old red and gold ornaments. In my opinion the ornaments that turned out the best were the ones with texture and design vs the standard round balls, but they all work perfectly!

Spray Paint Christmas Ornaments
I set up a workspace outside with some cardboard and toothpicks to keep the ornaments from rolling around. I just stuck the toothpicks into the cardboard and spaced everything out enough for spray painting. First I used primer, then a coat of black spray paint. For about half of the ornaments I left them with just the gray primer. The Textured Stone Spray Paint isn't a full coverage paint so whatever the base coat is will show through. I went with a basic black and gray and then began layering the the Textured Stone Spray.

Stone Look Ornaments
I used 3 different shades - Pebble, Black Granite, and Bleached. Each of the stone colors look great on both black and gray base colors. I also layered the different colors to get more contrasting look.

Just a little tip when using the stone spray paint. It's very thick and takes a little time to set. Typically with spray paint you can re-coat right away, but I found it best if I let each coat of the stone paint dry about 30 minutes before re-coating. Once it's dry you can flip the ornaments over to get the other side.
Let everything fully dry overnight and you are ready to hang them on your tree.


You can see how this year's Christmas Tree came together with my new stone ornaments here! And don't forget to check out these other 20+ DIY Christmas Ornaments from these talented bloggers!
DIY Christmas Ornament Tutorials

Today I'm joining some of my talented blogging friends for the Christmas Seasonal Simplicity Series. We're all sharing our DIY Christmas Ornament ideas with you today! Be sure to check out these fabulous ideas by clicking on the links below each image.

Simple DIY Wood Bead Ornaments at The Happy Housie
Easy DIY Christmas Ornaments at Clean & Scentsible
DIY Salt Dough Ornaments at Jennifer Maune

Anthropologie Inspired Vined Monogram Ornament at Craftberry Bush
DIY Stamped Christmas Ornament made with Clay at The DIY Mommy
Ikea Hack Keepsake Photo Ornament at Fynes Designs
How to Make a Gingerbread House Ornament at My Sweet Savannah

Baking Soda Scandinavian Painted Ornaments at Tatertots and Jello
DIY Leopard Print Christmas Ornaments at Love Create Celebrate
Easy DIY Christmas Sleigh Ornaments at A Pretty Life
DIY Stone Christmas Ornaments at The Crafty Blog Stalker
DIY Nordic Christmas Ornaments at This is Simplicite

Gingerbread Salt Dough Ornaments at Modern Glam
DIY Snowflake Ornaments at The Handmade Home
Anthropologie Inspired Felt Letter Ornament at Zevy Joy
DIY Chicken Christmas Ornaments at Dans le Lakehouse

DIY Wood Finial Ornament at The Turquoise Home
Boho Orange Slice Ornament at Cassie Bustamante
DIY Star Garland at Life is a Party
Coach Gift Christmas Ornaments at Just a Girl & Her Blog
Upcycled Pine Cone Ornament at She Gave it a Go
Jenn
So, so pretty! I love this look!
Ashley Mills
This is just the cutest! Love it all.
Sarah @ The DIY Mommy
What a great idea, I love the look of these!
ornaments
Amazing Christmas stone painting craft ideas !!!
ornament
I love these ornaments! I have a question. The instructions say to mix equal parts metallic paint and pouring medium. What about the white paint? I am confused about how much to mix. Thanks again for the beautiful ornaments. marble is always fun and we feel creepy in getting one for us. Even your Christmas tree will get empty without marbles. After the Christmas party. because they look really cute.
ornaments
I definitely need to make these, they are beautiful!
Bhavinee.com
Nice Post. Thanks for sharing.
Sara Faridabad
WOW
Clara Wealth
These are great, I'm going to have a go at making some myself! Many thanks for sharing with us all.
John Smith
What a fun and easy DIY project for Christmas! I’m always looking for new ways to personalize our tree, and these stone ornaments are the perfect way to add a natural, homemade touch. I love how customizable they are too—whether you go for a minimalist design or something more elaborate, these would look great. I might even try making a few to give as gifts this year!