Craft a custom Father's Day apron with this free Top Dad SVG-because dad deserves something more exciting than another tie.
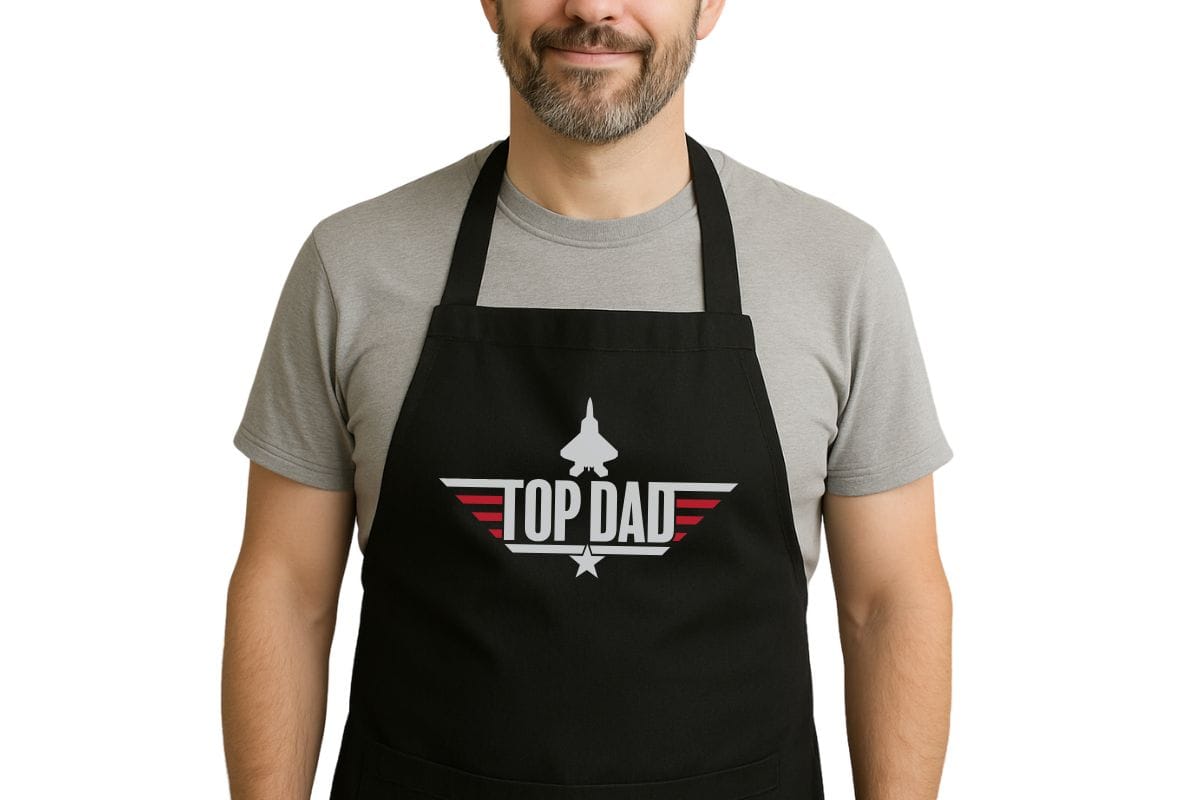
If you're looking for a useful and funny gift, a custom Father's Day apron might be your best move.
It's perfect for dads who love cooking, grilling, or just hanging out pretending they're on a cooking show.
Includes a free "Top Dad" SVG so you can personalize it and give him something he'll actually wear-and maybe even brag about.
And don't miss the bonus: scroll to the bottom of the post to grab 20 more free Father's Day SVG files!
Jump to:
Skill Level: Beginner
Total Time: 30 minutes
Craft Tutorial Video
If videos are your thing, you're in luck-I've got a full tutorial ready for you!
Subscribe to my YouTube channel and stay inspired with every new project.
Measure
First, measure the front of your apron to decide how big the design should be.

I decided to make my design 8 inches wide to fit on the chest of the apron.
Cricut Design Space
For the following steps, I'll be using Cricut Design Space.
If you use Silhouette Studio or a different design software, your steps may be different than mine.
To start, upload the SVG into Cricut Design Space and add it to your Canvas.

The only change I need to make to this file is the size.
Above, I measured my apron and decided on 8 inches wide.
On a device, the path is Edit, Height. Type the new height (8), keeping the ratio locked.
On a computer, change the height at the top of the screen to 8.
The design is now ready to be cut. Click Make.
The next screen is the Mat Preview, and you can swipe between the two mats.
I made sure to mirror the design since I am using Iron-on.

Then, I select my material, which is Everyday Iron-on.
Place the material on the mat with the shiny side down.
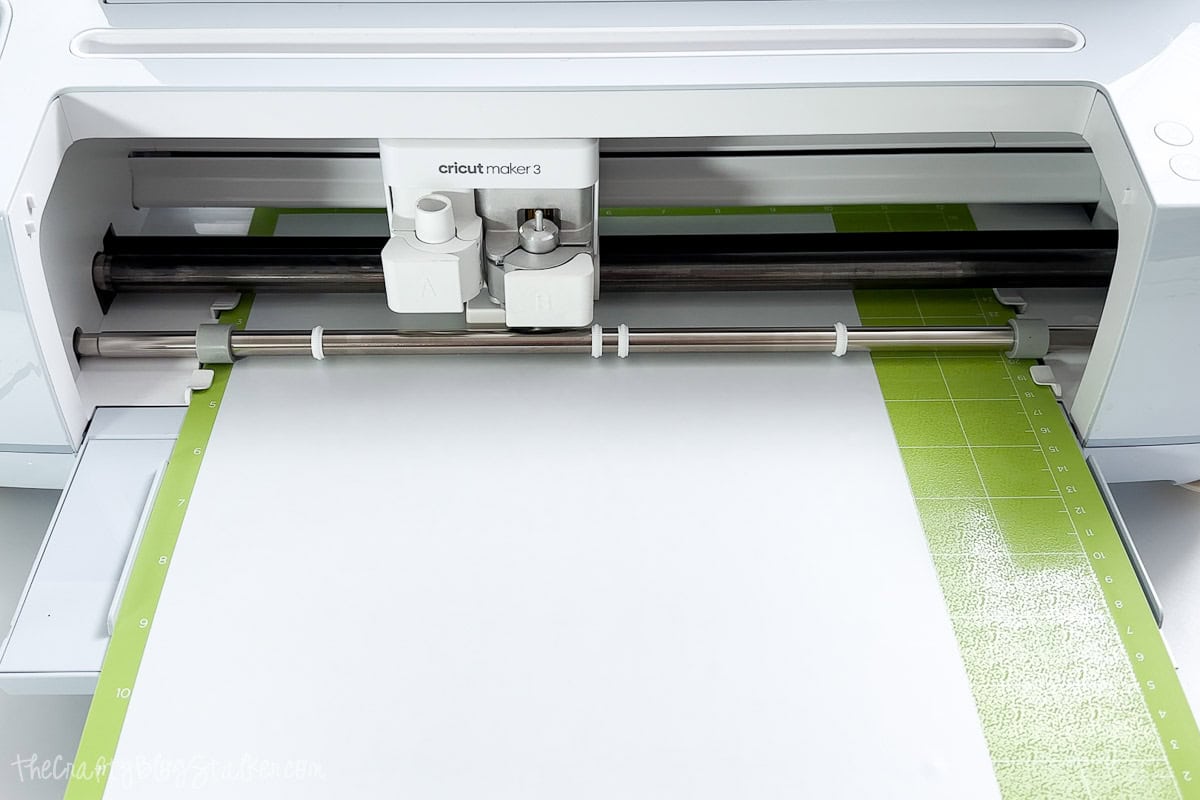
Load the mat into the Cricut and begin the cut.
Weed Iron-On
I love to weed iron-on because it is so easy.
Start in the corner and remove the excess material from the transfer liner.
Don't forget the inside of the letters.
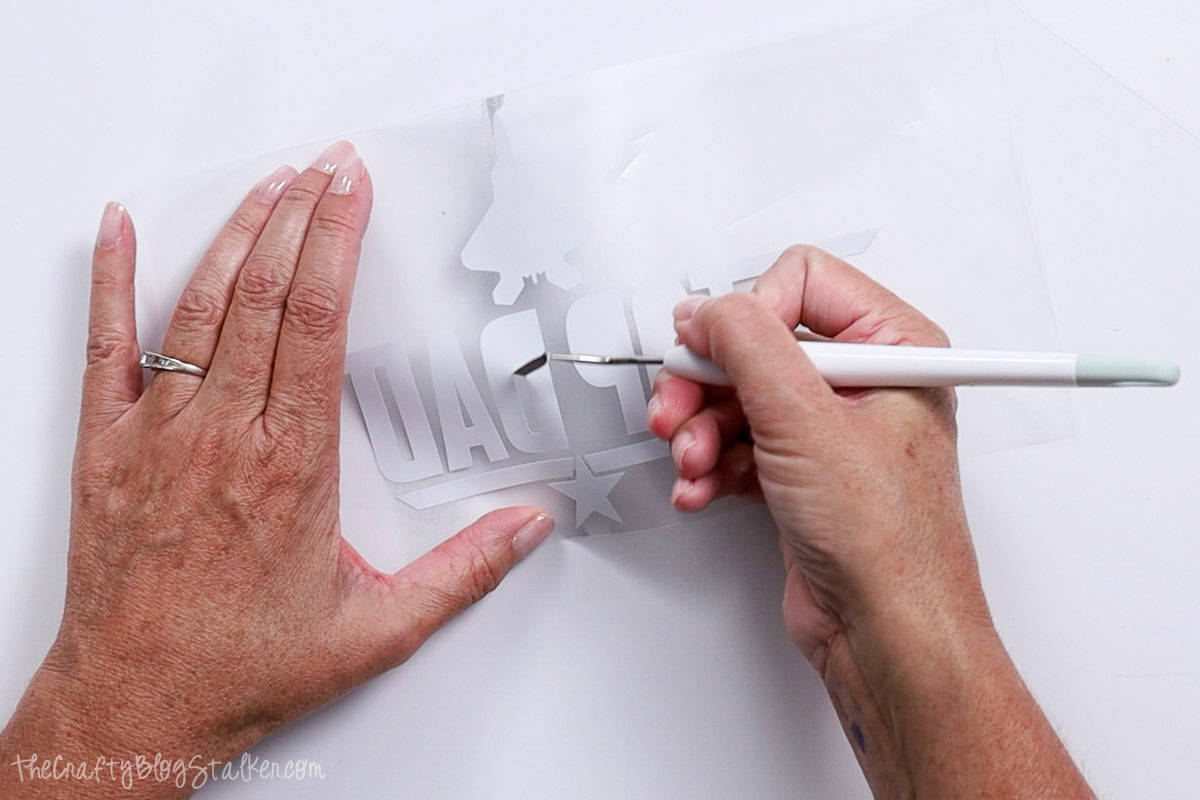
When the design is weeded, I turn it over to ensure I have weeded all the pieces correctly. It looks good!

Apply Iron-on
I am using my Cricut EasyPress to apply the design.
To check the temperature settings, I go to the Cricut Heat Guide.
I enter the heat press I am using, the heat transfer material, and the base material.
It then gives me the temperature and time for the press application.

I preheat the heat press, then use it to remove the wrinkles from the apron.
Start with the larger silver layer, center the design on the front of the apron, and press according to the heat guide.
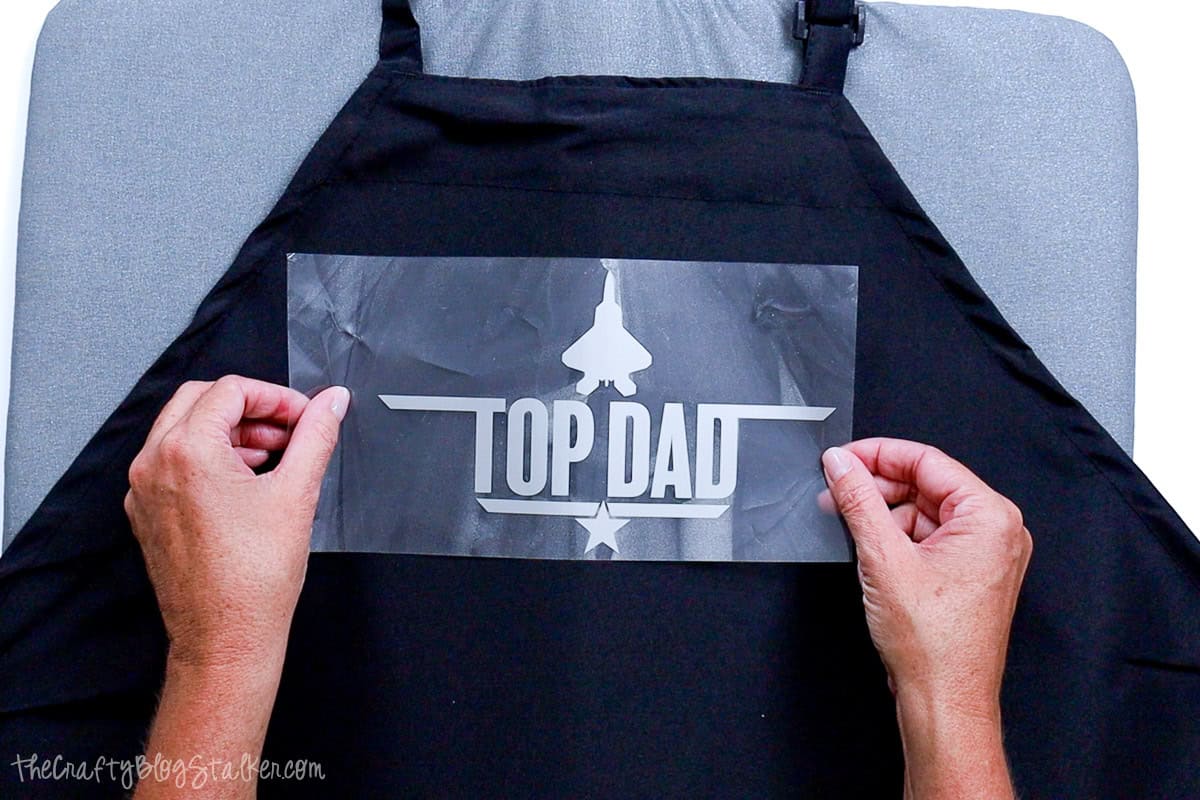
With these materials, I am instructed to do a cool peel. So I wait until the plastic backing sheet is cool to the touch, then carefully peel it back.
If any part of the design pulls up with the transfer liner, lay it back down and press for one more cycle.
Next, center the red layer on top of the first layer.

Place the transfer liner from the first layer over the whole design. This protects the first layer while pressing.

Press for another complete cycle, and wait for the liner to be cool to the touch before removing.

As you can see, the red layer liner sheet created a little wrinkle in the silver layer.
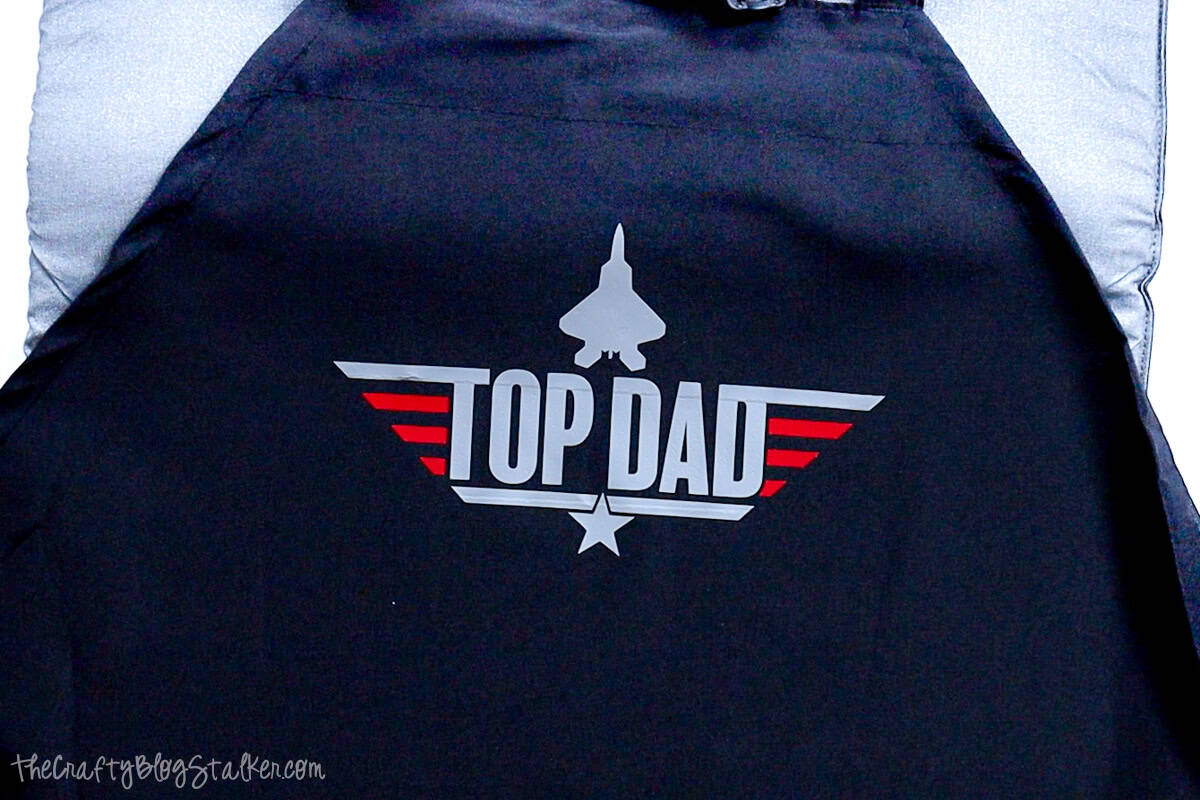
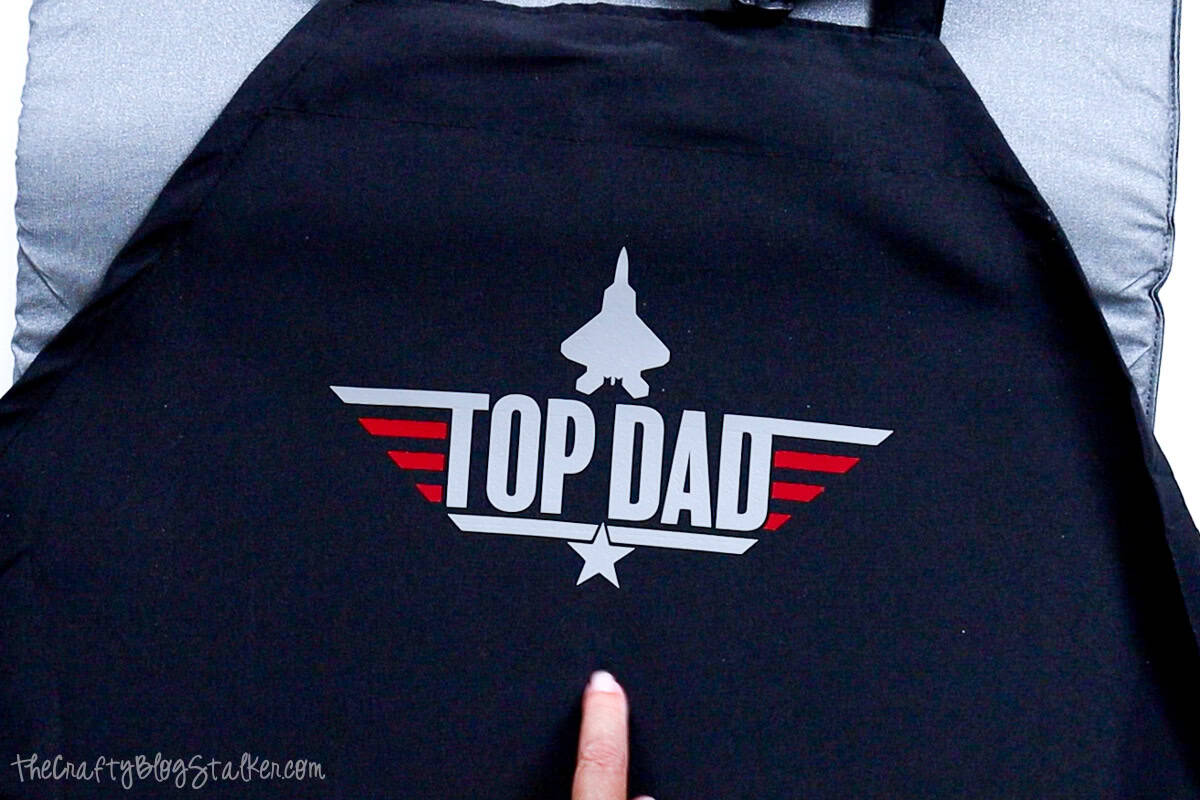
I placed an iron-on protective sheet over the design to smooth out the wrinkles and pressed for a bit longer.
Ta Da! The wrinkle is gone!
More Free Father's Day SVG Files
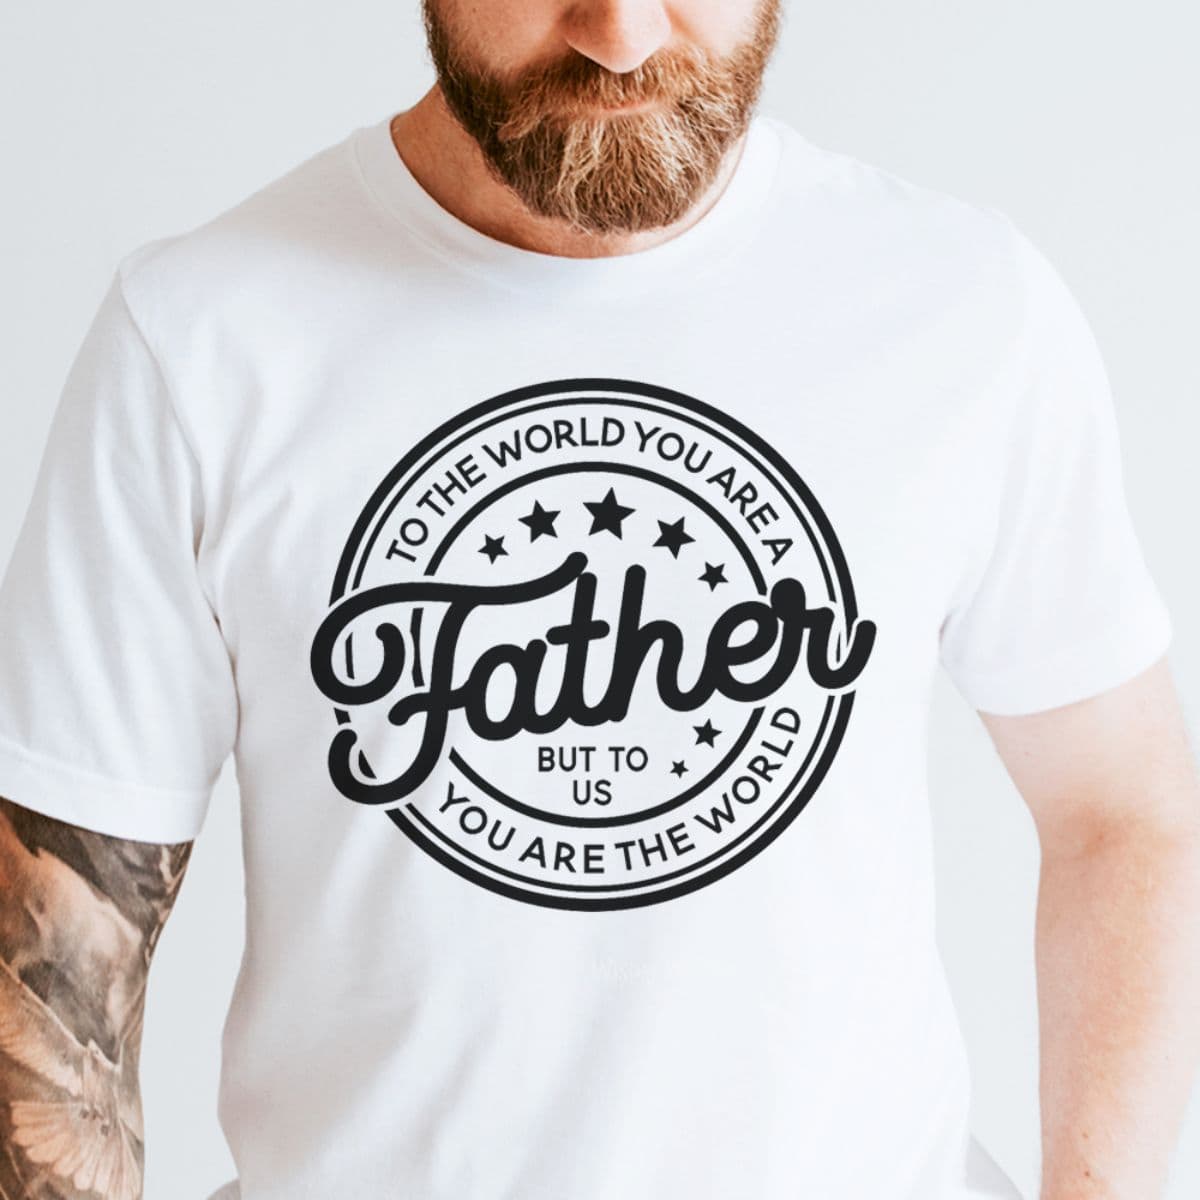
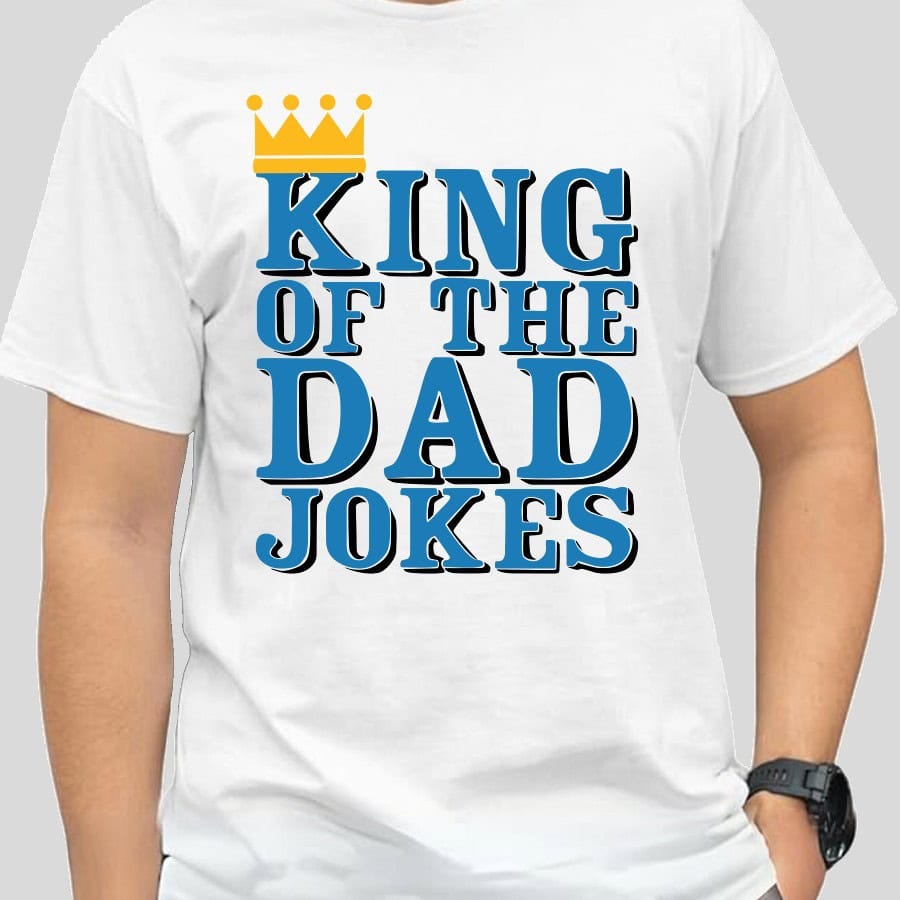
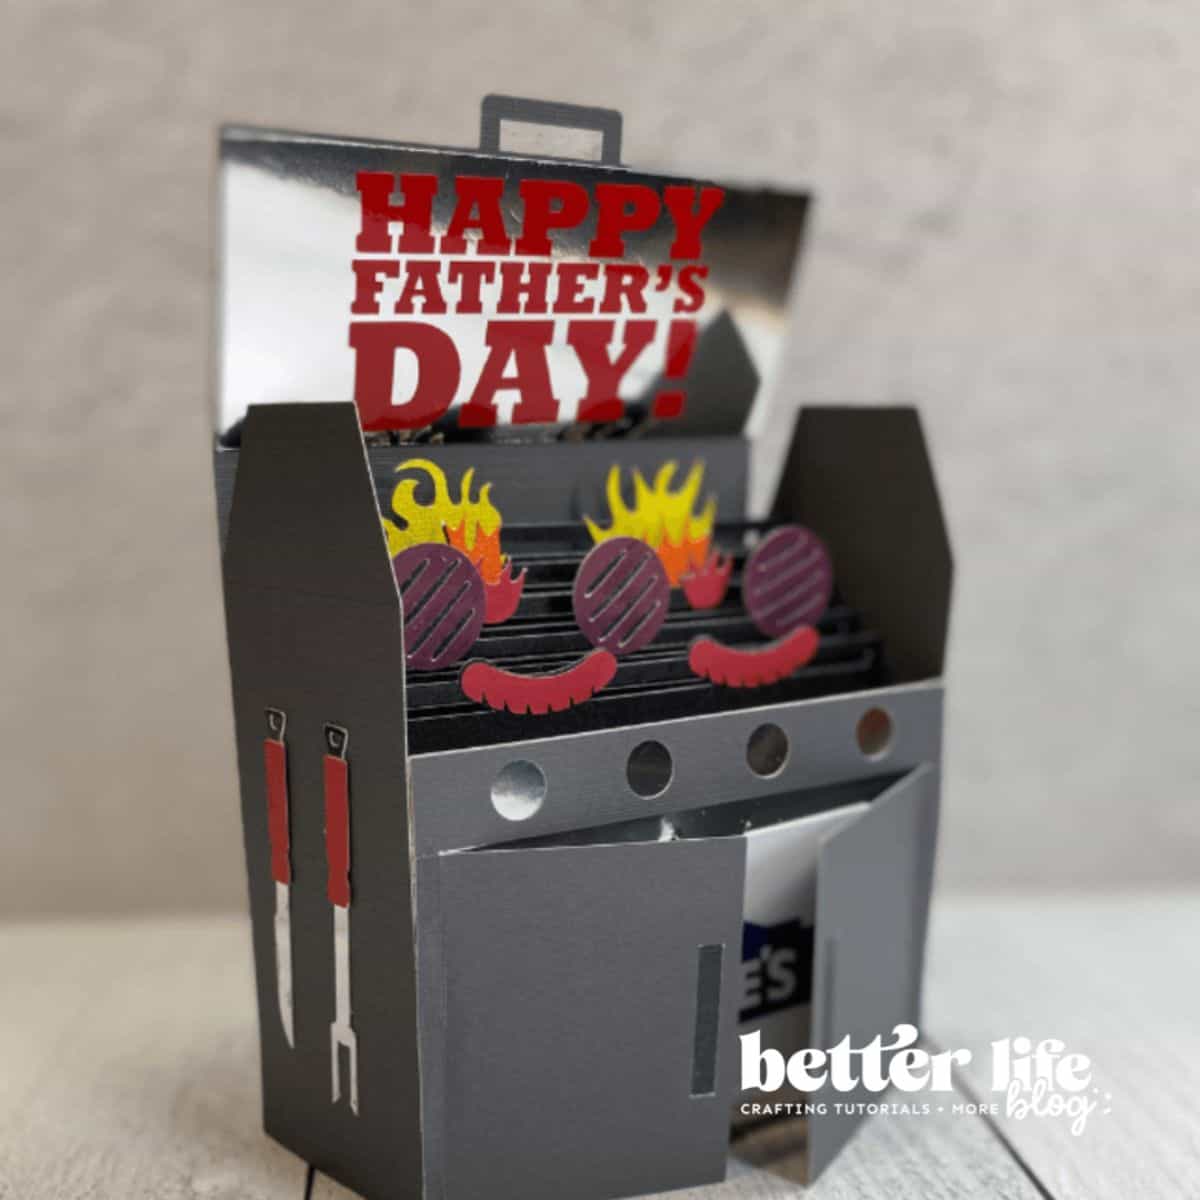
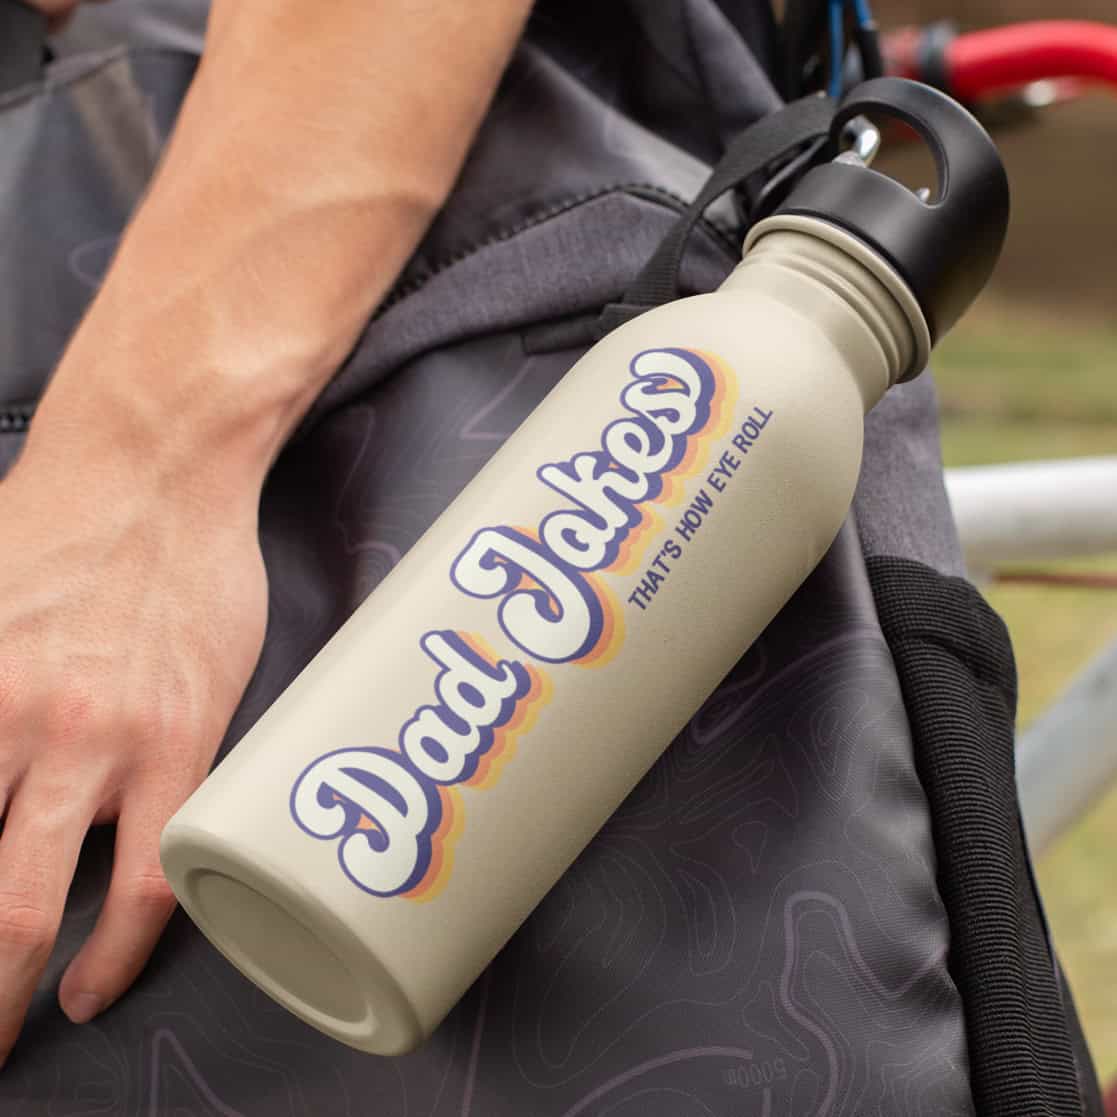
Can you make too many personalized gifts for Dad? Absolutely not! Here are a few more fun design files.

Hi, I'm Katie!
I'm so glad you're here. Want to make something fabulous? I'm here to help!













Leave a Reply