
Add charm to your tree with laser-cut elf ornaments. Follow this easy tutorial to craft holiday decorations or thoughtful gifts.
If you're looking to add a little handmade charm to your tree this year, these DIY elf ornaments are a fun place to start.
They're made with a laser cut file, which means they are quick and easy to come together with clean lines and lots of character.
This project is perfect for holiday crafters of all skill levels, whether you're making keepsakes, your own tree, or gifting the holiday decor to friends and family.
These elf ornaments are simple, festive, and guaranteed to bring a smile.
Jump to:
Skill Level: Beginner
Total Time: 1 hour
Craft Tutorial Video
If videos are your thing, you're in luck-I've got a full tutorial ready for you!
Subscribe to my YouTube channel and stay inspired with every new project.
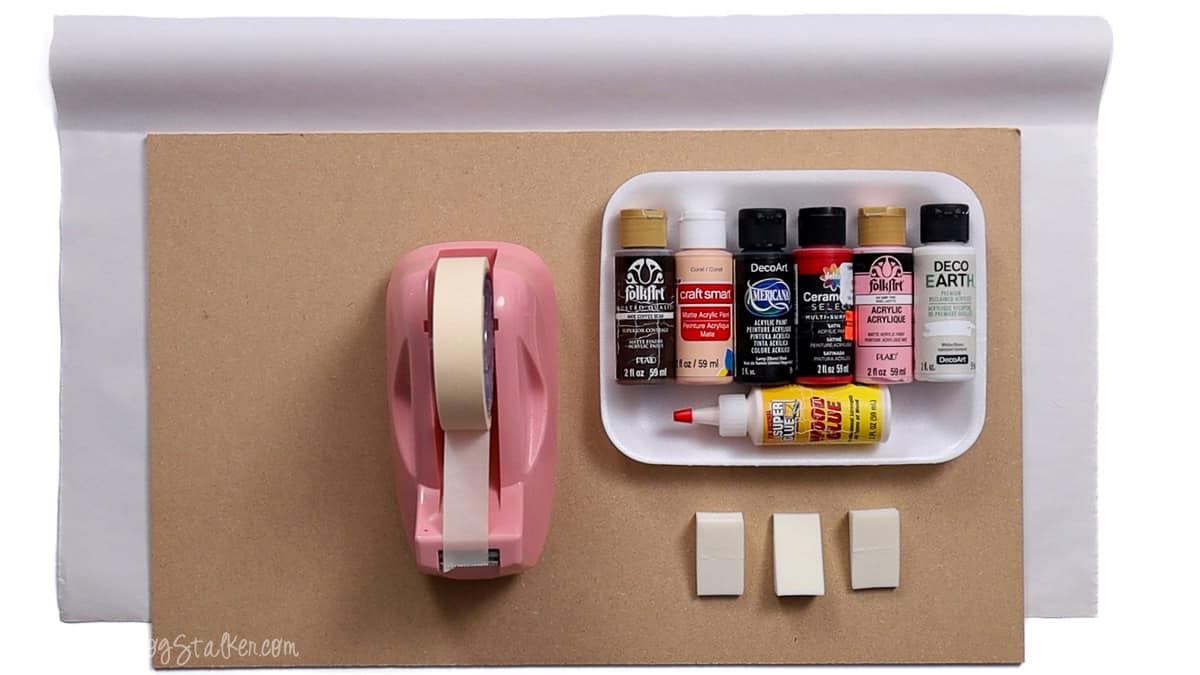
Supply List
- Laser Cutting Machine
- Elf Ornaments Laser File
- 3mm MDF
- Acrylic Paint - White, Red, Black, Hair, and Flesh
- Makeup Sponge Wedges
- Masking Tape
- Packing Paper
- Sand Paper
- Wood Glue
Elf Ornaments Laser File

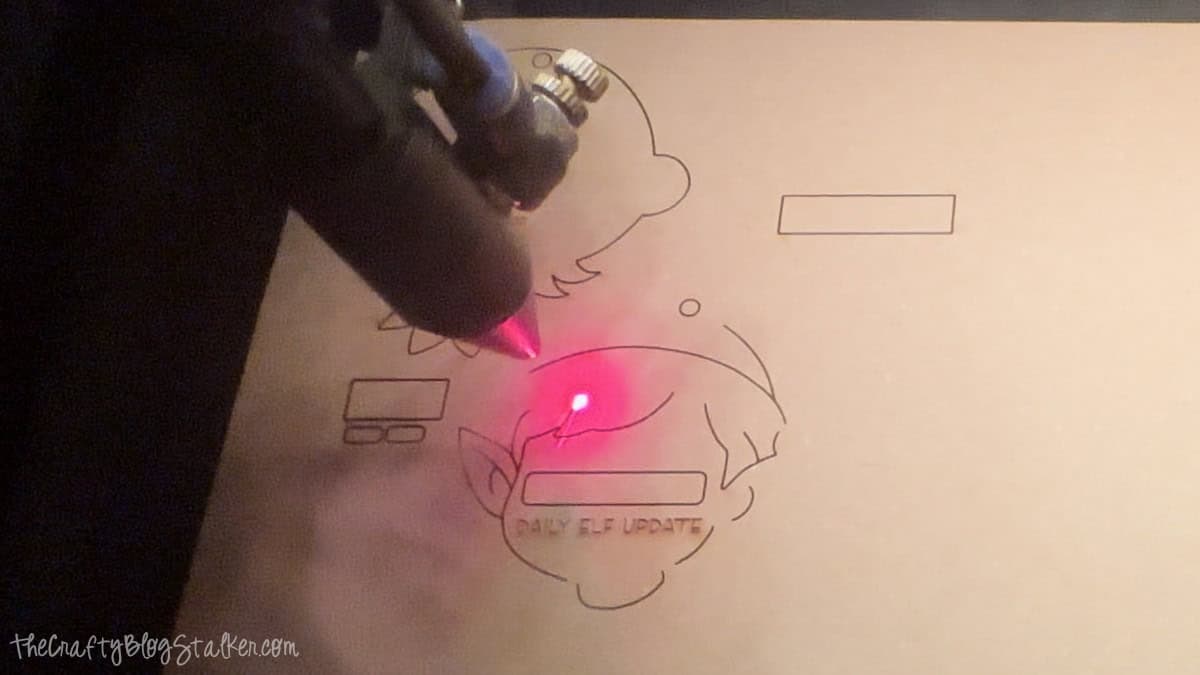
Cut File with Laser
Import the file into your laser-cutting software and proceed with cutting.
This file is designed for 3mm material, but it can be cut to any width.
Be sure to cut the black lines and score/fill the blue lines.
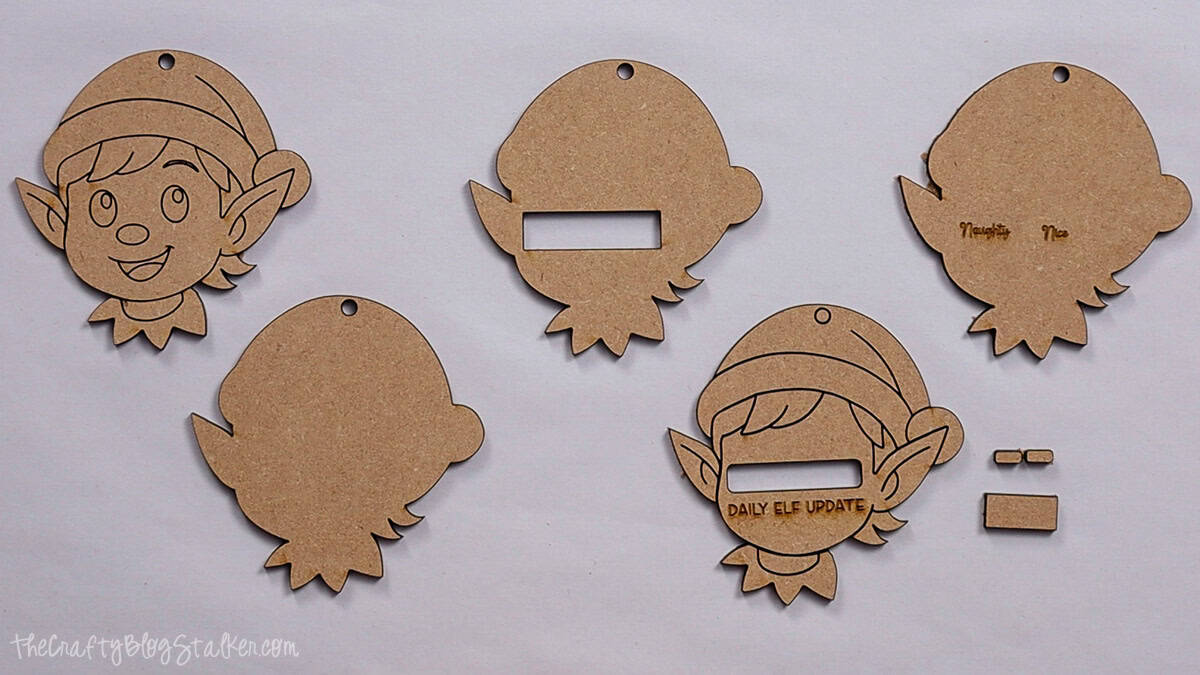
Paint Pieces
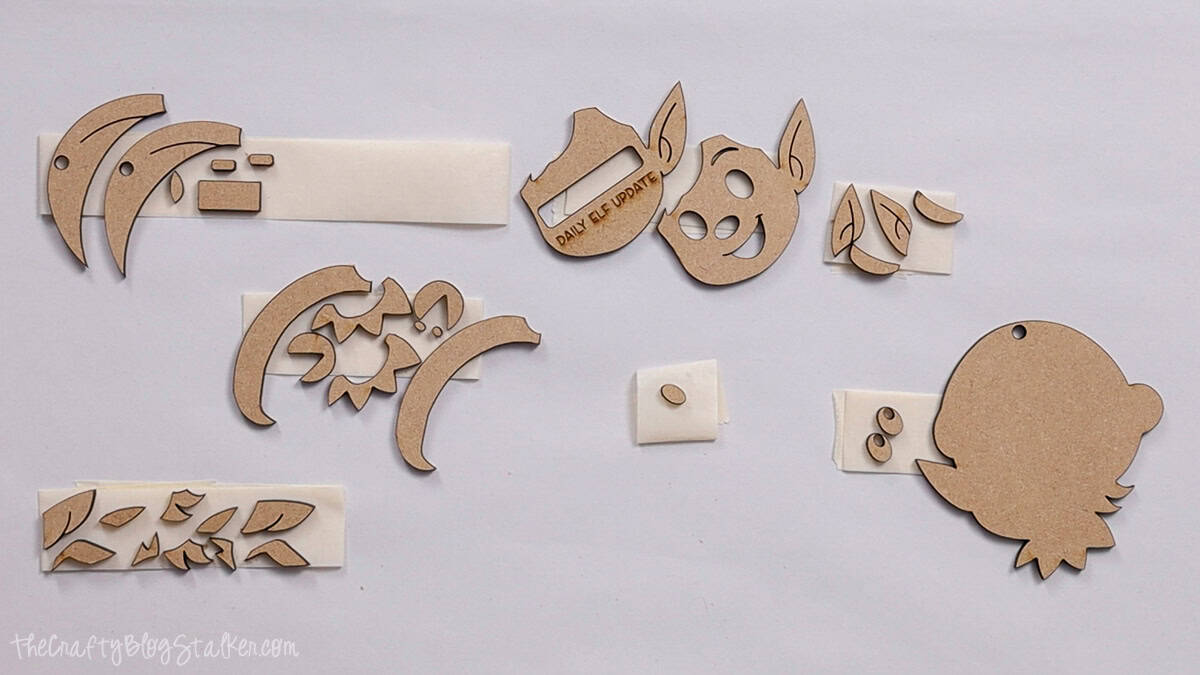
I am making both styles of ornaments, and here are all of the cut pieces.
I like to tape the pieces down to a table covered with paper to prepare for painting.
The tape holds the pieces so I don't get paint all over my fingers, and the paper protects my table.
I grouped the pieces by color.
The piece with the Naughty and Nice etched into it, and the piece with the rectangle, don't need to be painted.
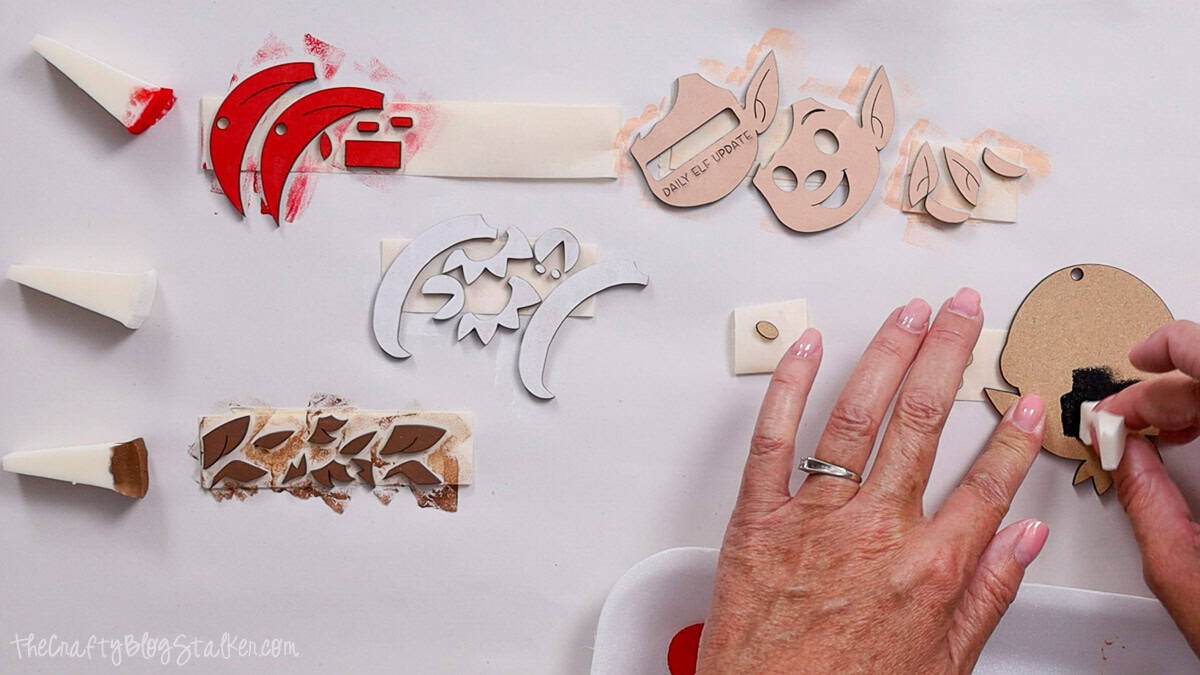
I like to paint these small pieces with cosmetic sponges because they are cheaper than sponge brushes and work just as well.
If you cut them in half, they are even more cost-effective!
Dab the fat end of the sponge into the paint, and then dab the paint onto the MDF pieces.
Apply 2-3 coats and let the pieces dry completely before proceeding to the next step.
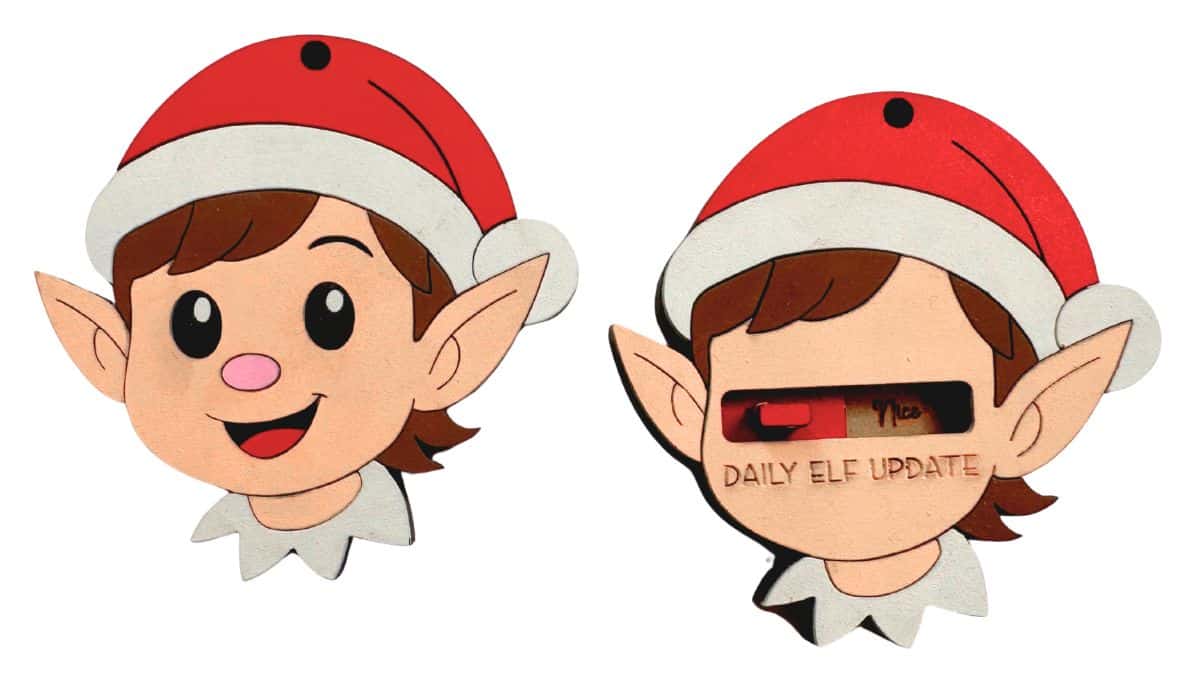
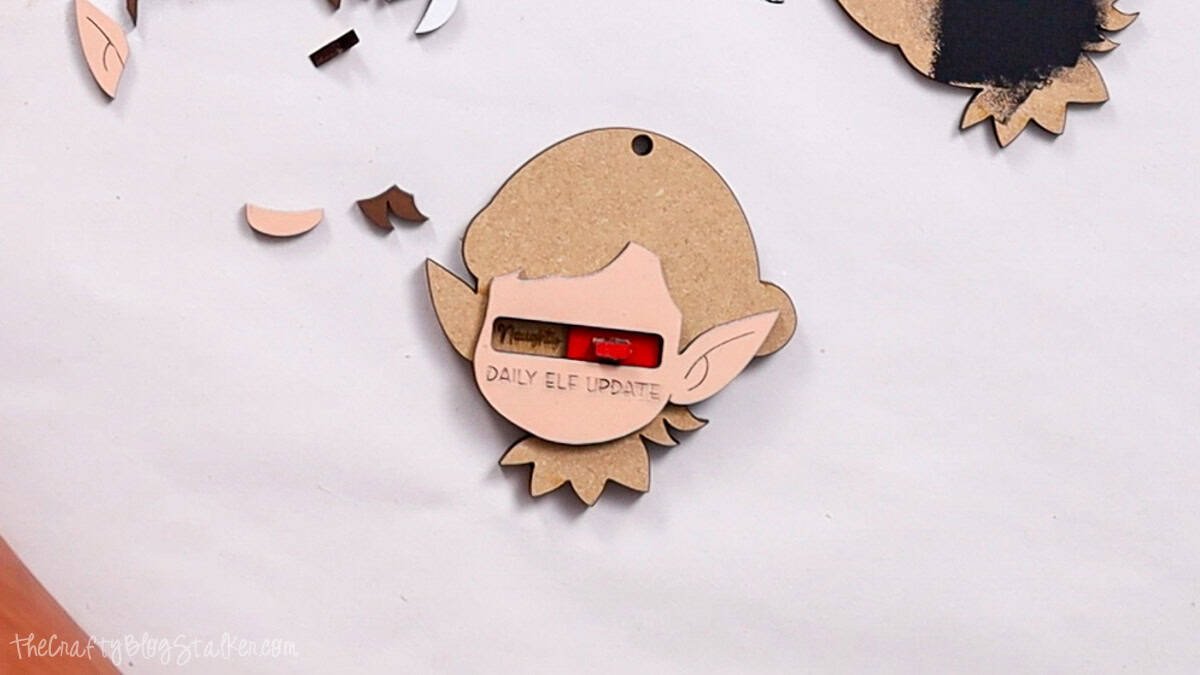
Assemble Naughty Nice Elf Ornament
Add glue to the back of the elf shape with the rectangular hole, and center it on top of the Naughty Nice piece.
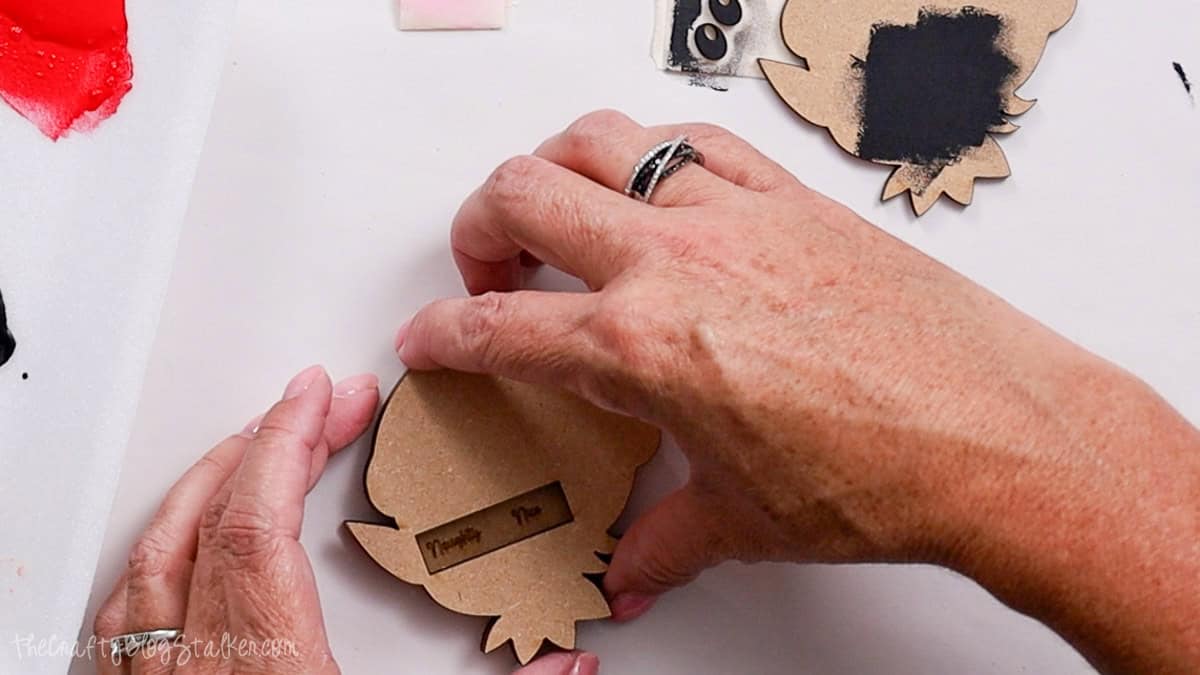
Glue the tiny rectangle on top of the slightly larger rectangle. This is the slider.

While waiting for the slider to dry, arrange the elf face pieces before adhering them to the base.
Make sure the slider is completely dry, and lightly rub over some sandpaper to sand the base just a bit to make it slide better.

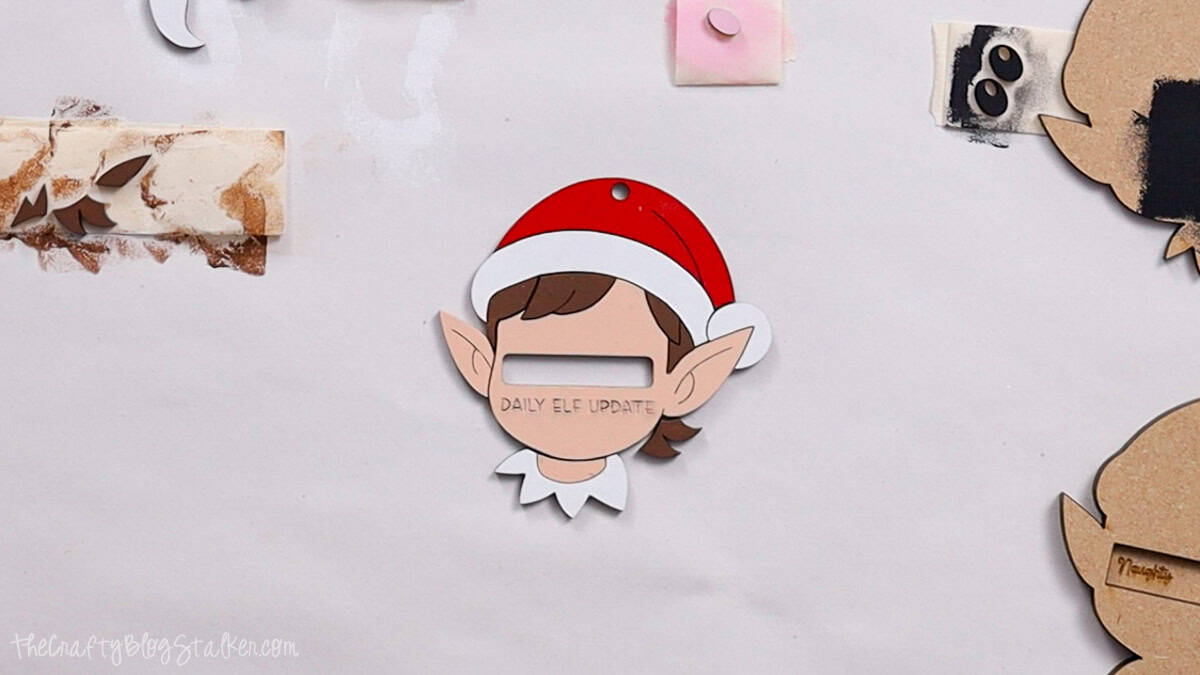
Place the slider in the slot, add glue to the back of the face piece, and adhere to the base by aligning the edges. This will secure the slider in place.
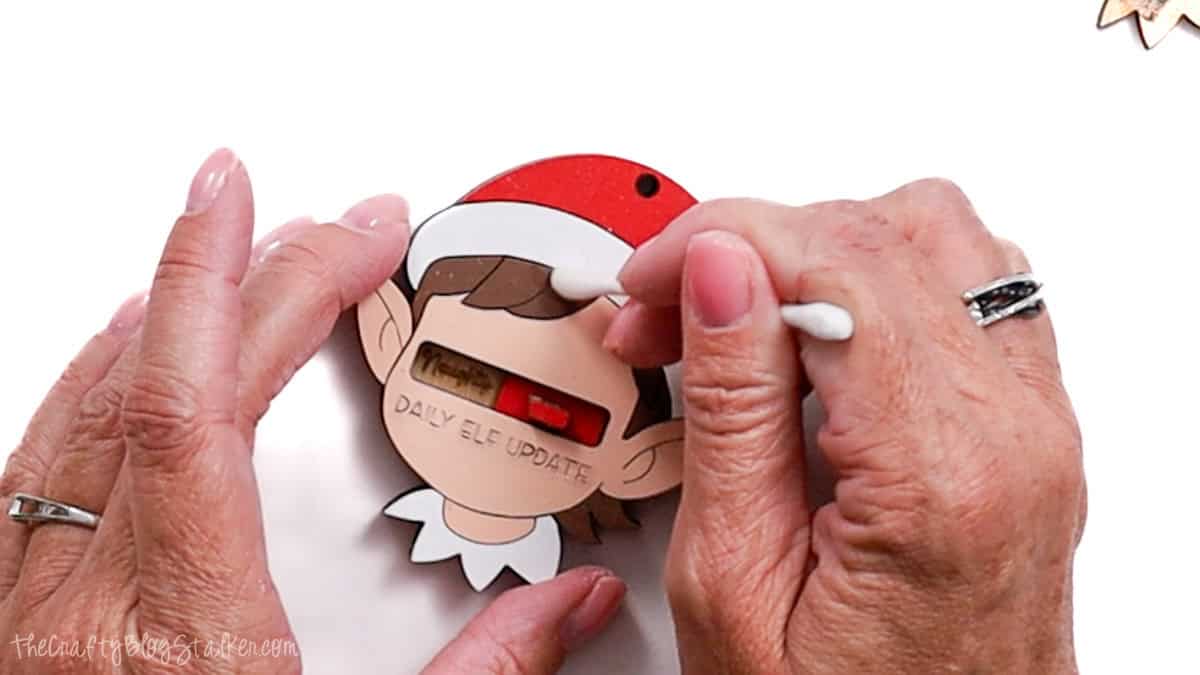
Add glue to the back of the other painted pieces and adhere them in place.
My ornament had a little bit of glue from my fingers stuck to the front, so I used a wet cotton swab to clean up that stray glue.
It is such a cute interactive ornament!
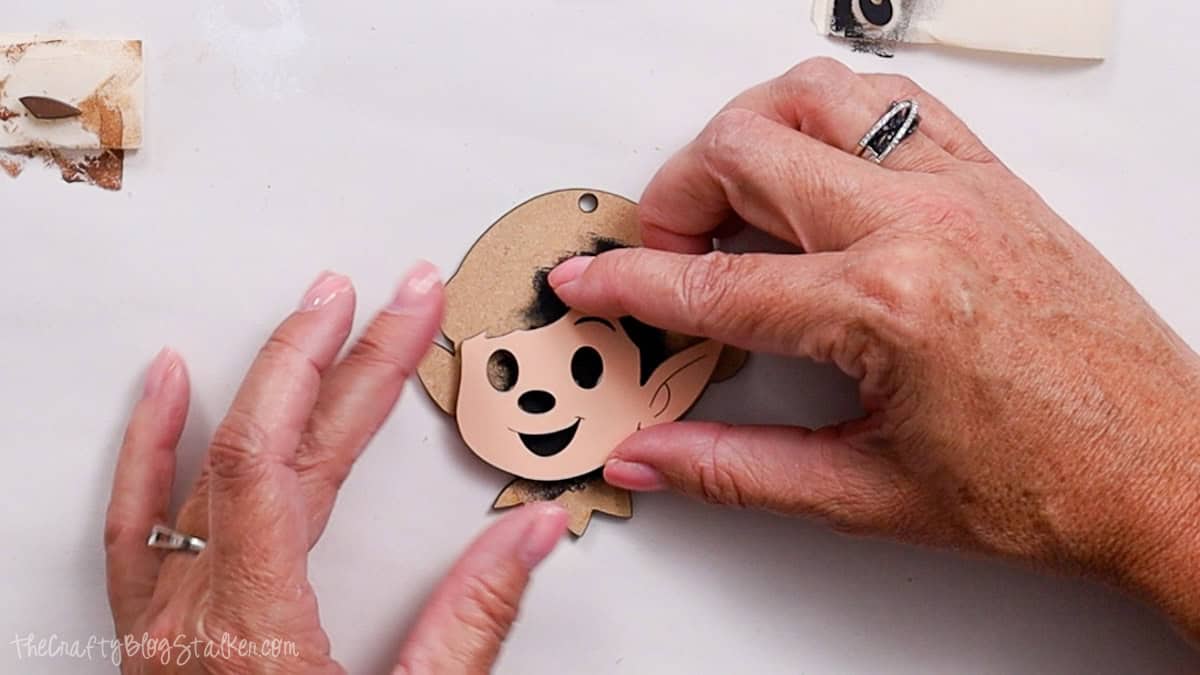
Assemble Elf Face Ornament
This ornament is like assembling a puzzle!
Arrange the pieces to the side before gluing them in place.
Start by gluing the main face piece and aligning the edges to the base piece.
Glue the rest of the pieces in place, filling in your puzzle.
That's it, easy peasy!
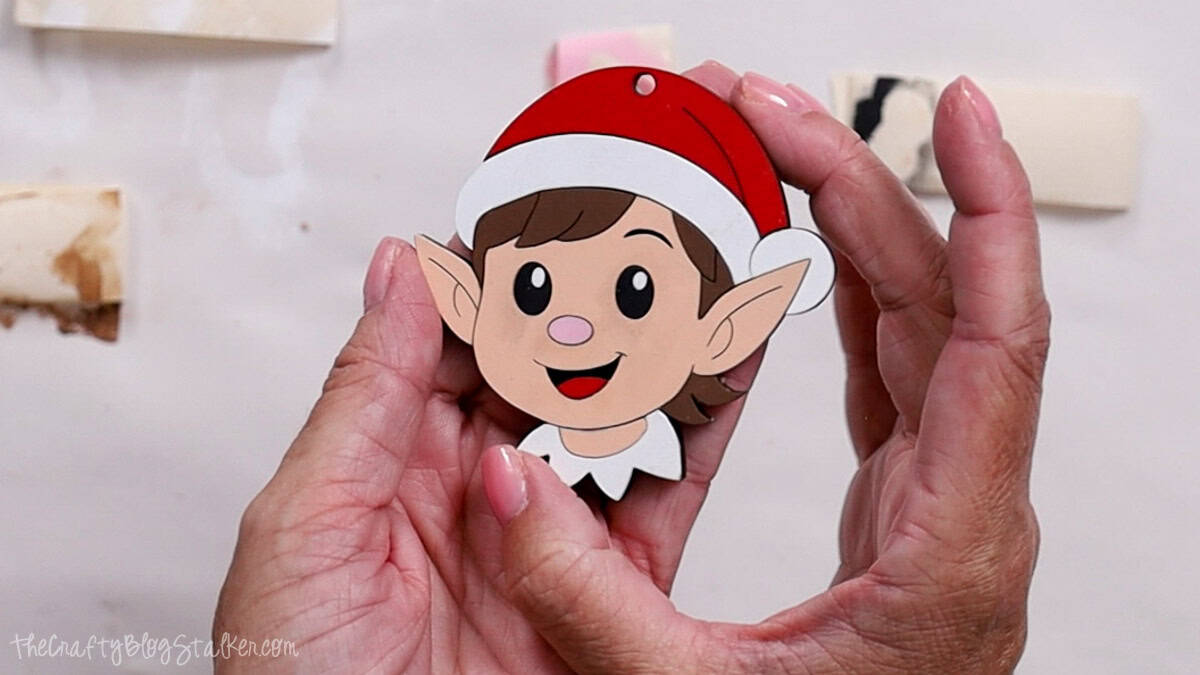
These are super cute ornaments, and they are perfect to hang on the tree year after year.
More DIY Christmas Ornaments
Christmas ornaments are my favorite craft this time of year. If you like making them too, here are a few more fun ideas.


Hi, I'm Katie!
I'm so glad you're here. Want to make something fabulous? I'm here to help!