
Make your own candles at home with simple steps and a few supplies. A fun, creative DIY project that adds warmth and fragrance to any space.
If you've ever wondered how to make your own candles, you're in the right place.
It's easier than you might think, and the best part is you can customize them however you like.
From scent and color to jar style, it's a simple way to add a personal touch to your home.
Plus, homemade candles make a great gift and are a fun project for a cozy afternoon.
Jump to:
Skill Level: Beginner
Total Time: 30 minutes
Craft Tutorial Video
If videos are your thing, you're in luck-I've got a full tutorial ready for you!
Subscribe to my YouTube channel and stay inspired with every new project.
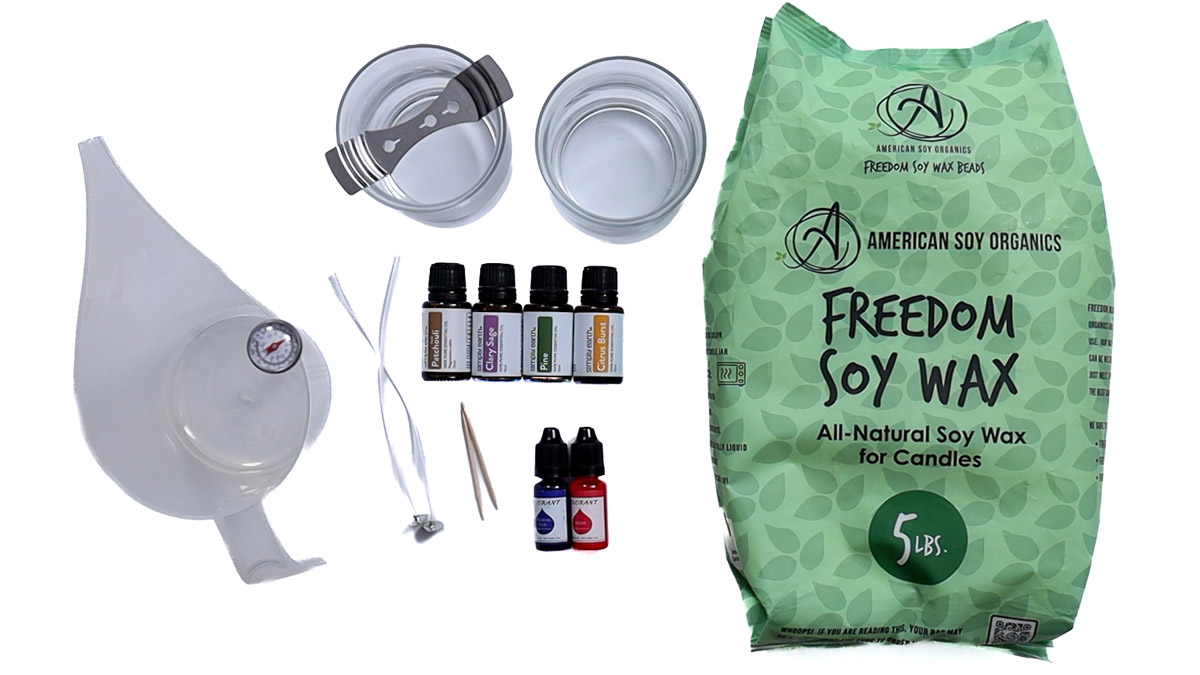
Supply List
Some links may lead to similar items when the exact item is unavailable.
- Plastic Measuring Pitcher
- Soy Wax Beads
- Thermometer
- Candle Dye
- Essential Oils
- Cotton Wick
- Wick Centering Tool
- Glass Holders
- Dropper Pipette (optional)
- Toothpicks
How Much Wax to Melt
This is the easiest way to determine how much wax is needed when making a candle.
Fill the container with water up to the level you want your melted wax to reach.
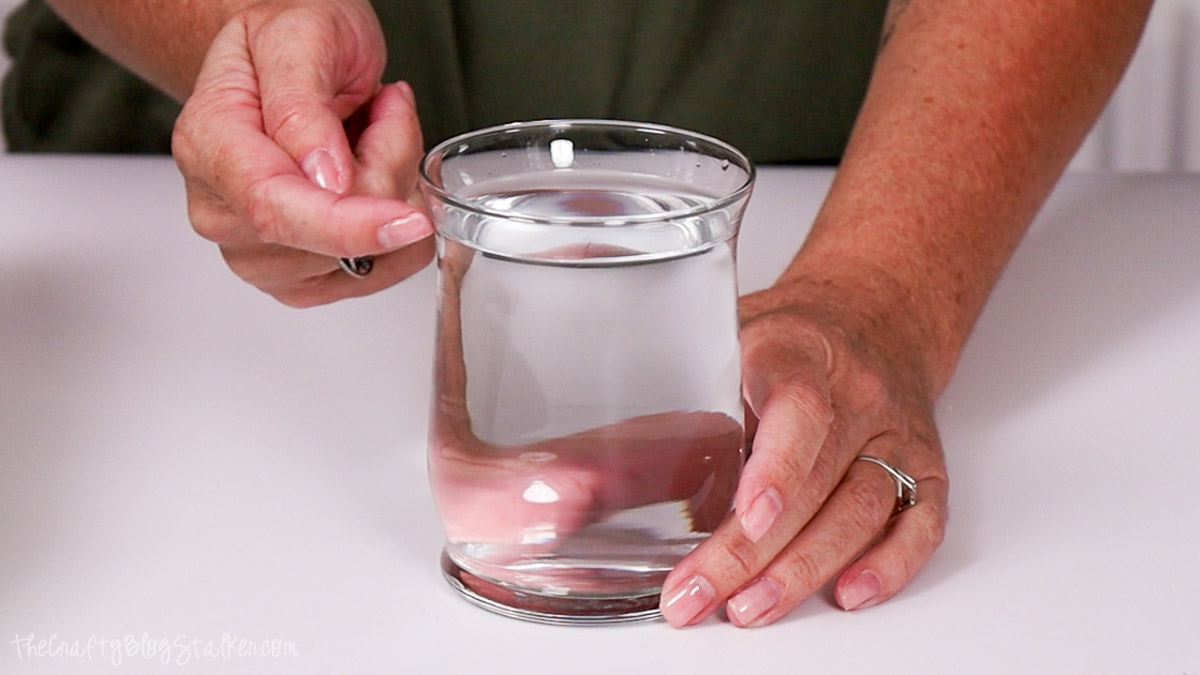
Then pour the water into a measuring cup, and multiply that measurement by .86.
My glass container holds 400ml of water, and multiplying by .86 equals 344.
Since I am making two candles, I rounded up a bit to needing 700ml of melted wax.
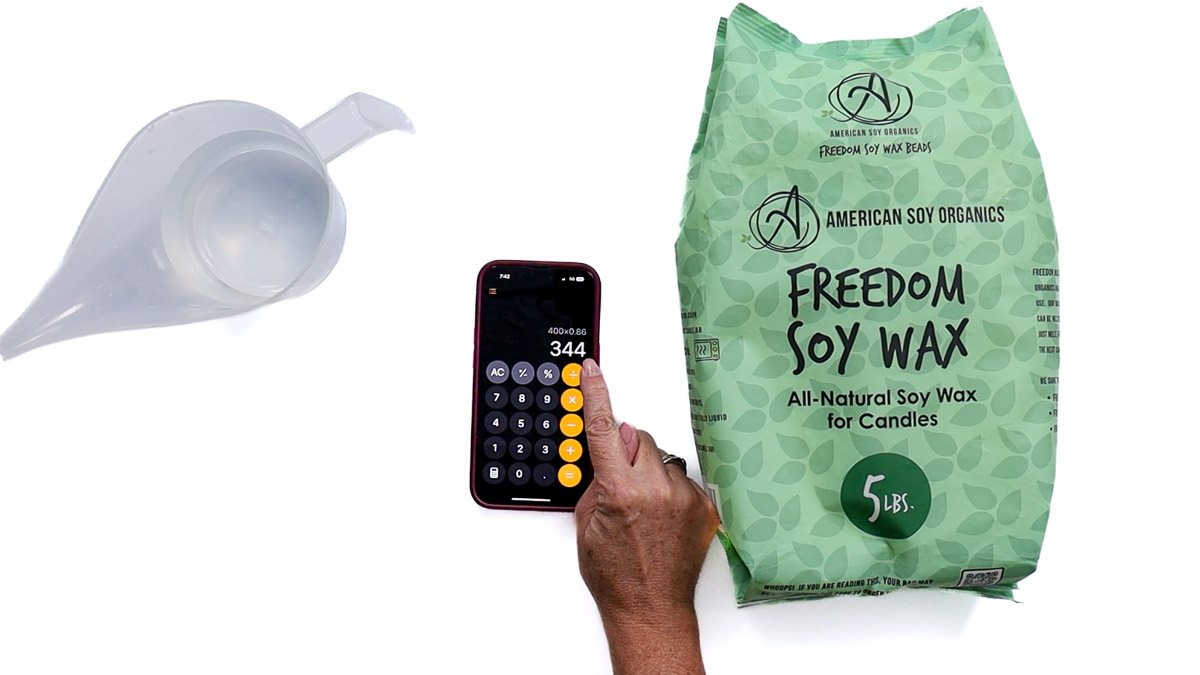
The reason you need less wax than water is that most candle waxes are 86% less dense than water.
Prep the Wax
Pour the wax beads into a microwave-safe measuring pitcher.
Place in the microwave for 30-second increments until completely melted. Stirring between each session.
When the wax is completely melted, add your scent. I am using an assortment of essential oils to create my own scent.
You want about 35 drops of essential oils for every 100ml of melted wax.
My scent is a woody-citrus blend that is very calming and relaxing.
- 40 drops of Pine
- 40 drops of Patchuli
- 80 drops of Clary Sage
- 80 drops of Citrus Burst
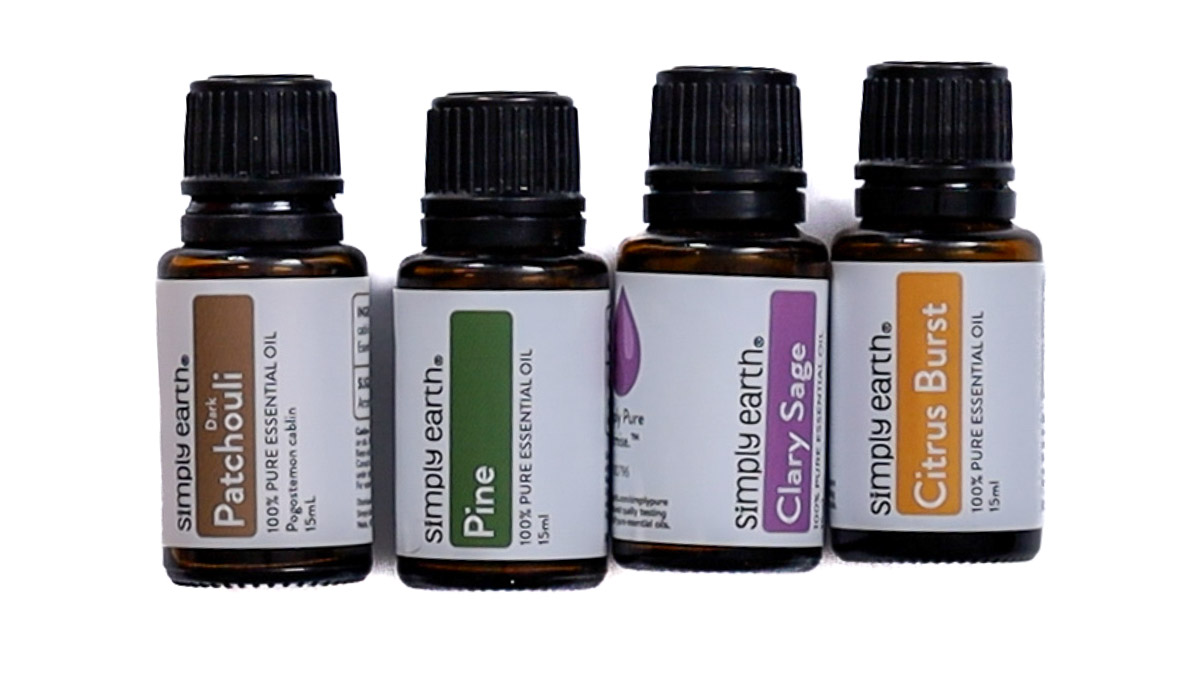
Feel free to use my recipe or create your own!
Use a thermometer to test the temperature of your wax. When it is 160º F, it is ready to use.
Place the Wick
Before adding the melted wax, clean the container that will become your candle.
Metal and glass containers are best. Just make sure the container won't melt when the wax melts and pools inside.
Adhere the wick base to a double-sided sticker, then center it in the holder's base.

How to Marble
This step is entirely optional, but I love how it upgrades any handmade candle.
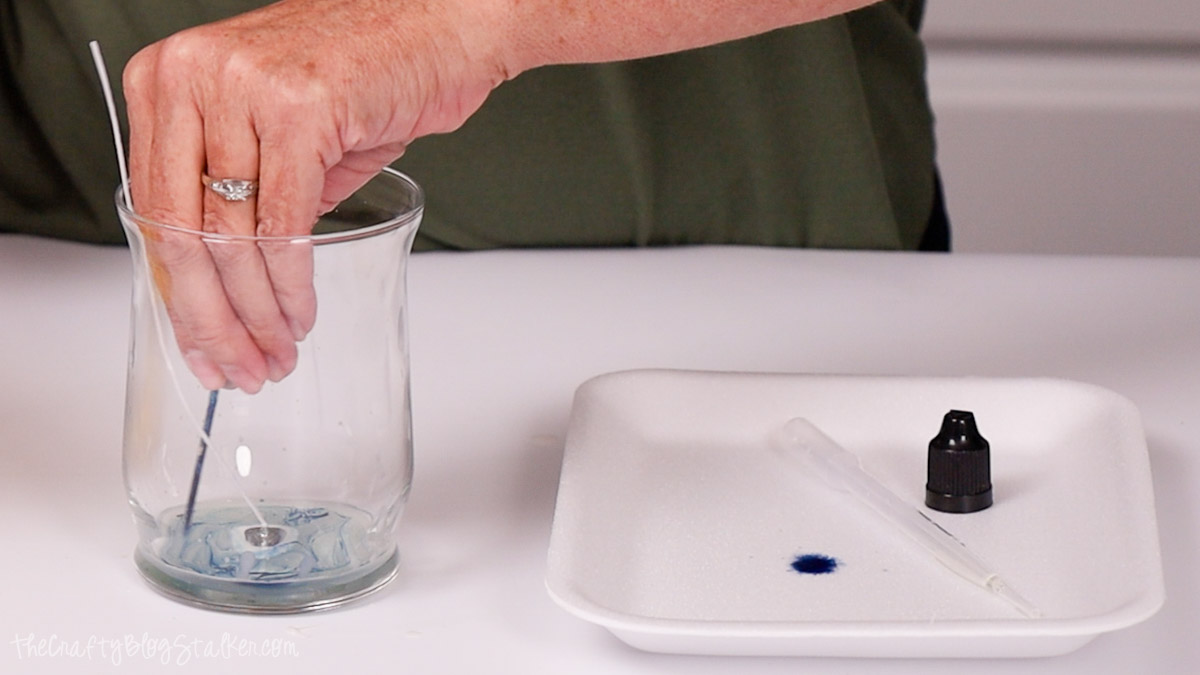
Use a pipette or spoon to scoop a little of the melted wax into the bottom of the holder.
Place a few drops of the wax dye into the wax, and gently stir with a toothpick.
You don't want to thoroughly combine the wax and dye. You want to just swirl it in.
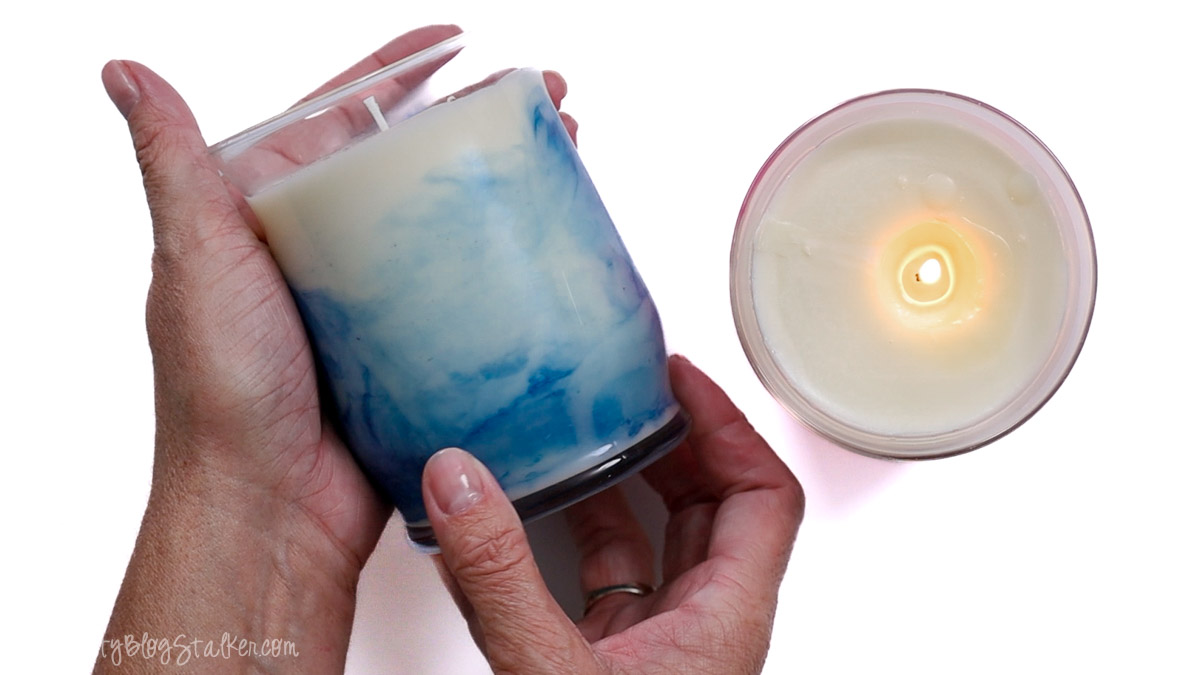
Slowly turn the holder sideways and roll so the swirl moves up along the edges.
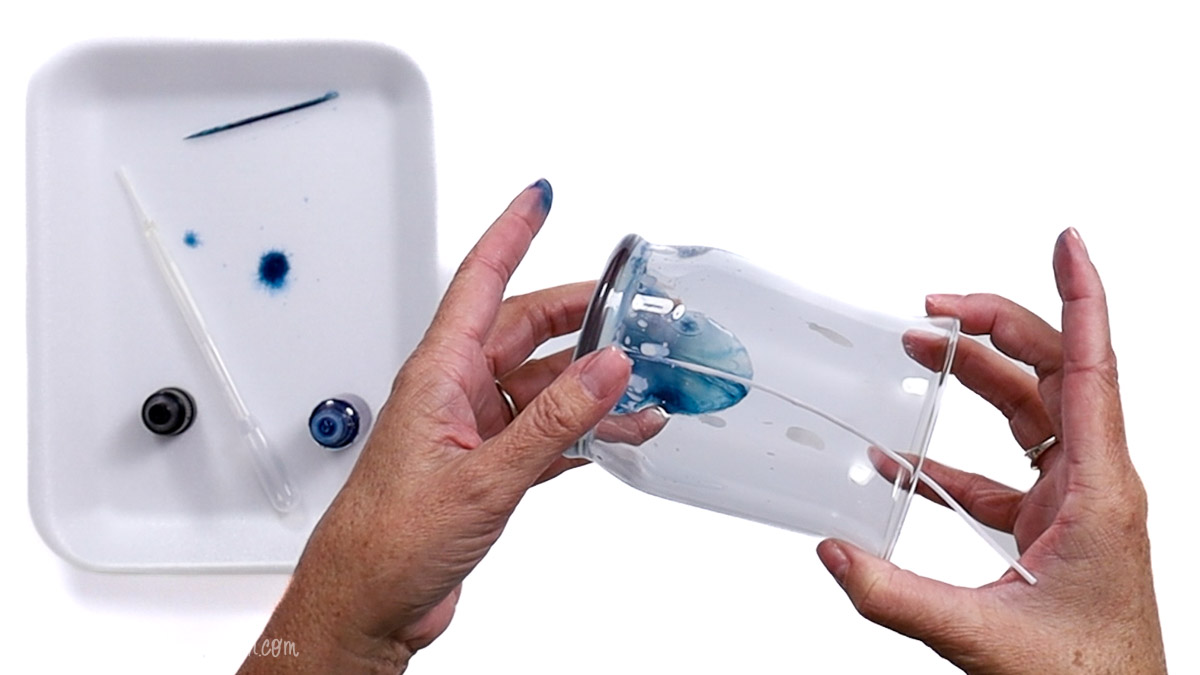
I didn't add enough the first time, so I had to repeat the above steps to get enough wax to cover the whole inside. It still worked just fine.
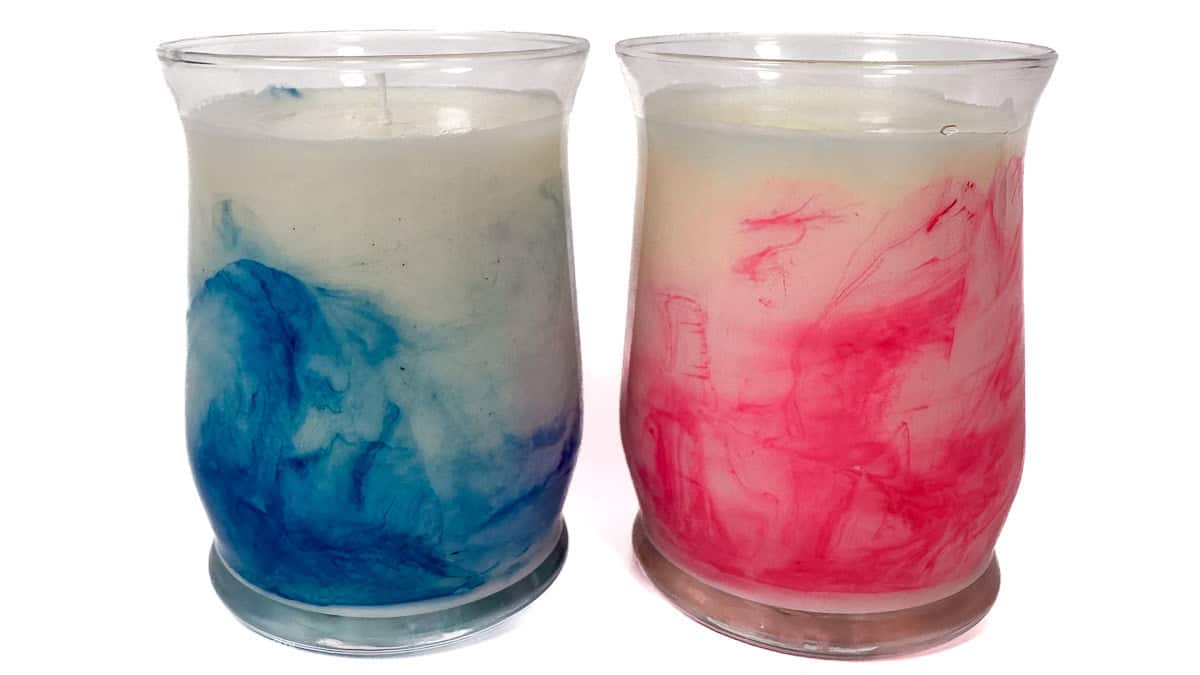
Here are my two marbled edges, each with a wick centering tool. They look so cute!!

Pour the Wax
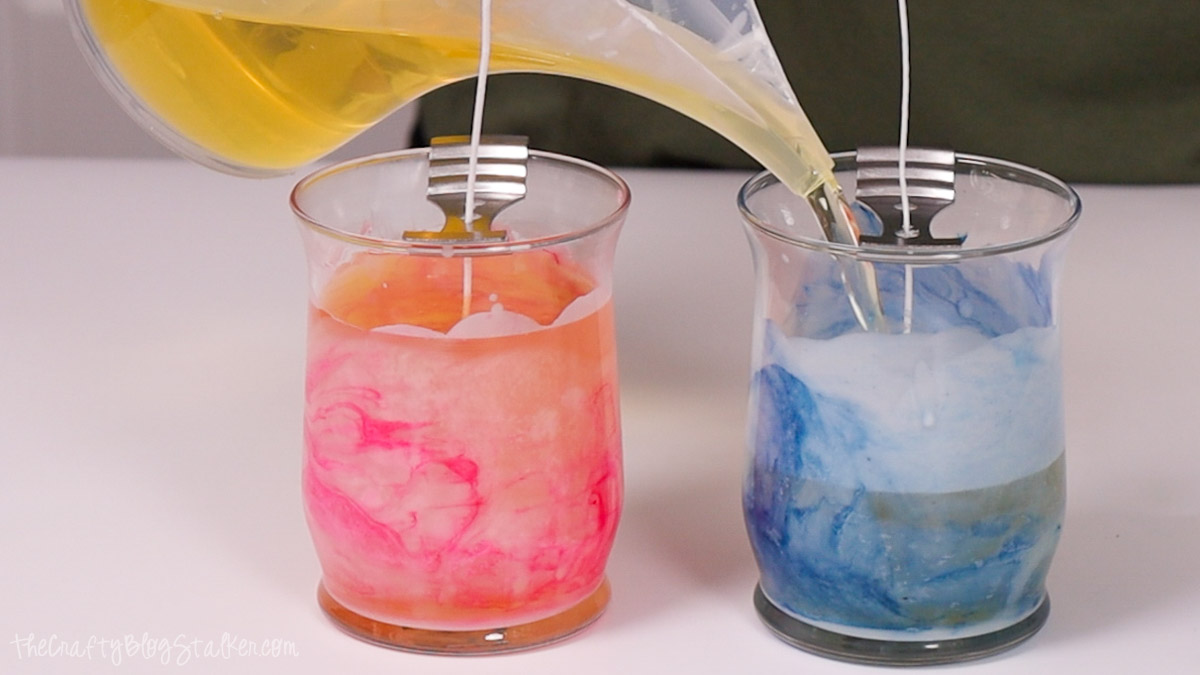
Before pouring the remaining wax into the holders, check its temperature.
This time, we want the wax to be 120º F. If we pour it any hotter, it will melt and ruin the marbling we just did.
Once the wax is at the right temperature, pour it into the holder, pouring into the center, not down a side.
The time it takes for the wax to fully set depends on the candle you are making.
These candles took about 3 hours to set, but you could place them in a refrigerator to speed up the process.
The finished candles look fantastic, and smell so good!
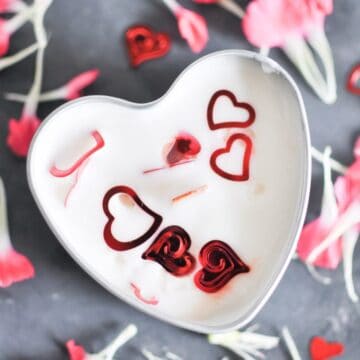
More DIY Candle Ideas
Don't put those supplies away yet. Here are a few more fun ideas!


Hi, I'm Katie!
I'm so glad you're here. Want to make something fabulous? I'm here to help!