
Use this Cricut box SVG to create a Happy Birthday gift box that's quick to make and adds a handmade touch to your celebration.
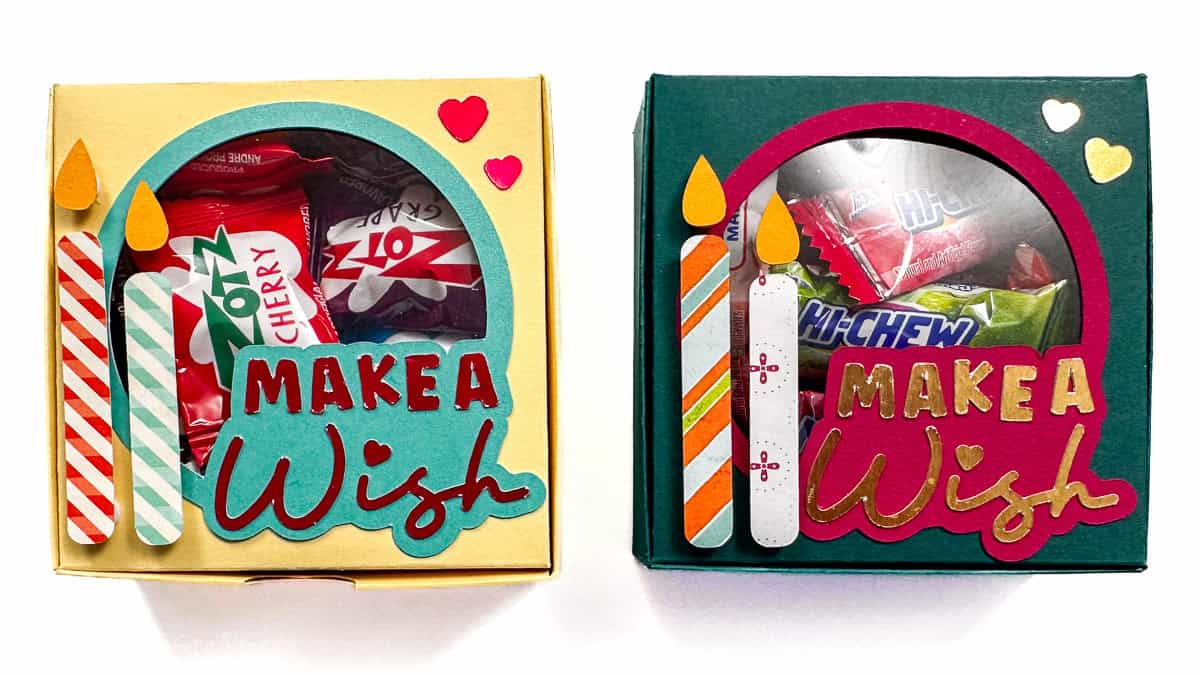
If you've ever wanted a cute way to package candy, jewelry, or other small birthday gifts, this Cricut box SVG is for you.
It's a thoughtful alternative to store-bought packaging and adds a personal, handmade touch to your present.
Choose the coordinating papers to match the recipient's style, and you've got a gift box that feels just as special as what's inside.
Jump to:
Skill Level: Beginner
Total Time: 30 minutes
Craft Tutorial Video
If videos are your thing, you're in luck-I've got a full tutorial ready for you!
Subscribe to my YouTube channel and stay inspired with every new project.
Supply List
Some links may lead to similar items when the exact item is unavailable.
- Cricut Maker
- Make A Wish Gift Box SVG
- Scoring Wheel
- StandardGrip Mat
- 2 Colors Coordinating Cardstock
- Orange Cardstock
- 2 Pieces Pattern Paper Scraps
- Foil Cardstock
- Acetate Sheet
- Precision Glue
- Adhesive Foam Dots
- Bone Folder
- Craft Tweezers
- Favorite Candy

I used a Cricut Maker to cut my pieces. You could also use Cricut Explore or Cricut Joy Xtra.
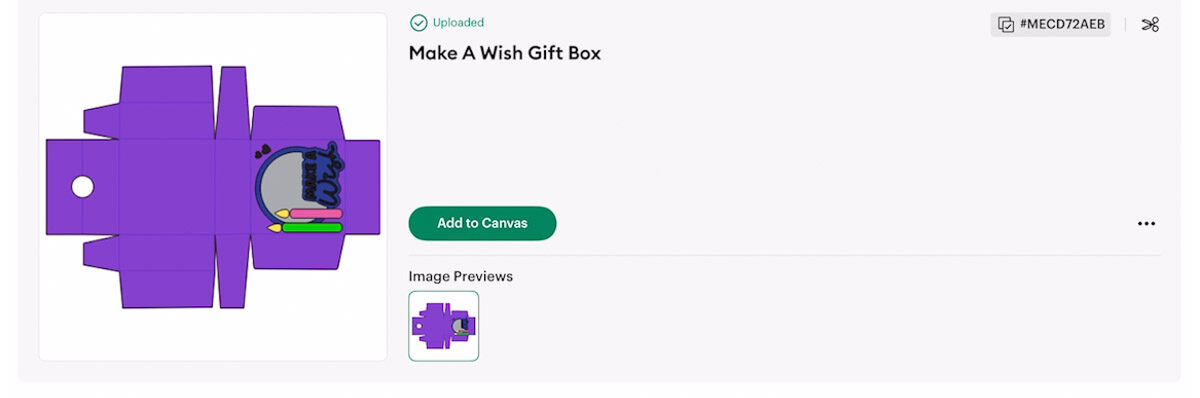
Download the SVG
Cricut Design Space
For the following steps, I'll be using Cricut Design Space.
If you use Silhouette Studio or a different design software, your steps may be different than mine.
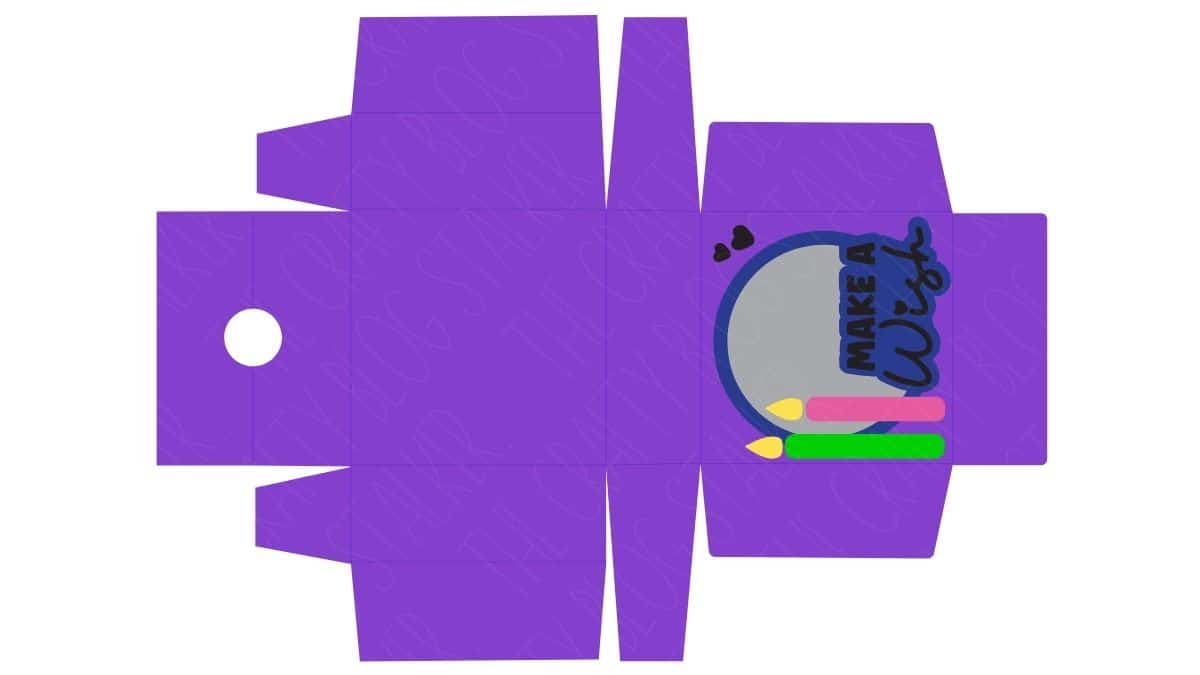
To start, upload the SVG into Cricut Design Space and add it to your Canvas.
The design is sized as large as can fit on a 12x12-inch sheet of cardstock. You can resize the project to make it smaller.
However, some pieces are already cut pretty small, so I don't recommend going that much smaller.
Highlight the entire design and ungroup.

When designing outside of Cricut Design Space, we cannot assign line functions for scoring, so we must make this adjustment when importing the file.
Select the blue square shape on top, go to Operations, and change that layer to score. This will change the blue square to dashed lines, so we know these lines are score.
Then attach the score lines to the box shape.
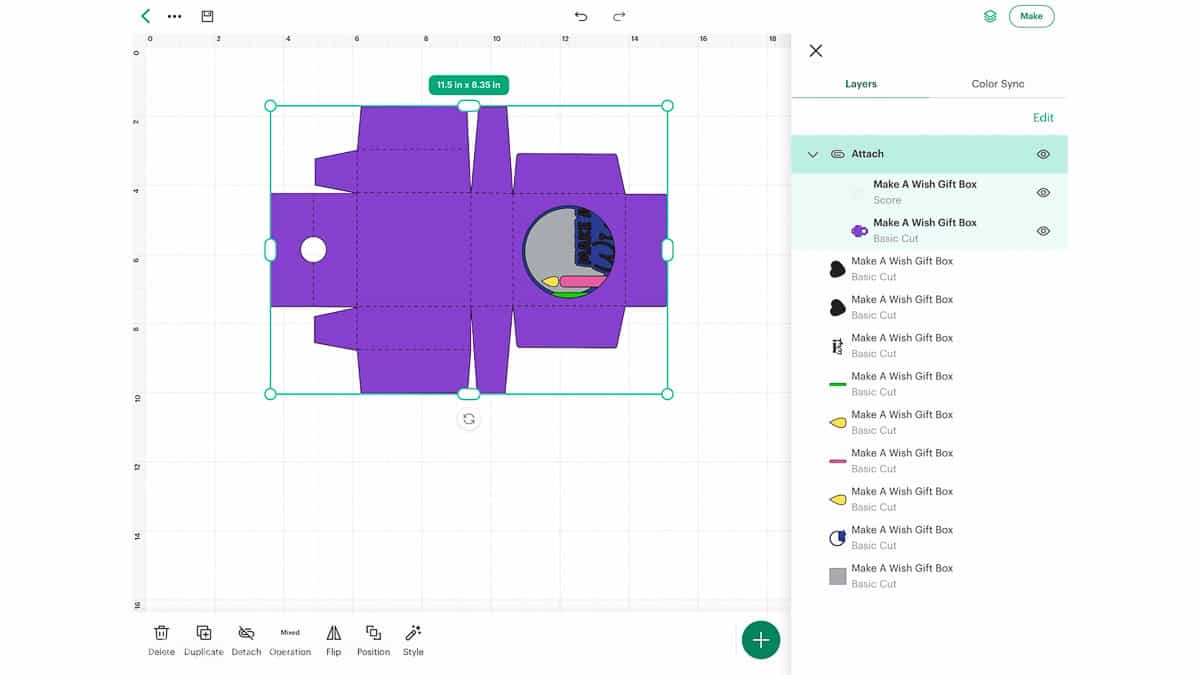
Click Make to take you to the mat preview.
I used several different types of material, paper, an acetate sheet, and thicker foil cardstock. These other materials have different cut settings, so I would need to adjust them before each mat.
Also, for the large box shape, I am using the scoring wheel, so I'll need to pay attention to when to insert that. The scoring stylus can be used instead if required.
Box Assembly
Here are all of the pieces that I cut. The acetate square is harder to see, but it is there.

Assembling the box itself is one of the last things I will do. I'll start with the decorative pieces.
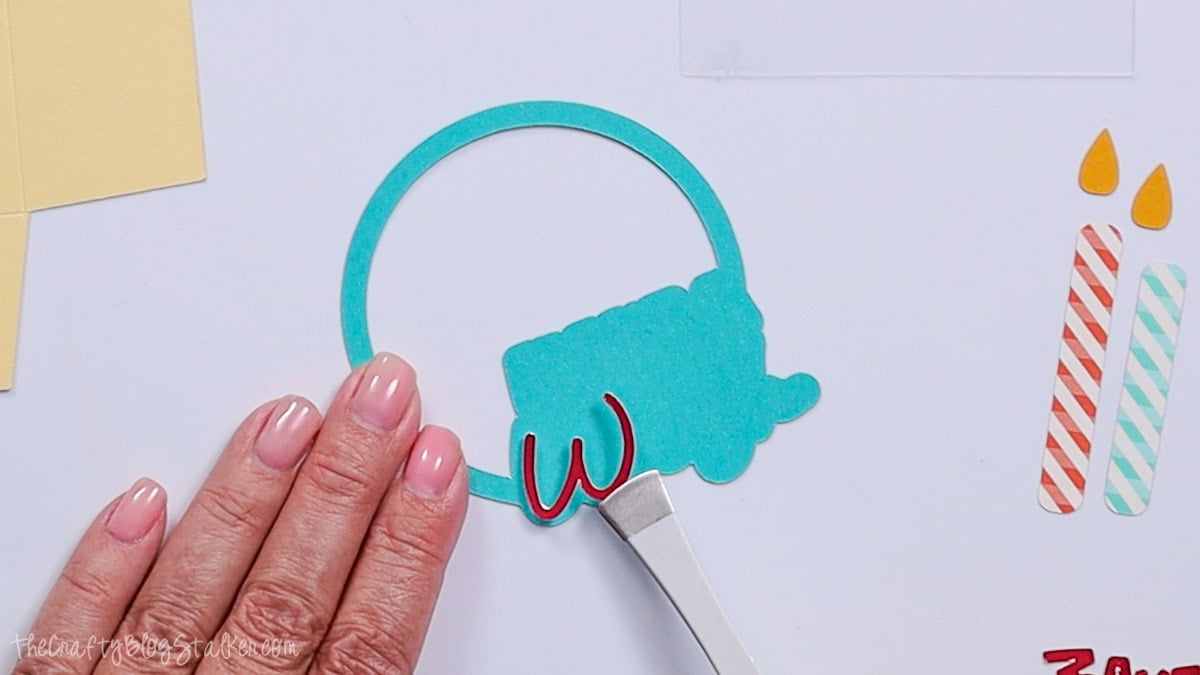
This is where those tweezers really come in handy.
Add small dots of glue to the back of the letters. The precision tip really helps you control how much glue you use. I love it!

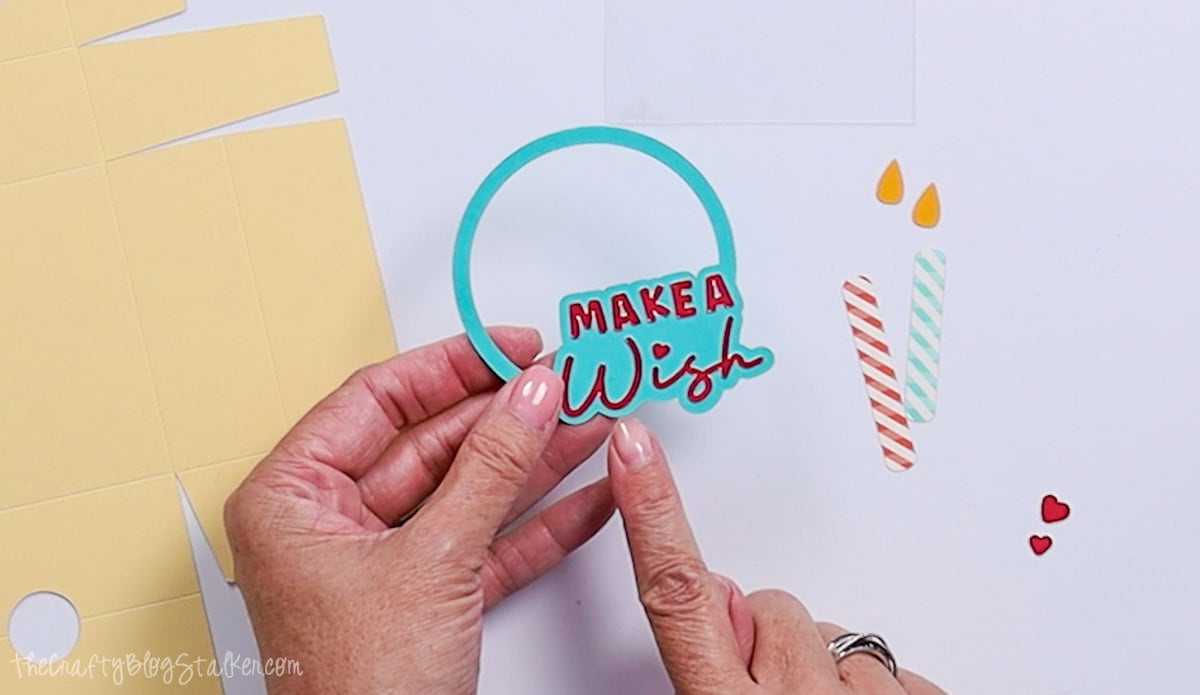
Then center the letters on the circle background piece. The spacing should be pretty even around all letters.
Repeat with all of the letters.
The side of the box where you can easily see the score lines is the inside of the box.
Before I glue the acetate sheet in place, I remove the protective lining. There is a cover on the front and on the back to protect it from scratches.

Apply a ring of glue around the lid of the box with the hole cut out, and then press the window sheet into the adhesive.

Turn the box shape over so the right side is facing up, and glue the saying piece over the hole.

Then glue the two small hearts in the upper right corner of the box lid. Wait to attach the candles.
Turn the box piece right side facing down, and fold in on all of the score lines going all around the box. Press a bone folder against the folds to get a really crisp fold.

The bottom section of the box is the only part that needs to be glued. Start by applying glue to the longest tabs.

Fold in and adhere to the side wall, ensuring a nice square corner.

Repeat with the other side of the box.
Next, apply glue to the smaller front tabs and attach them to the front panel of the box, ensuring the corners are nice and square.

The box bottom now has really tall sides. Apply glue to the inside of the tabs and fold them into the inside of the box.

Now we can add the candles to the front. Apply a few foam dots on the back of the candles and the flames.
If needed, use the tweezers to place them on the top of the box. I put the longer candle closer to the outside edge of the box, and the short candle to the right of it.

Now all that's left is to fill it! Zots anyone? Make sure not to overfill, otherwise the lid will be more challenging to close, and the box will lose its square shape.

Now the birthday box is ready to gift!

These are great for teacher gifts, coworker gifts, neighbor gifts, or for anyone that has a birthday! 😂 Who will you make them for?
More Cricut Gift Ideas
Don't put your Cricut away, let's keep crafting! Here are a few more fun ideas.


Hi, I'm Katie!
I'm so glad you're here. Want to make something fabulous? I'm here to help!
Janice
This is fantastic...thank you so much! Can you please tell me where you find the double-sided tape dispenser.
Katie
I get mine on Amazon.com. Here is my affiliate link https://amzn.to/2O7ttbR
Carol
I love these cute little boxes. Fabulous job. I have made about four of them now trying to test them. Every time I pull the perforated tab, it seems to break somewhere along the way before I can peel the entire strip off. Am I doing something wrong? I would like to use my regular patterned cardstock and not the shiny paper that you have used. I have to make a lot and I am trying to keep the cost down. So is there a trick to getting it to peel all the way around without breaking? My other question is when I put more on the pressure, does it put more pressure on all of the blades that I am using for the box or just the scoring blade which is up first?
Katie
HI Carol!
Is the strip breaking at the joints where it is glued, or in the middle of the paper? The different paper will peel differently. I would suggest making sure that the bottom strip is glued nice and secure to the box and really glue those corner tabs together really well too.
When you increase the pressure it does increase for all blades and/or accessories.