
This post is sponsored by Cricut. All opinions expressed are my own.
Learn how to make a sweatshirt for your favorite person who is always cold, just like me! Using the Cricut Maker, Iron-on Vinyl, and the EasyPress.
Do you know anybody who is ALWAYS COLD? That is totally me. I'm cold in the winter because, well, it's winter. And I'm freezing in the summer because everyone has their air conditioners turned all the way up!
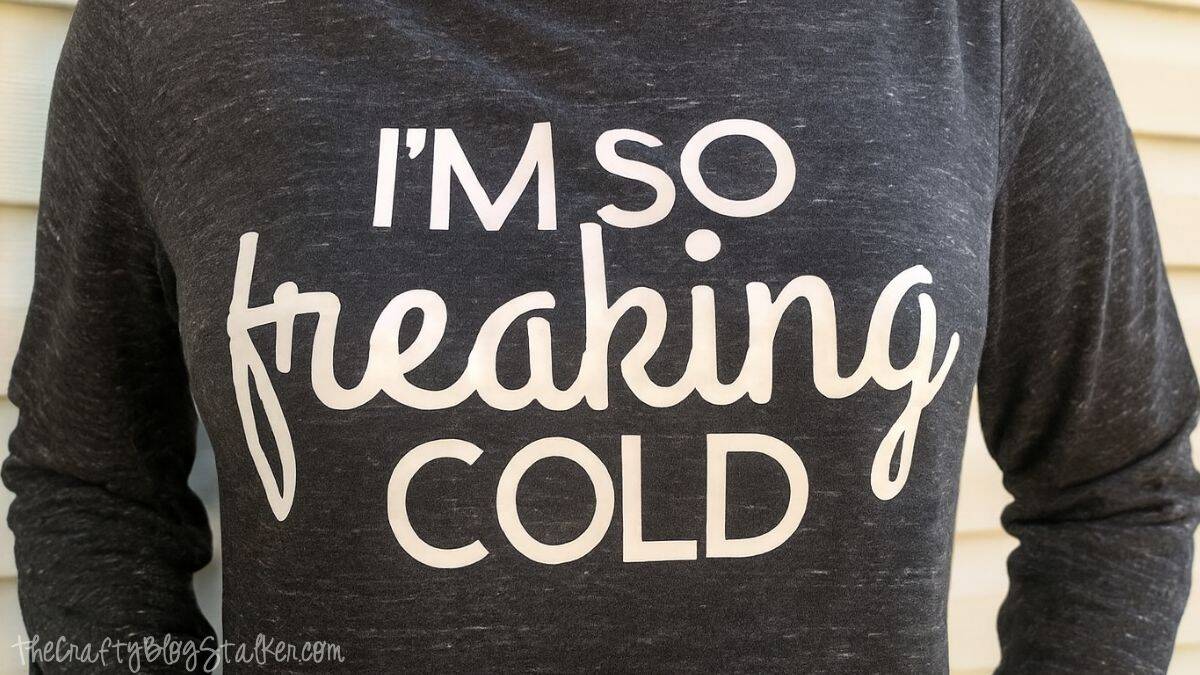
So this year, I made myself a fun sweatshirt that is me. "I'm so freaking cold!"
Craft Tutorial Video
If videos are your thing, you're in luck-I've got a full tutorial ready for you!
Subscribe to my YouTube channel and stay inspired with every new project.
Supply List
- I'm So Freaking Cold - Cricut Design Space
- Cricut Cutting Machine
- LightGrip Mat
- White Iron-on
- Comfy Sweatshirt
- BrightPad
- Heat Press
- EasyPress Mat
Instructions
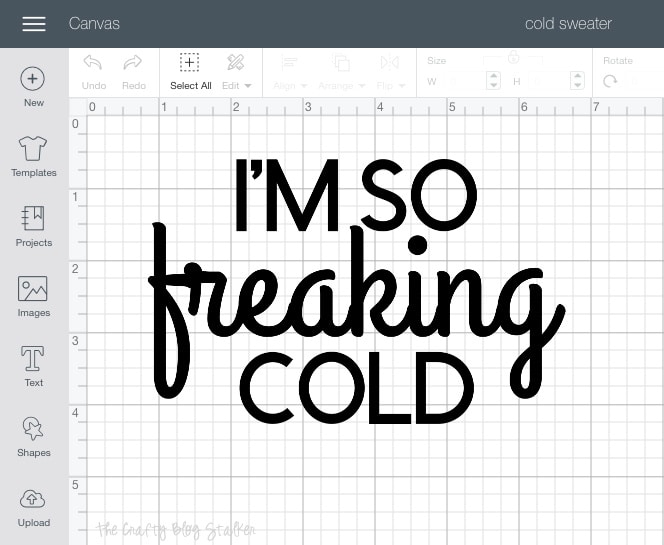
The cut file for this shirt is ready to use in Cricut Design Space! I have the file sized to 10.5 inches wide. If this size works for you, select Make It. If you need to adjust the sizing, select Customize.
Place the iron-on shiny side down on the light-grip mat, and make sure you select Mirror Image before you begin the cut. Follow the prompts in Cricut Design Space to cut the image out.
I cut this out on a Cricut Maker but all Cricut machines cut iron-on vinyl so it will work with any machine.

Once the image is cut, weed the excess iron-on vinyl from the backing sheet. The BrightPad is super helpful during this step because it shines light through the lines so you can easily see the areas you need to weed. Don't forget to remove the center of the letters!
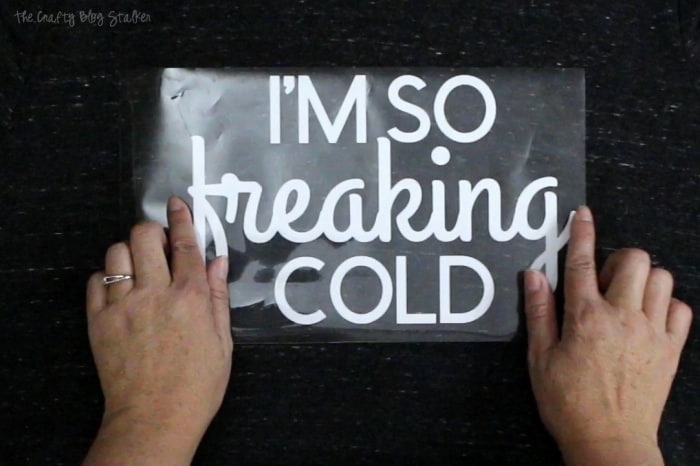
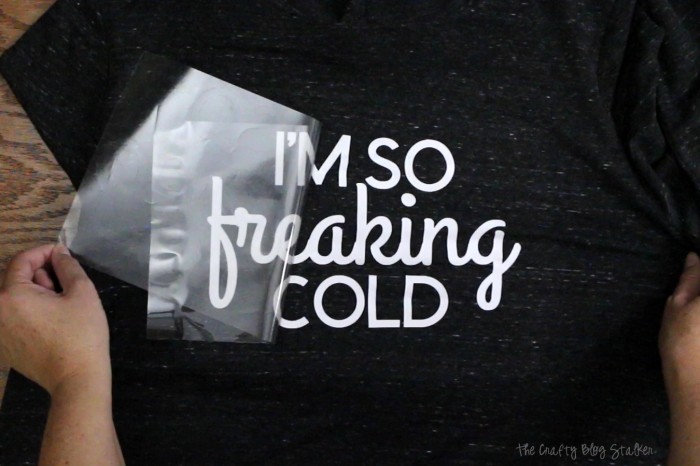
Center the cut-out on the front of your sweatshirt. If you would like, you can use a ruler or t-square to get it perfectly centered. I go easy, and just eye-ball it.
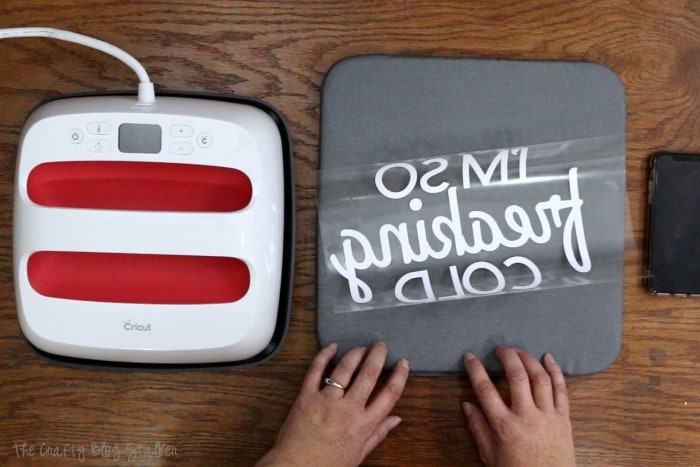
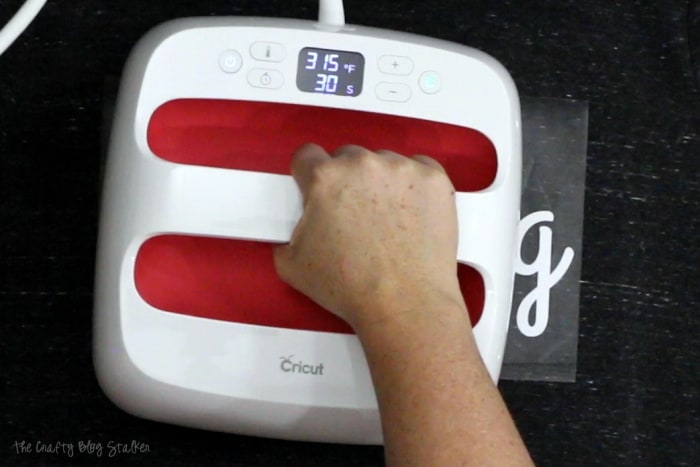
For this project, I am using the mid-size EasyPress 2. The heating surface measures 9 x 9 inches and is great for shirts and other midsized projects.
To know exactly what temperature and time to set your EasyPress 2 you can visit the online Cricut Heat Guide. You enter the type of iron-on you are using and the type of material, and the guide gives you all the information you need even if you should peel the backing while the material is still warm or if you should let it cool!
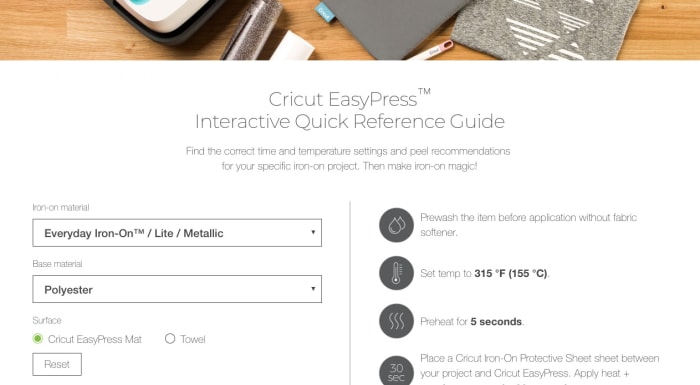
For my iron-on and sweatshirt material, I set the Cricut Easy Press to a temperature of 315 and 30 seconds. My cut image is a bit bigger than the heated surface of the press so I did the cycle twice. Moving the EasyPress over to cover the second half after the first cycle was finished.
Slowly peel back the iron-on backing. If the iron-on doesn't stick you can reapply the backing and apply the heat cycle again.
See! Pretty easy right? Now I have a new favorite sweatshirt!
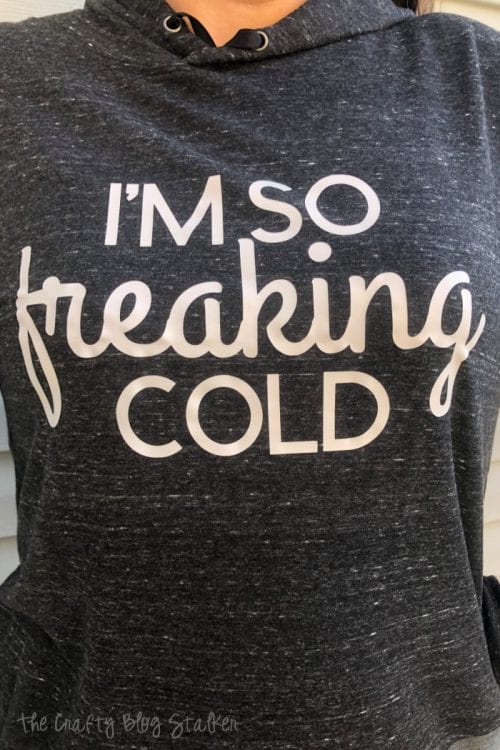

Who do you know that is always cold that this sweatshirt would be perfect for? Or is it you?!
Crafting Essentials
- The Cricut Cutting Machine is easily my favorite crafting tool. We use it in so many of our tutorials!
- These MakerX Crafting Tools are perfect for keeping in the craft room and are always ready when needed!
- This Fiskars Paper Trimmer is easy to use and cuts nicely without frayed edges.
- These Scotch Precision Scissors cut like a dream, and you get multiple pairs in a pack!