
Make a custom garden bucket to hold your gardening supplies and tools using this easy tutorial and free SVG.
If your gardening tools seem to disappear the second you set them down, you're not alone.
I've spent more time than I'd like to admit searching for my trowel before repotting a plant.
This easy storage project turns an ordinary bucket into a cute, personalized catch-all for your tools, whether you use a five-gallon bucket or a smaller pail.
Grab the free SVG included in this post, plus 13 more designs at the bottom to keep creating.
Jump to:
Skill Level: Beginner
Total Time: 30 minutes
Craft Tutorial Video
If videos are your thing, you're in luck-I've got a full tutorial ready for you!
Subscribe to my YouTube channel and stay inspired with every new project.
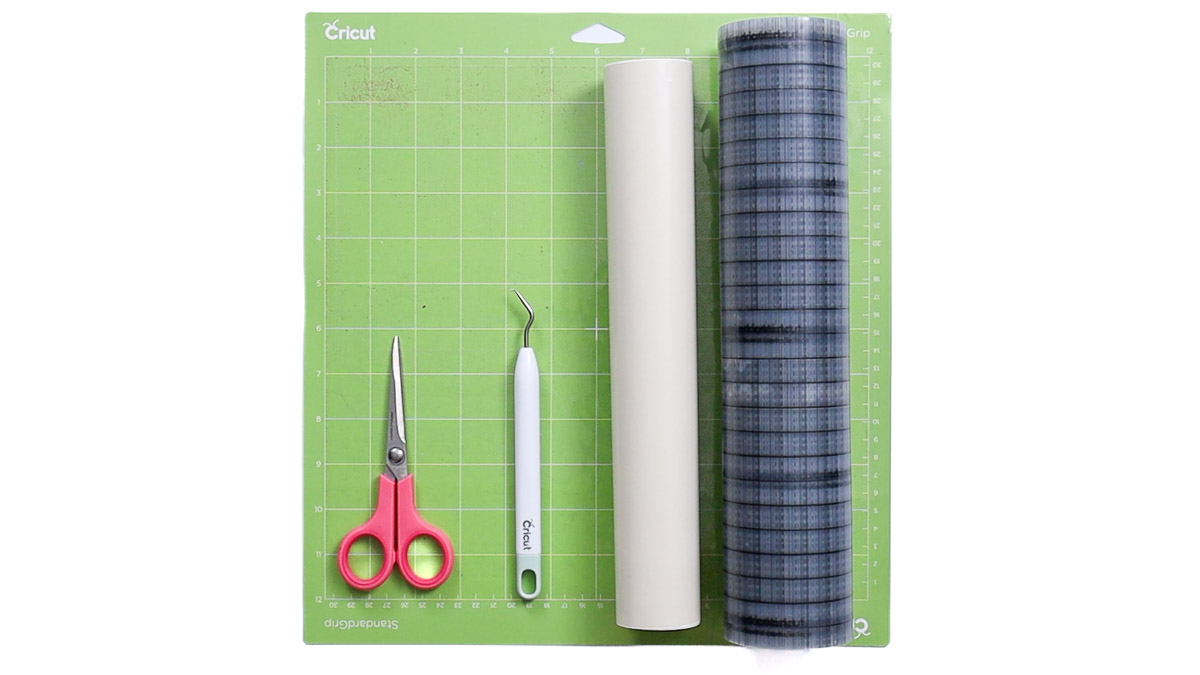
Supply List
- Cricut Cutting Machine
- Hoeing Aint Easy SVG
- StandardGrip Mat
- Adhesive Vinyl
- Transfer Tape
- Garden Bucket
- Weeding Tools
- Scraper Tool
- Ruler
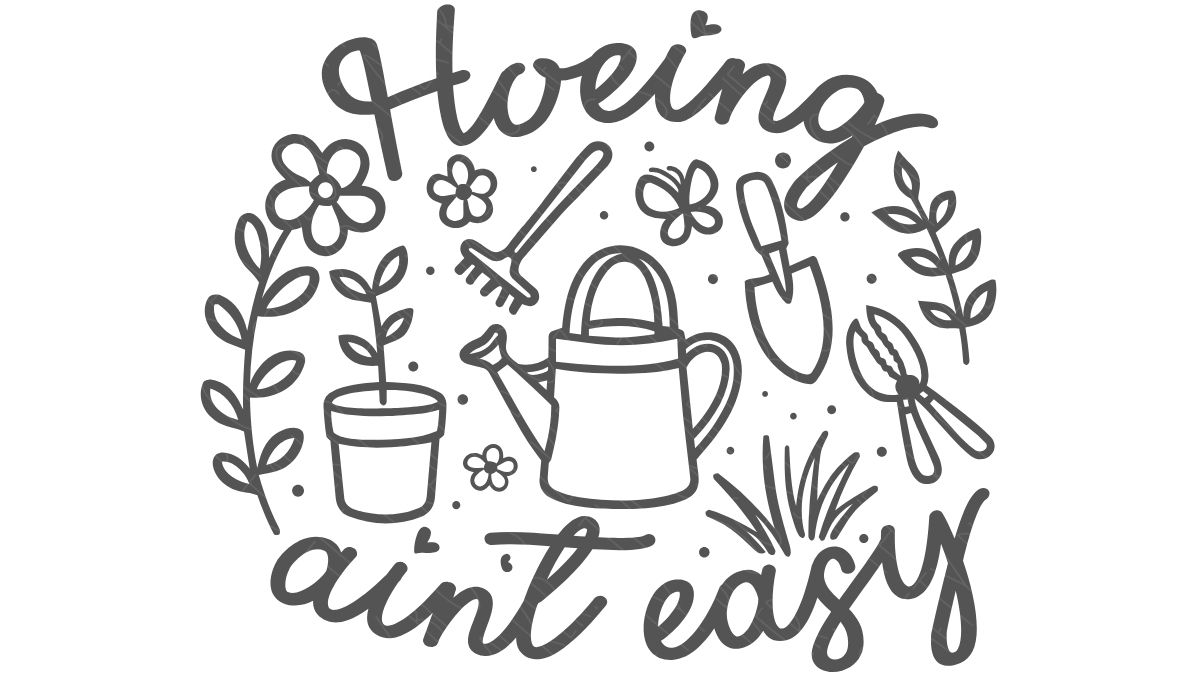
Grab the Free SVG
Measure Your Bucket
If your bucket has a sticker or label, remove that first.
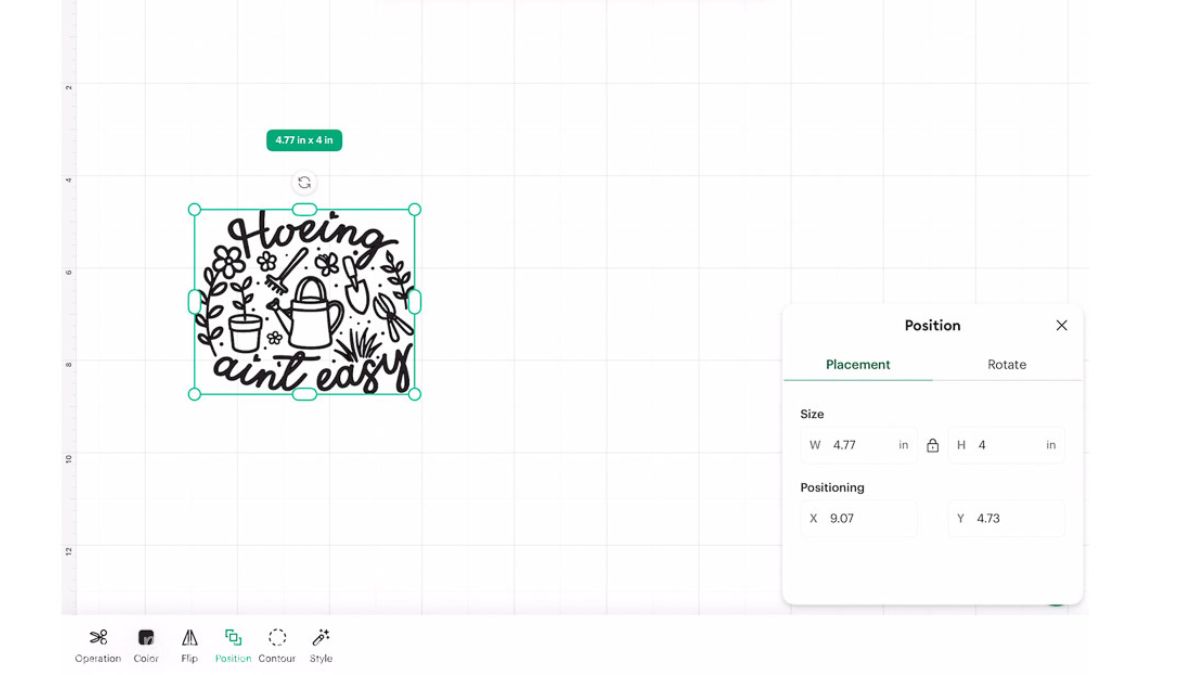
Use a ruler to measure the flat area on the front of the bucket where your design will go. This will determine how large to size your SVG.
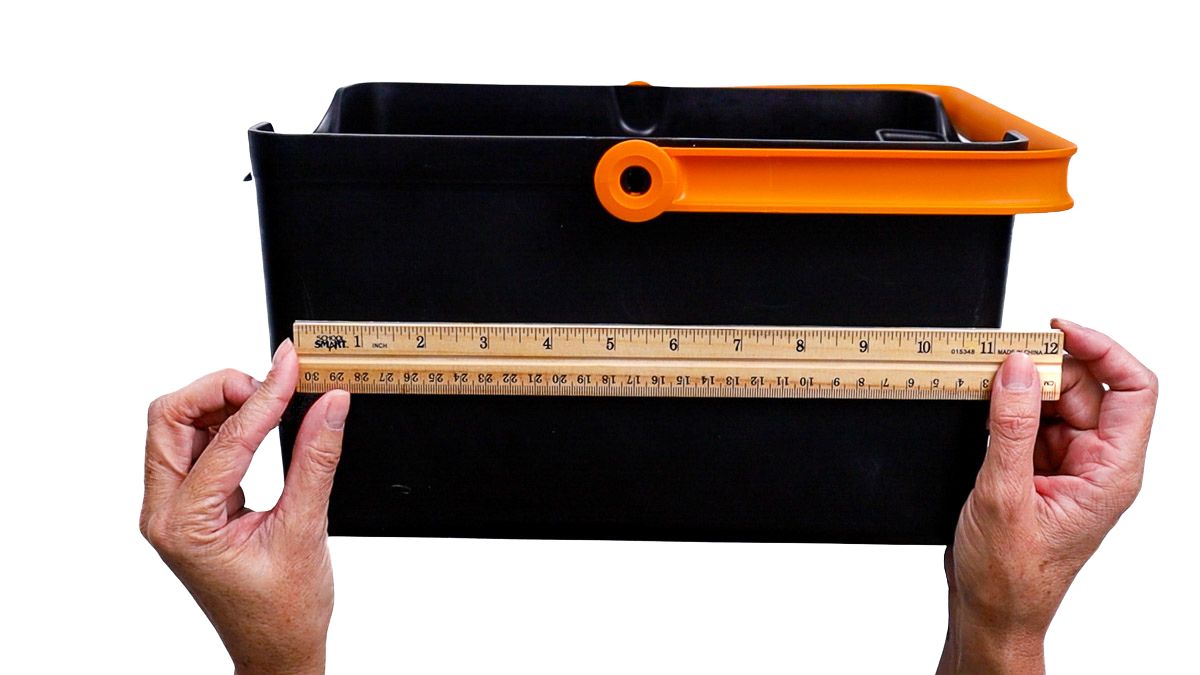
I set my design height to 4 inches to fit my bucket. Your measurements may be different, especially if you're using one of the taller five-gallon buckets.
Resize in Cricut Design Space
I'm using Cricut Design Space for this project. If you're using another cutting program, your screens may look a little different, but the overall process is the same.
- Upload the SVG into Cricut Design Space.
- Add it to your Canvas.
- Resize it based on your measurements.
- Click Make.
On the mat preview screen, confirm that everything looks correct, then click Next.
Choose adhesive vinyl as your material.
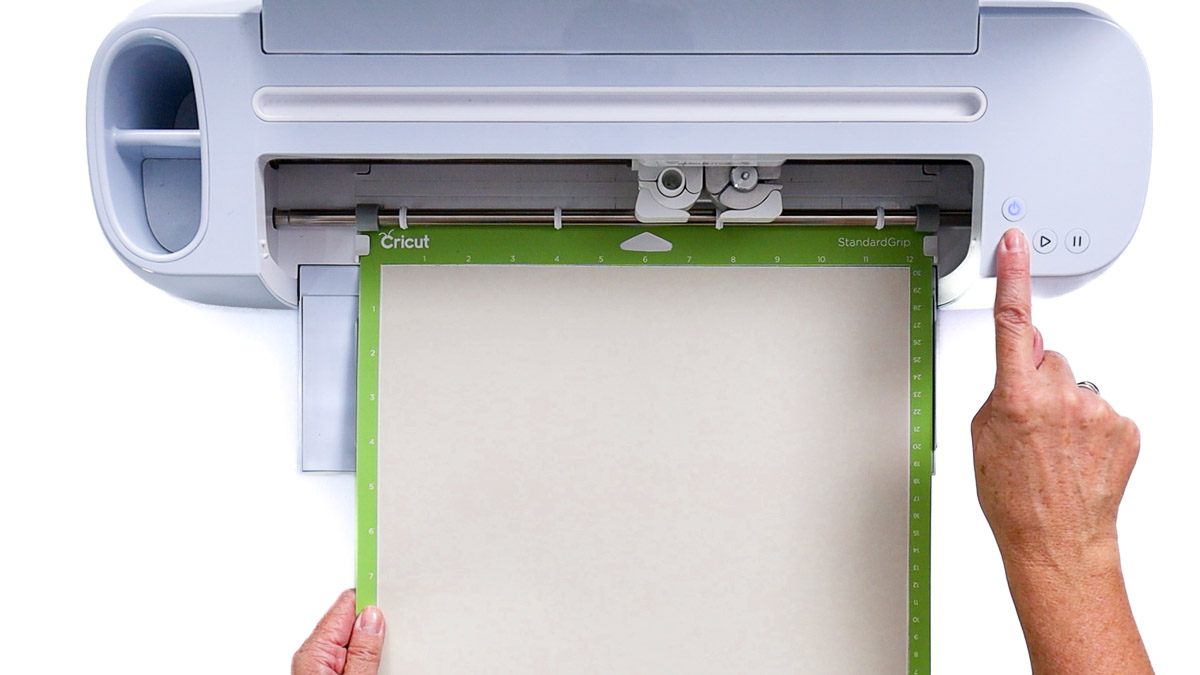
Place your vinyl on a StandardGrip mat, load it into your Cricut, and start the cut.
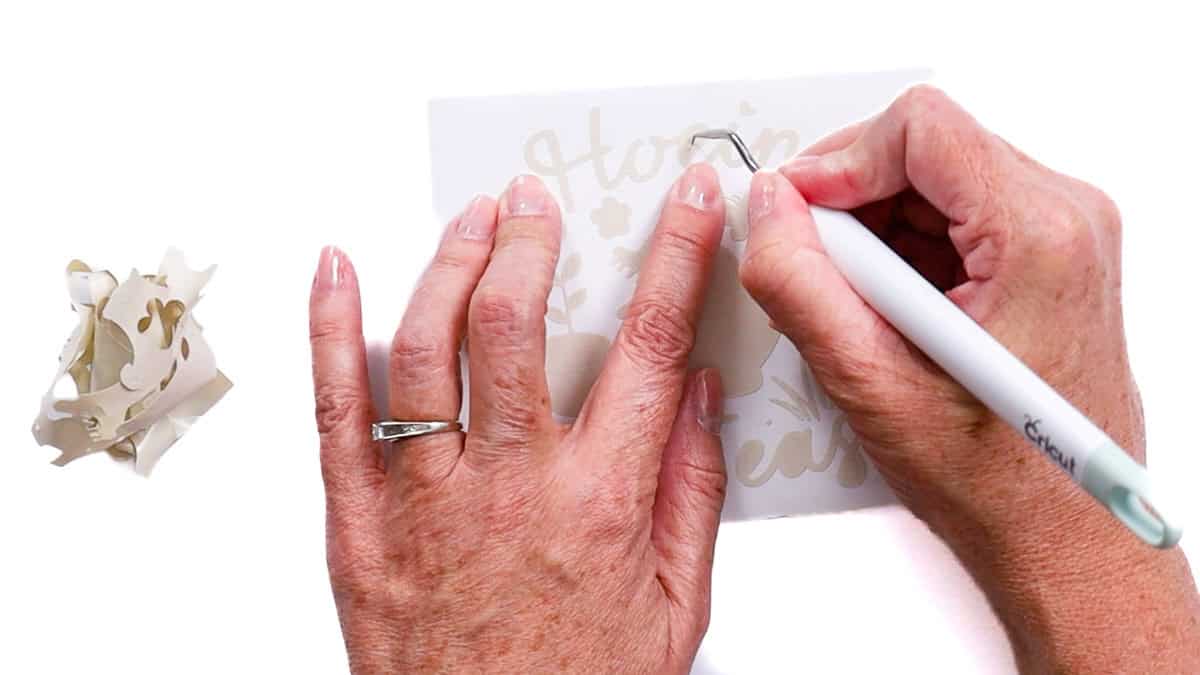
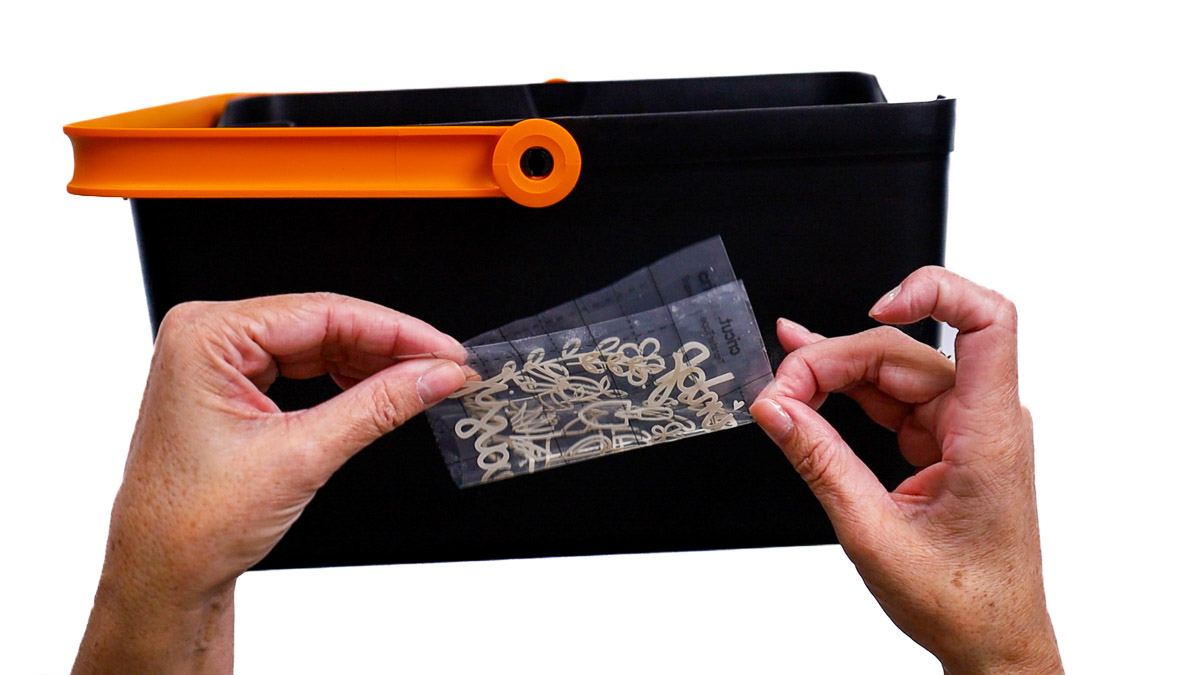
Prepare Vinyl Decal
Once your design is cut:
- Use a weeding tool to remove the excess vinyl.
- Start from a corner and slowly peel away the background.
- Remove the small inner pieces from the letters or design.
Cut a piece of transfer tape slightly larger than your design.
Place the transfer tape over the decal and use a scraper tool to firmly press it down.
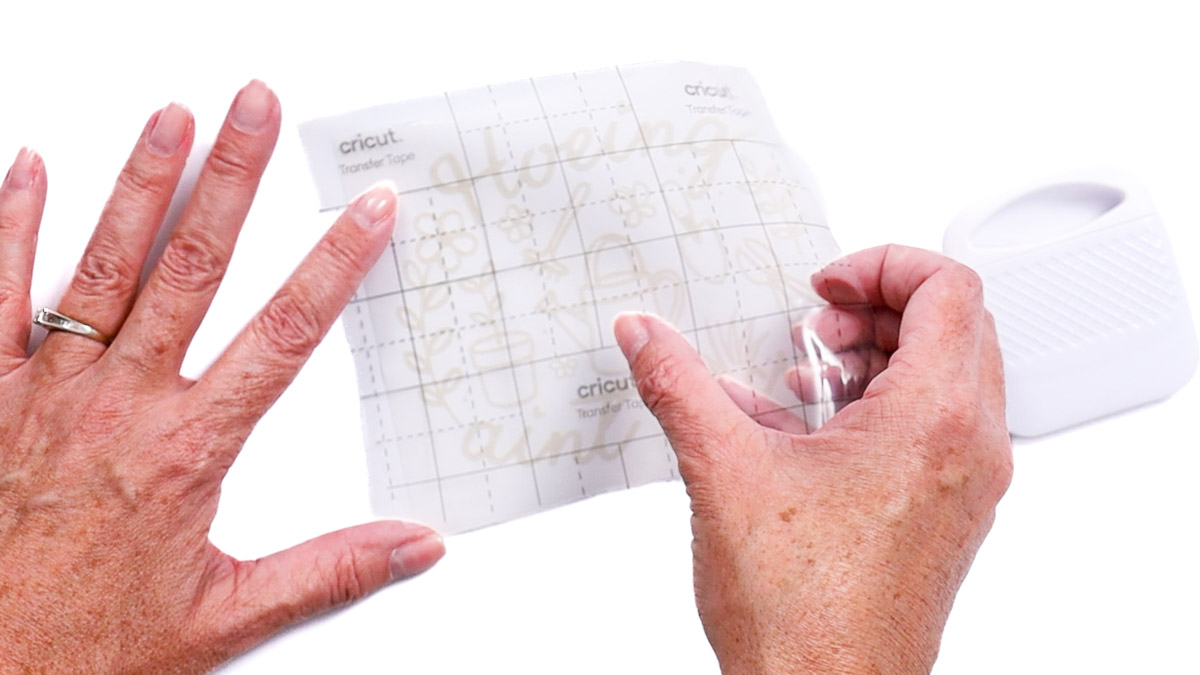
Tip: If small pieces aren't lifting, flip the design over and gently burnish from the back.
Apply the Vinyl to the Bucket
Before applying the decal, clean the bucket's surface with isopropyl alcohol. This removes dust and oils so the vinyl sticks well.
Peel the liner off the back of the vinyl, making sure the design remains on the transfer tape.
To help center the design:
- Mark the center of your bucket with a small piece of painter's tape if needed
- Lightly fold the non-sticky edges together to find the middle
Place the decal onto the bucket and press it down with your scraper tool.
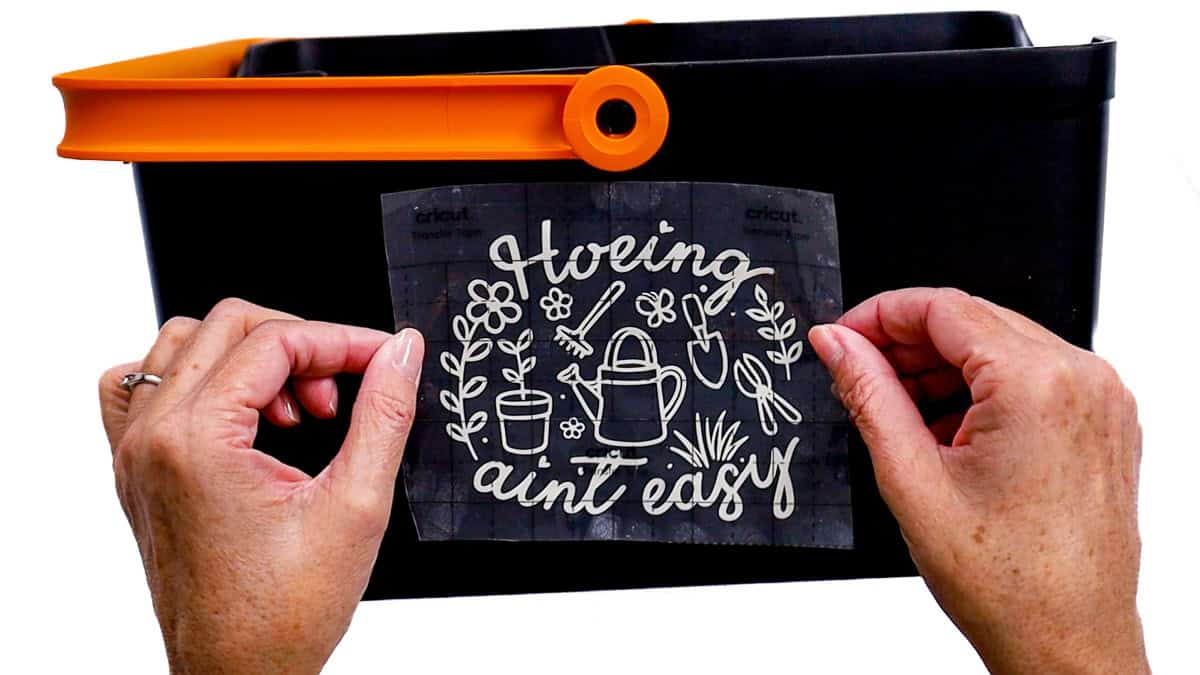
Slowly peel the transfer tape straight back, making sure all vinyl pieces stay on the bucket.
If something lifts, lay the tape back down and burnish again.
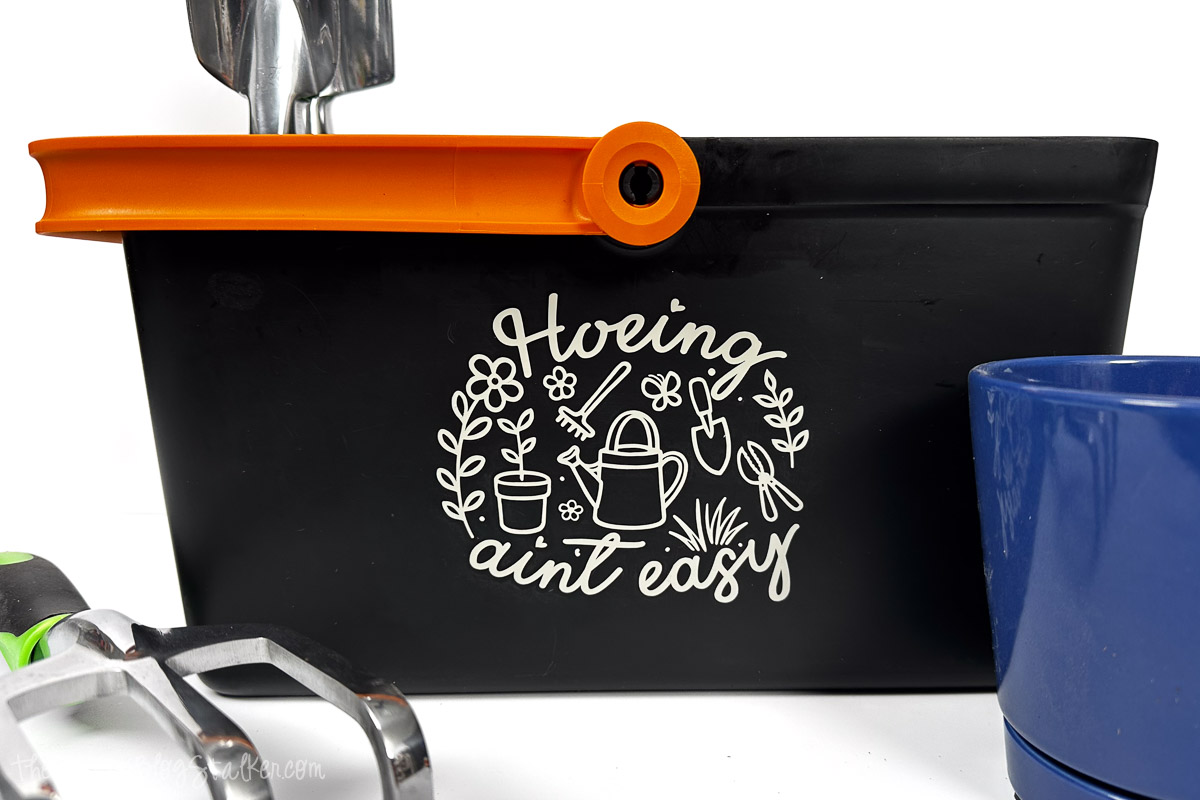
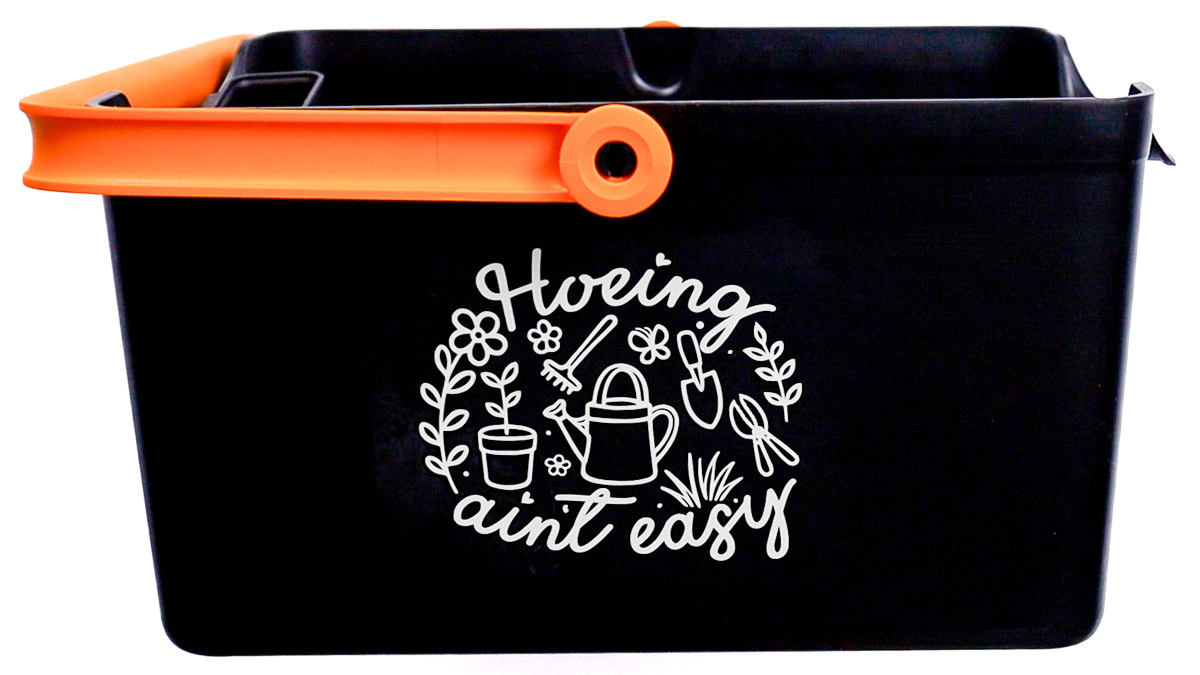
And You're Done
That's it. Your new DIY garden bucket is ready to use.
I don't spend hours in a big vegetable garden, but I do have plenty of houseplants that seem to multiply overnight.
Having one dedicated bucket for tools and supplies keeps everything within reach and makes repotting feel less chaotic.
You can use yours for:
- Hand trowels and pruners
- Seed packets
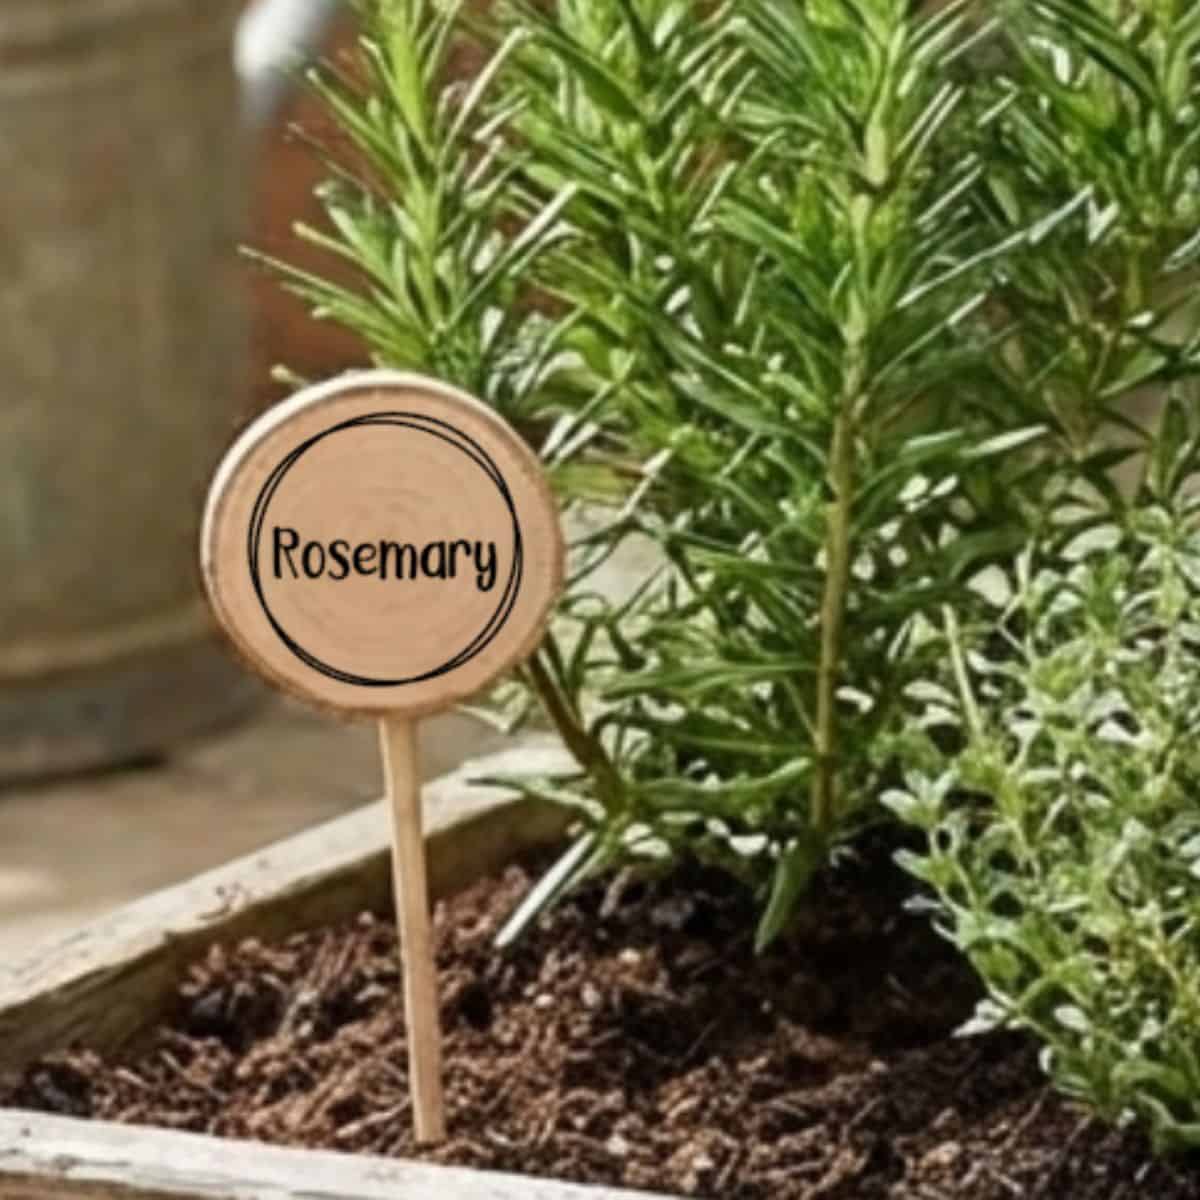
- Plant markers
- Gloves
- Twine
- Small bags of soil
It's simple, practical, and actually makes organizing your gardening supplies feel fun.
Now tell me… what are you putting in your garden bucket?
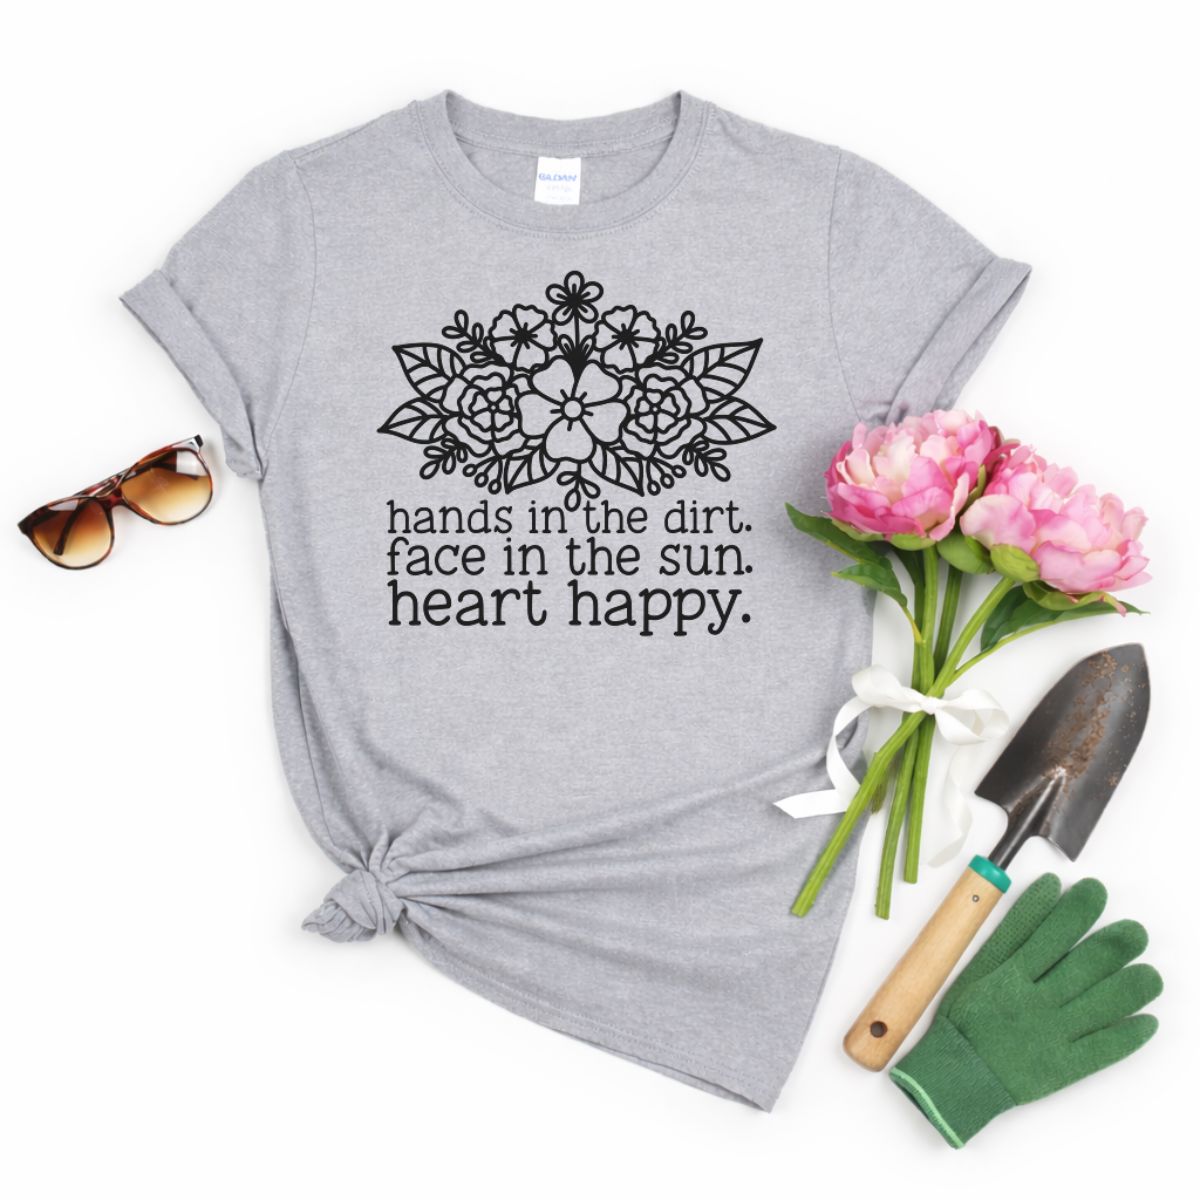
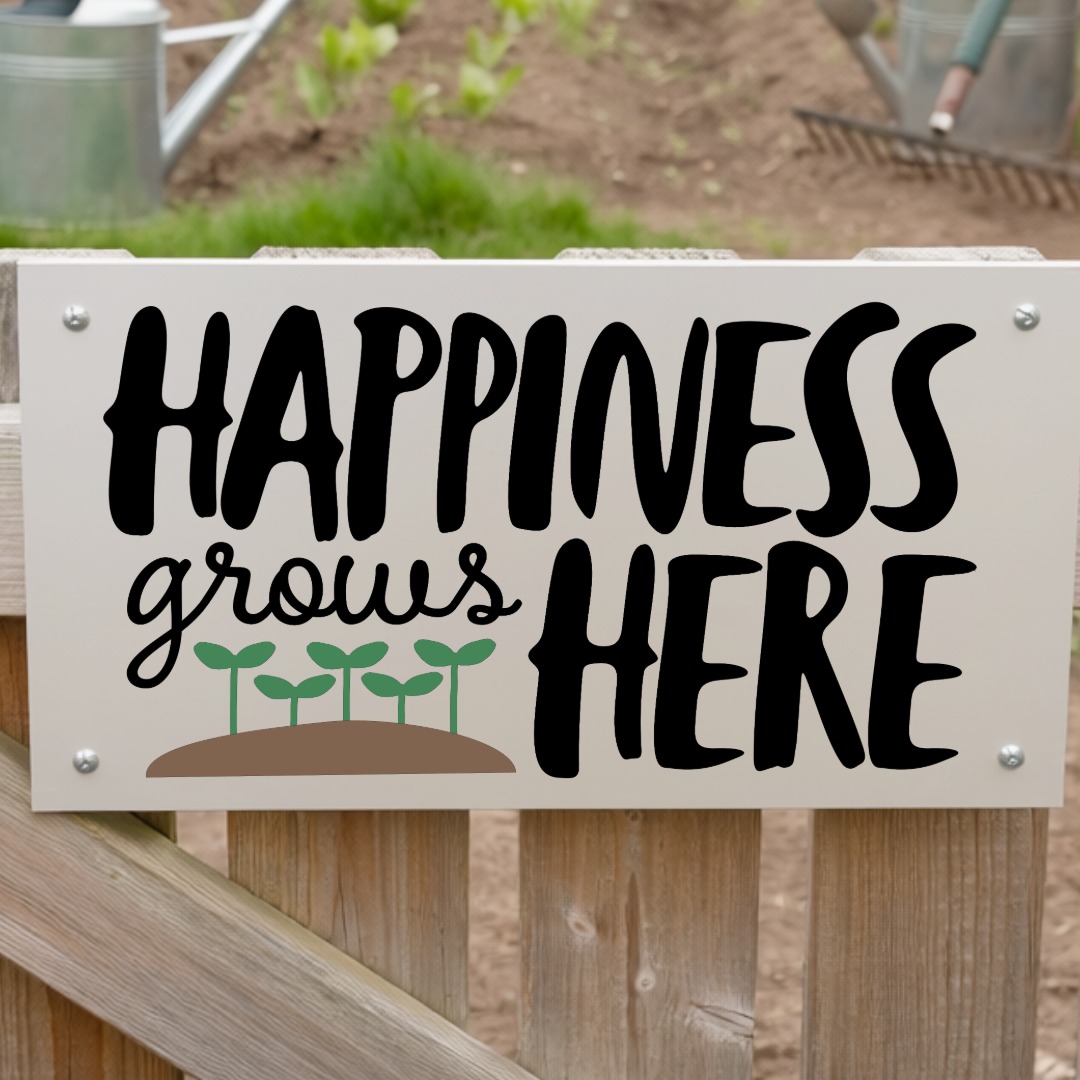
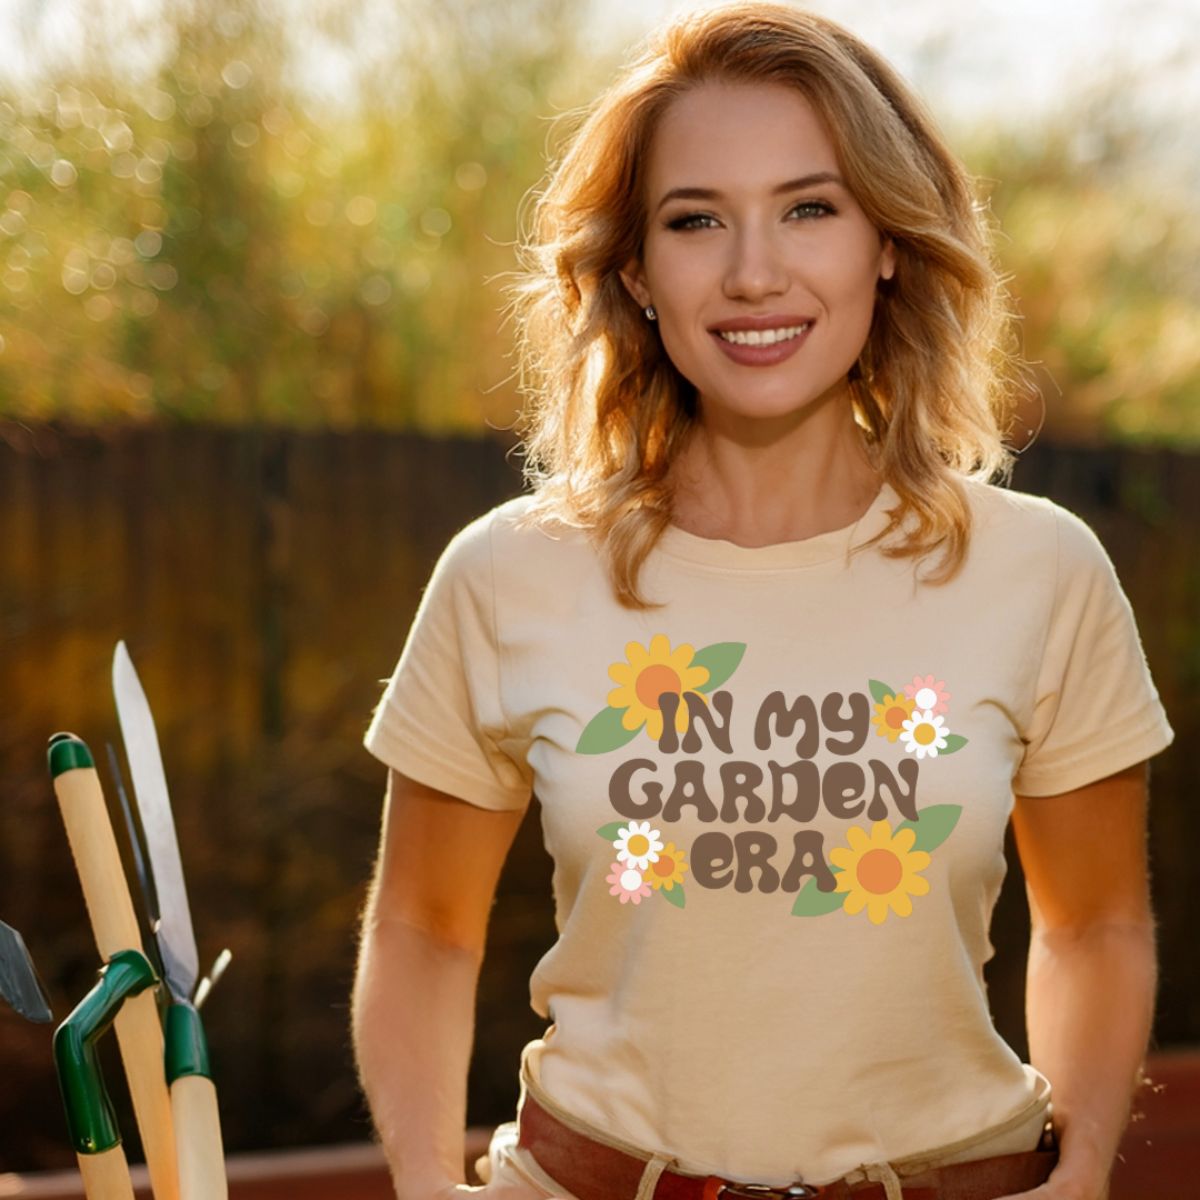
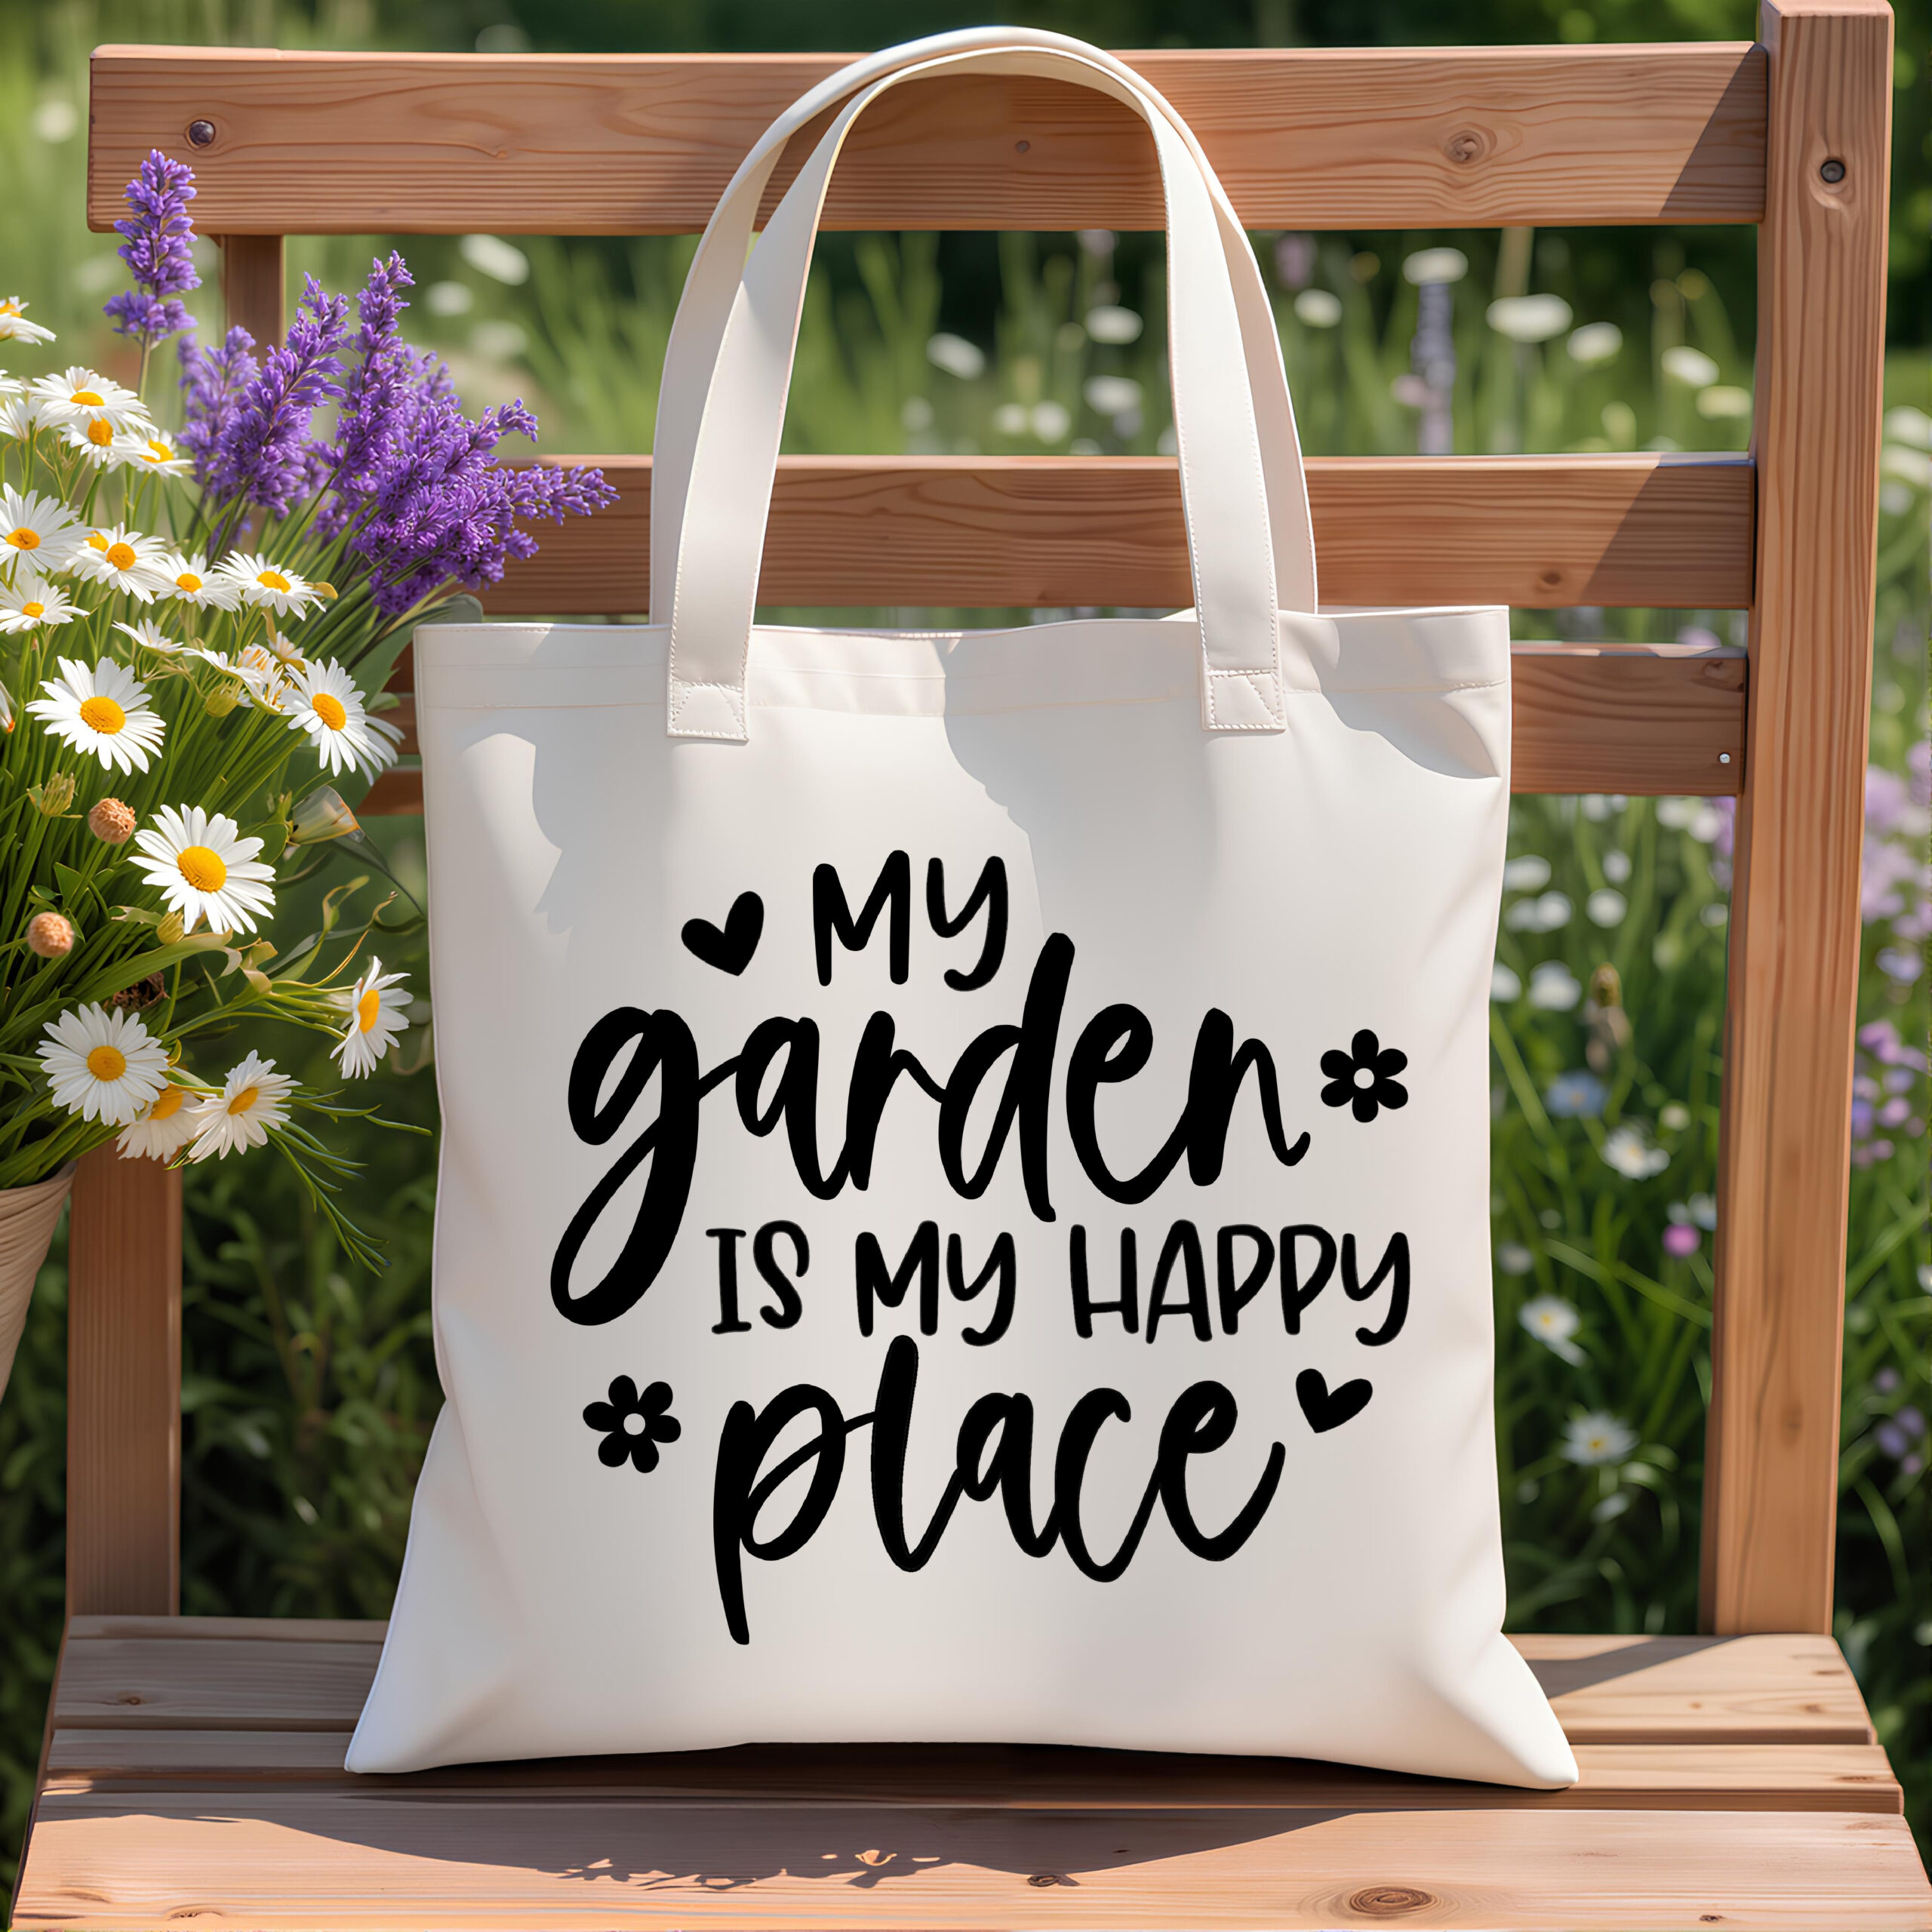
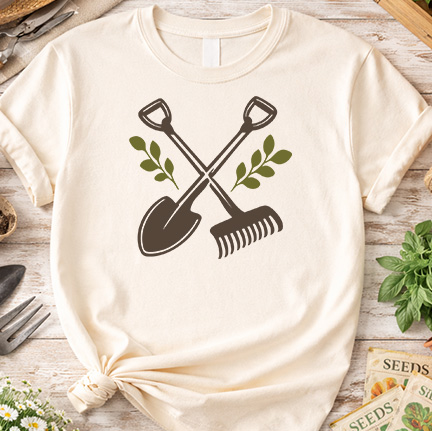
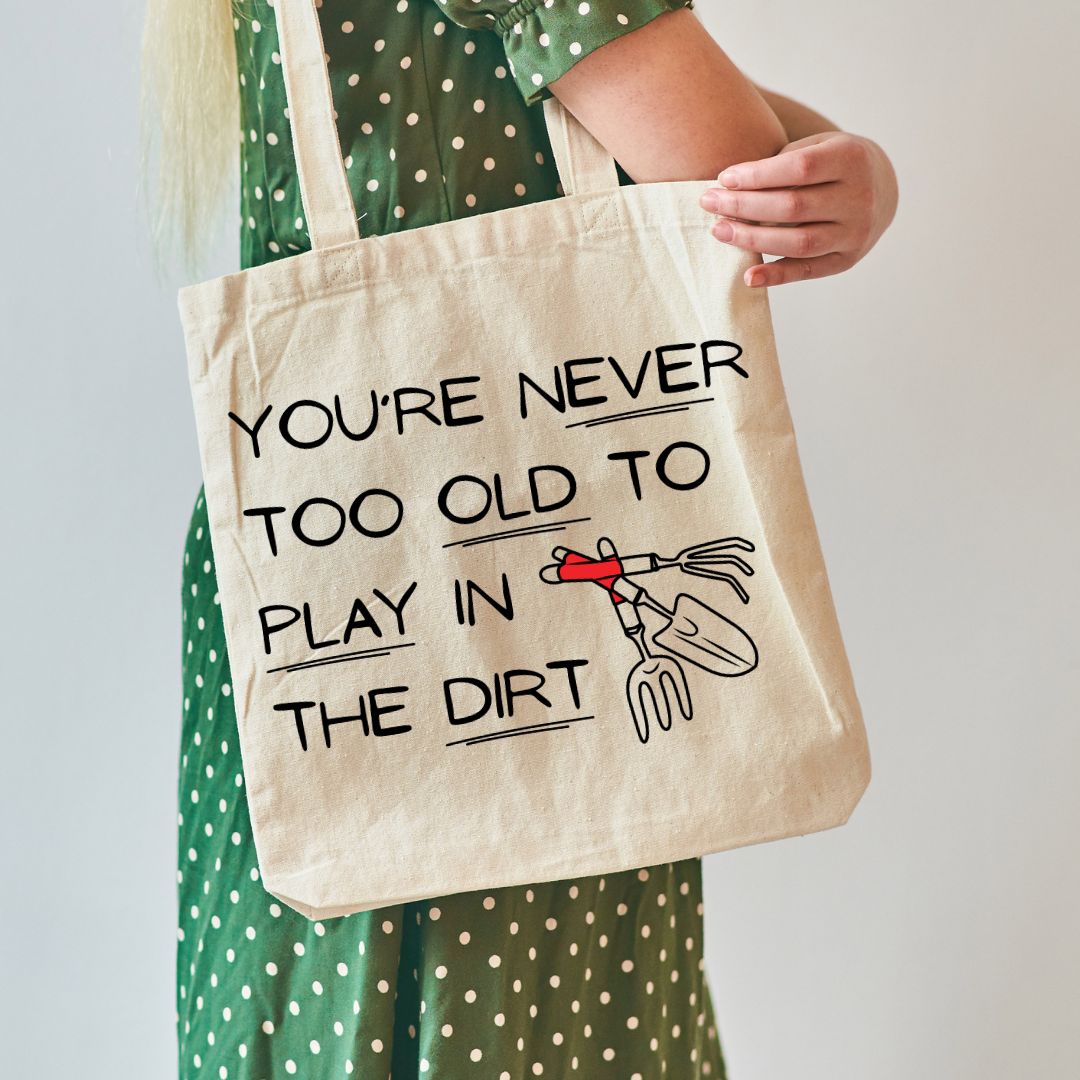
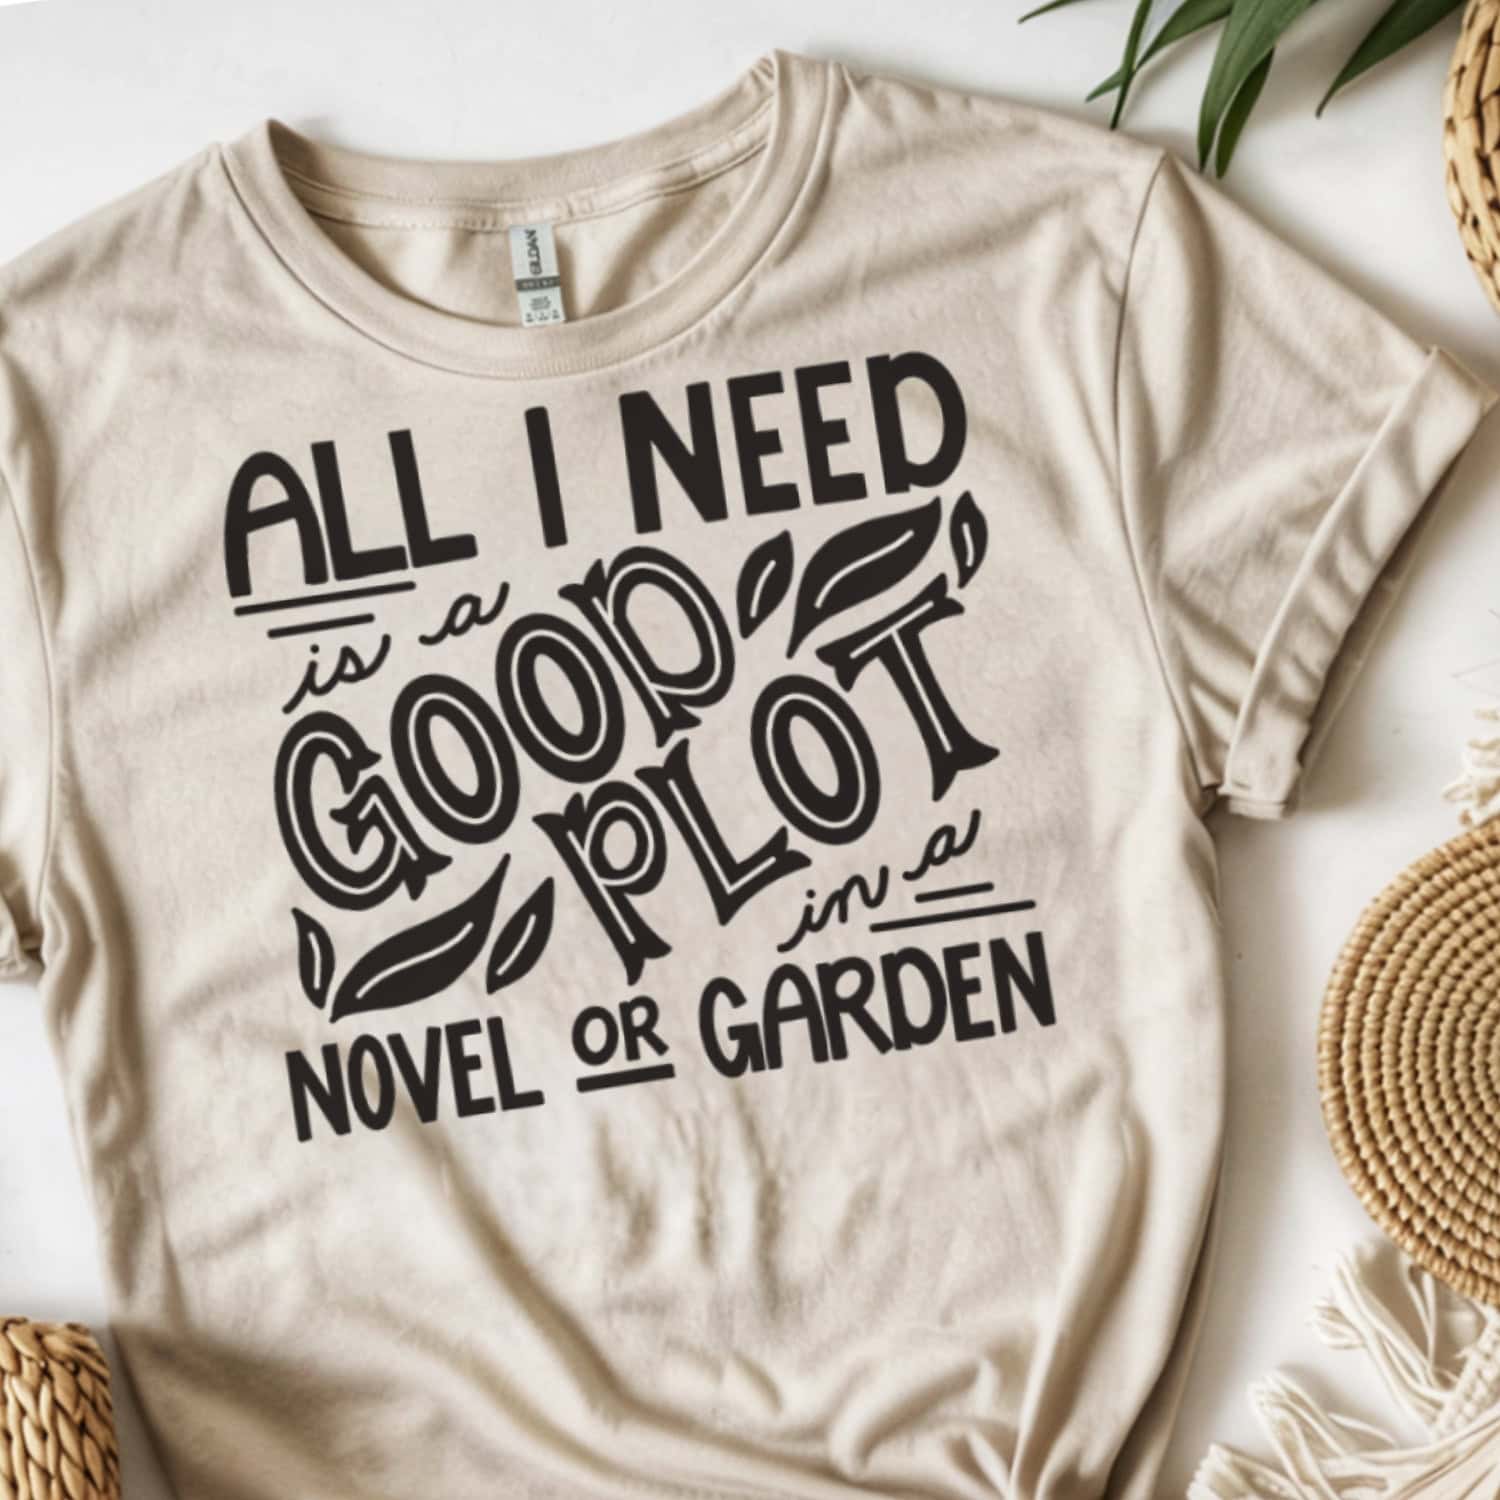
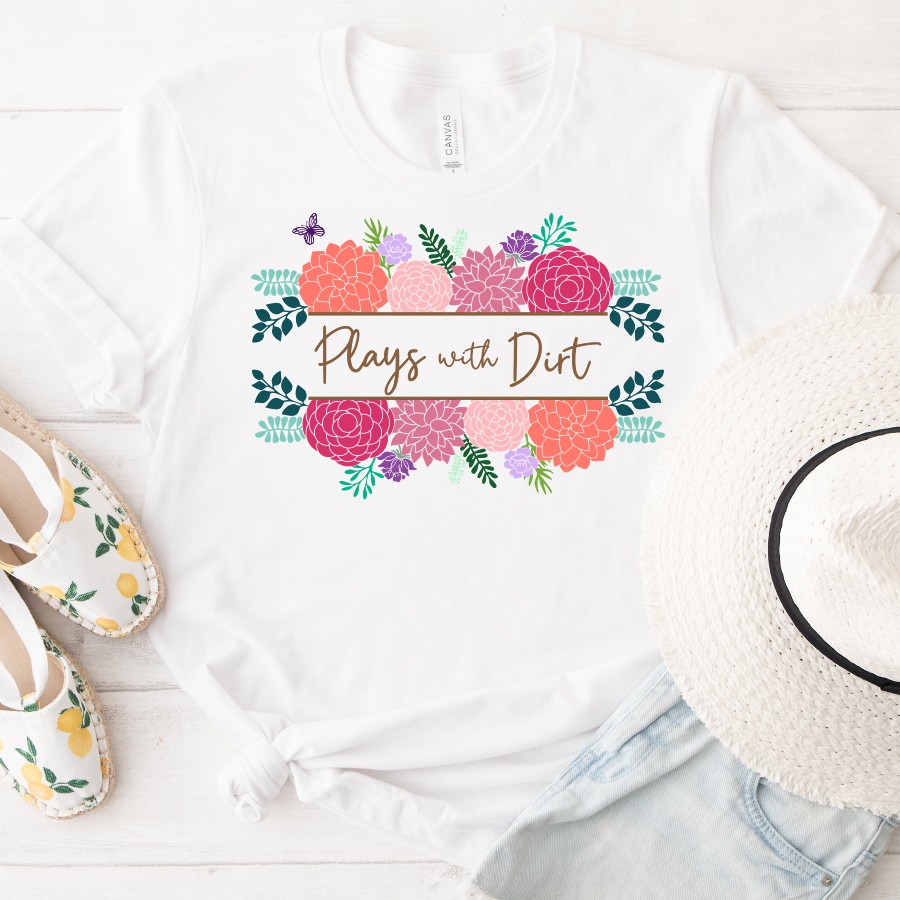
More Free Gardening SVGs
Love this one? Here are even more free gardening SVGs to label, decorate, and personalize all your favorite garden projects.


Hi, I'm Katie!
I'm so glad you're here. Want to make something fabulous? I'm here to help!