
This 50-inch Halloween skeleton craft is a DIY laser-cut project that's simple, creative, and perfect for oversized Halloween décor.
Halloween is one of those holidays where the decorations swing from nightmare fuel to downright adorable.
Personally, I like landing somewhere in the middle, which is why this Halloween craft is perfect!
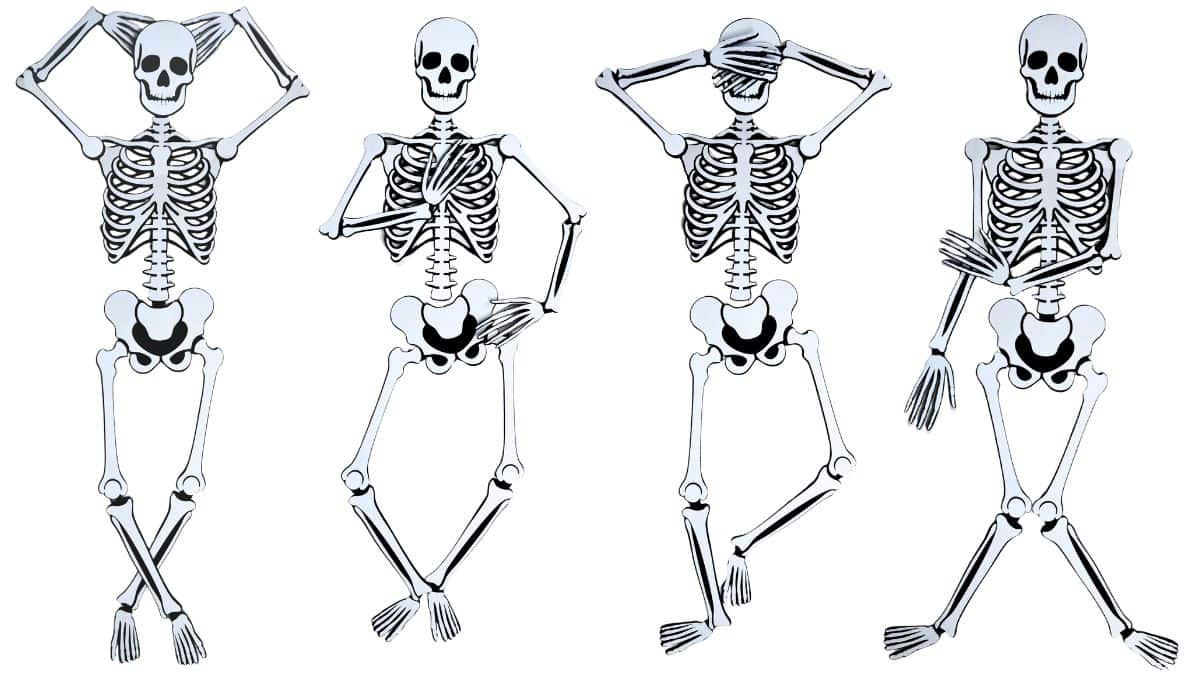
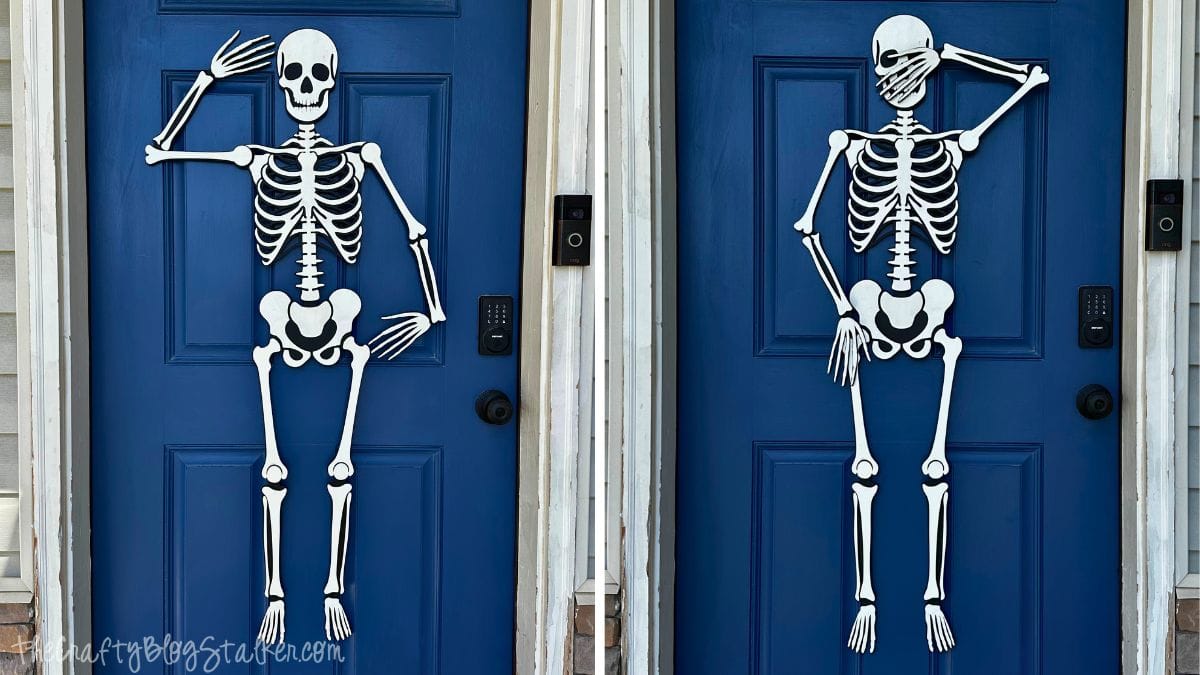
It's a full-sized skeleton you can hang right on your front door, making it a playful way to welcome trick-or-treaters and set the mood without scaring off the little ones.
Simple to make, easy to customize, and just creepy enough to count. It's the kind of project that makes decorating feel fun instead of stressful.
Jump to:
Skill Level: Intermediate
Total Time: 3 hours (includes dry time)
Craft Tutorial Video
If videos are your thing, you're in luck-I've got a full tutorial ready for you!
Subscribe to my YouTube channel and stay inspired with every new project.
Supply List
- 50-inch Tall Posable Skeleton Laser Cut File
- 12x19 inch, 3mm MDF (5 sheets)
- Packing Paper (optional)
- Masking Tape (optional)
- 1-inch Paintbrush
- White Acrylic Paint
- Black Acrylic Paint
- Wood Glue
- 6mm Binding Screws
- 8-inches Ribbon
- 1 Popsicle Stick

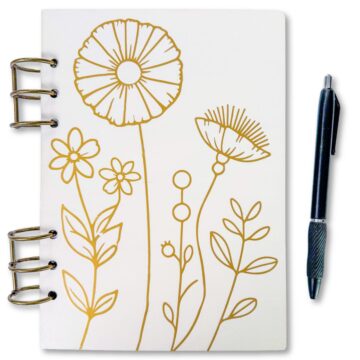
In the above picture, there is glow-in-the-dark paint. I did add the paint, but it didn't work, so I decided to leave it out of the tutorial.
I still think it is a fun idea, just don't use the Craft Smart brand.
Grab the Laser File
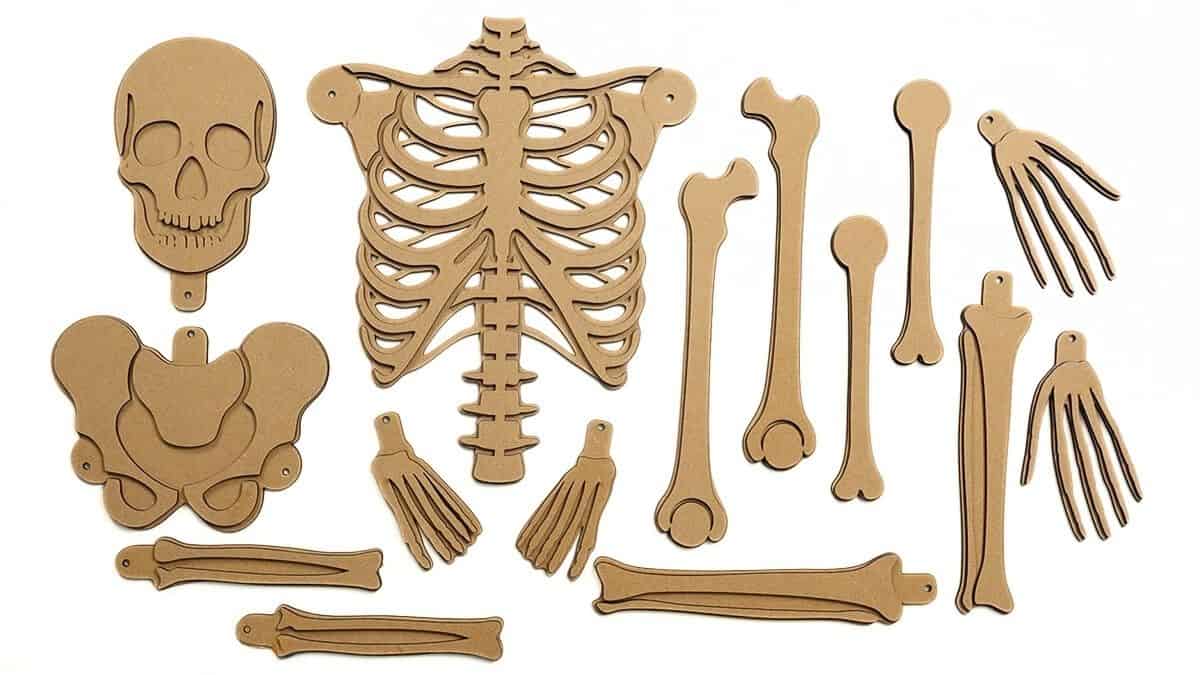
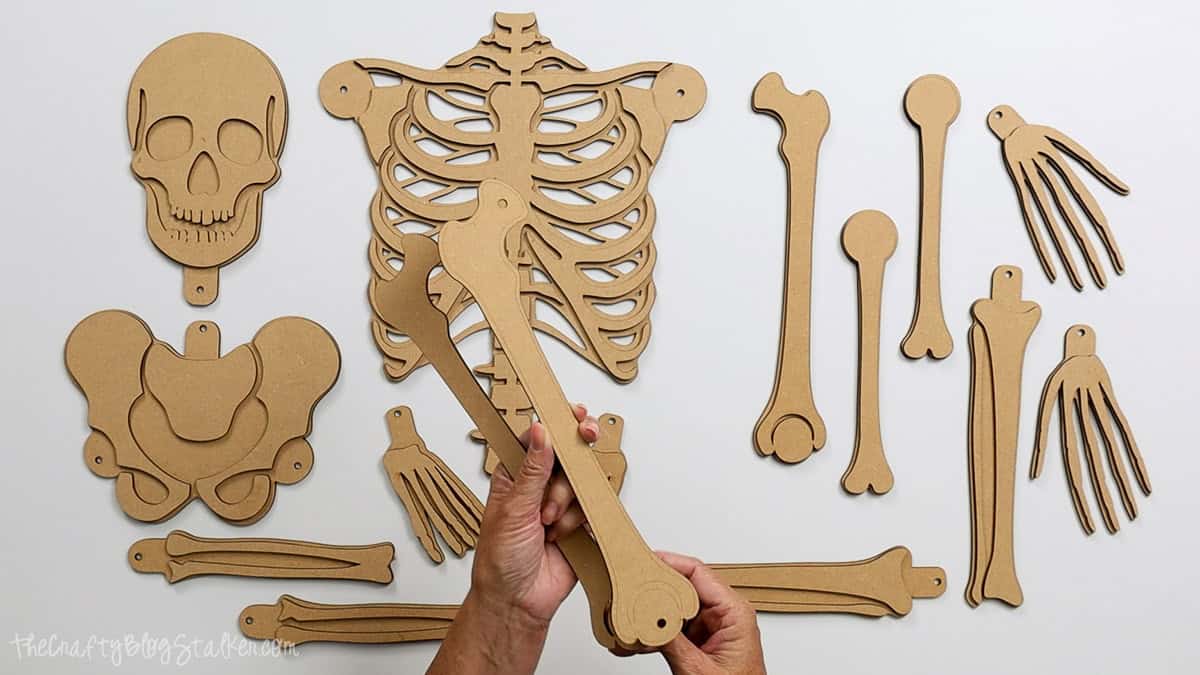
Laser Cut Pieces
Import the file into your laser-cutting software.
I used 5 sheets of 12x19 3mm MDF. If you use a different width of material, you will need different binding screws than the ones I linked.
Double the thickness of your material to find the length of binding screws.
My material is 3mm, so I am using 6mm binding screws.
Before cutting out all the pieces, I recommend cutting out the test card.
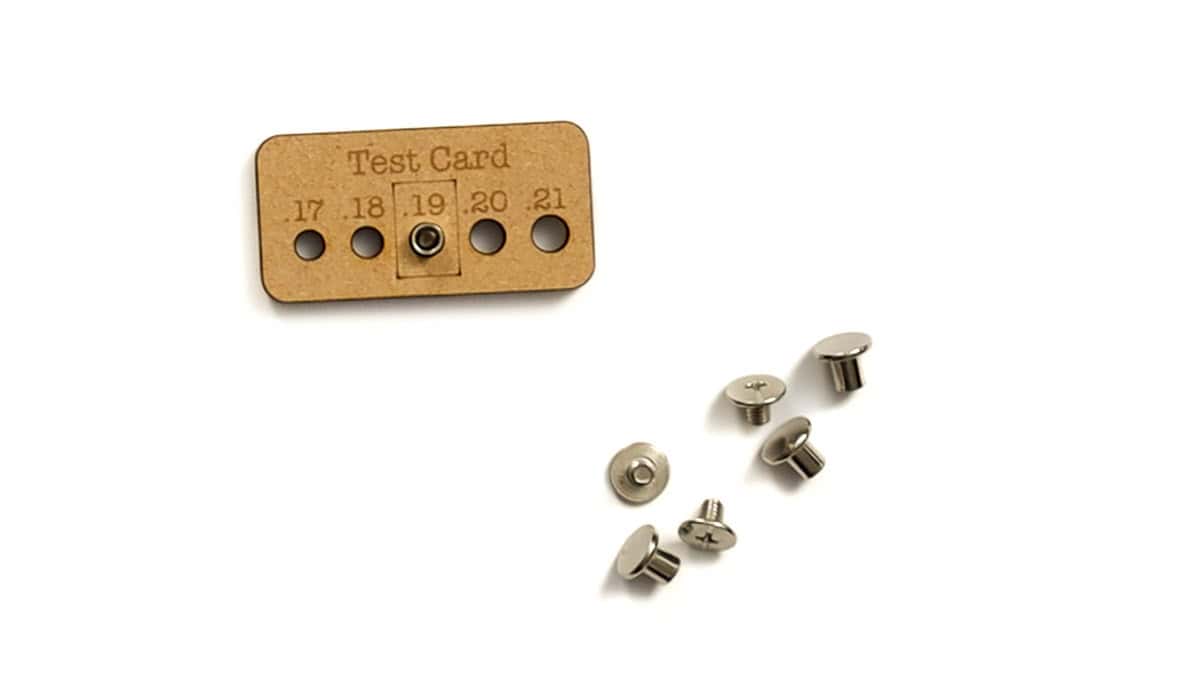
All of the joint holes are cut to .19 inches. When the screw casing is inserted into the hole, it should fit snugly.
If a different hole fits better, you'll need to change that hole on all of the connecting pieces.
I know that lasers can vary slightly, so I thought this would be the simplest way to check sizing before cutting all those pieces.
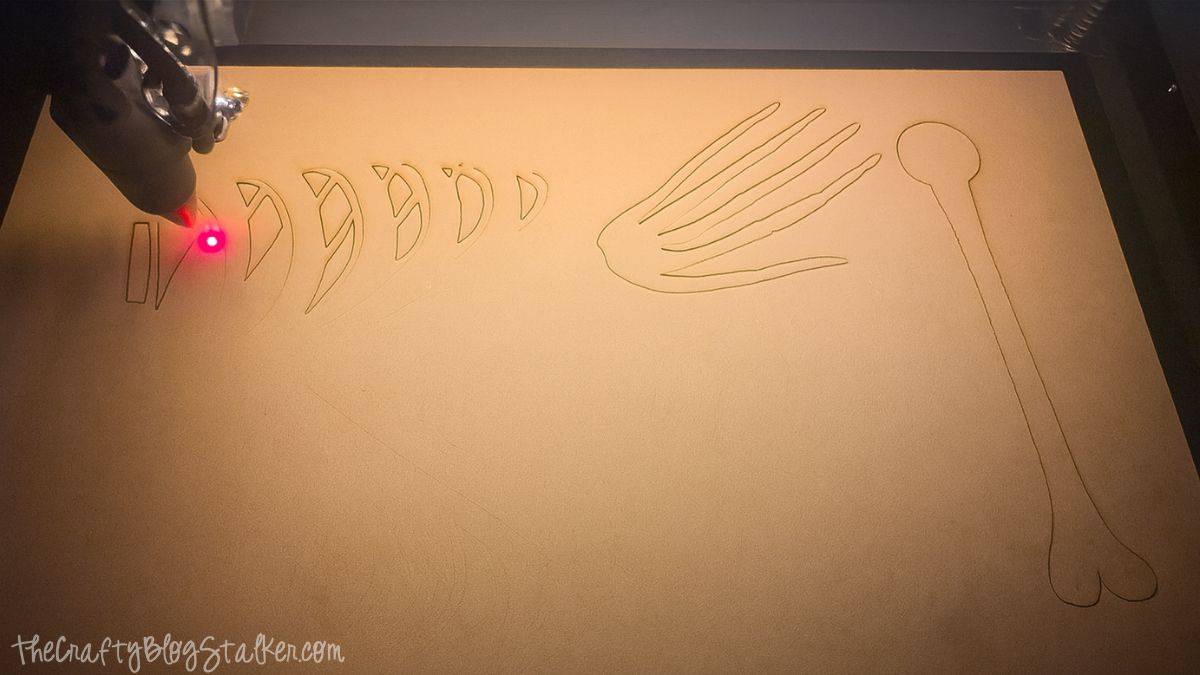
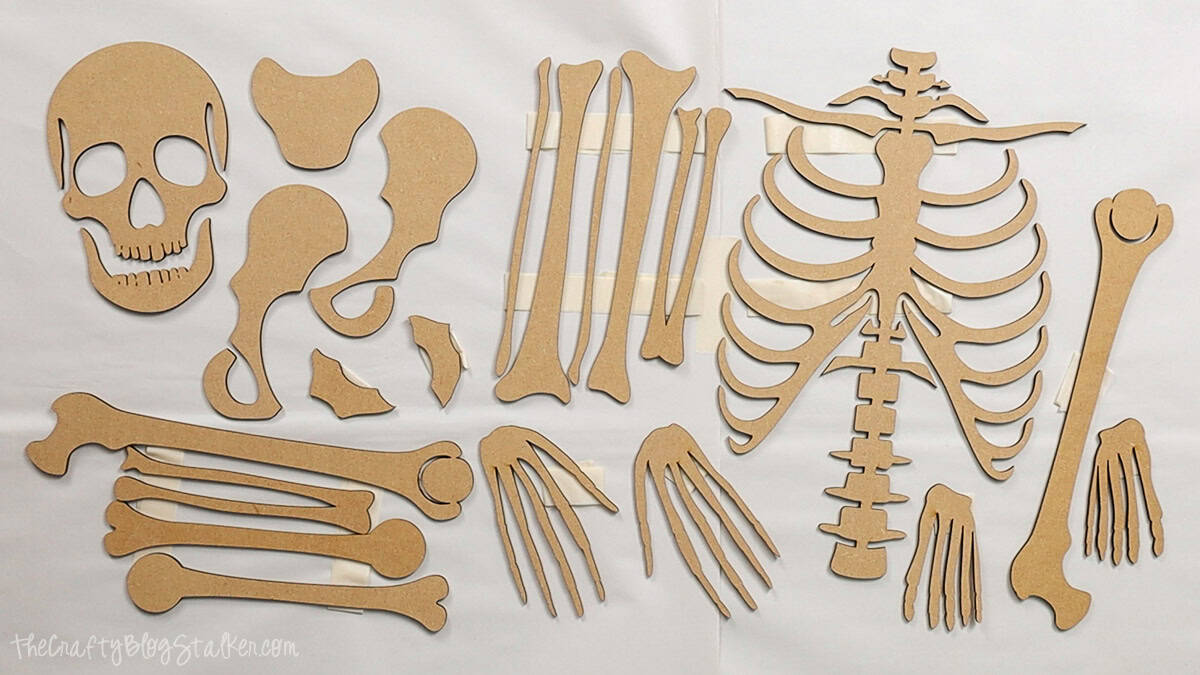
Now that we have the holes figured out, cut all of the pieces.
Be sure to cut the black lines and score/fill the blue lines.
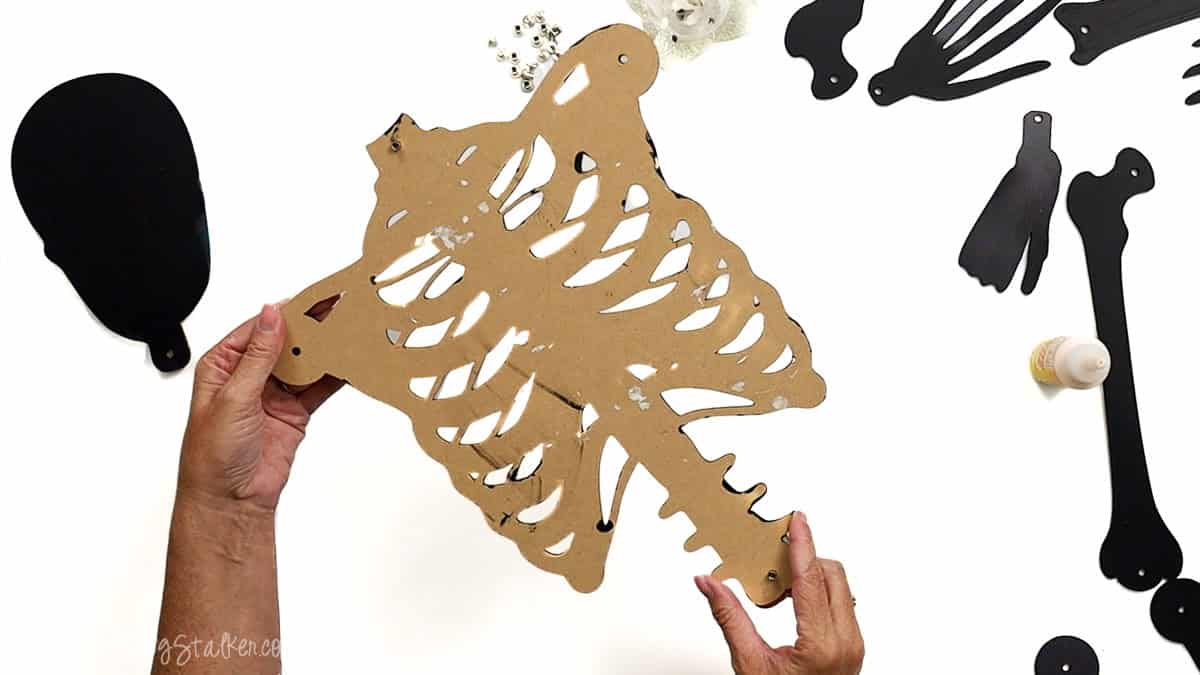
There are two layers for all cut pieces. The base has the shape of the top layer scored into it, and of course, the top layer.
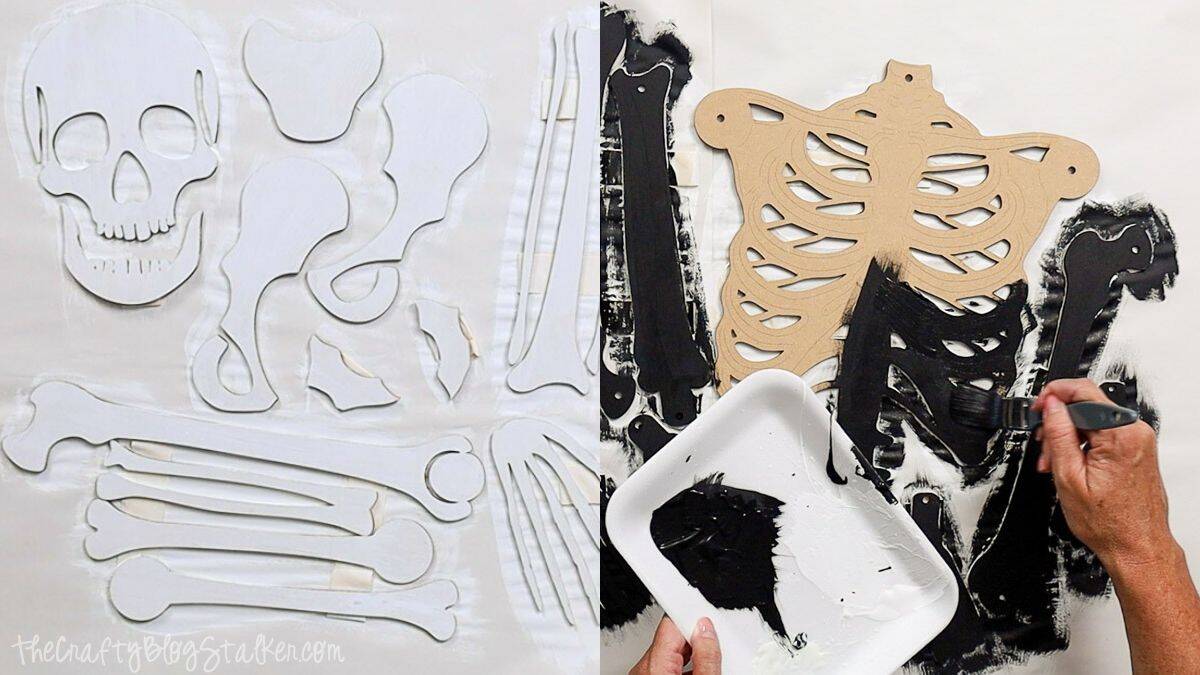
Paint
There are a lot of pieces to paint, so I did them in sections. I painted all the white first, then all the black.
When painting, I like to cover my table with packing paper and then tape my pieces down with rolled-over tape on the back.
This way, the tape holds the pieces instead of my fingers, so I am less covered in paint when I am done.
I applied two coats to both the white and black pieces and let them dry completely before assembly.
Assembly
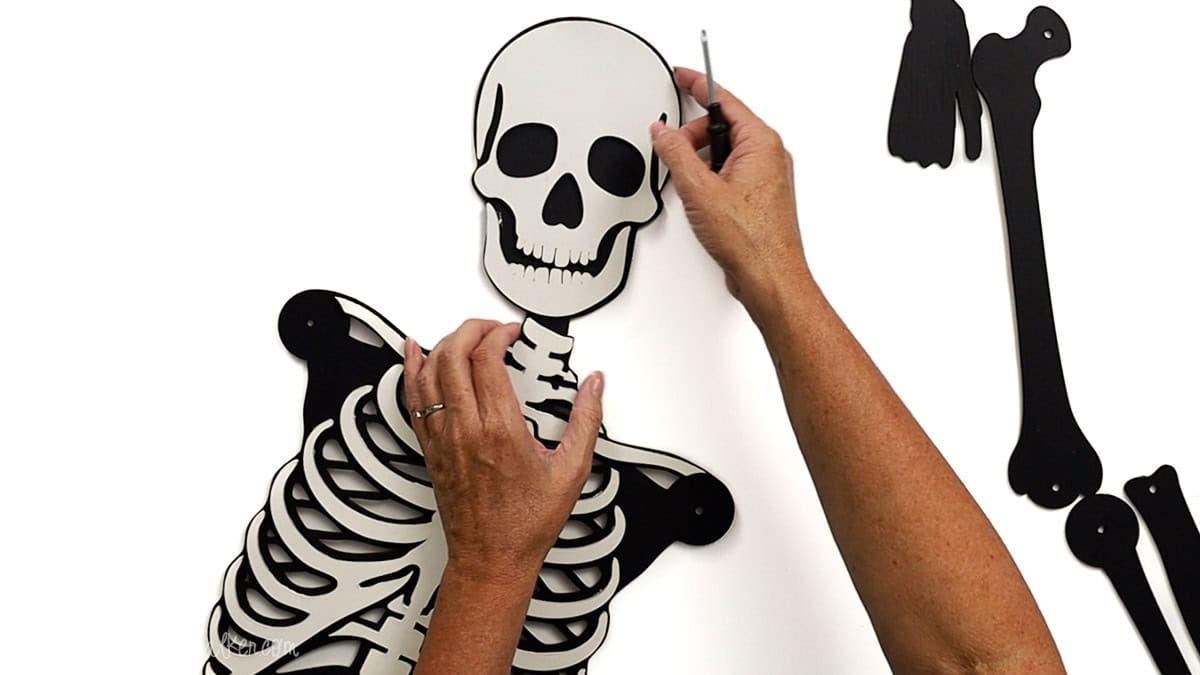
The skeleton chest is the central piece because all of the other pieces will connect to it.
I got ahead of myself and glued on the ribs before I was ready, but I was able to remove them and assemble them in the correct order.
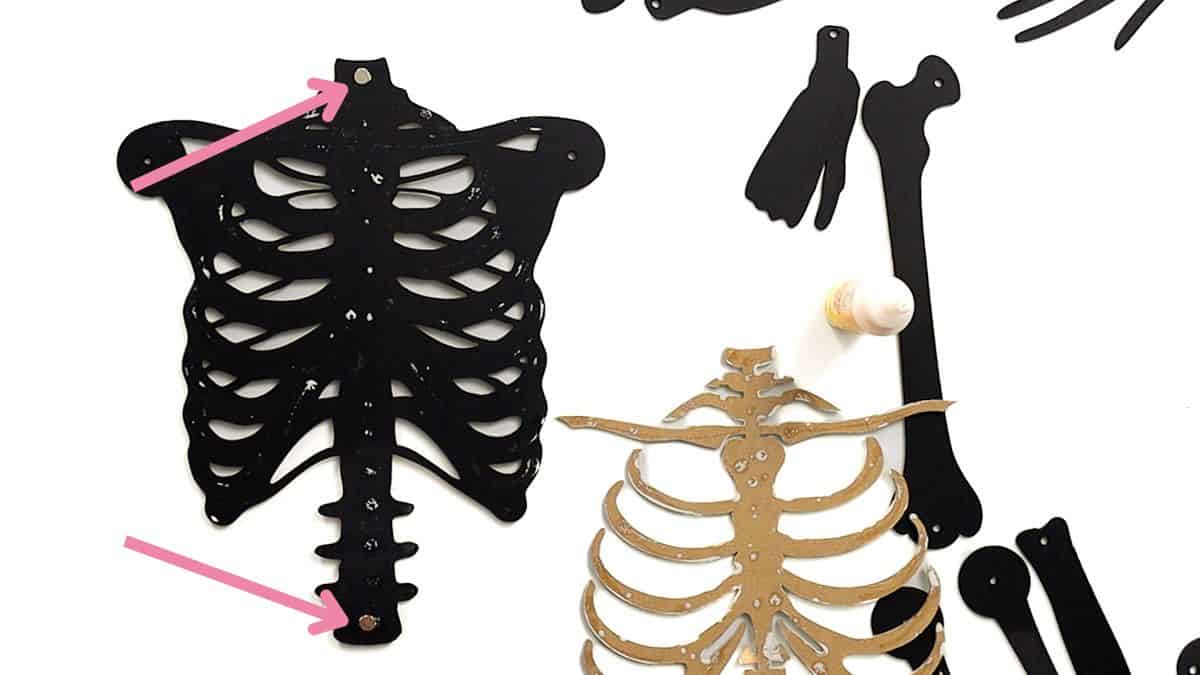
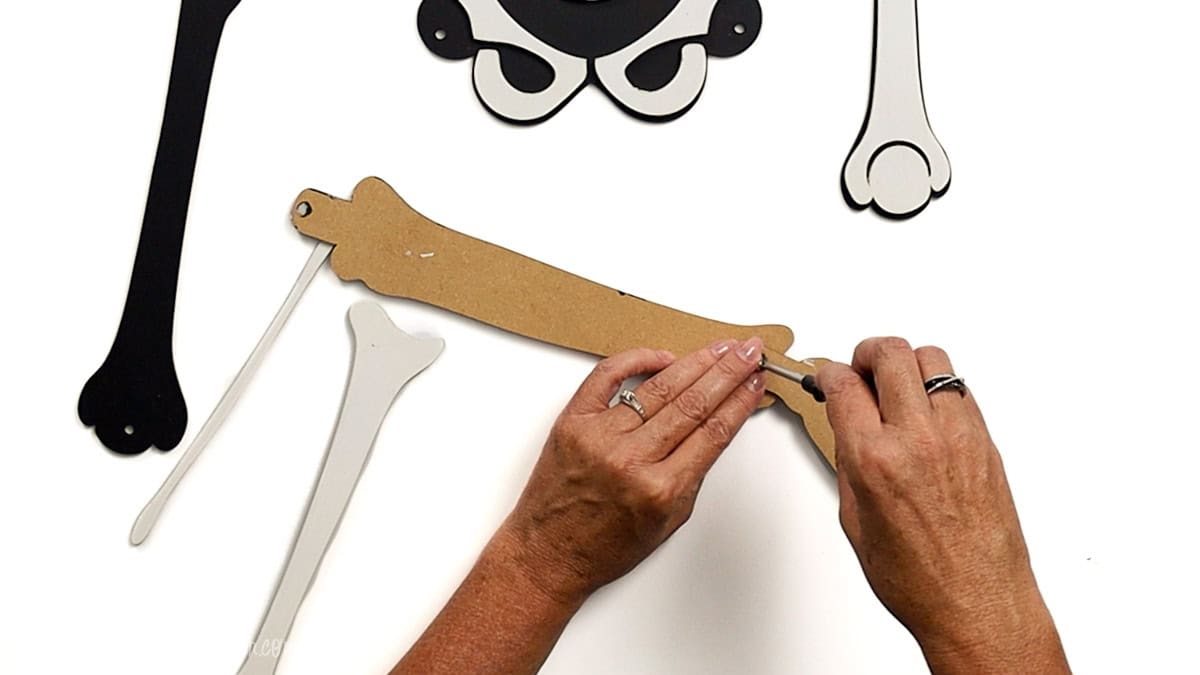
The binding screws come in two parts: the casing and the screw. The casing has a flat bottom, and then there is the screw itself.
To start, insert the screw casing into the neck hole and hip hole. If you'd like, you can add glue around the casing to hold it a bit more, but it isn't required.
Here is what the back looks like. You can see those casings sticking out just a bit.
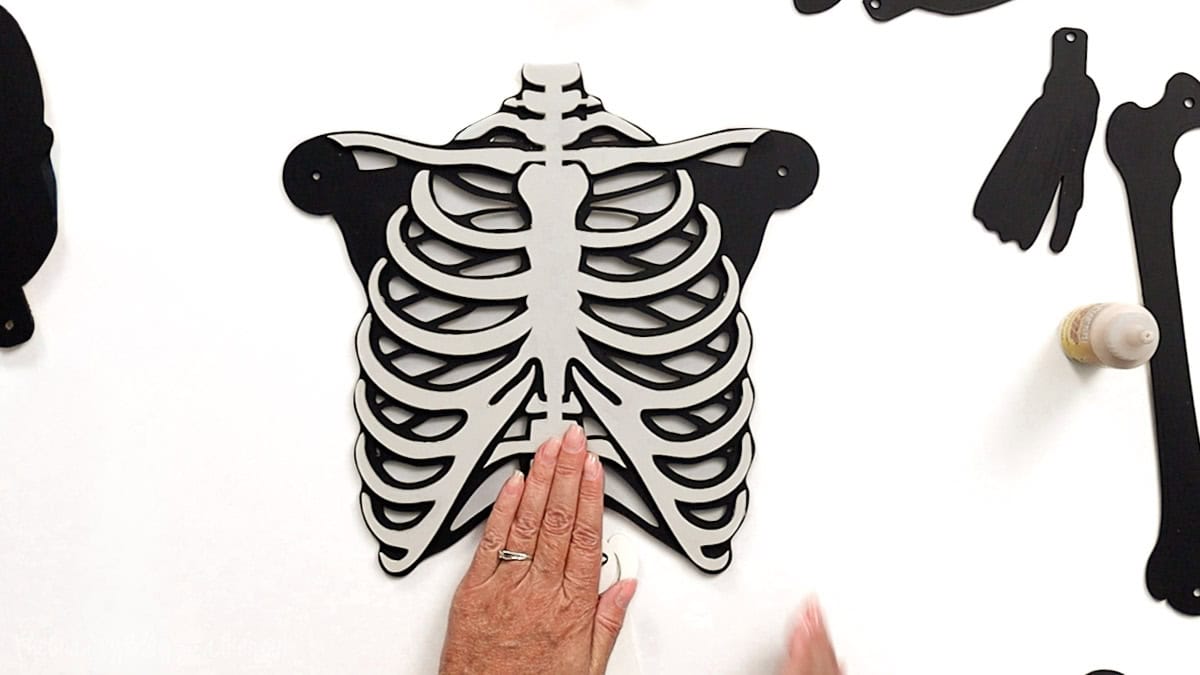
Apply glue to the back of the white ribs, avoiding the areas that will be covered by the screw casing.
The white piece will cover the scored outline completely when placed correctly.
On both the right and left sides, there are smaller shoulder pieces. These can also be glued into place.
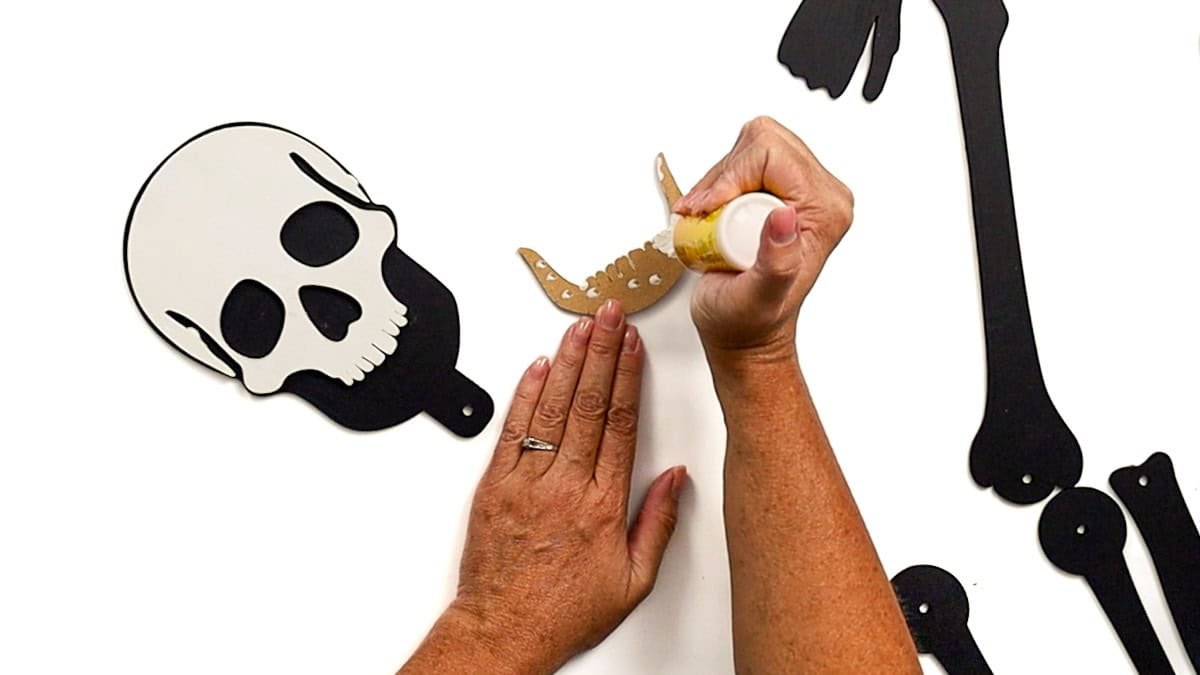
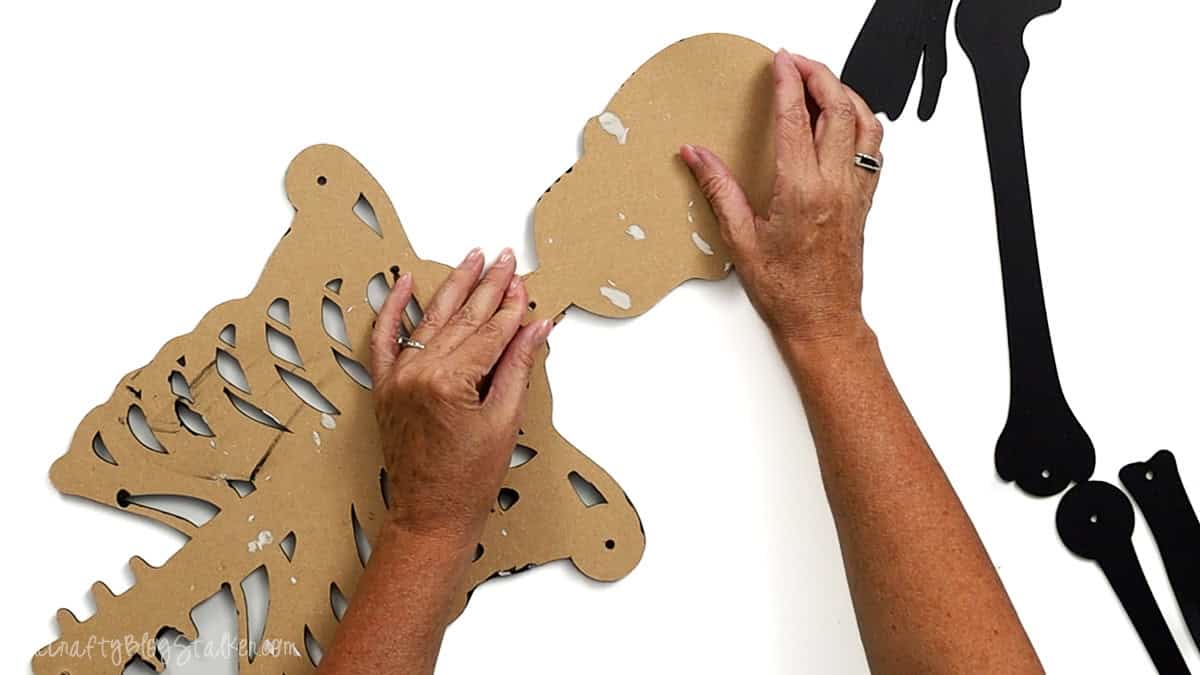
For the head, glue the white pieces to the black head base.
Turn the chest and headpiece over so they are facing down.
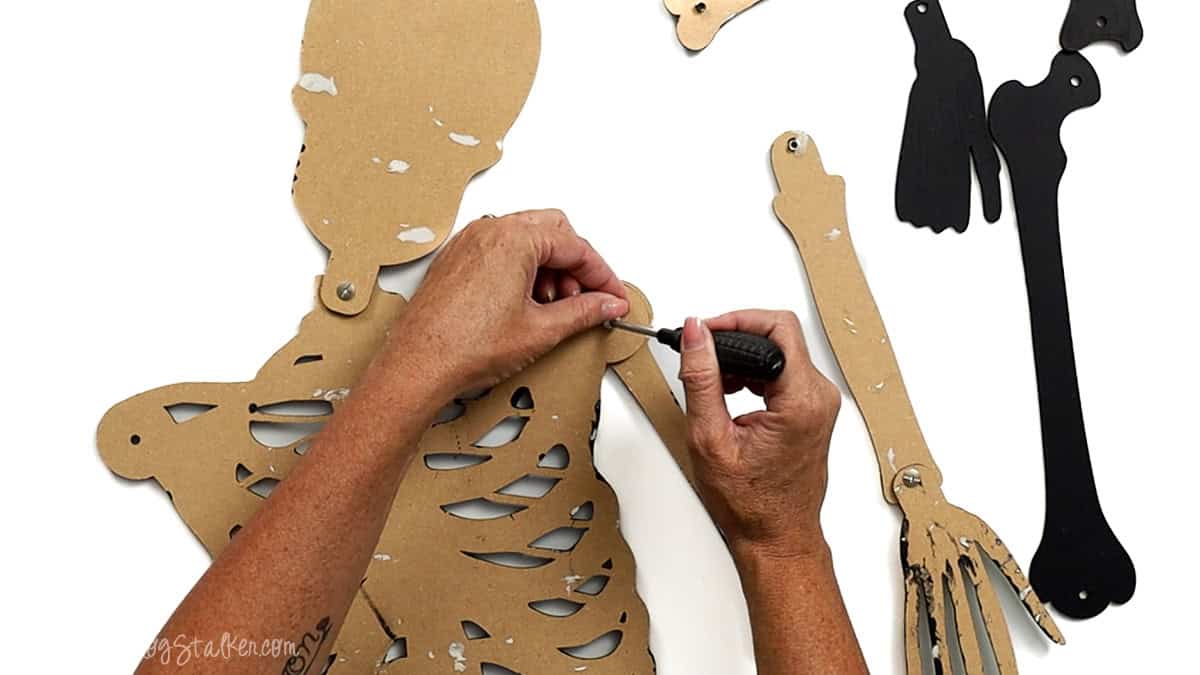
Place the hole in the neck over the screw casing, insert a screw, and use a screwdriver to tighten. The tighter the screw, the tighter the joint.
When the skeleton is turned over, it now has a jointed neck!
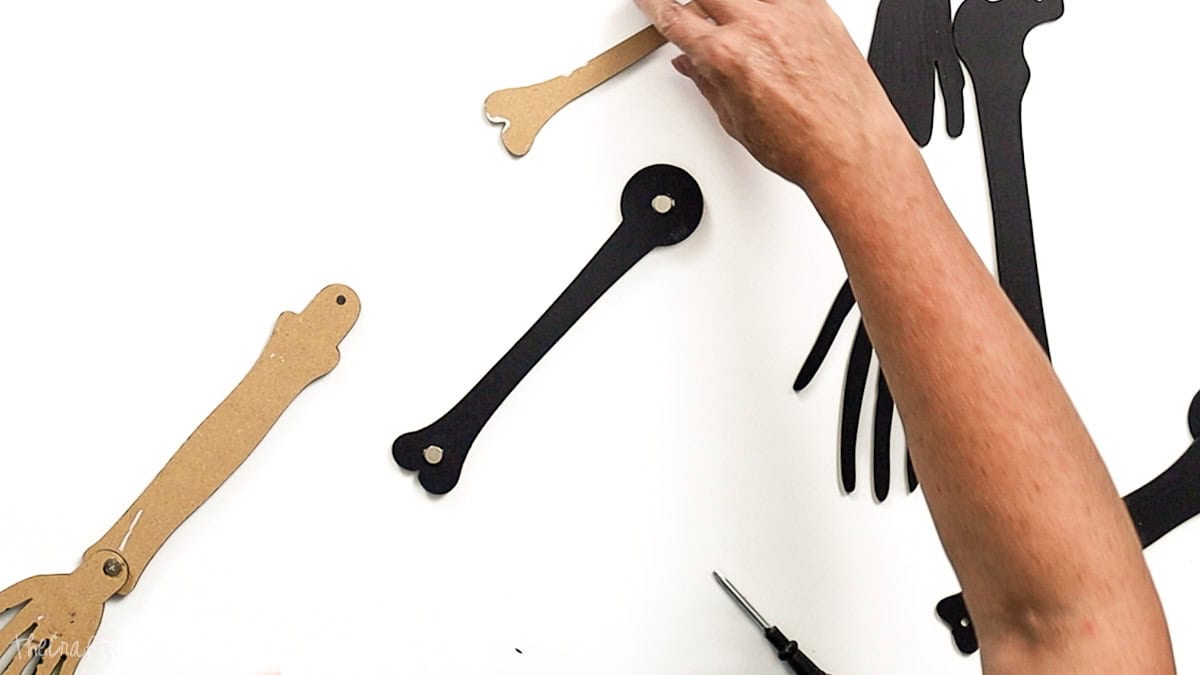
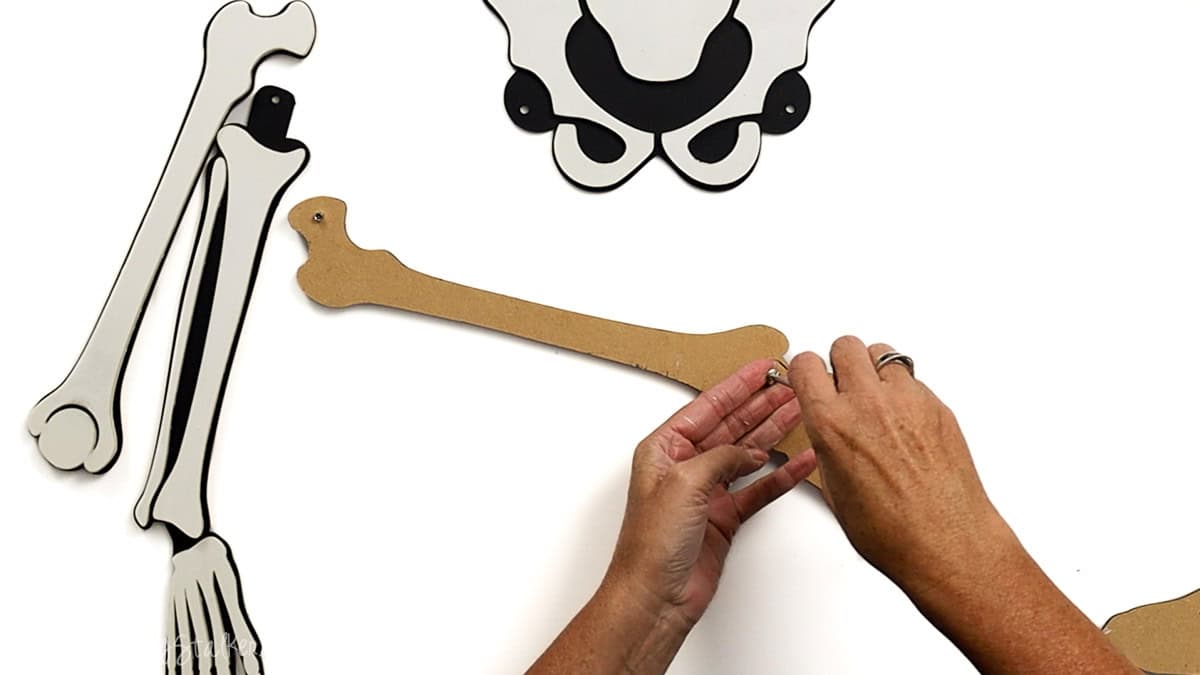
Next, let's do the arms.
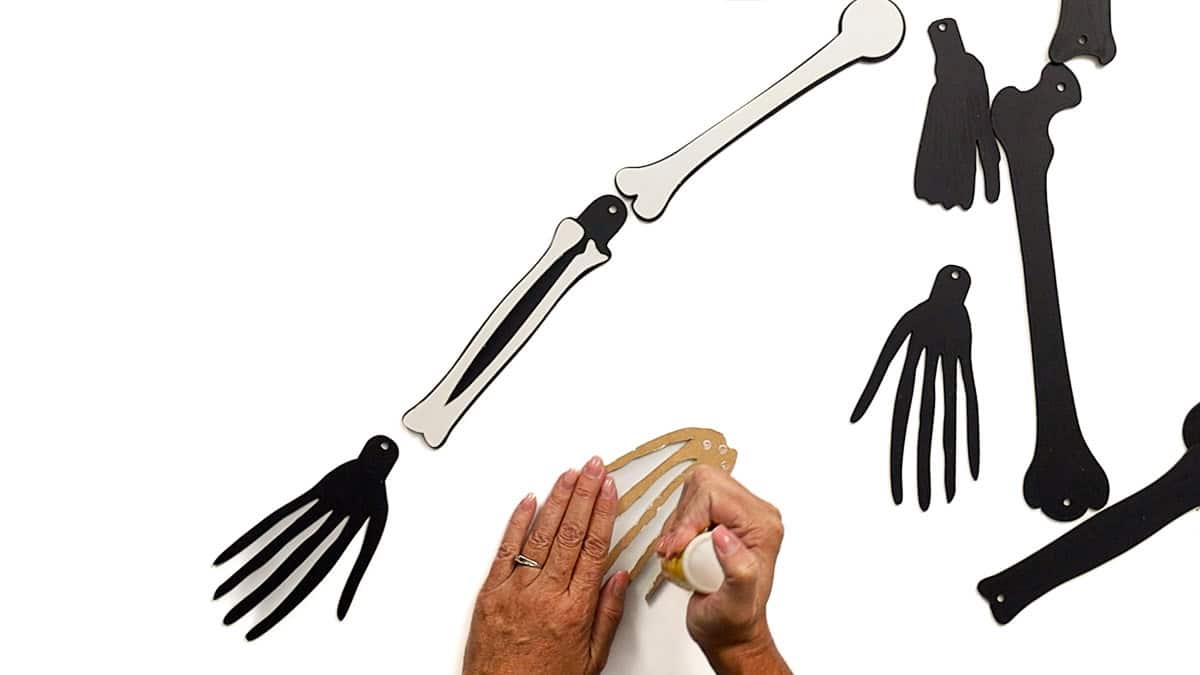
The thumb of the hand should point towards the body, and the forearm should have the rounded bone on the outside.
The pieces for the upper arm don't matter which one is for the right and which is for the left.
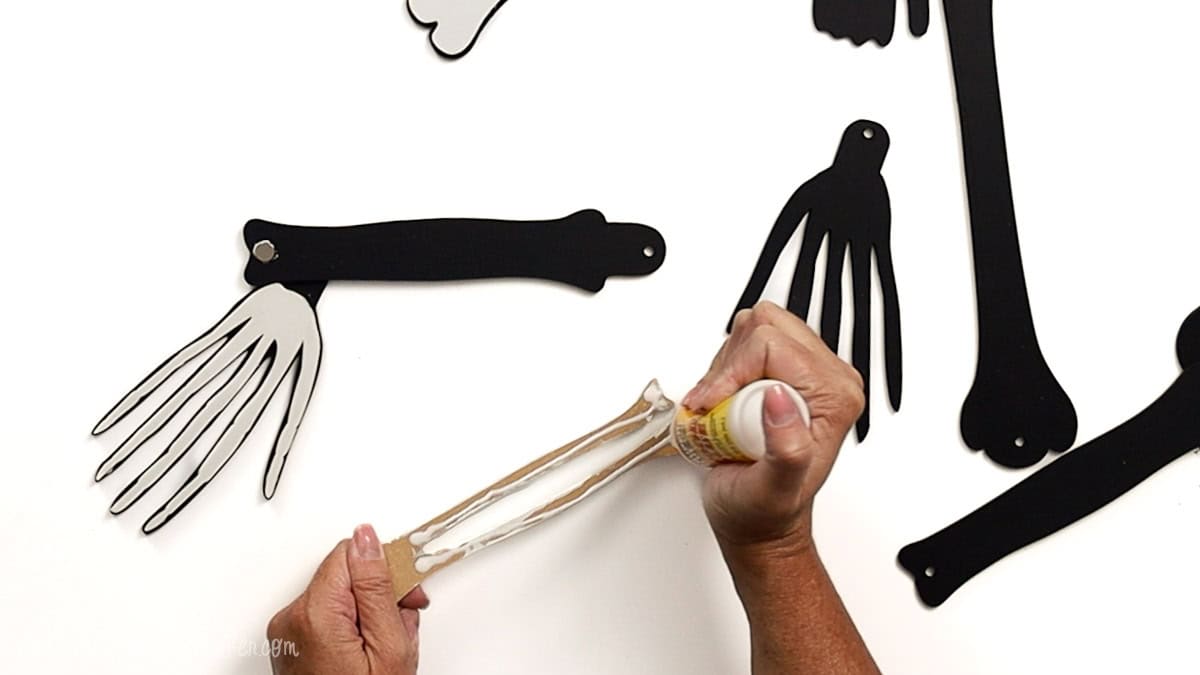
Apply glue to the back of the white bone hand and adhere it to the black hand piece.
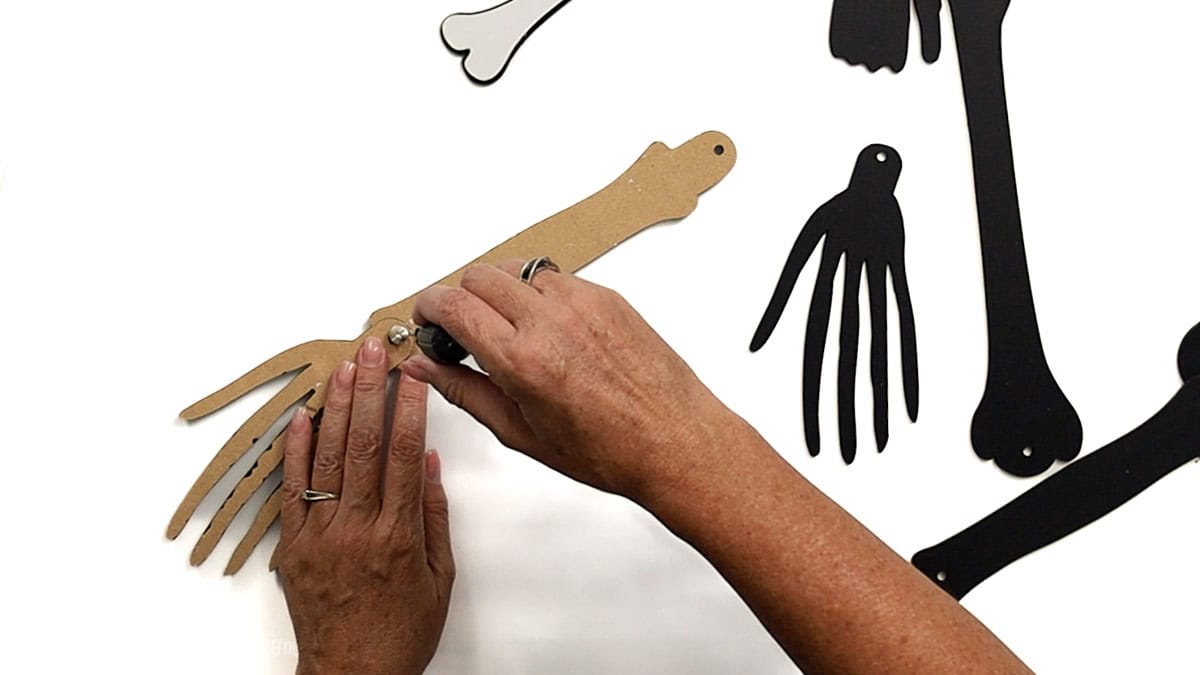
Place a screw casing through the bottom forearm hole, and adhere the white piece on top. Don't apply glue where that casing will be.
Turn the pieces over and place the wrist hole on top of the bottom forearm screw casing. Insert a screw and tighten it, but not too tightly.
Place two screw casings in the upper arm piece, in both the top and bottom holes.
Apply glue to the back of the white upper arm piece, only through the center, not where the screws will be, and adhere.
Turn the arm pieces upside down, and place the upper forearm hole over the bottom upper arm screw casing, and insert the screw.
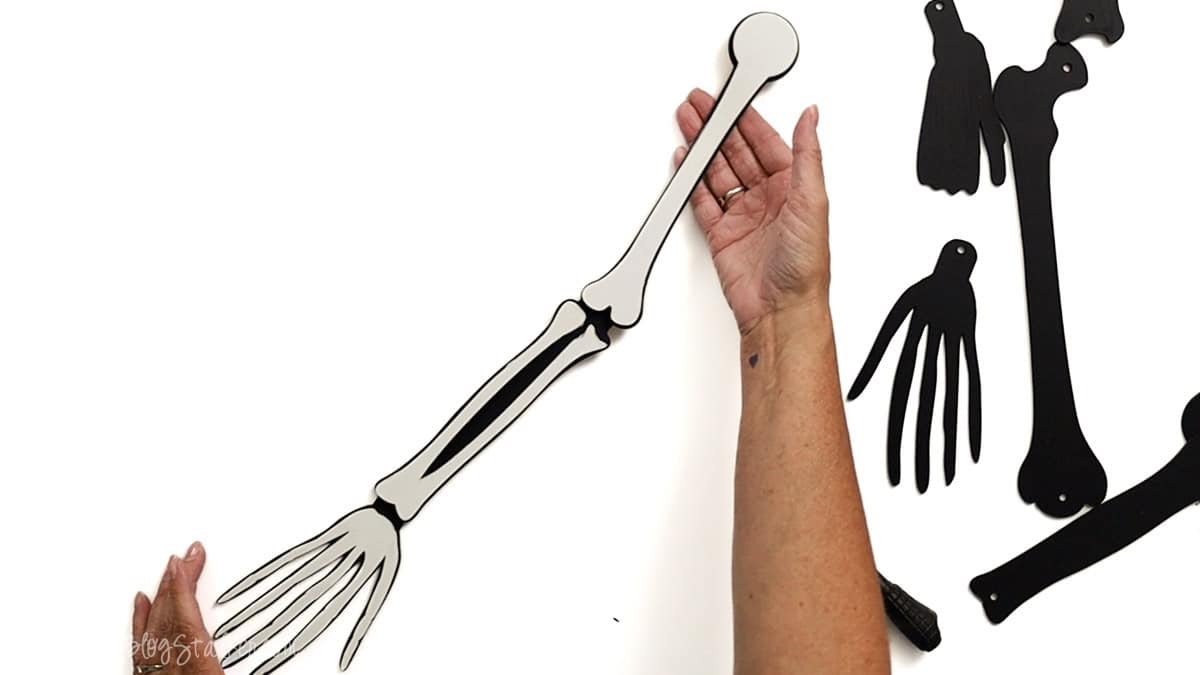
Now we have a completely jointed arm.
To attach the arm, turn both the arm and the chest so they are facing down.
Place the chest piece on top of the arm, aligning the shoulder hole with the correct arm. Insert a screw and tighten slightly.
Repeat with the other arm. The instructions are the exact same; the pieces will just be opposite since it is the opposite arm.
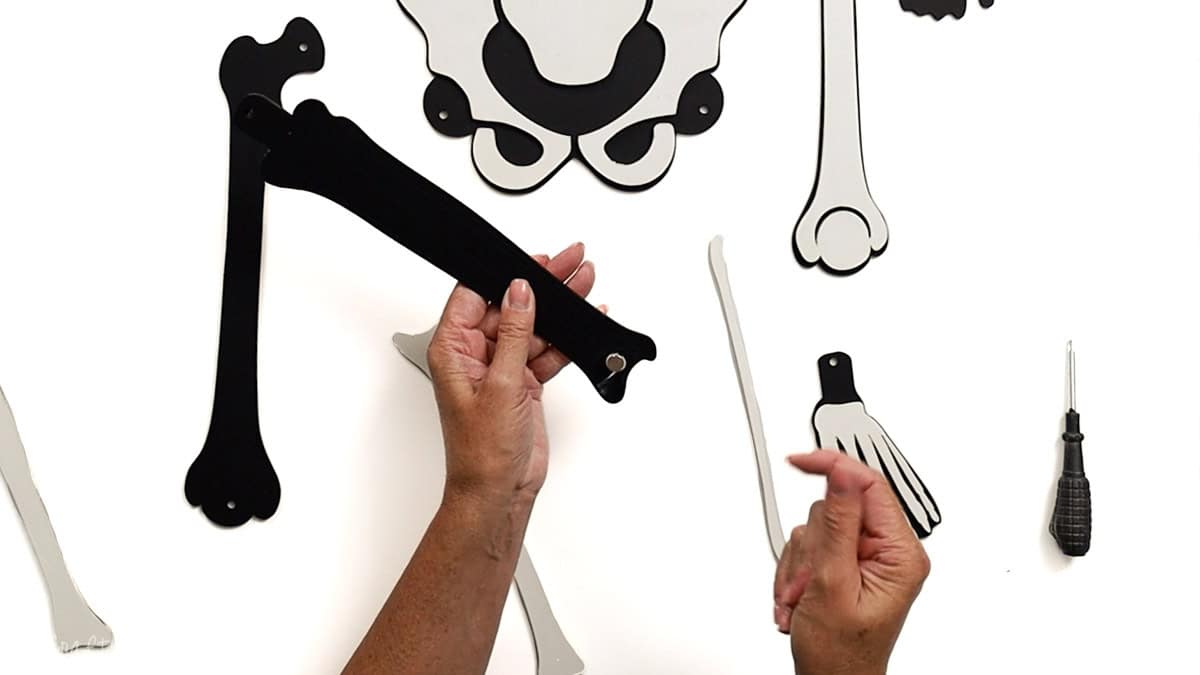
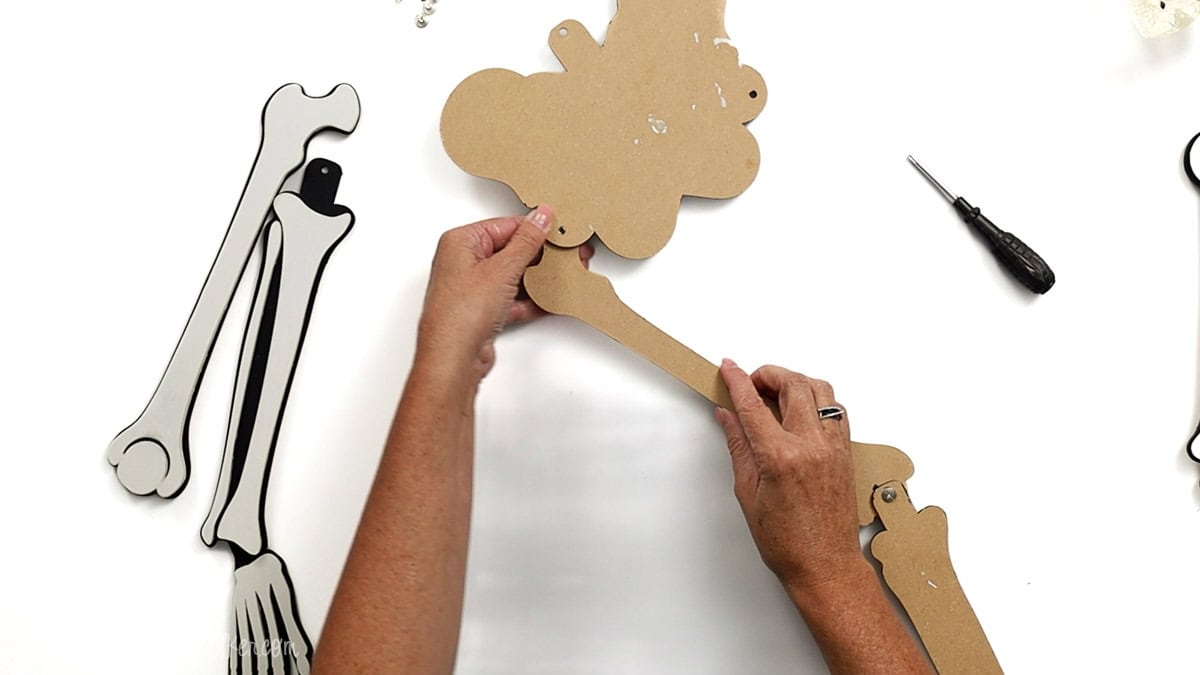
Now, let's move to the lower half of the skeleton.
Glue the white pieces to the front of the black pelvis piece.
The big toes should both point towards the center, the calf will have a larger portion on the outside of the body, and the upper leg will have a curve towards the pelvis.
Glue the white foot piece onto the matching black piece.
Insert a screw casing into the bottom hole of the calf piece, and glue the bones into place. Don't apply glue where that casing will be.
Turn the calf piece and wrist piece so that they face down.
Place the wrist hole over the calf screw casing and screw in a screw to create the jointed ankle.
Add two screw casings to the upper leg in both of the holes.
With the leg pieces facing down, place the upper calf leg hole over the bottom screw casing, insert the screw, and tighten.
To attach the leg to the pelvis, turn both so they face down.
Place the pelvis piece on top of the arm, aligning the leg hole with the correct leg. Insert a screw and tighten slightly.
Repeat these steps with the other leg, attaching it to the pelvis.
You should now have an assembled top half and a bottom half. We just need to bring the two sections together.
With the pieces facing down, place the top pelvis hole over the spine screw casing and secure it with a screw.
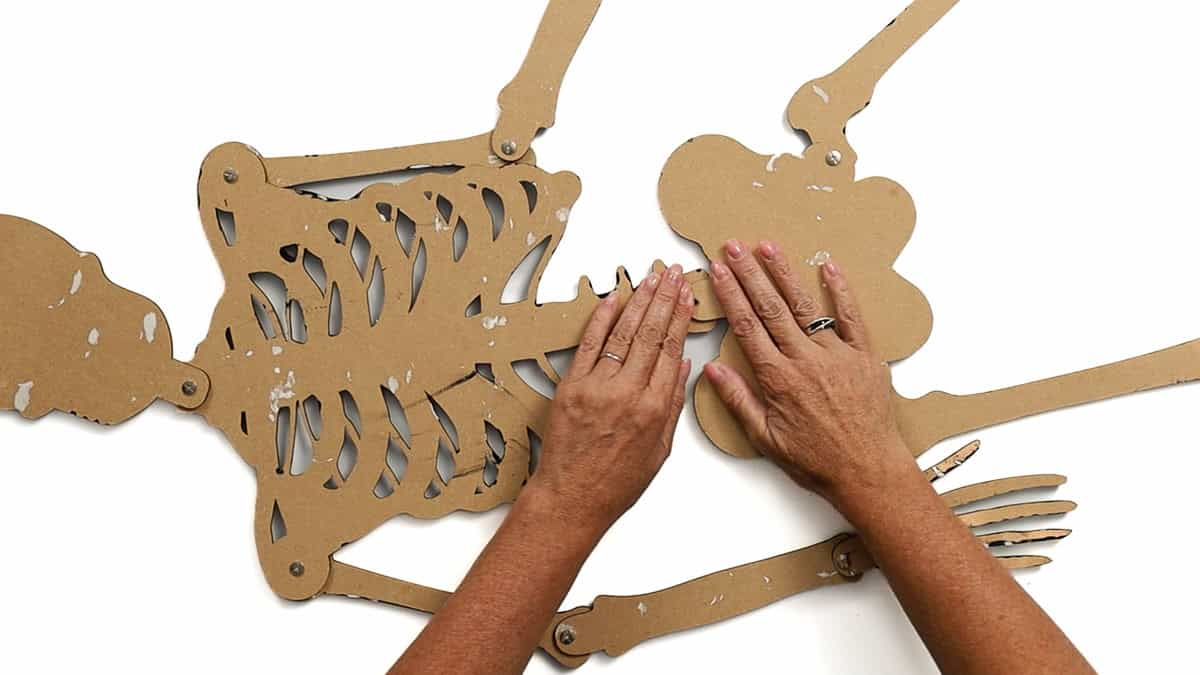
When you turn him over, you have a complete posable skeleton!
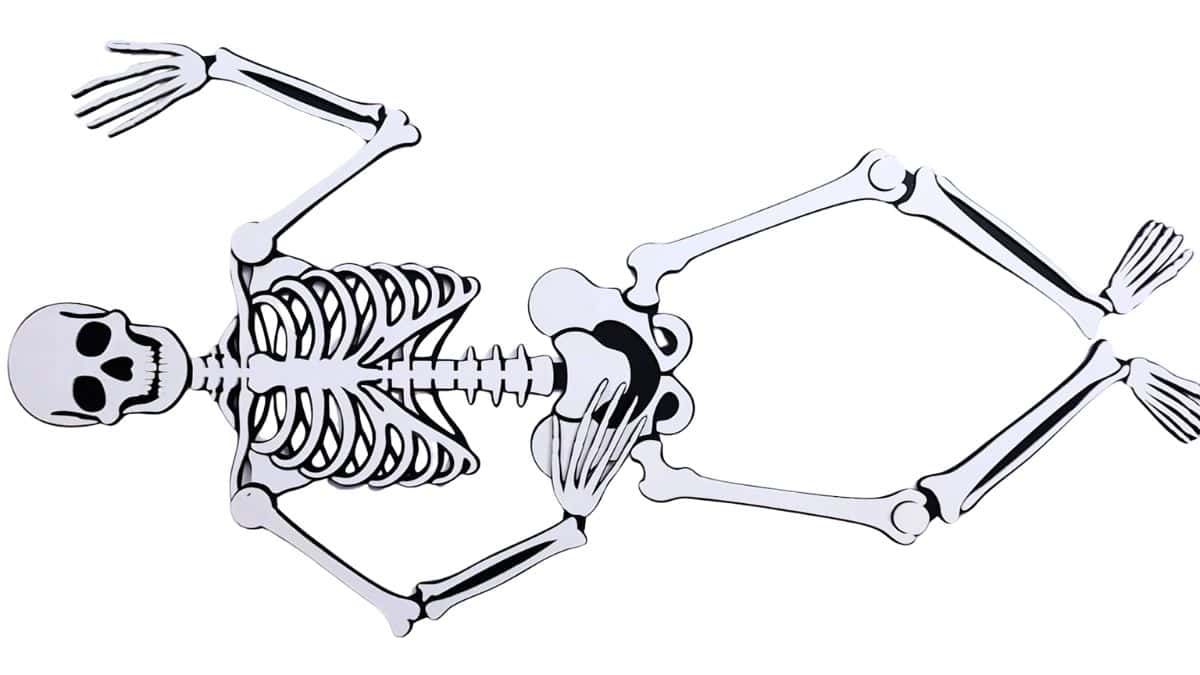
From the top of his head down to his toes, he stands 50 inches tall. He is a big boy!
Add a Hanger
Last but not least, we need to attach a hanger so we can show off our fun, posable skeleton!
Turn the skeleton so it is facing down.
Cut a length of ribbon about 8-10 inches.
Tie a big, thick, triple knot on one end of the ribbon.
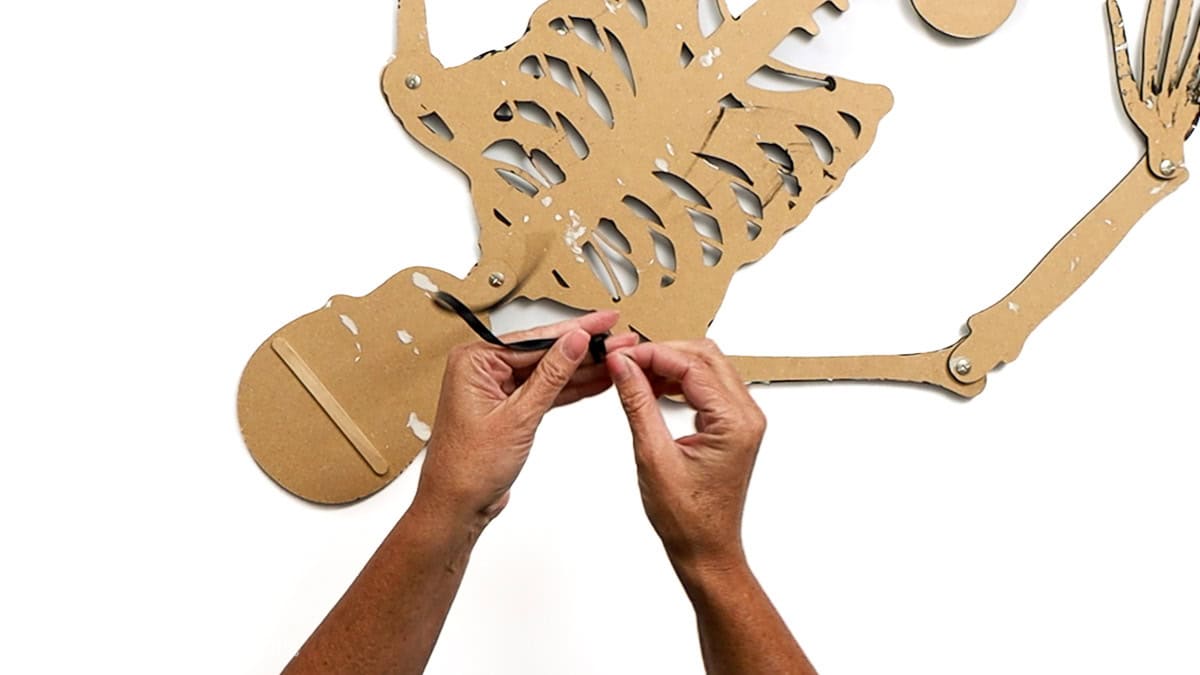
About 4 inches below the first knot, tie another big knot, then trim the excess with scissors.
Apply a thick line of glue to the popsicle stick and place it over the length of the tied ribbon so the knots and the loop are on opposite sides. Then press into place.
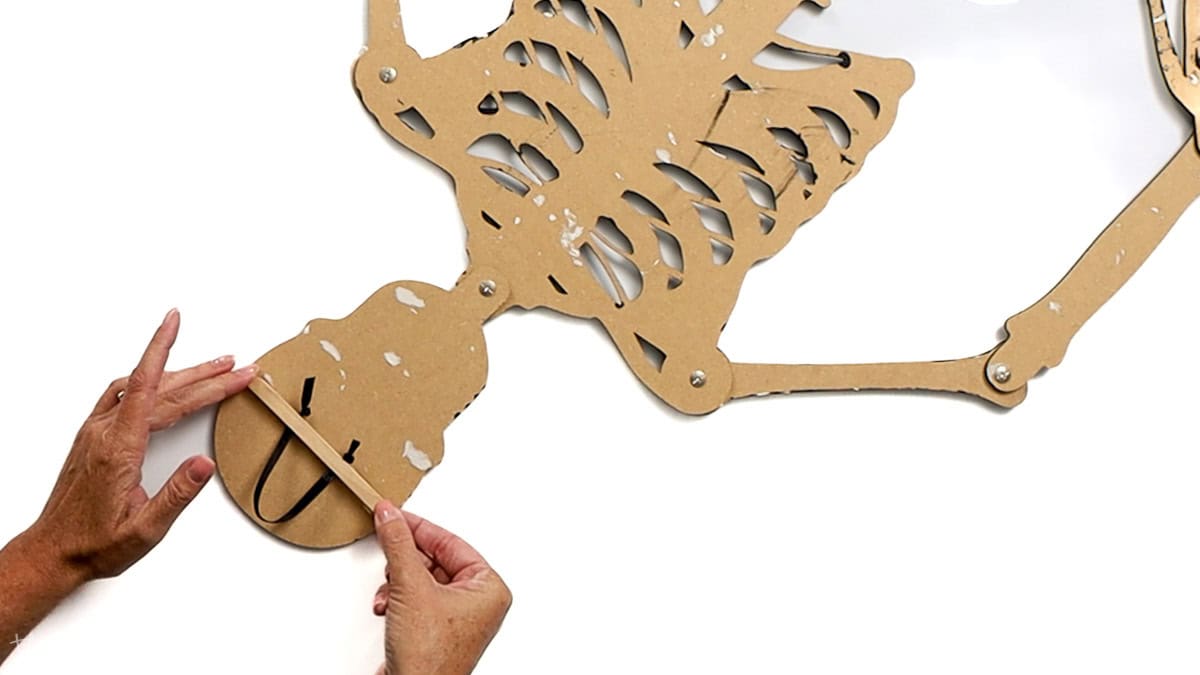
When the glue on the popsicle stick is completely dry, it is ready to hang!
Doesn't he look fantastic on my front door? Perfect for spooky season.
More Laser Crafts
Keep that laser running! We have more crafts to make!


Hi, I'm Katie!
I'm so glad you're here. Want to make something fabulous? I'm here to help!
Tianna
awesome DIY! I'm so excited for Halloween!
Katie
Thank you, Tianna! I love Halloween too! It is one of my favorite holidays to decorate for.
Angie @ ambient wares
This JUST brought back memories of a giant skeleton we had when I was a kid which was only made of thin cardboard but, had move-able joints. I had forgotten all about it until now 🙂 This kit seems really awesome! Thanks for sharing at Funtastic Friday!
Katie
Oh, how fun Angie!! I love when things remind me of my childhood.