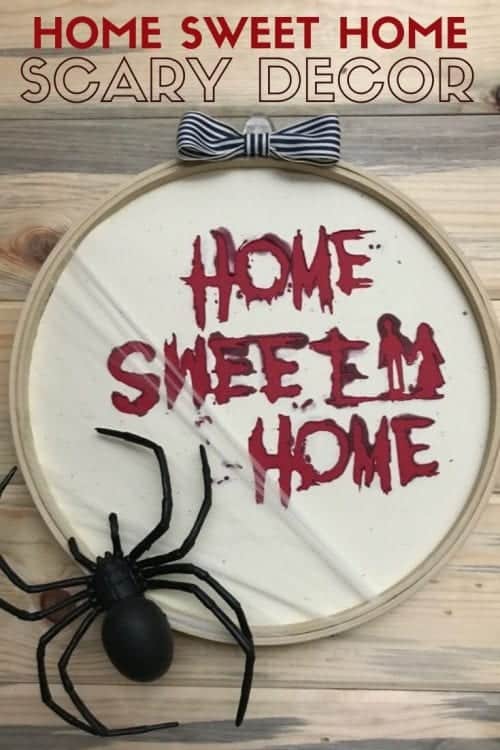
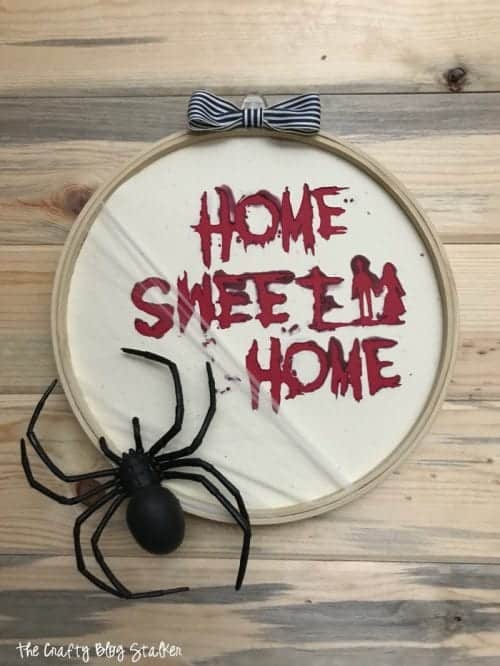
Learn how to make a scary Home Sweet Home Halloween decoration complete with a big nasty spider! Easy DIY Craft Tutorial Idea with the Cricut.
Are you a fan of the creepy? I do not like scary movies but LOVE scary Halloween decorations. go figure!
This scary home sweet home sign was so much fun to create and turned out even better than I had imagined. I love it when that happens!
Craft Video Tutorial:
Like videos? I have a video tutorial for you! Subscribe to my YouTube Channel so you don't miss any future videos!
Supplies Used
Some links may be too similar items when exact items couldn't be found online.
- Home Sweet Home - Cricut Design Space
- Cricut Cutting Machine
- LightGrip Mat
- Red and Cream Cardstock
- Red and Brown Ink Pad Reinker
- 12" Wood Embroidery Hoop
- Large Gross Rubber Spider
- Packaged Spider Webs
- Ribbon
- Double-sided Tape Runner
- Hot Glue Gun
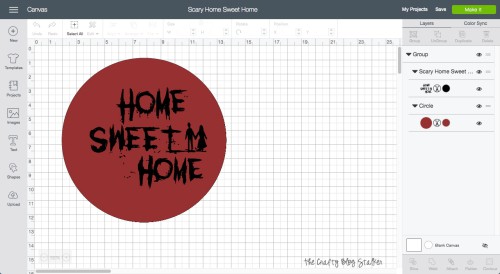
Create a File in Cricut Design Space
I cannot share a cut file that I have uploaded because Cricut knows that I do not own the rights to this image. So to duplicate this project you have to create your own canvas. Don't worry, it's actually pretty easy and I'll walk you through it. Feel free to ask any questions if you get stuck.
To begin, grab this image and upload it into Cricut Design Space. If you have never uploaded an image to cut into Cricut Design Space you can follow the below tutorial. the image used in the tutorial isn't the same as for this project but the steps are the same.
I used a 12-inch embroidery hoop as a frame, so make sure you size the canvas to the same size as the embroidery hoop you are using. I set the Home Sweet Home cut image to the right so I would have room for my gross spider in the lower left.
The largest the Cricut can cut is 11.5 inches so I will cut the cream circle by hand and let the Cricut cut the background red circle. Since it will be glued to the cream cut piece it only needs to be big enough to place behind the cut area. So I let the Cricut cut that circle.
Cut with the Cricut
Following the prompts in Cricut Design Space cut out the layers in the different colored cardstocks.
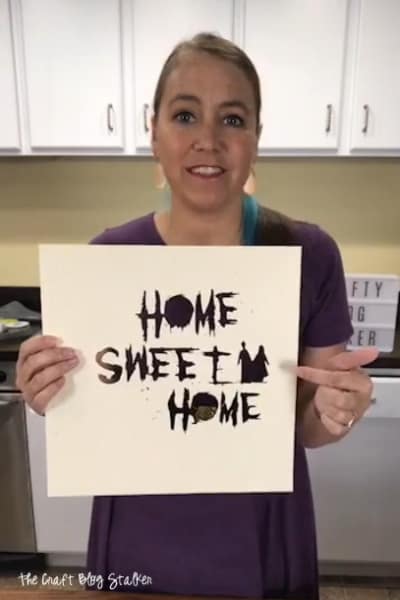
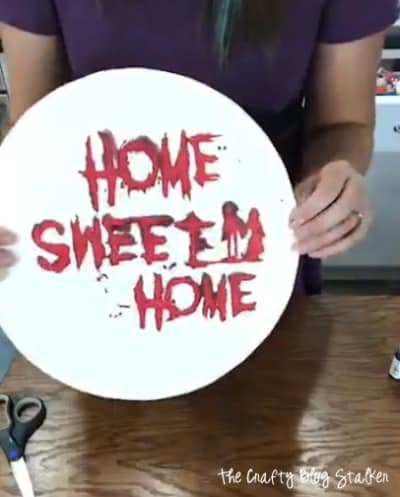
Here is the cream cardstock with the image cut out. Make sure to keep track of the small pieces like the middle of the Os and the pieces for the creepy couple.
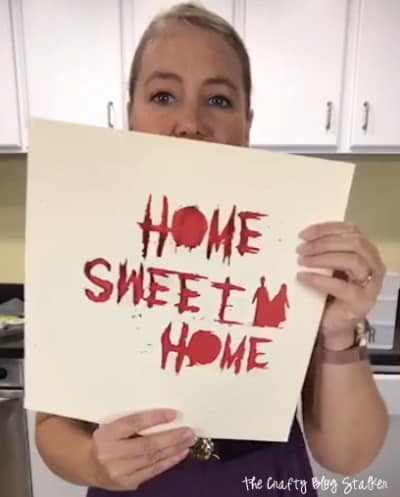
And with the red circle in the back. Doesn't it already look creepy?
Assembling
Before we start gluing layers together let's make it just a bit more creepy. We are going to add some ink to the cut image to make it look like it is actually bleeding!
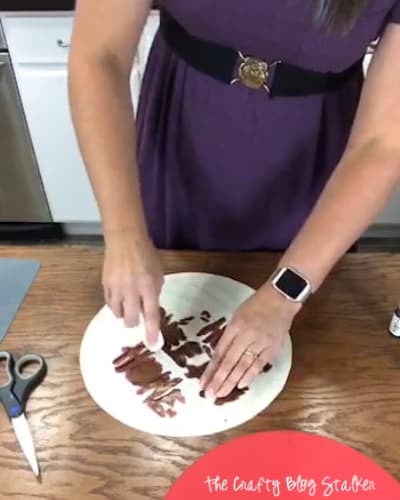
In a small container or plastic paint tray, combine about a teaspoon of Isopropyl Alcohol, and a couple of drops of red and brown ink pad re-inker. Stir with a cotton swab.
Turn the cream cut layer right side facing down, and paint around the cut image with the inked cotton swab.
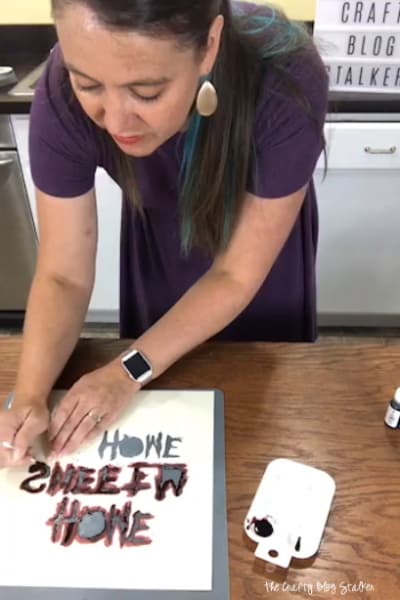
The alcohol helps the ink to dry fast, but don't move on to the next step until the ink is completely dry.
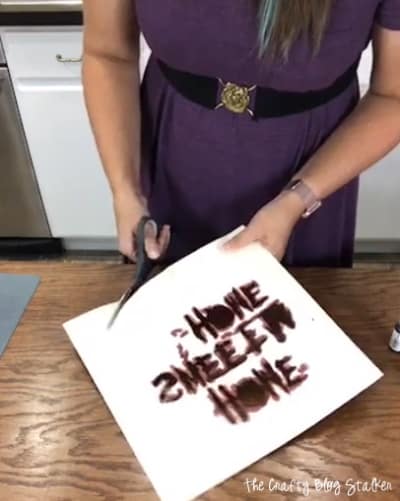
An embroidery hoop comes in two pieces. Separate the two pieces and the complete hoop, not the piece with the screw, using the embroidery hoop as a guide and trace the outside of the hoop onto the cream layer.

And cut along the traced lines with a pair of scissors.
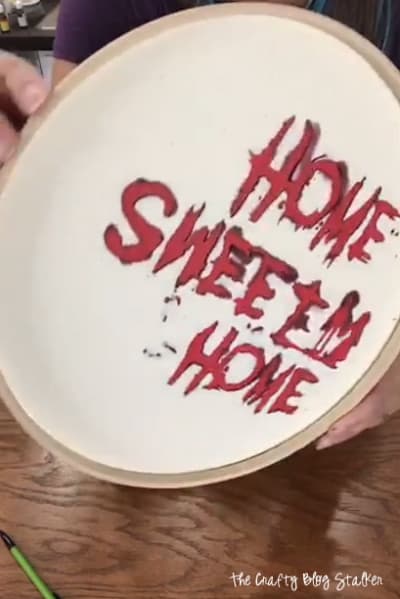
With the right side facing down, apply the double-sided tape to the back of the cream layer.
Position the red circle layer over the back of the cream layer.

It is looking so cool!
Moving quickly, apply hot glue around the edge of the embroidery hoop and lay the circle piece onto the complete hoop.
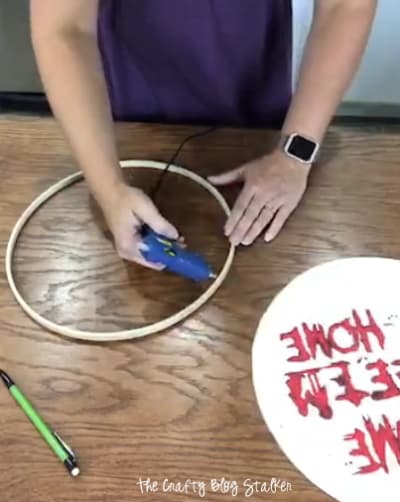
Before the hot glue cools, lay the cut circle piece face down into the glue.
Next, we are going to get into the packaged spider webs. This stuff is gross and sticks to everything! But I guess that is the idea. Stretch a piece of spider web over the lower left of the hoop.
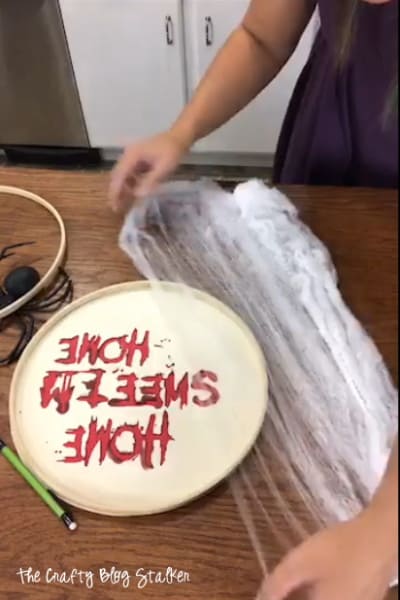
Take the top part of the embroidery hoop (the part with the screw) and lay over the inner hoop. Keep stretching the spider web until it is right where you want it. Then tighten the screw of the outer hoop to keep everything in place. Turn the hoop over and cut the excess spider web off with a pair of scissors.
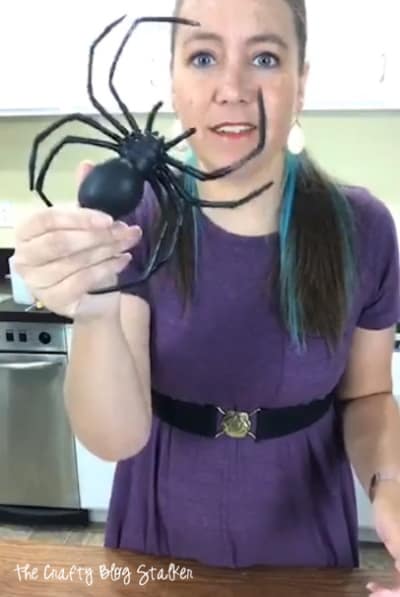
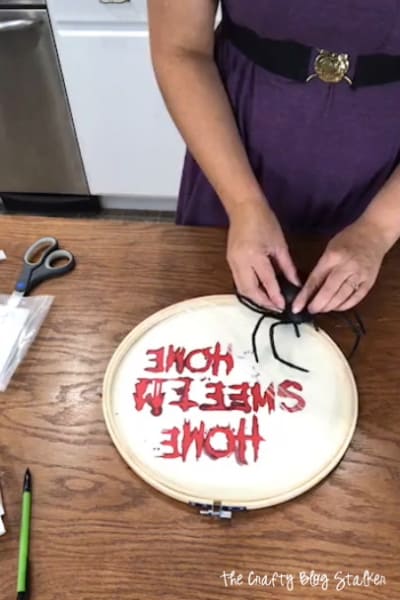
now it is time to take that ugly, gross, nasty, rubber spider and glue it onto the embroidery hoop.
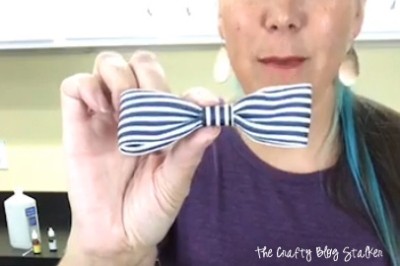
To cover the screw on the embroidery hoop I created this little bow. To see how I made the bow, watch the video tutorial.
And my Scary Home Sweet Home Halloween Decoration is complete! I think it definitely fits the creepy category.
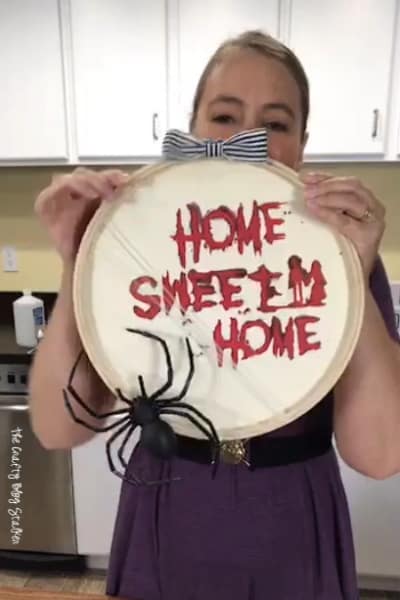
What do you think? Would you hang this in your home for Halloween?
Our Crafting Essentials:
- The Cricut Cutting Machine is easily our favorite crafting tool. We use it in so many of our tutorials!
- These MakerX Crafting Tools are perfect for keeping in the craft room and are always ready when needed!
- This Fiskars Paper Trimmer is easy to use and cuts nicely without frayed edges.
- These Scotch Precision Scissors cut like a dream, and you get multiple pairs in a pack!
Recommended Posts


Katie Adams
Creator at The Crafty Blog Stalker
- Easter Bunny Candy Holder with Free SVG
- St. Patrick's Day Layered Paper Art with Cricut
- Make Cutaway Cards in Cricut Design Space
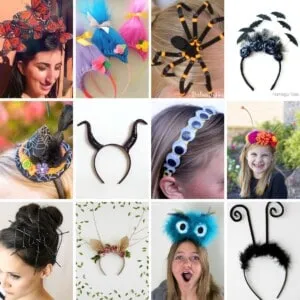
- 27 Fun and Scary Halloween Costume Headband Tutorials
- 26 Free Halloween SVG Cut Files for Cricut
- 20 DIY Halloween Shirt Ideas made with Heat Transfer Vinyl
- How to Make 20 Halloween Treat Bag Ideas
- How to Make a Stitched Pumpkin for Your Front Porch
- How to Make a Beaded Spider Tutorial
- DIY Witch Potion Bottles for Halloween
- No-Carve Pumpkin Witch with Duck Tape®
- How to Make Paper Boxes and Gift Packaging
Leave a Reply