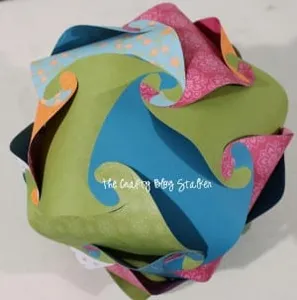
Create beautiful large paper rosette party decorations with ease! This easy paper craft is perfect for any occasion. Let's get crafting! This post contains affiliate links.
Whether you're planning a special celebration or want to add a festive touch to your home, DIY paper rosettes are the perfect choice.
In this step-by-step tutorial, we will guide you through the process of creating these eye-catching decorations with ease.
Craft Supplies:
- Patterned Paper
- ScoreBoard
- Circle Punch
- Hot Glue Gun
- Embellishments (Buttons, Ribbons, Jewels)
Choose Your Paper:
To begin, select the type of paper you'll need to make your rosettes.
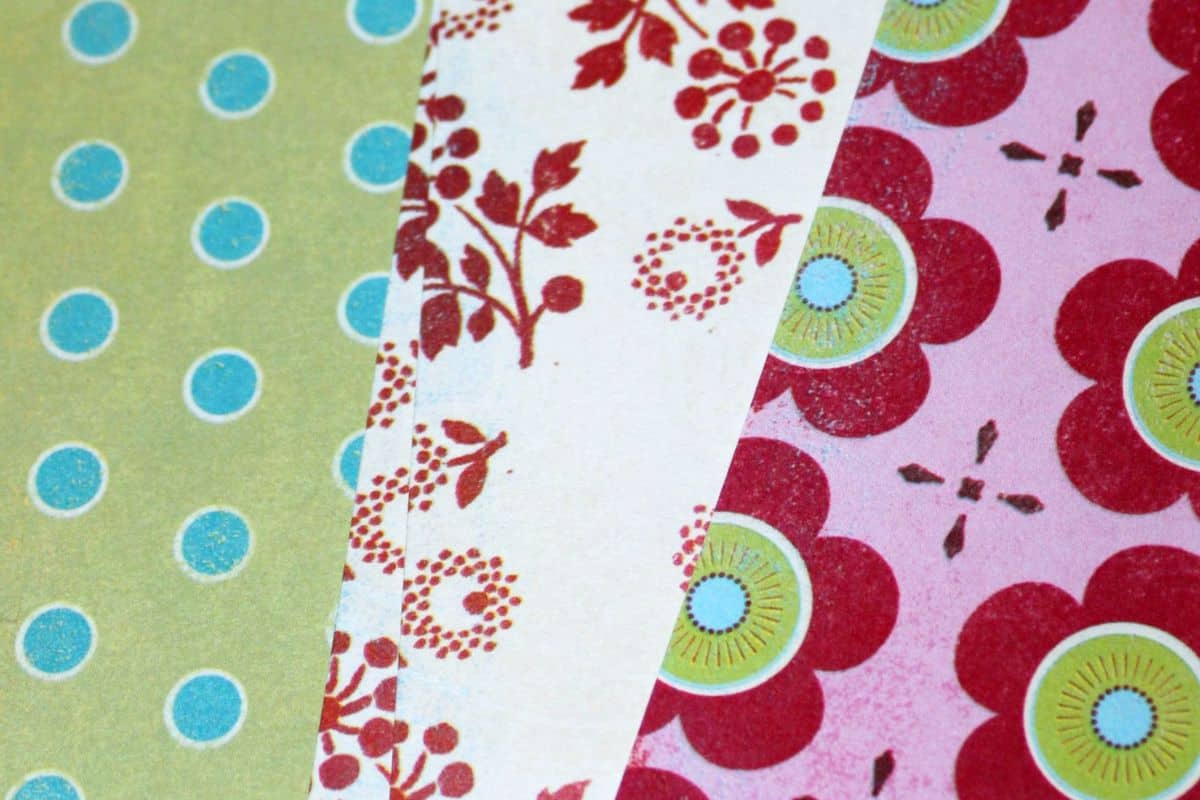
You can use rolls of wrapping paper, cardstock, vellum, construction paper, or my favorite, patterned scrapbook paper.
I love decorative paper because there are just so many fun patterns out there.
My rosettes have a 70's retro vibe to them, and I absolutely love the pattern.
Paper Rosette Sizes:
You can make any size of paper rosette. It all depends on the height of the pieces of paper.
If you want a 24-inch rosette use 12-inch tall strips of paper.
For a 12-inch rosette, use 6-inch tall strips of paper.
As for the length of each strip, it takes a little bit of trial and error. Here is what I used for my strips.
12-inch Large Rosette: 4 strips of paper that measure 6 x 12.
10-inch Medium Rosette: 4 strips of paper that measure 5 x 12.
8-inch Small Rosette - 3 strips of paper that measure 4 x 12.
How to Make a Paper Rosette:
No matter the size, all paper rosettes are made the same way.
Paper punch a 2-inch circle out of a coordinating color of paper.
Lay each strip of paper in the Score Board lengthwise and score every ½-inch.
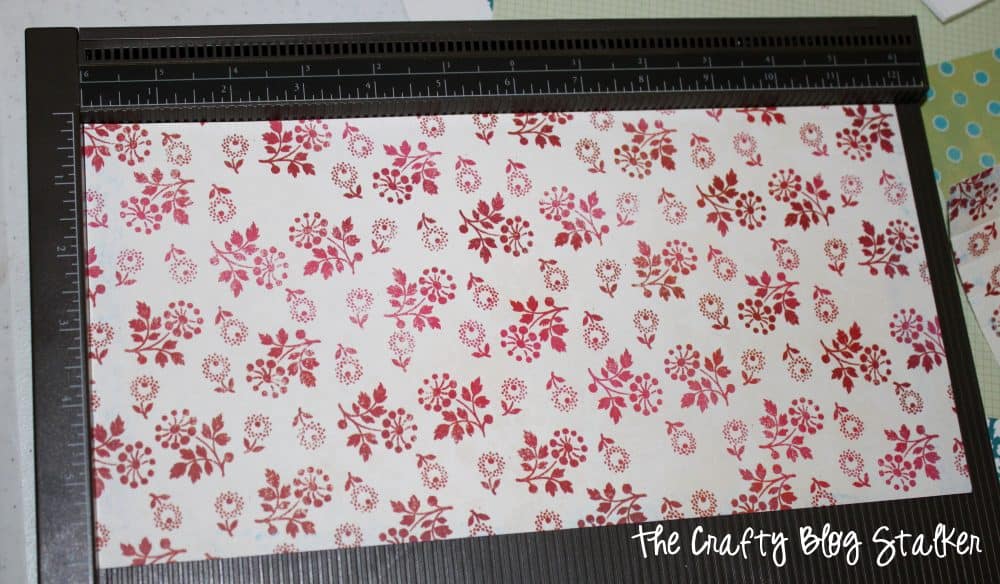
Then fold the paper accordion-style on the scored lines.
Repeat for each section.
When all of the lengths are scored and folded, glue the ends together so you have a large circle.
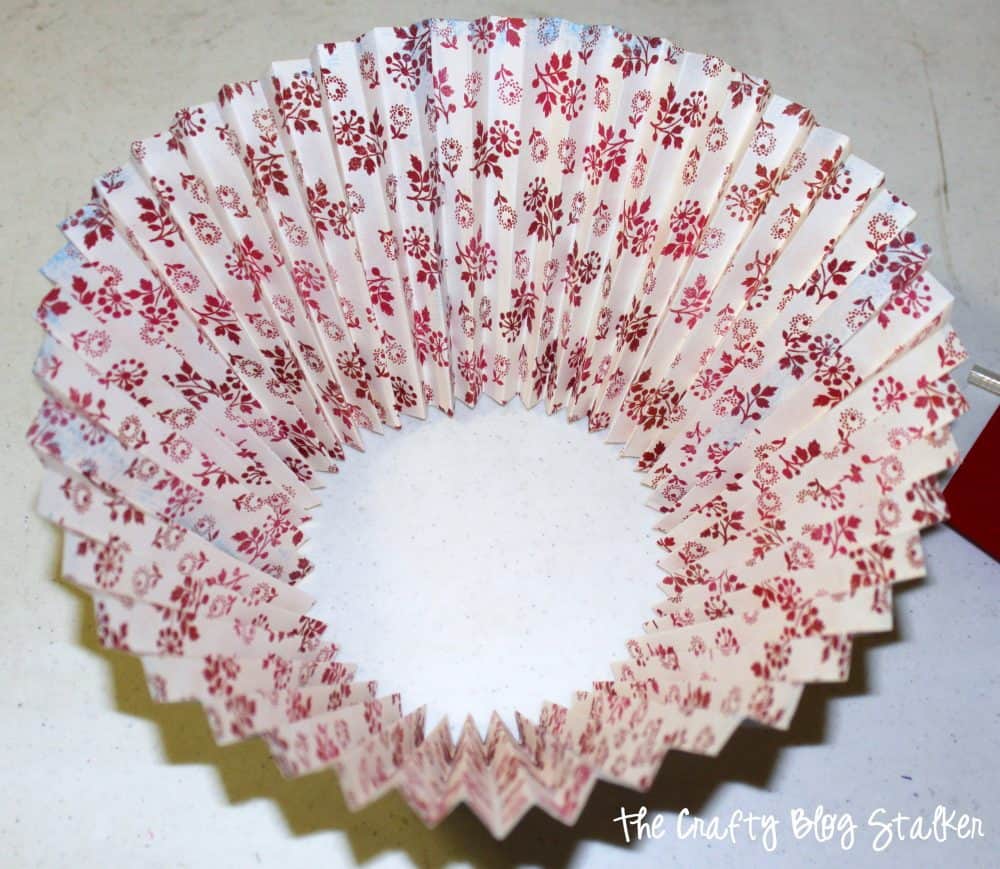
Push down on the top, forcing the inner part of the paper close together.
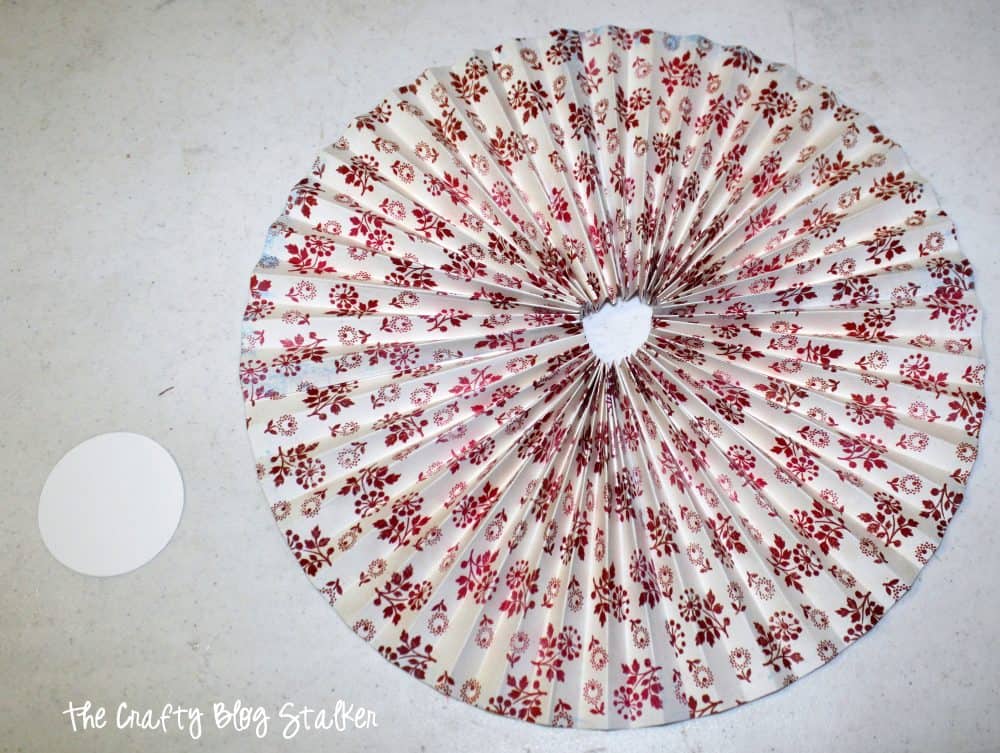
Place the rosette on top of the paper circle so you can see it through the center hole.
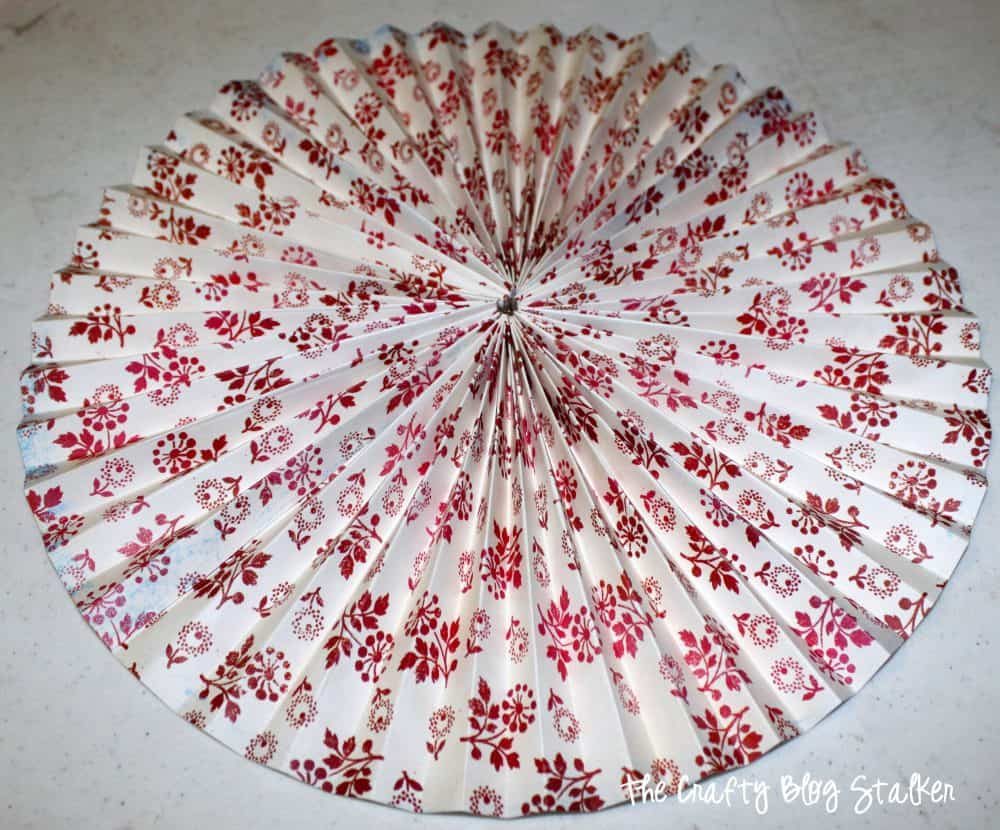
Apply a good glob of hot glue to the center of the rosette, and then push the sides together till the center how is as small as possible.
Hold the shape of the rosette until the glue holds when you let go.
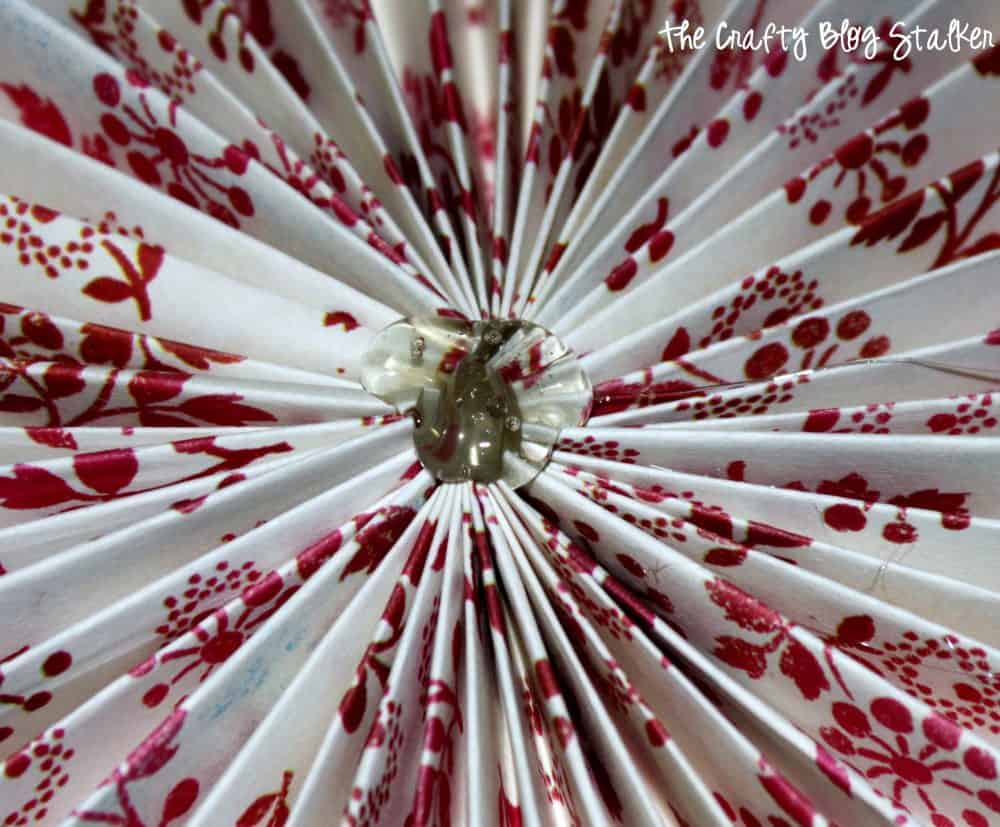
Add a little bit more hot glue into the center to hold it nice and tight.
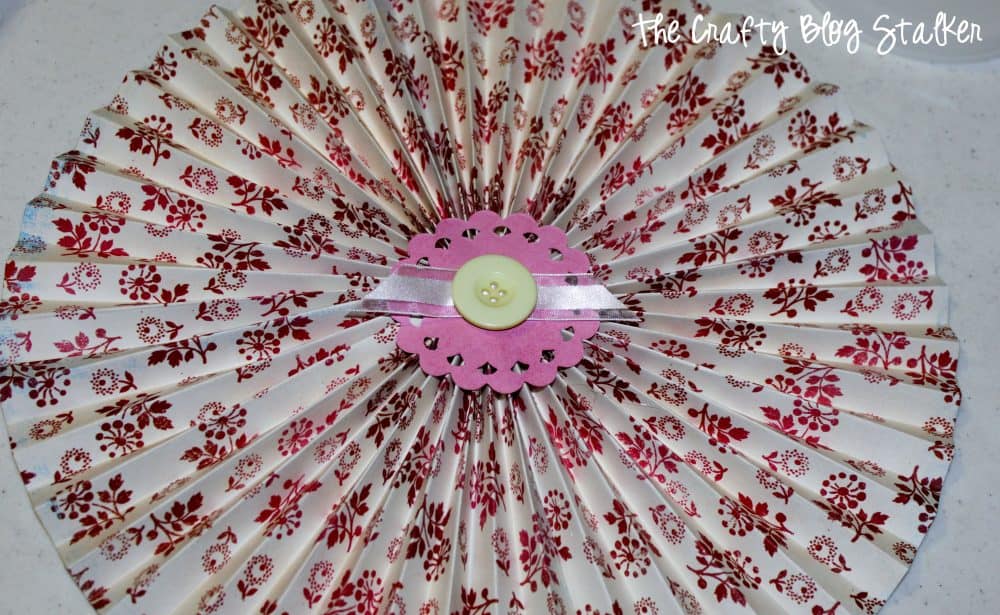
Cut another circle out of a coordinating color of paper and hot glue it over the middle of the rosette to cover that center hole.
This circle can be any size because now you can begin adding embellishments to the rosette.
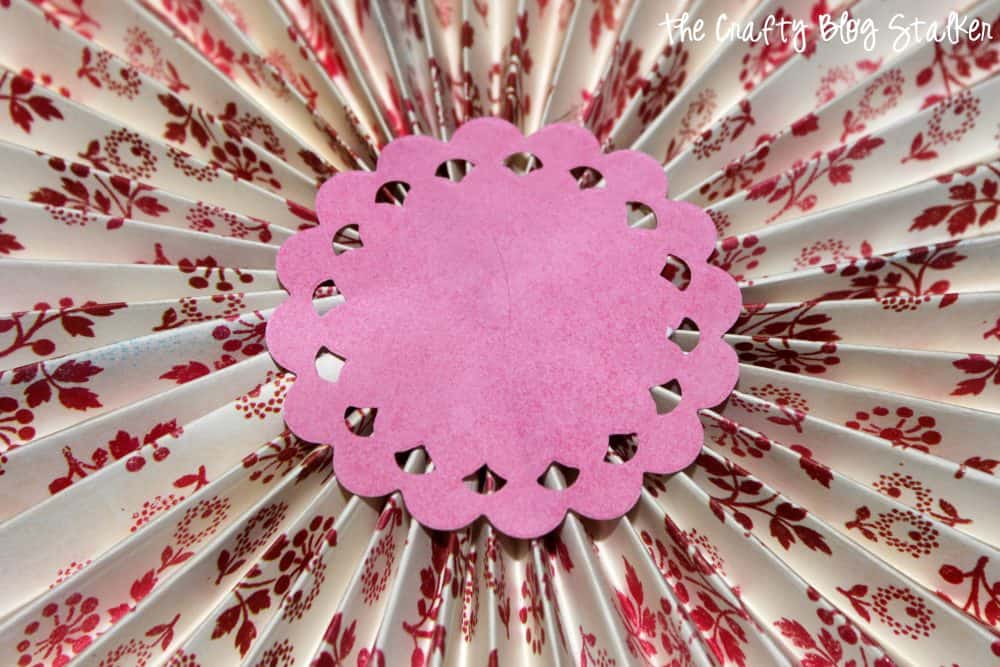
Top it off with a little strip of ribbon, button, or other embellishments.
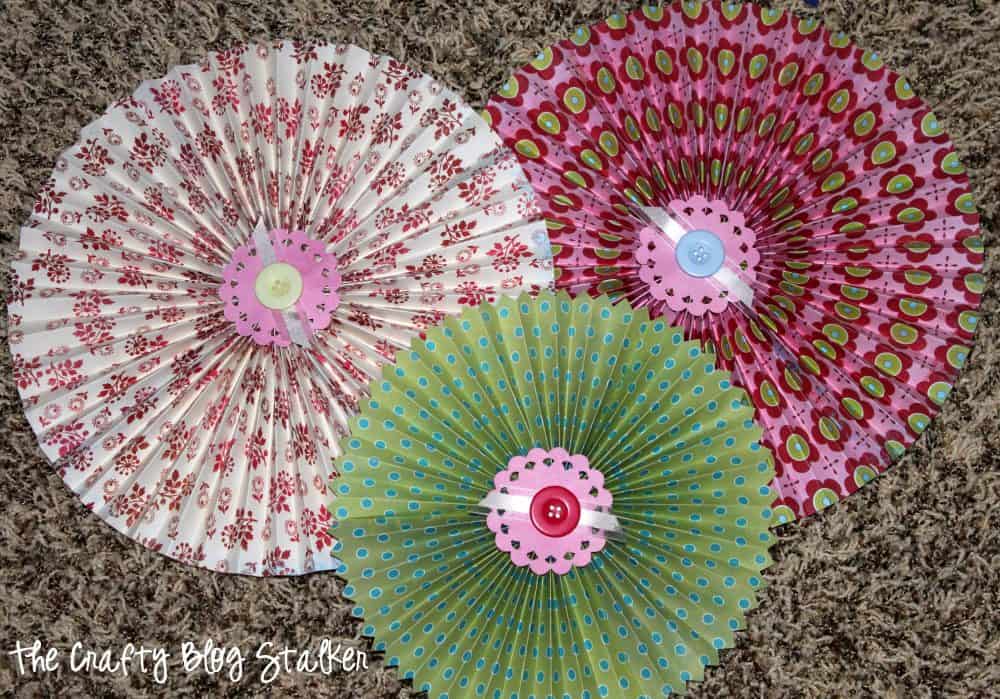
Here are all 3 of my finished rosettes laying on the floor. I love how the colors coordinate with each other!
Hang them with fishing line, or adhere them to the wall with some folded-over masking tape on the back of the rosette.
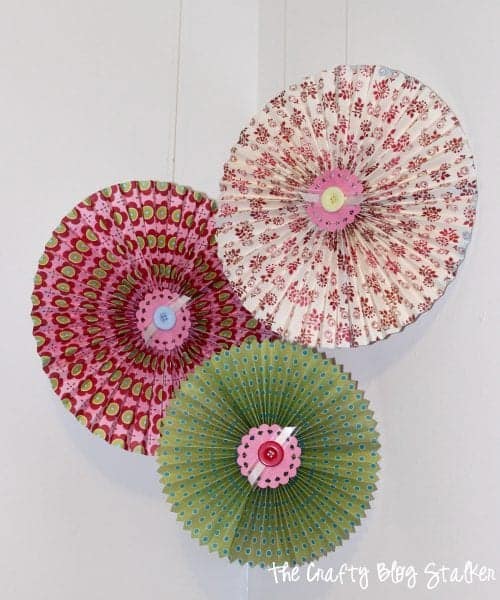
Include different sizes of rosettes and you have a beautiful backdrop for weddings, a baby shower, or birthdays.
Our Crafting Essentials:
- The Cricut Cutting Machine is easily our favorite crafting tool. We use it in so many of our tutorials!
- These MakerX Crafting Tools are perfect for keeping in the craft room and are always ready when needed!
- This Fiskars Paper Trimmer is easy to use and cuts nicely without frayed edges.
- These Scotch Precision Scissors cut like a dream, and you get multiple pairs in a pack!
Recommended Posts


sip-n-wear
oh wow! super cute! Love the colors you used!
Katie @ Pincushion Creations
This are soo cute! I don't have a little girl yet, but I hope to one day! I might have to make some for my craft room! Would LOVE to have you link these up to my linky party and even become a new follower! I am your newest GFC follower!
Justine
Stopping by from Show & Share with Southern Lovely! http://queenofsavings.com
Sonja @ practical-stewardship.com
What a great idea. I just pinned it! Found you on Southern Lovely!
Terry
These are really pretty, love the colours. Pure brilliance to use the jewelry cord. So glad you share at our party this week.
Heatherly Loves
These are neat!
Miss Kitty
Thanks for sharing the "how to"s for these cute lollies! I am "pinning" your post so I will know how to do them when the time arises. I saw your post at "A Creative Princess".
Ivy Bingham
I love this idea. This is perfect for my daughters room. I think I found my weekend project!
Melanie @ bear rabbit bear
These are cute- look like something I would see in a restaurant! 🙂 Thanks for sharing at Things I've Done Thursday!
Michelle L.
Just gorgeous - love the papers you chose!
Inspired By Felicity
These are really cute. It's nice when you can put such beautiful large decorative pieces up that don't costs hardly anything to make.
-Pamela
Jen Lossing
These are so cute. I love the print and color of the paper! Great job!
Lisa @ Flour Me With Love
These are so cute! Thanks so much for sharing at Mix it up Monday 🙂
Rachel
These are darling! I love that you could do any colors to match any room.
Thanks for sharing at Terrific Tuesdays.
Rachel
adventuresofadiymom.blogspot.com
Marilyn
Sooo cute.. I LOVE this.. ;))
Sonya
Sweet. 😀
Diana - FreeStyleMama
Very pretty!
Tammy Malone
This is so adorable! Great way to liven up a room!
Jennifer Hughes
What a great idea! Please share it on a terrific linky – Design Décor Tuesday. http://www.designdecortuesday.blogspot.com. See you there! ☺
Jessica @ View from River Mountain
My teenage daughter would love these in her room and the colors you chose are the colors she would choose. Thanks for the tutorial.
Megan
What a great way to add a pop (or three!) of color to a room! Thanks for sharing them!
Brooke
So, so cute! I love your colors. Don't you love using scrapbook paper for decorating? I sure do. thanks for the great idea. Have a wonderful day!
Theresa
Super cute & I love how easy the project is! I'd love to make some for spring. I am visiting from DearCreatives.com
Natalie Buehler
Super Sweet Craft,
Thanks for sharing on Tutorial Thursdays.
I hope to see you again this week for some more amazing fun 🙂
x
Natalie
Jennifer Hughes
Thanks for linking in to Design Decor Tuesday. Looking forward to seeing what you post next week!
Jennifer
http://www.thejennyevolution.com
Marie bloominghomestead
So cute and looks so easy. -Marie
Rebekah Purnel
How sweet!!! Really have inspired to see your Hanging Lolly Art! My daughter is constantly asking to make some Hanging Lolly for her. I was a little bit confused about the process. This post has made it clear. Hope will not face any difficulty and can make some outstanding Hanging Lolly for her! Wish me a good luck! 🙂
Katie
Good Luck Rebekah! I love that you're making them with your daughter! That is so fun!
hira
wow very nice and easy 🙂