Some of the supplies for this post have been provided by Deco Art. All opinions are mine alone.
Learn how to paint coffee mugs permanently using transparent glass paint! Makes a great handmade gift. Includes a step-by-step video tutorial!
Have you ever added a personalized touch to a cup? It is really much easier than you may think and it is so much fun!
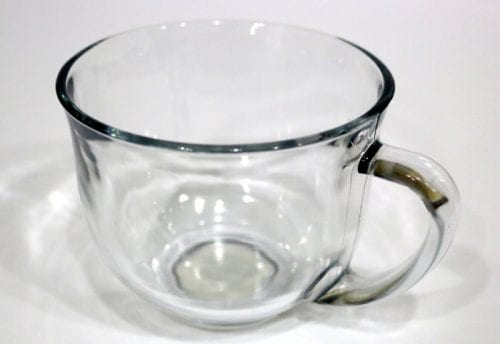
These cups came from the dollar store and I absolutely love the shape! The only thing they need is a bit of color!
Painted Glass Coffee Mugs Video Tutorials
Like videos? I have a video tutorial for you! Please subscribe to my YouTube Channel so you don't miss out on any future video tutorials!
Supplies Used to Paint Glass Coffee Mugs
Some links may be on similar items when exact items couldn't be found online.
- Glass Drinking Cup
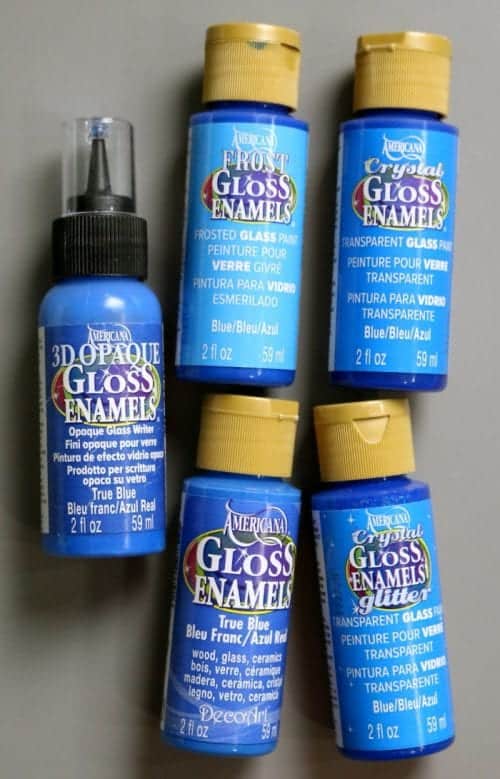
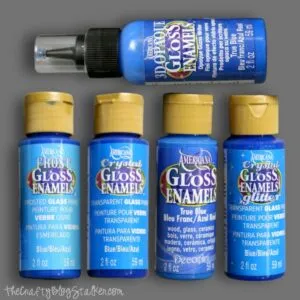
- Americana Frost Gloss Enamels paint
- Americana Crystal Gloss Enamels Glitter paint
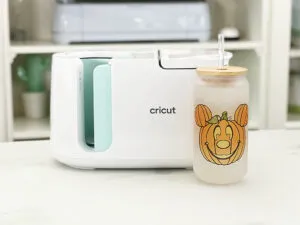
- Cricut Cutting Machine
- Vinyl
- Paint Brush
There are several different types of glass paints that you can use from Americana, and I have a post to help you decide! What Glass Paint to Use when Painting on Glass.
Prepping the Glass Mug with Vinyl
First, cut your circle template out of vinyl. I used my Cricut Explore, but the shape is simple enough that you could also trace a plate or something round onto a piece of vinyl and cut by hand.
My circle has a diameter of 7.5-inches. The circle is larger than needed but the extra size gives me some wiggle room when applying the stencil.
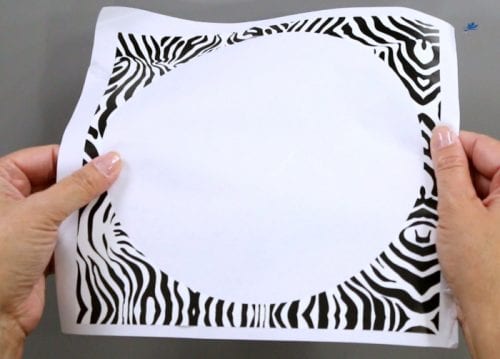
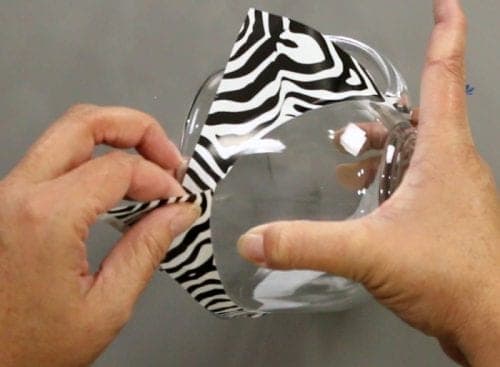
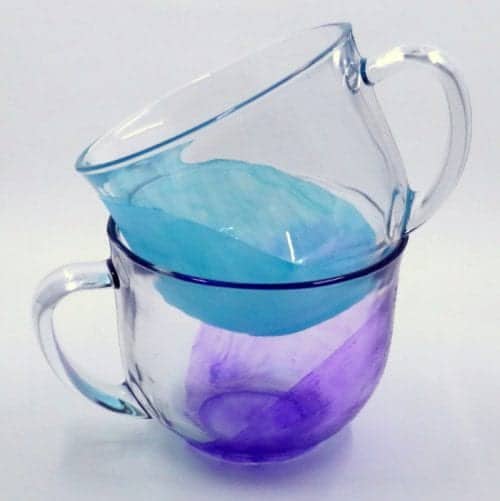
Remove the circle stencil from its paper backing sheet and begin to wrap around the base of the cup. I wanted the circle to lay where it looked like something was tipped in the glass, circle low on one end and high on the other.
Wrap around until the edges of the stencil come together, making sure there aren't any points or weird angles at that intersection.
Painting with Transparent Glass Paint
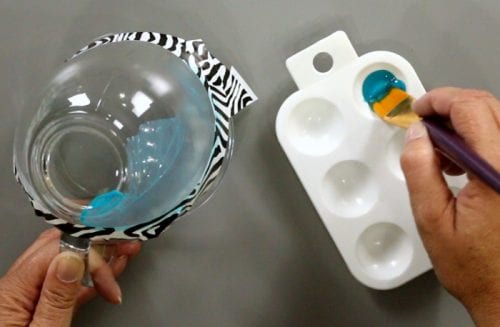
Before painting clean the glass with some rubbing alcohol and a lint-free cloth. This will remove any oil smudges from your fingers and make sure the glass is nice and clean.
Apply the Gloss Enamels paint inside the circle template.
Let the paint dry for 4 days. For a dishwasher-safe finish, place the finished pieces in a cool oven, set the temperature to 275°F and bake for 30 minutes, then cool with the oven door partially open.
The different paints have a different temperature so make sure to double-check the directions on the bottle for the correct baking temperature and time.
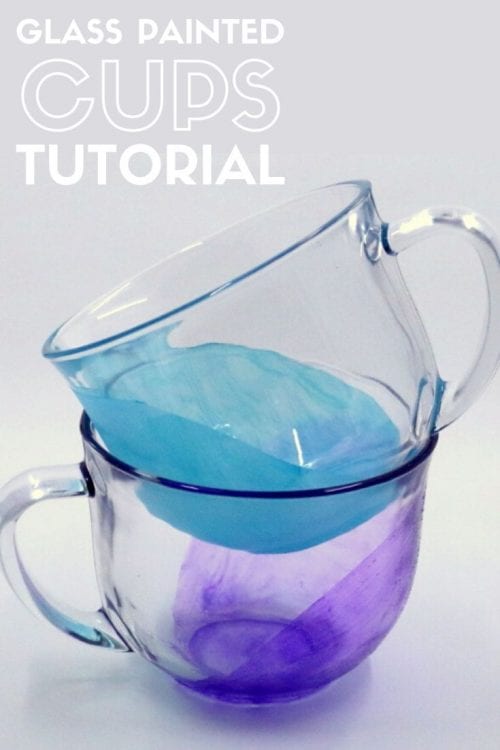
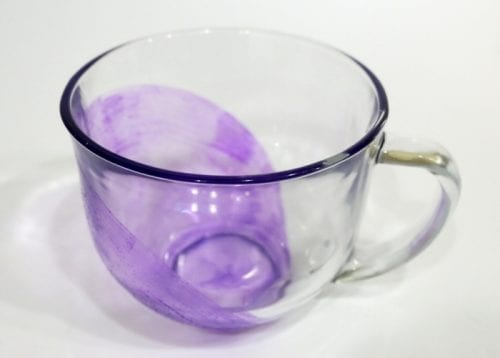
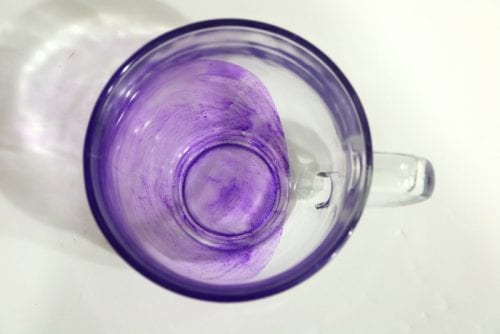
The Finished Painted Mugs

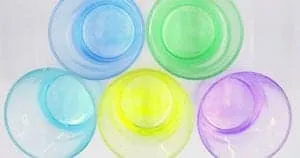
When all steps are completed you have some super fun glass painted cups that match your style and personality perfectly!
I made two cups using the same technique. The first used Turquoise Frost Gloss Enamel and the second used Purple Crystal Gloss Enamel Glitter.
Now I guess I have to invite someone over for coffee or hot chocolate so I can show off my Glass Painted Cups!
What colors will you use when making your glass painted cups?
Our Crafting Essentials:
- The Cricut Cutting Machine is easily our favorite crafting tool. We use it in so many of our tutorials!
- These MakerX Crafting Tools are perfect for keeping in the craft room and are always ready when needed!
- This Fiskars Paper Trimmer is easy to use and cuts nicely without frayed edges.
- These Scotch Precision Scissors cut like a dream, and you get multiple pairs in a pack!
Recommended Posts


Jeannee Taylor
What a really great and creative way to turn boring glasses and cups into real show stoppers! Thank you!
Jeannee
Katie
Thanks, Jeannee! It was a fun project to make!
Sue
You are so clever Katie! Thank you for sharing the lovely idea to put some pop into everyday cups and saucers. Great to have you link up with us at #OvertheMoon. Pinned and shared.
Katie
Thanks, Sue! I am so glad you like my glass painted cups.
Fie Thomsen
Another little project for me and the kids to get stuck into this weekend. I've been following your blog now for the past 3 or so months: since just before Christmas. maybe. I've really enjoyed reading your articles but this is the first time I've posted. I really like the way your blogs presented. It isn't too busy for the eyes and its simple to navigate. The premise is really cool to. It's a great little resource for cool things to try at home. I've been considering starting my own blog for about 2 years since the kids needed less of my time but I'm still a bit snowed under with the usual chores to make a start. Plus, although I'm not completely useless with a computer, I think i'll need a bit of help. Anyway, you've both inspired me and deflated me. Seeing your blog looking so great is really cool but it's definitely made me a bit jealous. Looking forward to the weekend so we can give this one a go. Thanks a lot Katie once again for a great read. Helps get me through the day when I'm occasionally at a loose end and fancy a bit of inspiration. Regards, Fie
Katie
Hi Fie, thanks for your kind words. It warms my heart that you have been inspired to makes some projects from my blog. IF you want to start a blog you should totally do it! IT si such a great outlet. But you can't compare your blog, style, and content to anyone else because you aren't them, and they aren't you. I just passed my 6-year blog anniversary so I have 6 years to learn and grow, and yours will do the same. When you start your blog I'd love for you to stop by and drop a link so I can check it out. I'm excited to see it!